Bleached Wood: A step by step DIY
I’ve been on the hunt for a little round table for quite some time now! Facebook market place is something I check often, and when this one popped up for $40, I knew I had to snag it!
Little did I know, it was my brother who was selling it for his mother in law, and he ended up giving it to me for free!
That made this little DIY project extra special for me and I am excited to share it with you!
Bleached Wood Table
Let me start by saying, this is the first piece of furniture that I have bleached. I did however do my research before I decided which method to use.
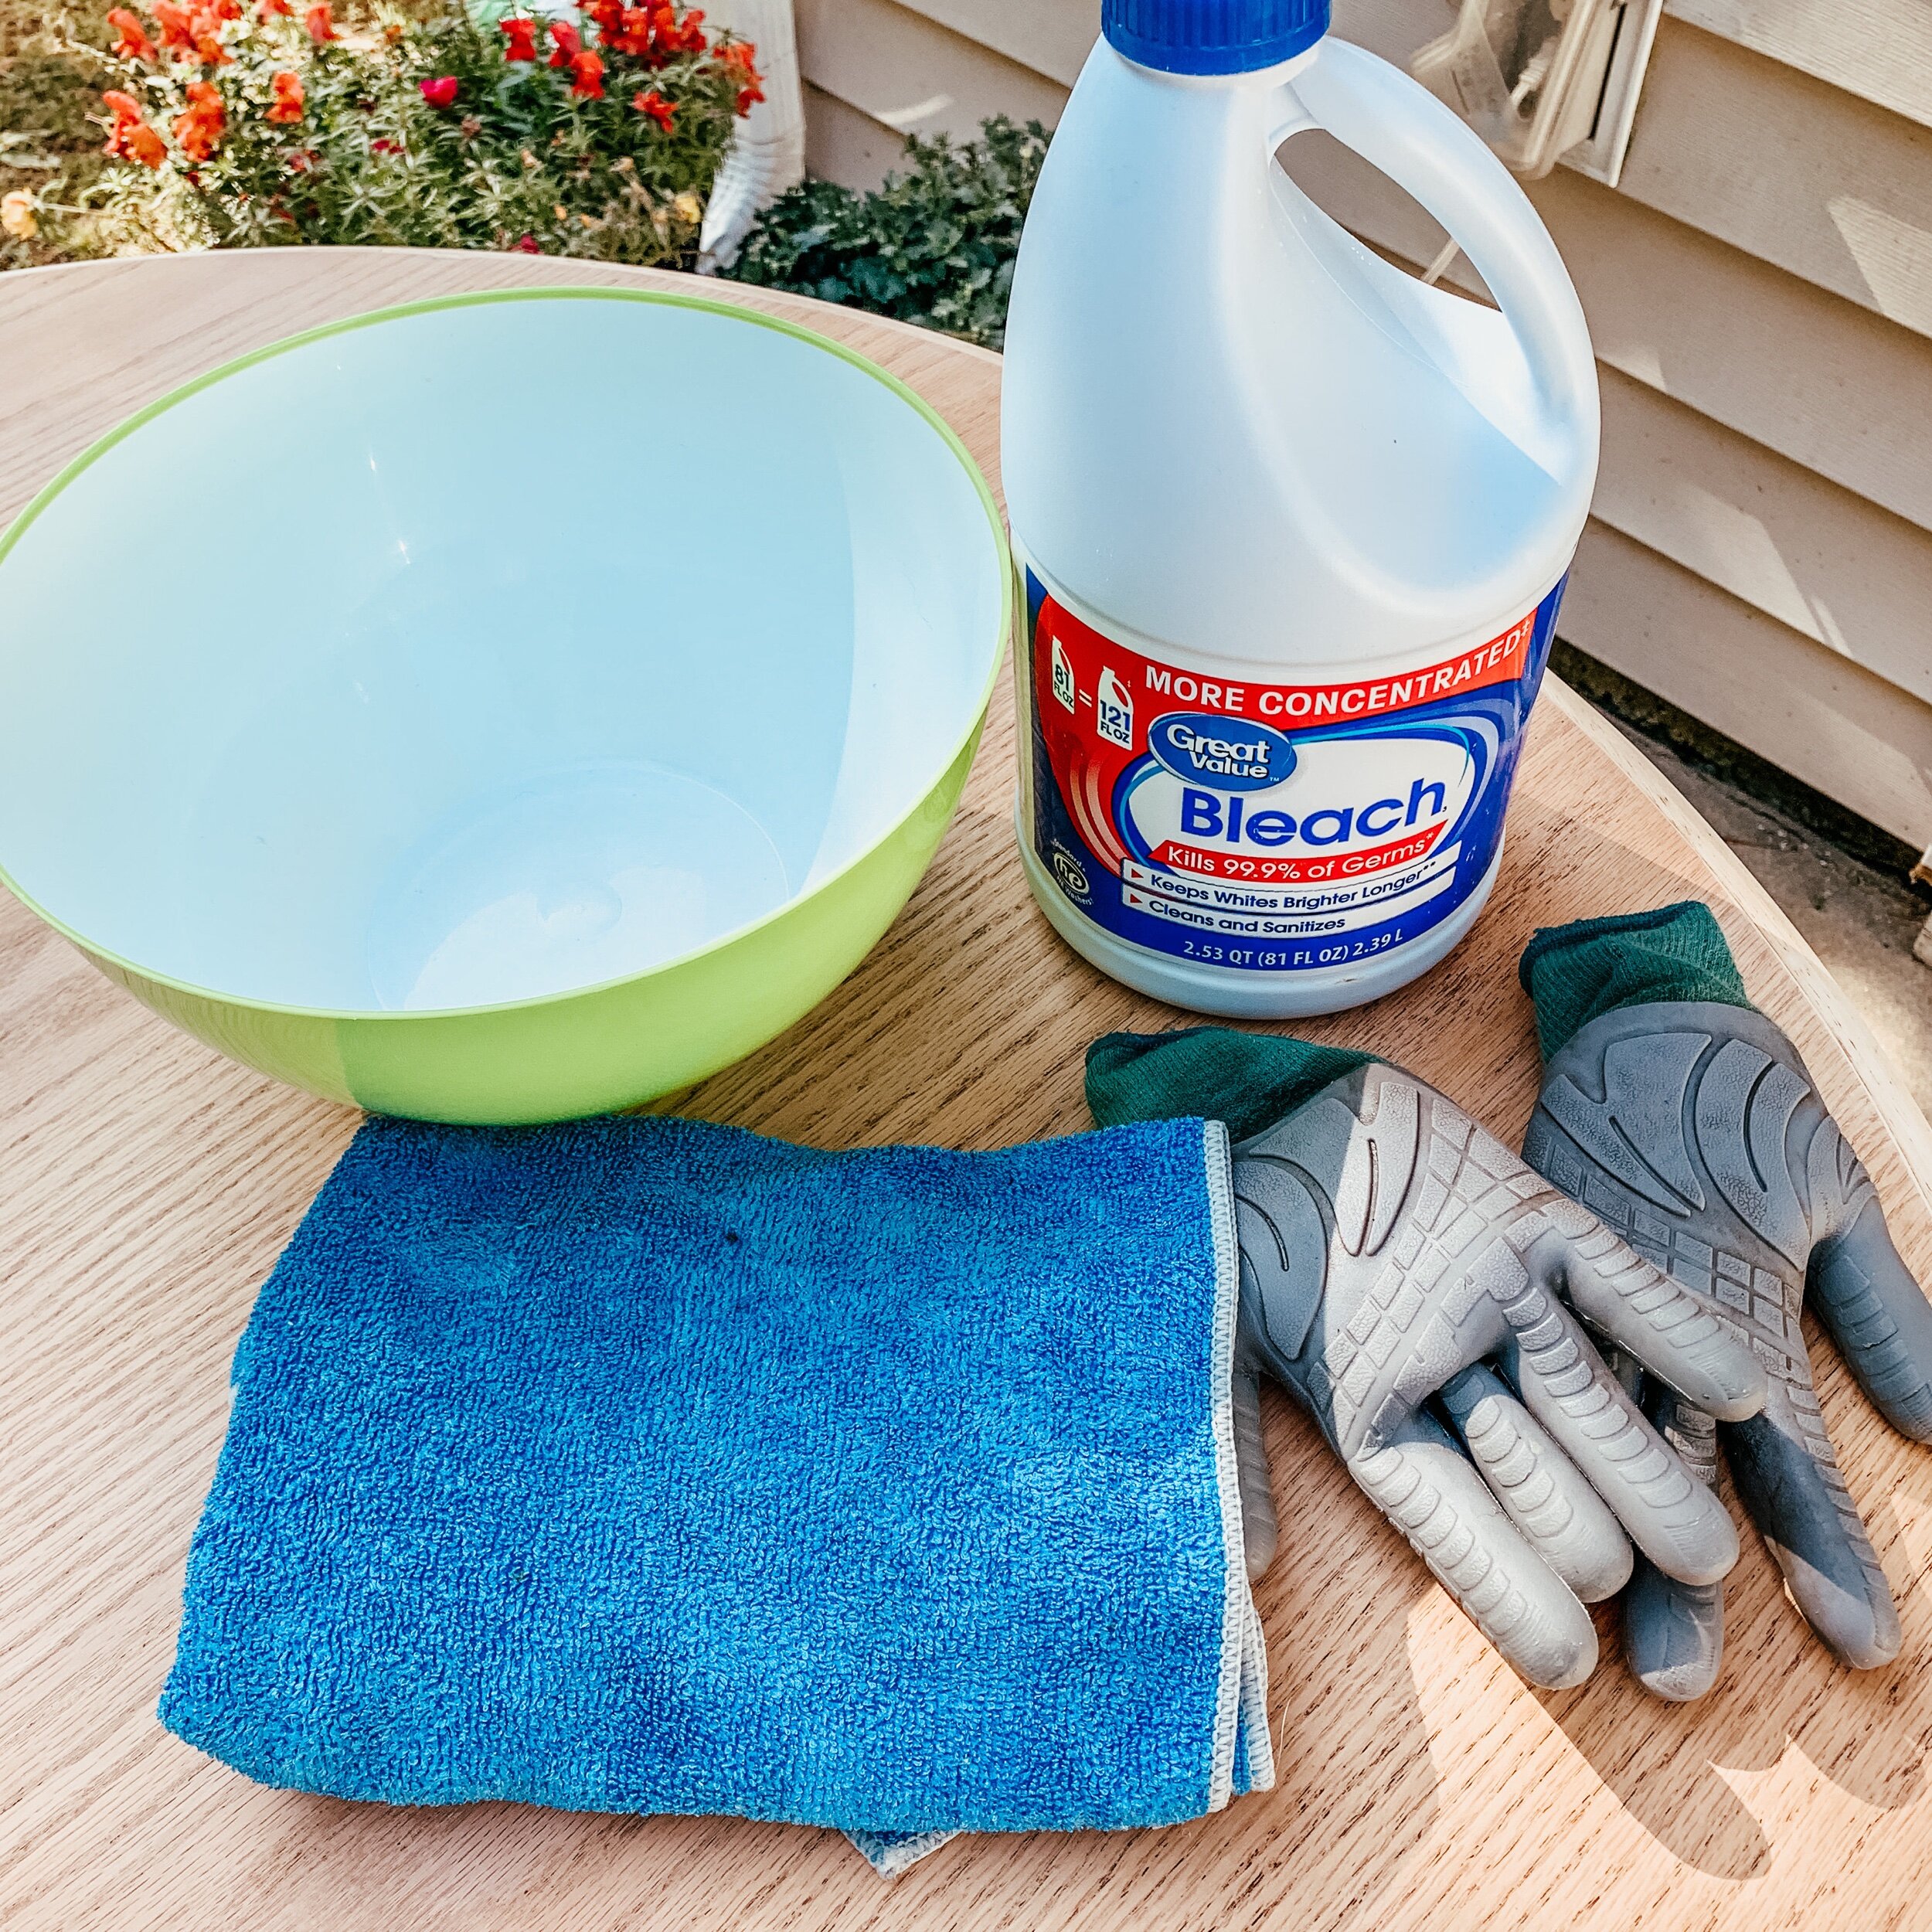
I found a few people swore by wood bleach, while others said that common household bleach would also do the trick. Since I had some on hand, I decided to use regular household bleach for this project.
I plan to try the wood bleach in the future so I can see the true difference.
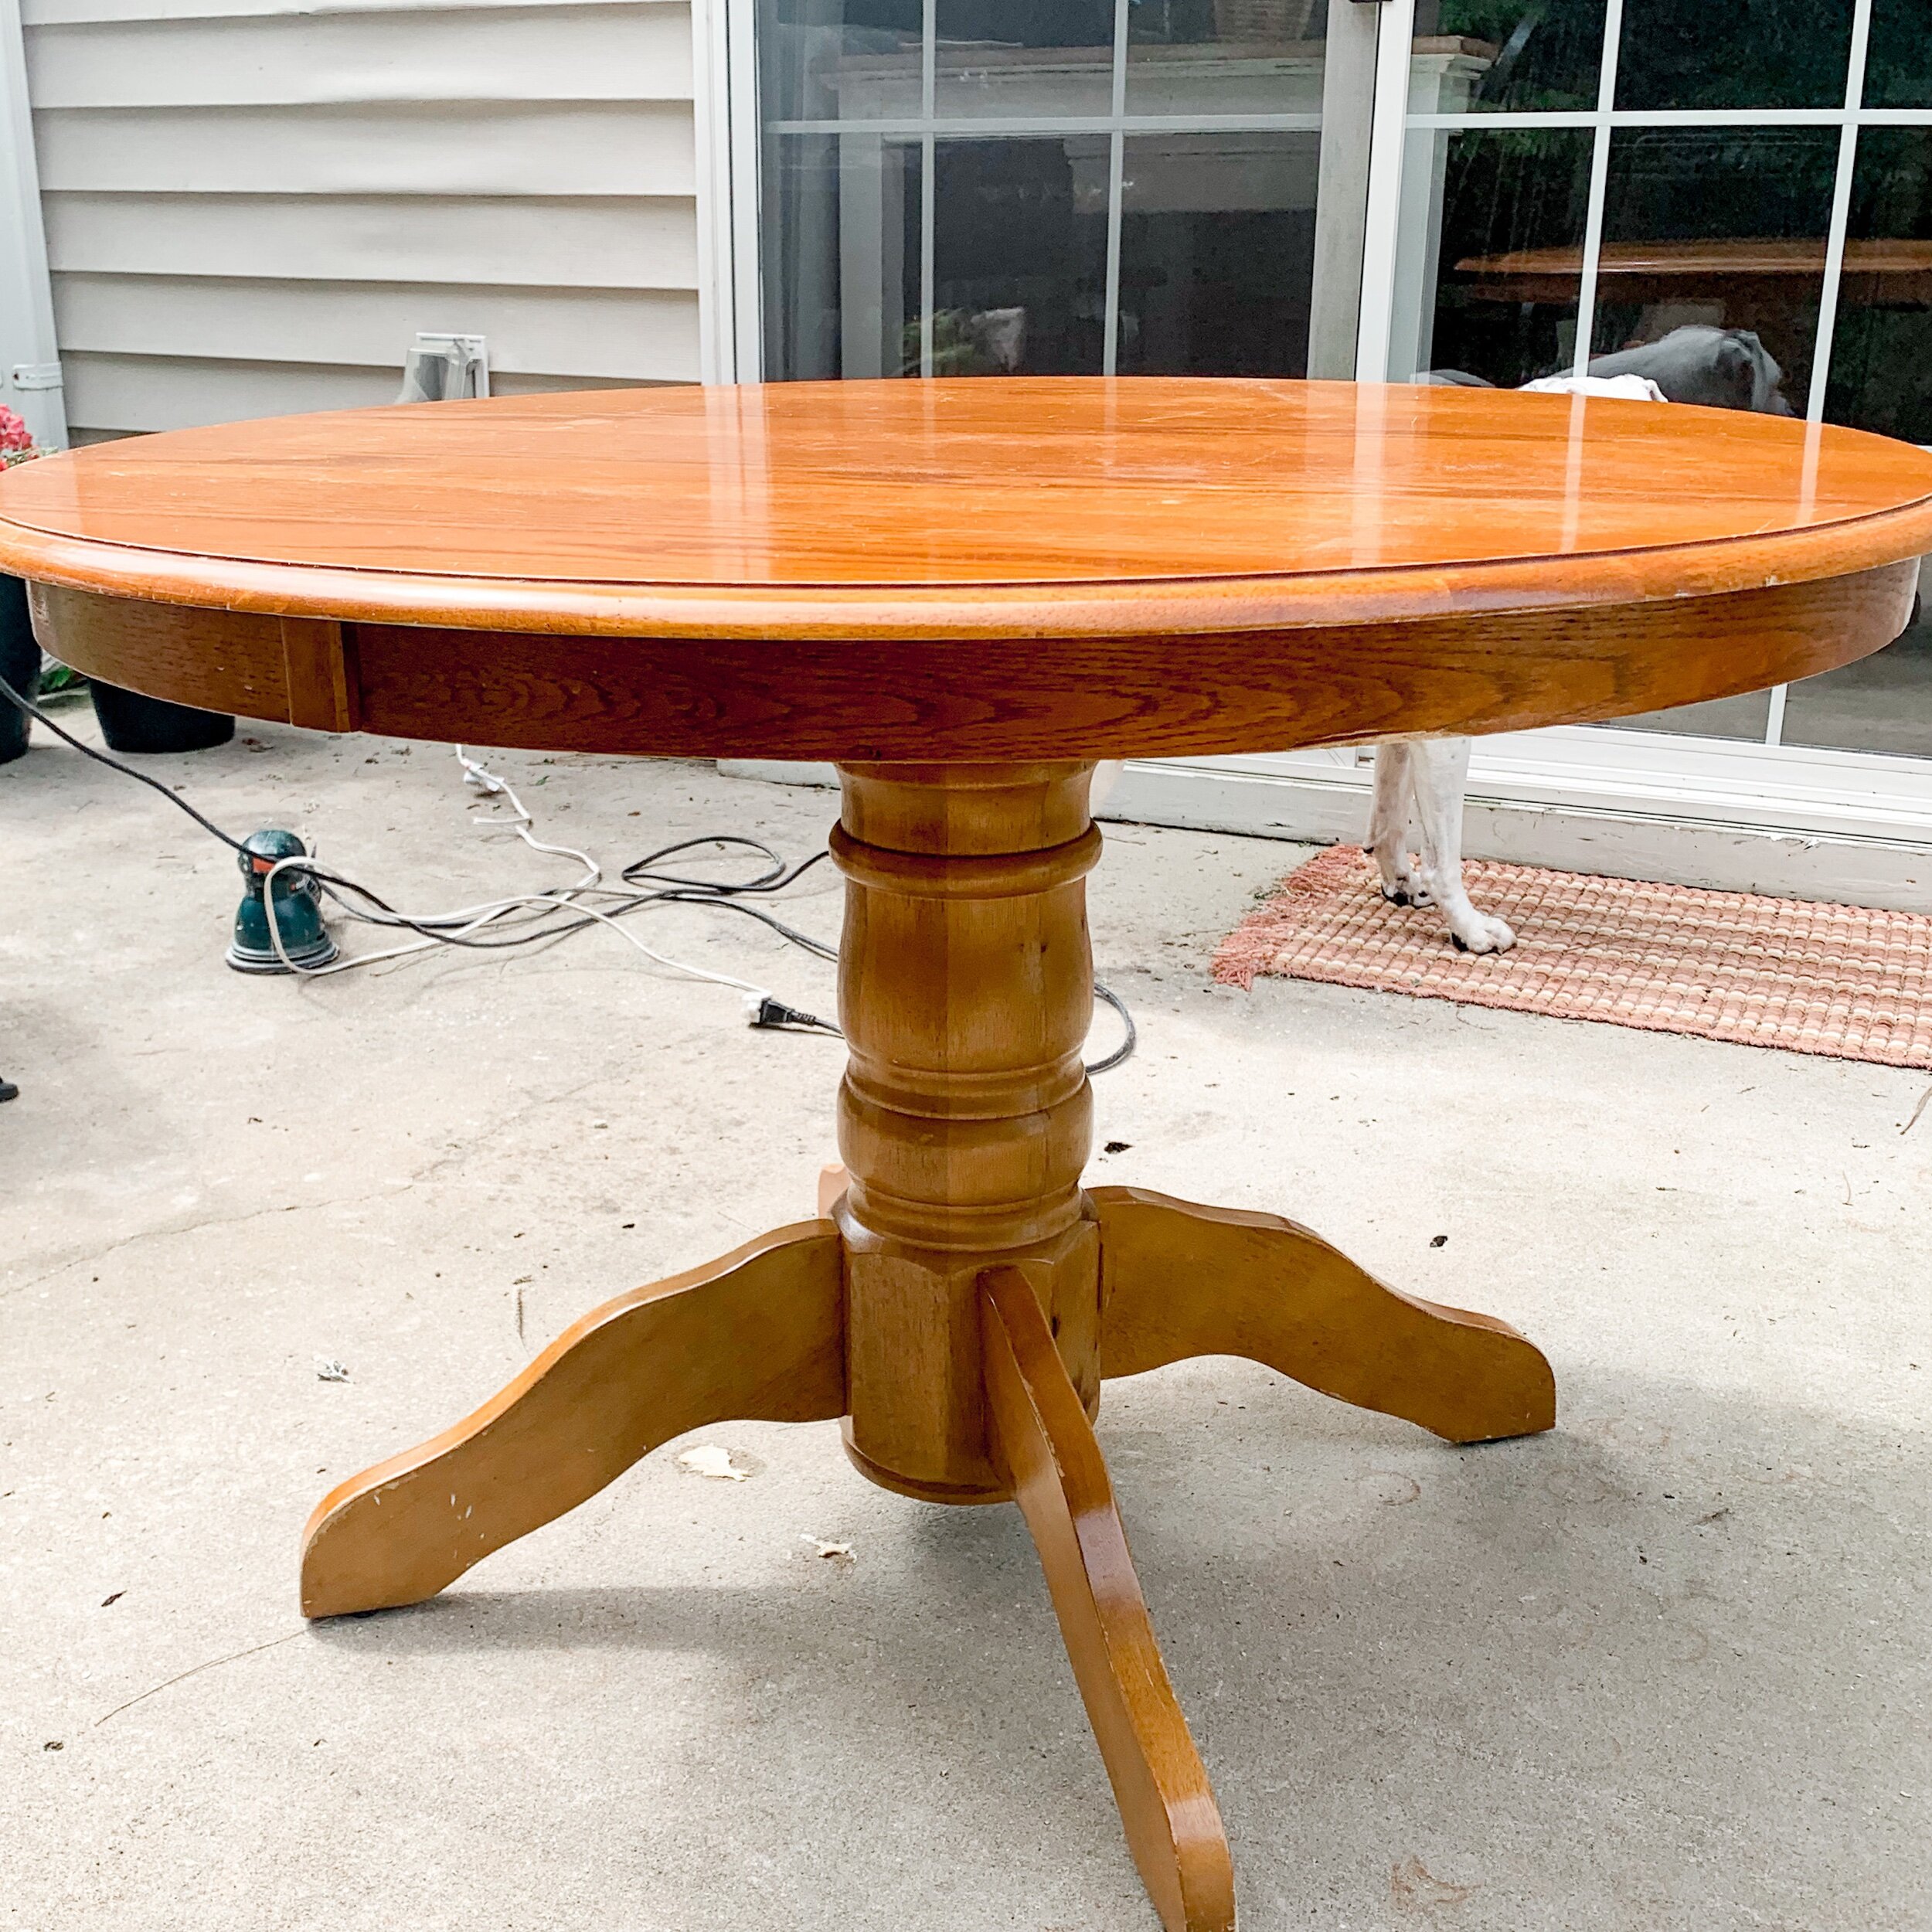
This is the table before I touched it.
DIY Bleached Wood
What you’ll need:
-
Household Bleach (or wood bleach)
-
Rubber Gloves (rubber is best, you don’t want this to get on your skin)
-
A plastic bowl
-
A handheld sander and sandpaper
-
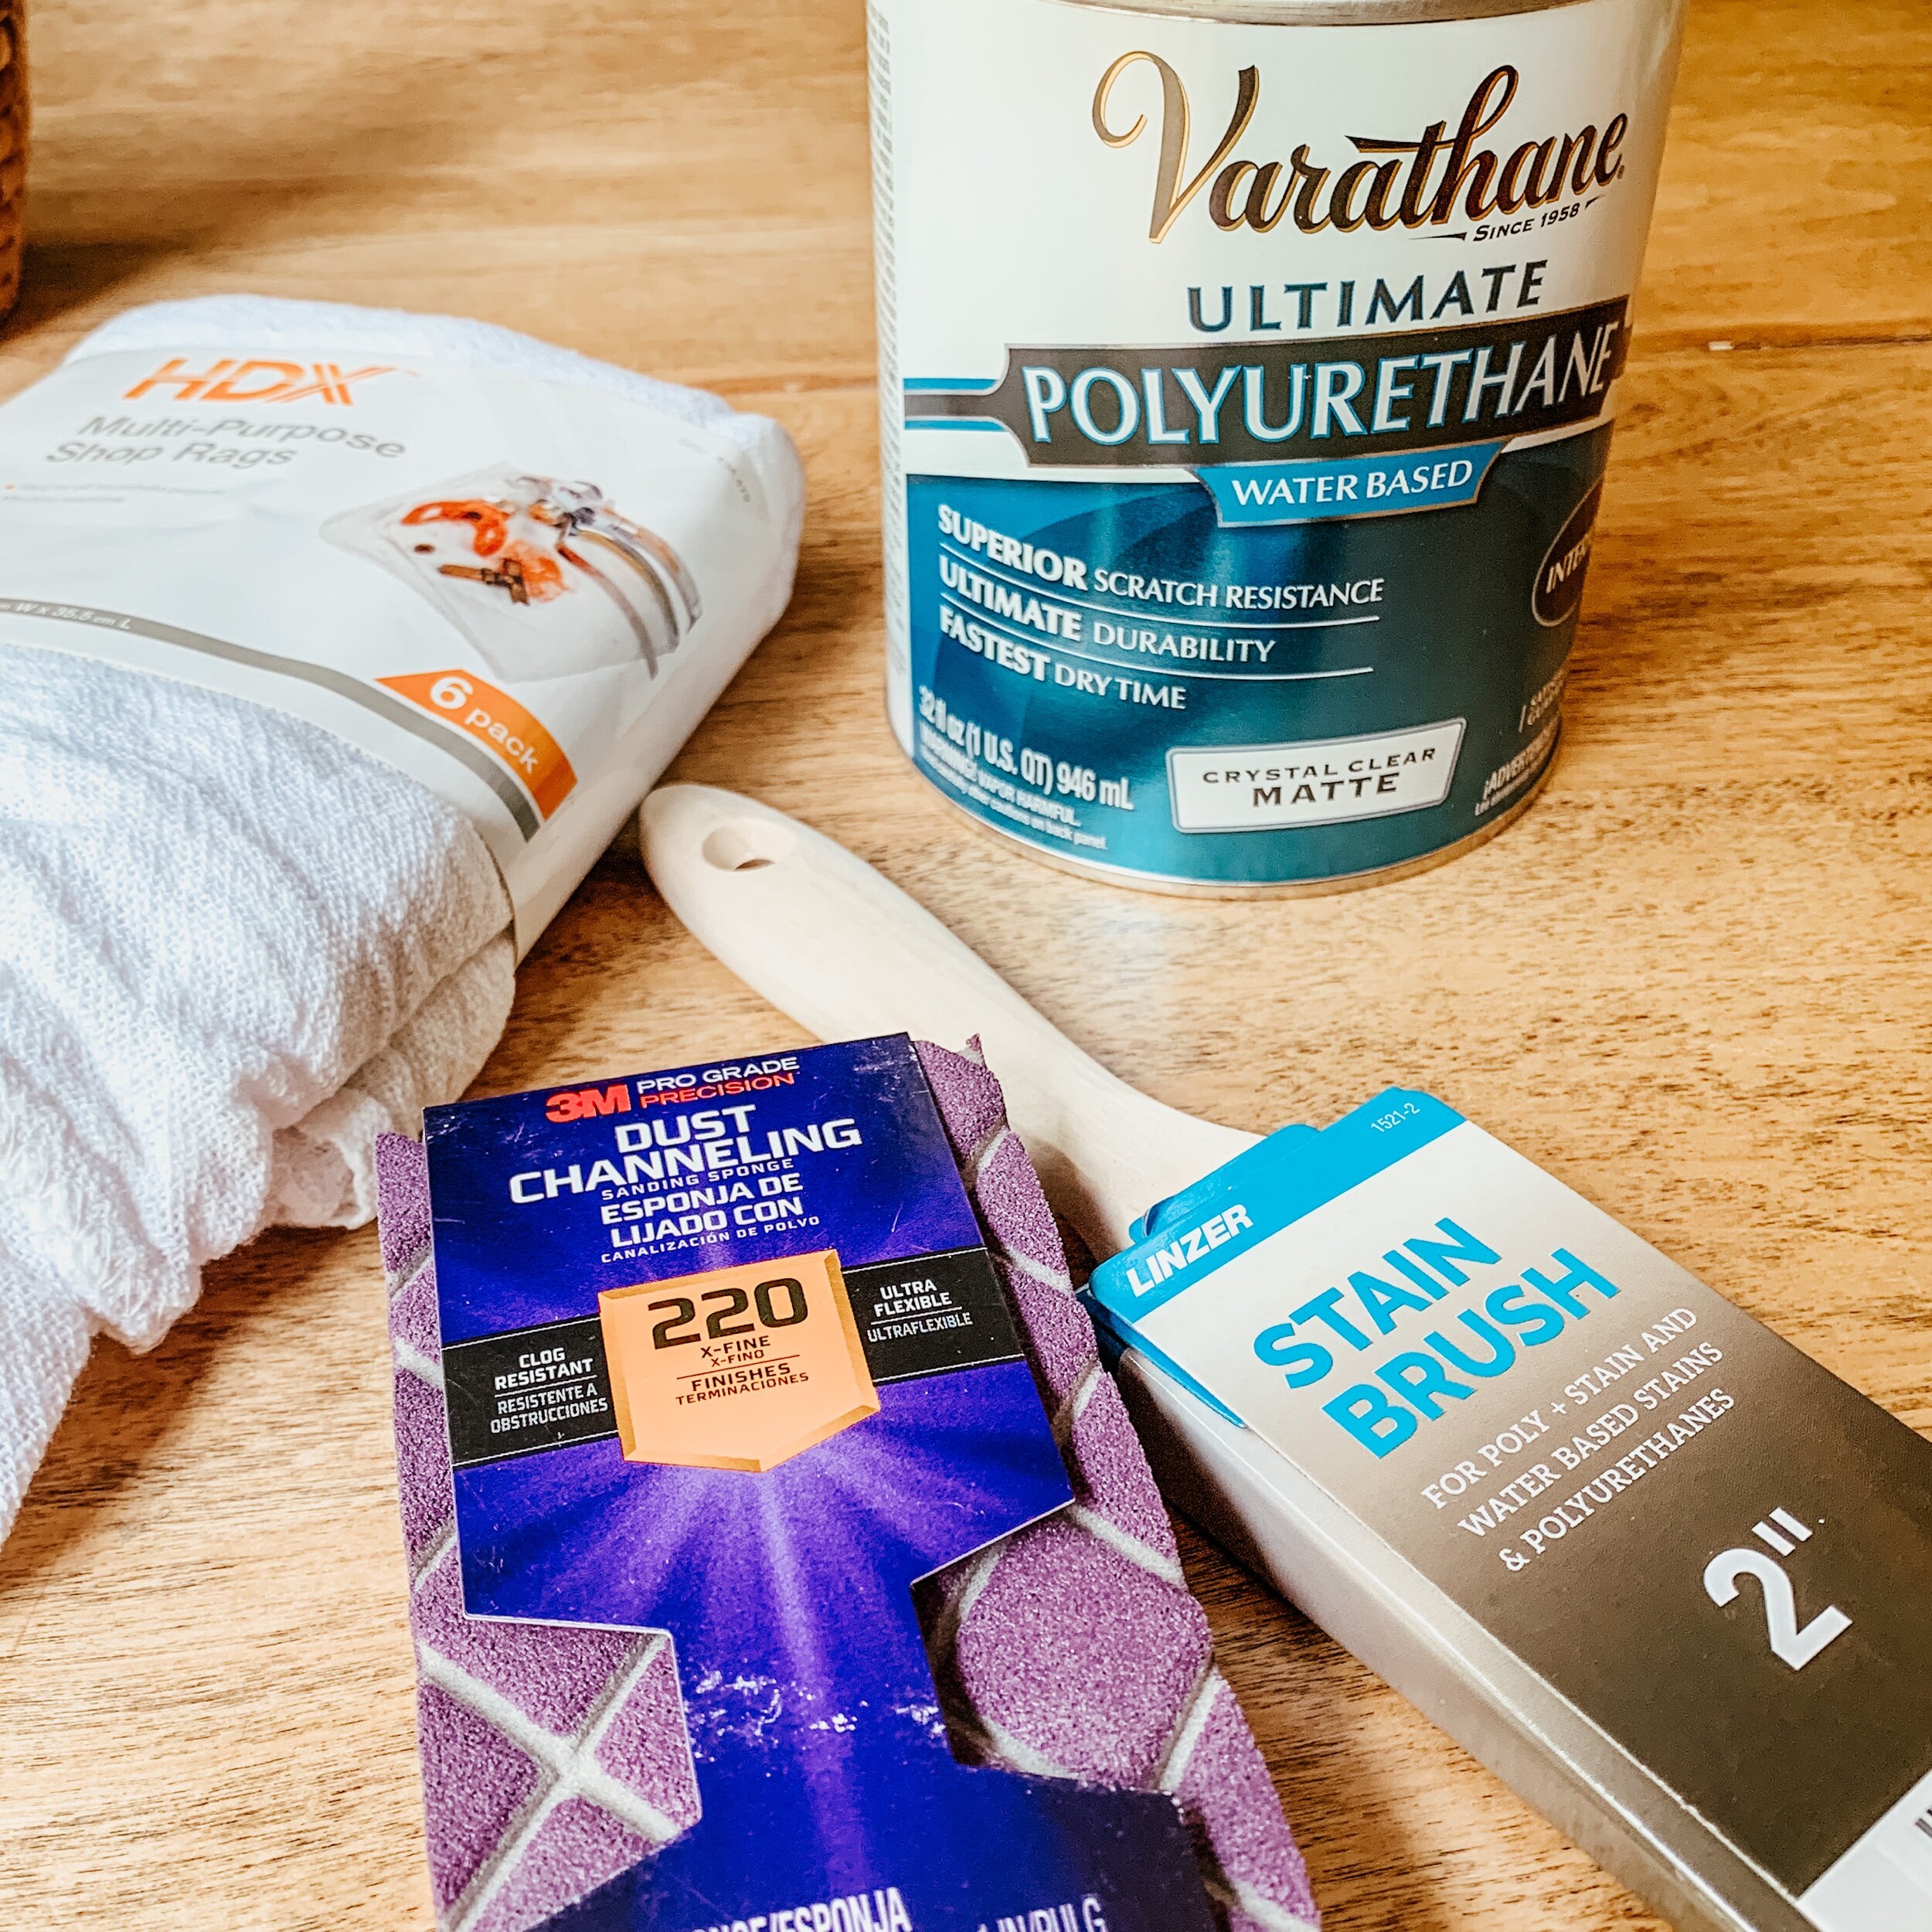
A water based, clear matte, polyurethane
-
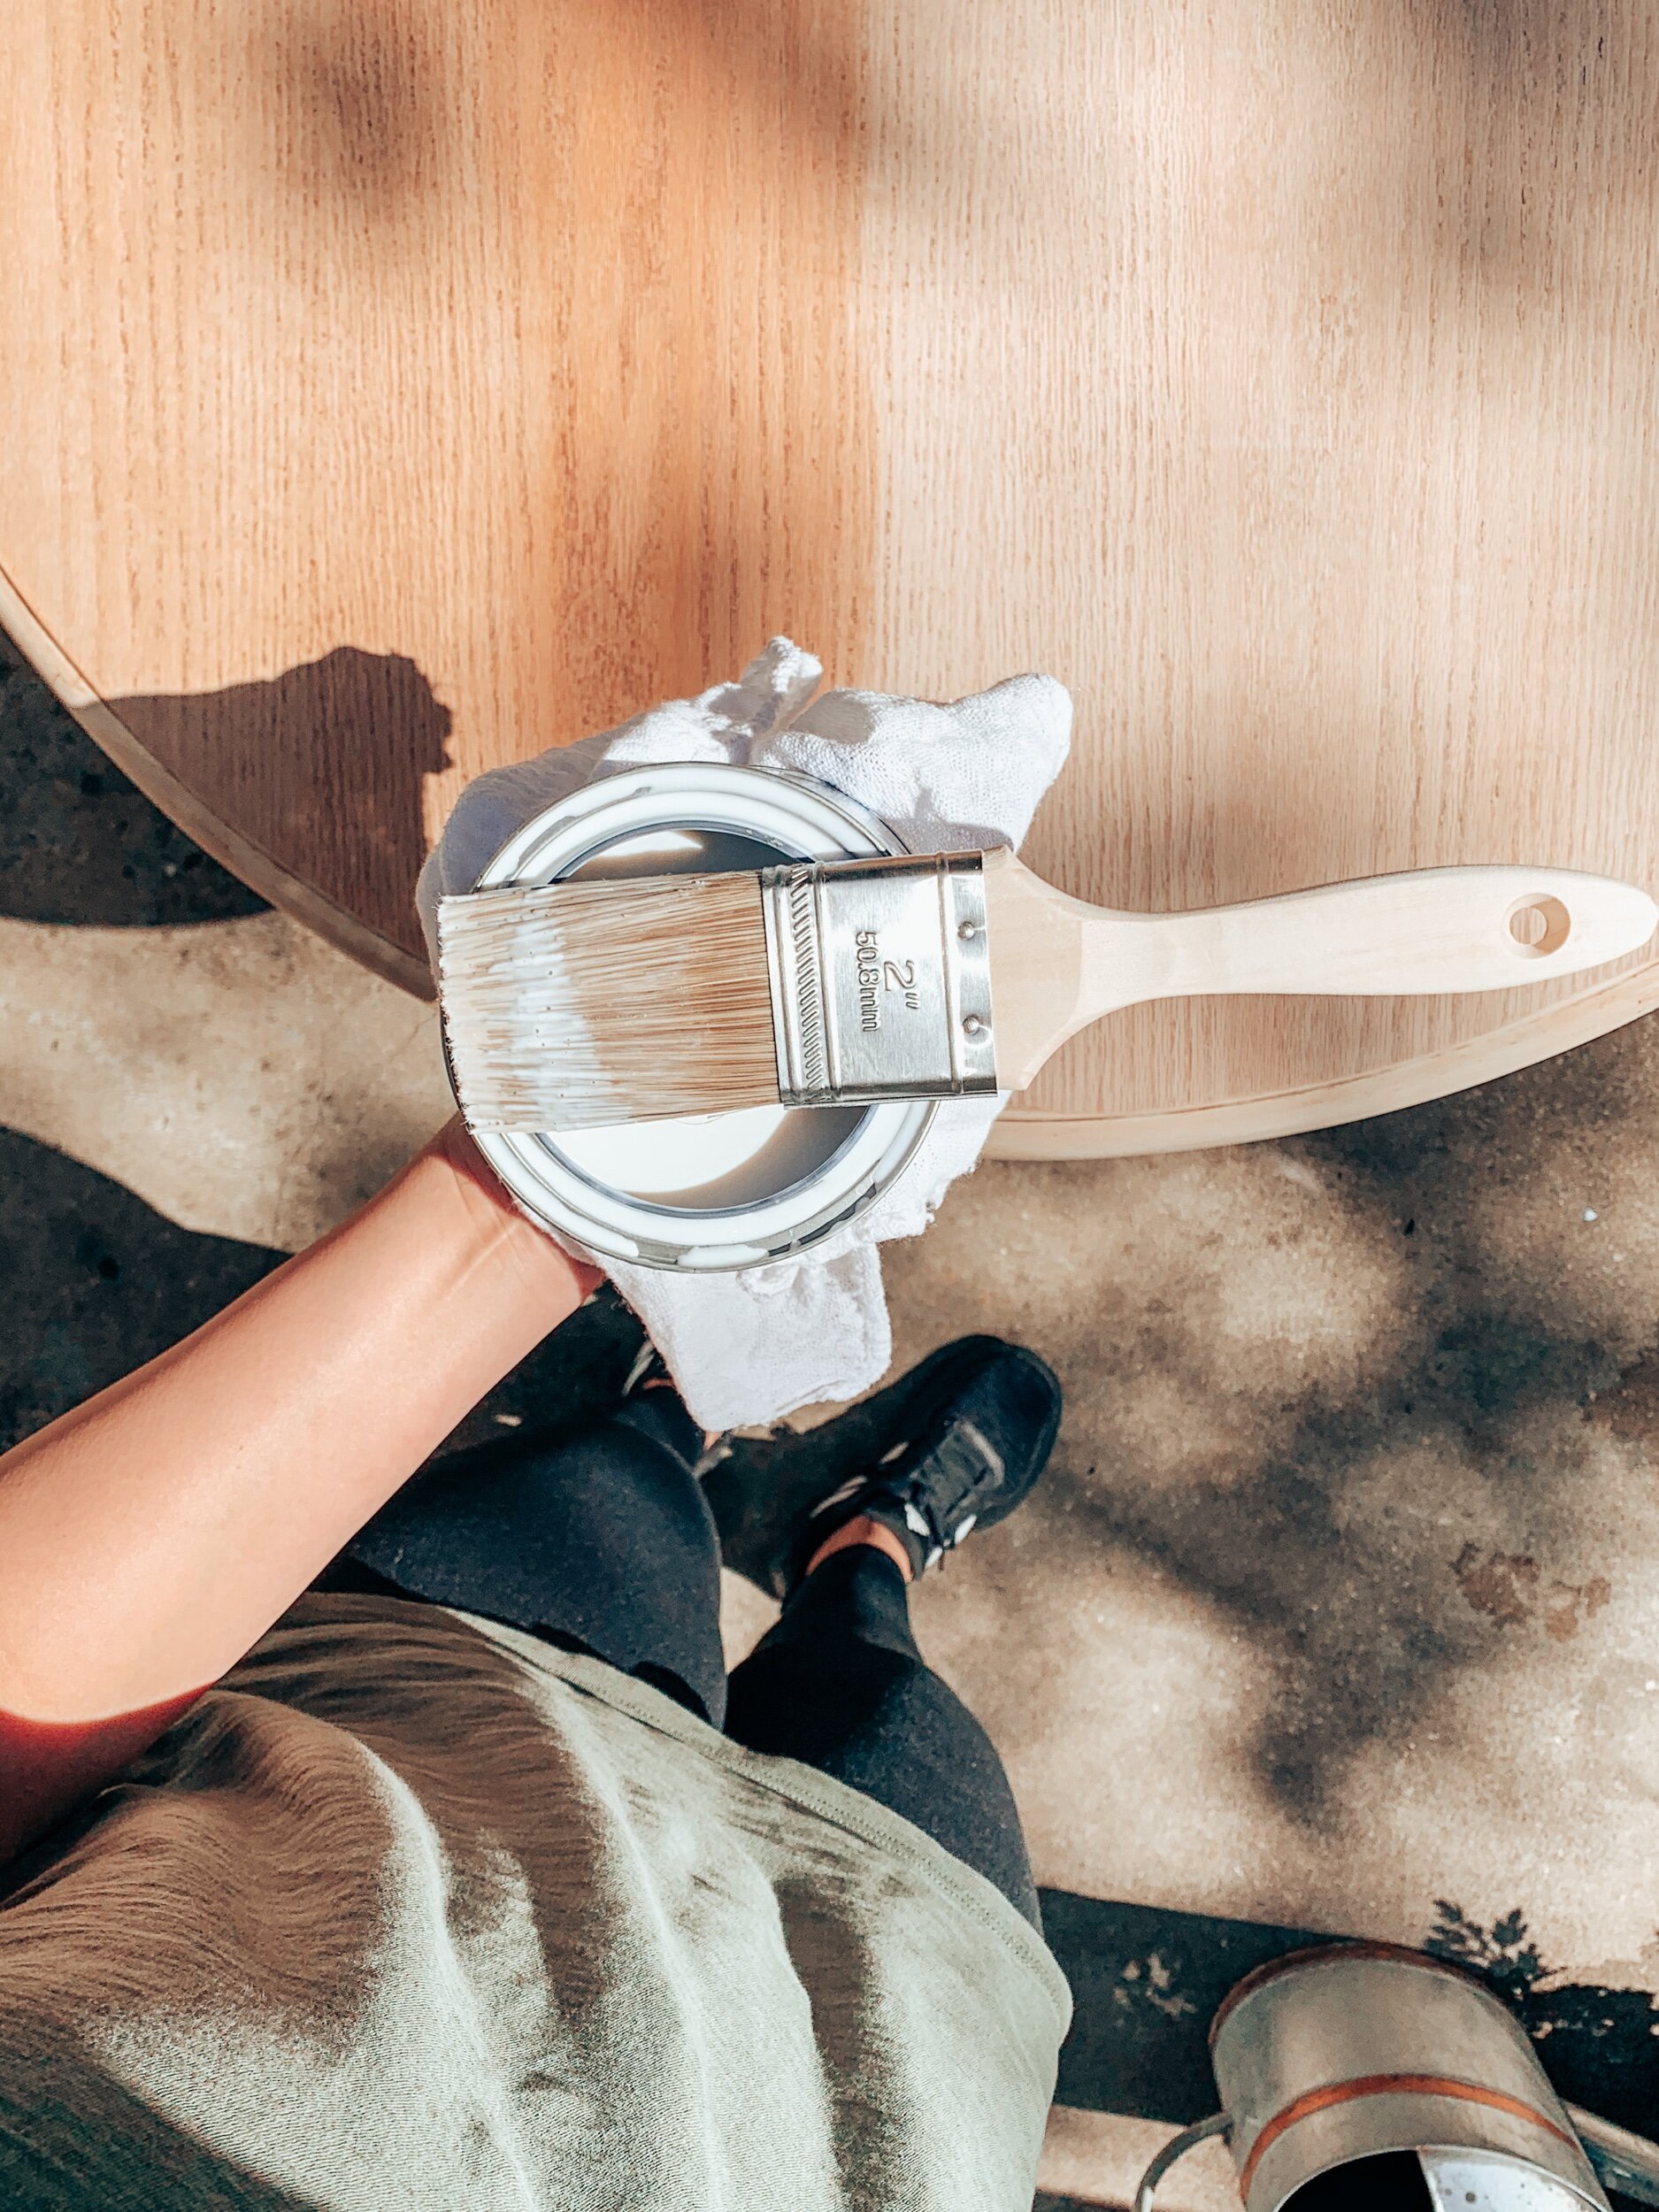
A paint brush for polyurethane and water based stains
-
220 grit sand paper
-
A mask to protect yourself from the chemicals
-
Vinegar
-
Rags
Phase One
Once you have all of the materials you need, it’s time to get started.
-
Wipe your table down.
-
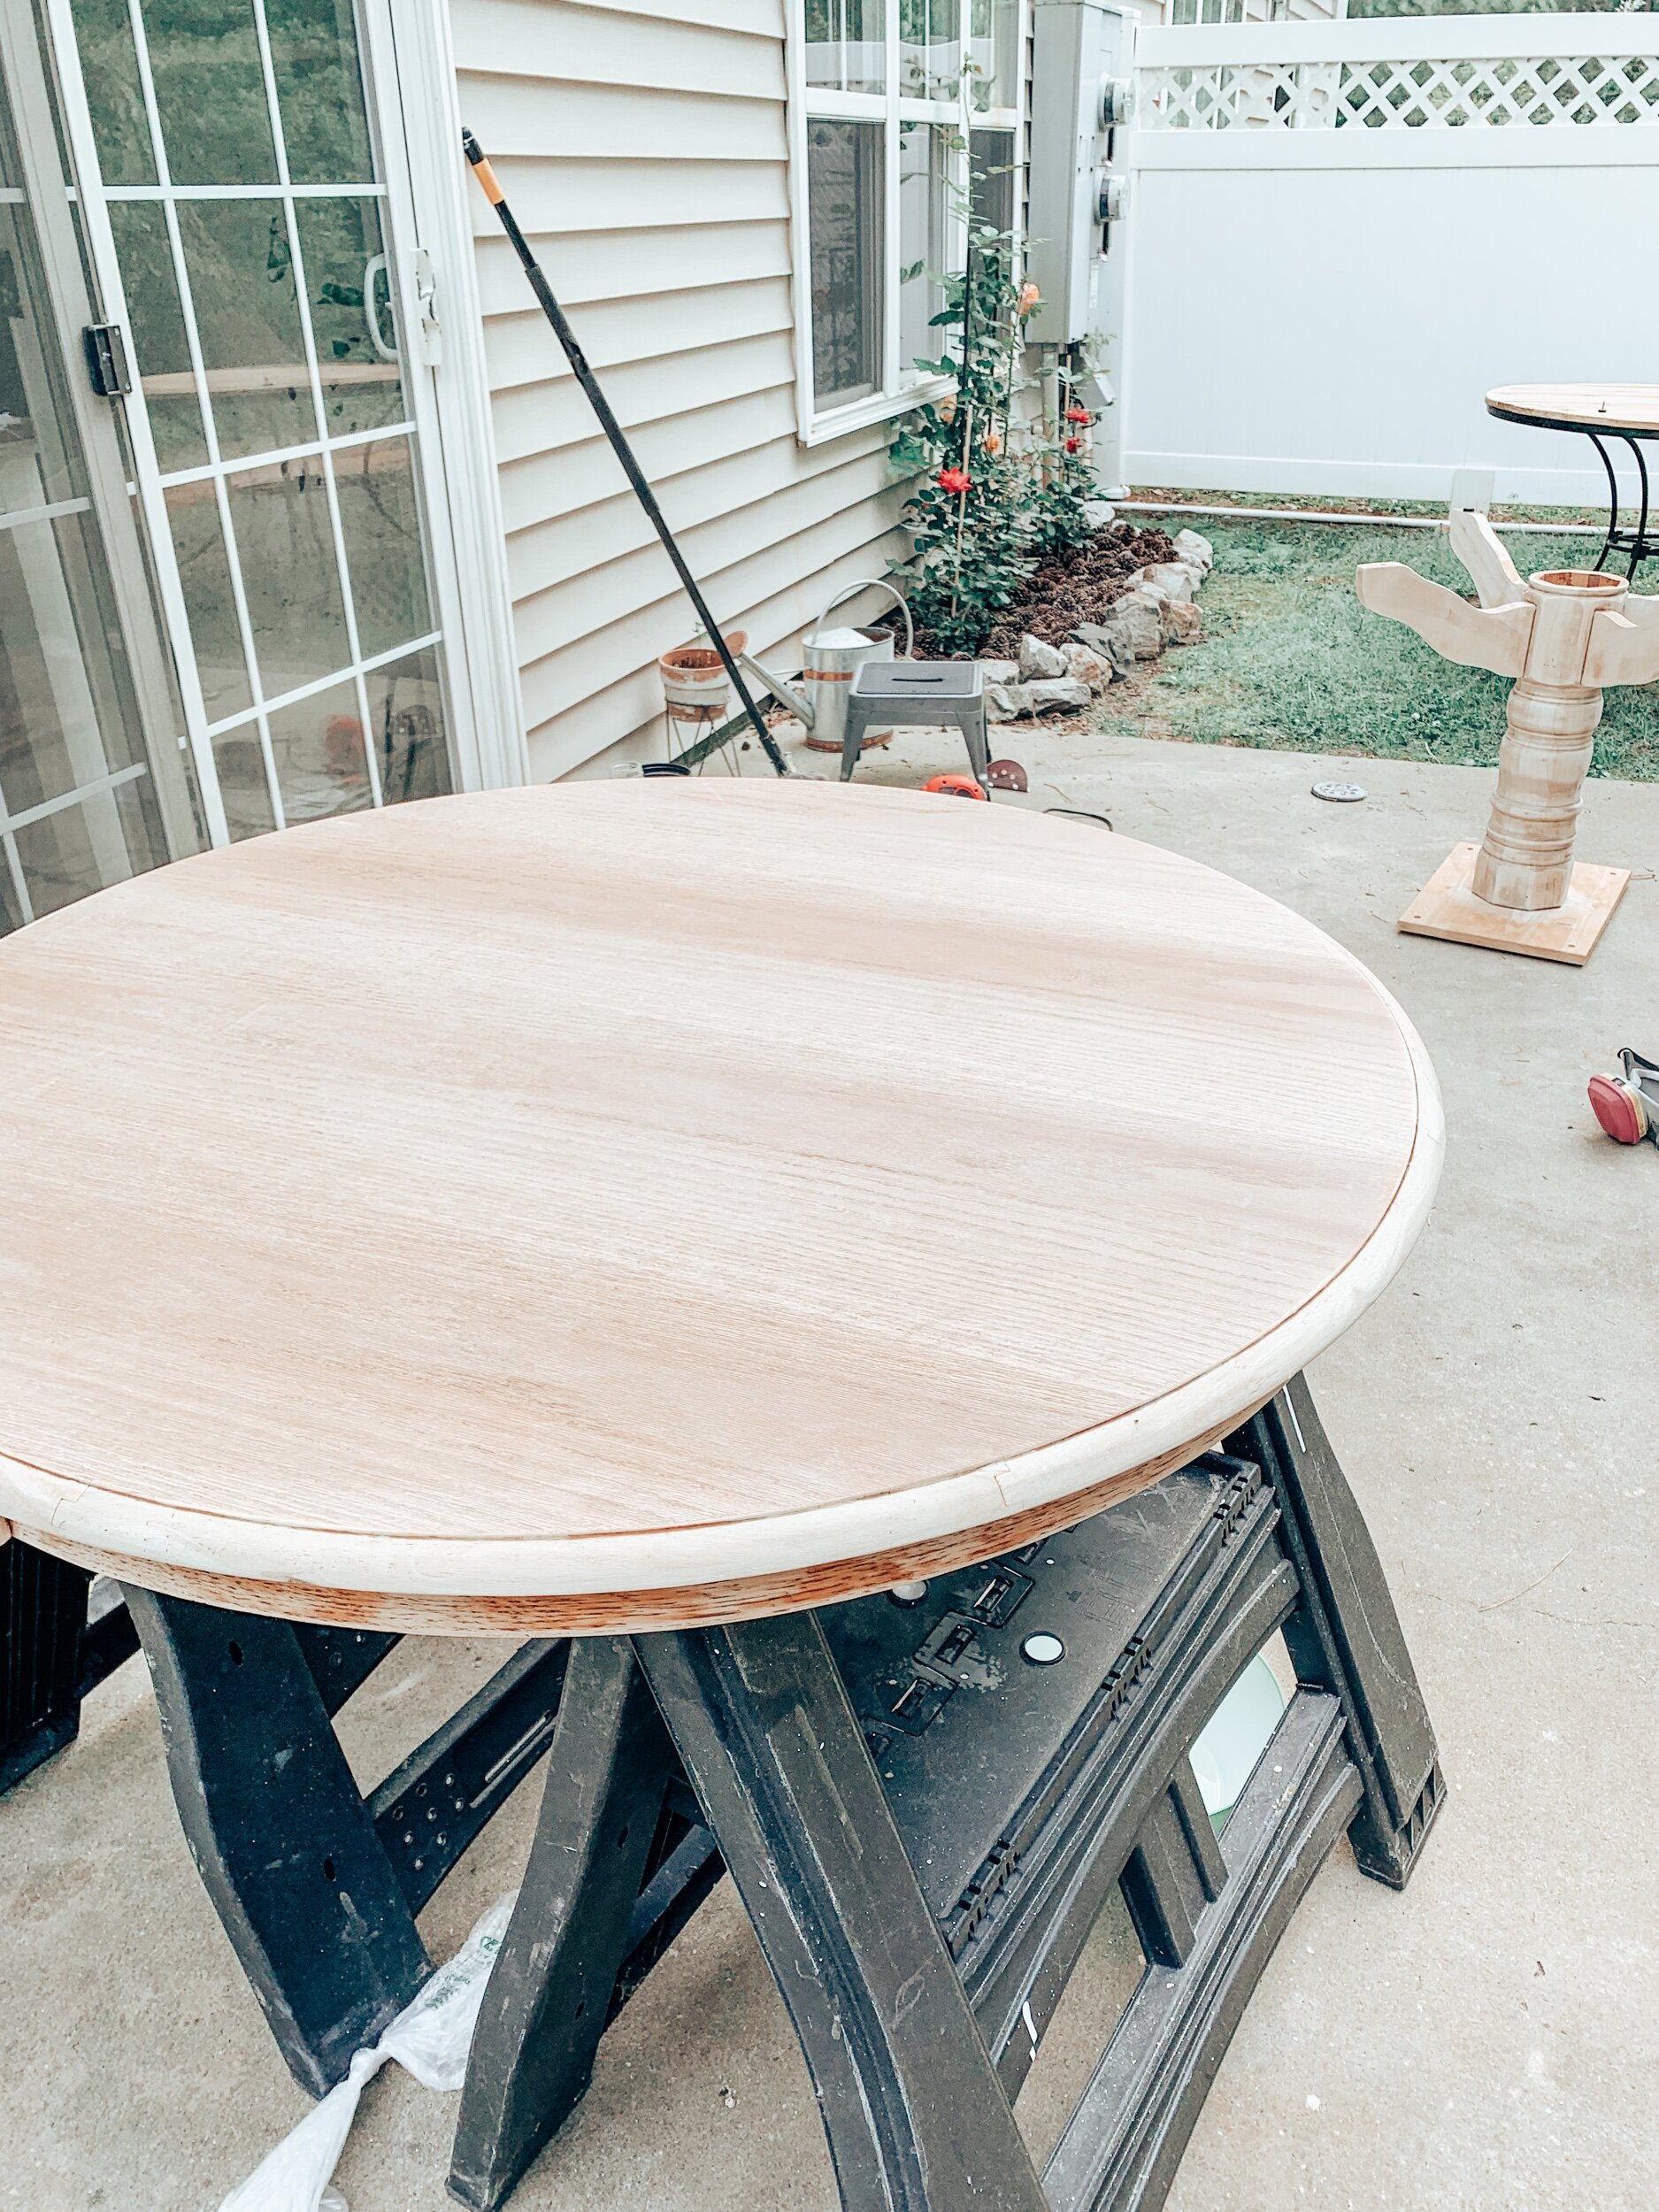
Sand or strip the paint or stain from your piece. I chose to sand my table but you could use a paint stripper. In my opinion the paint stripper is a pain but it really is a personal preference.
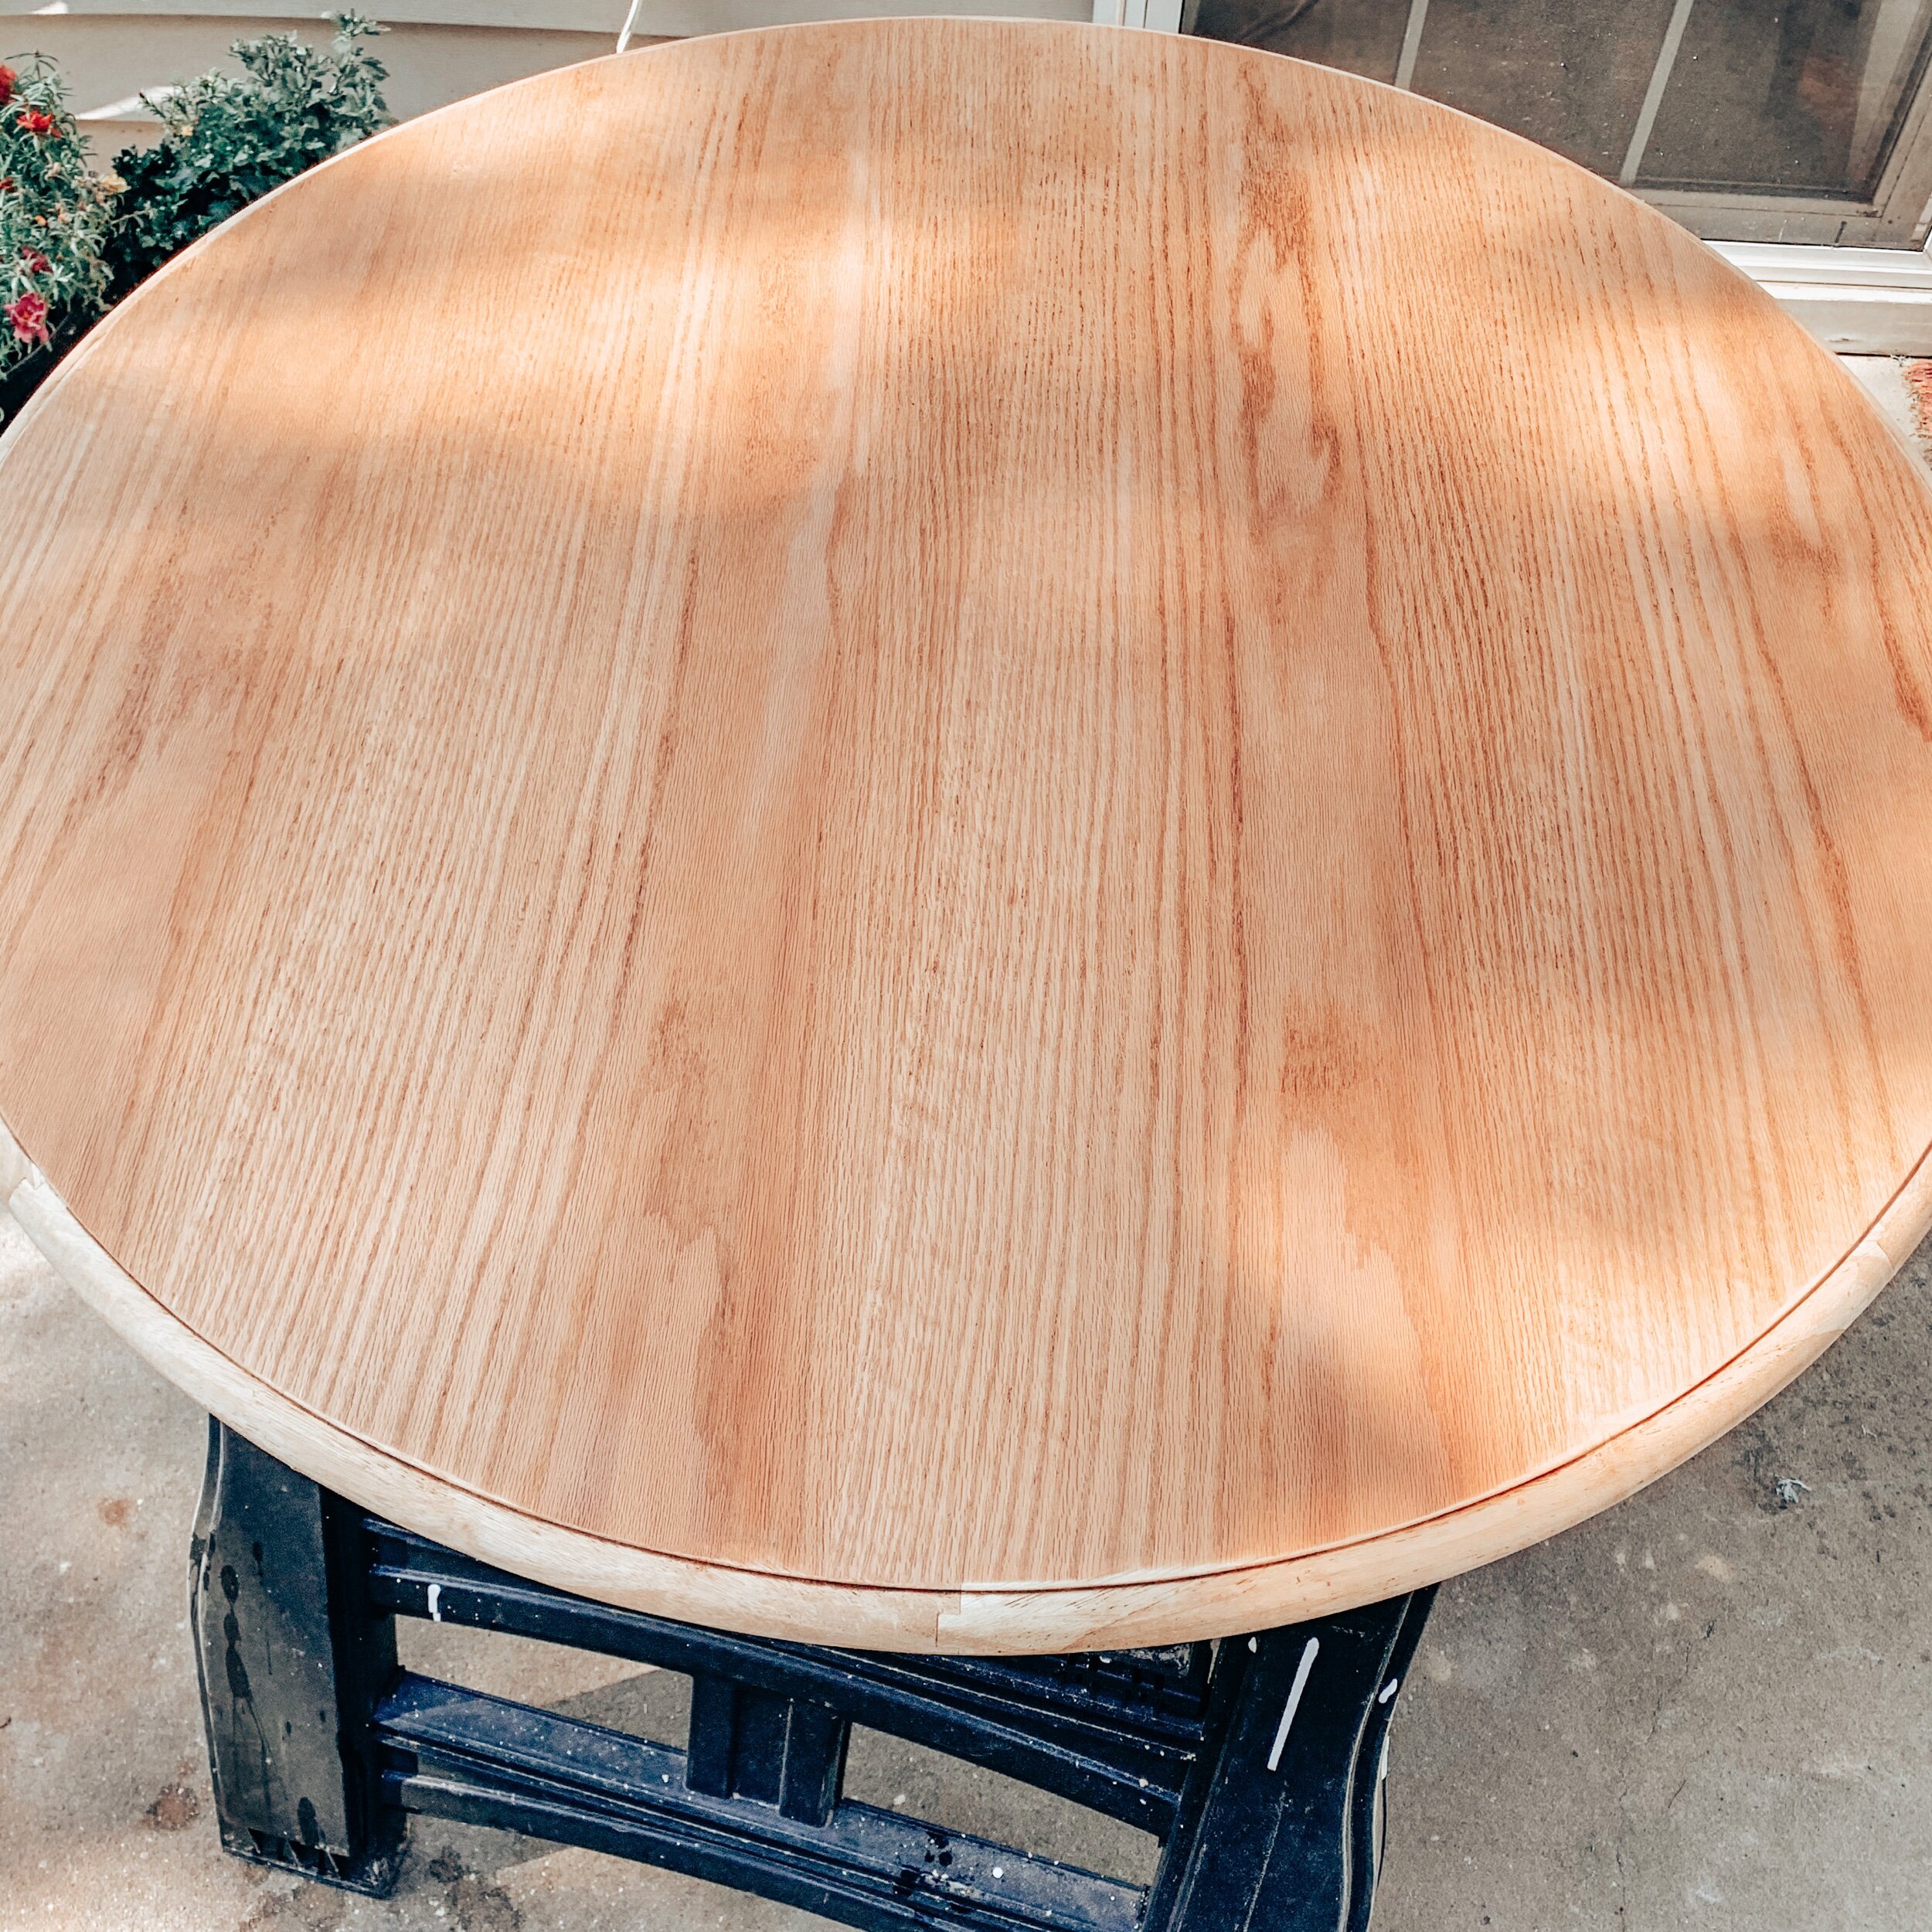
This is what my table looked like after I finished sanding it.
Phase Two
-
Wipe your table down again, to remove the dust.
-
Apply your first coat of bleach. Make sure you are wearing your mask and gloves and that you are outside or in a very well ventilated room. Then use your rag to apply the bleach. Take your time with this. You don’t want to over saturate your wood and you want to apply the bleach evenly.
-
Let it sit for 30 minutes. If it’s not the desired color you are looking for, you can repeat the above step again. I bleached my table four times.
-
Once you achieve your desired look and the bleach has dried for at least 30 minutes, you will need to create a mixture of 50% water and 50% vinegar, in another bowl. Take a new rag and wipe your piece of furniture down with the water/vinegar mixture. This helps to stop the bleaching process.
Phase Three
After you have stopped the bleaching process, allow your piece to dry overnight or at least four hours.
-
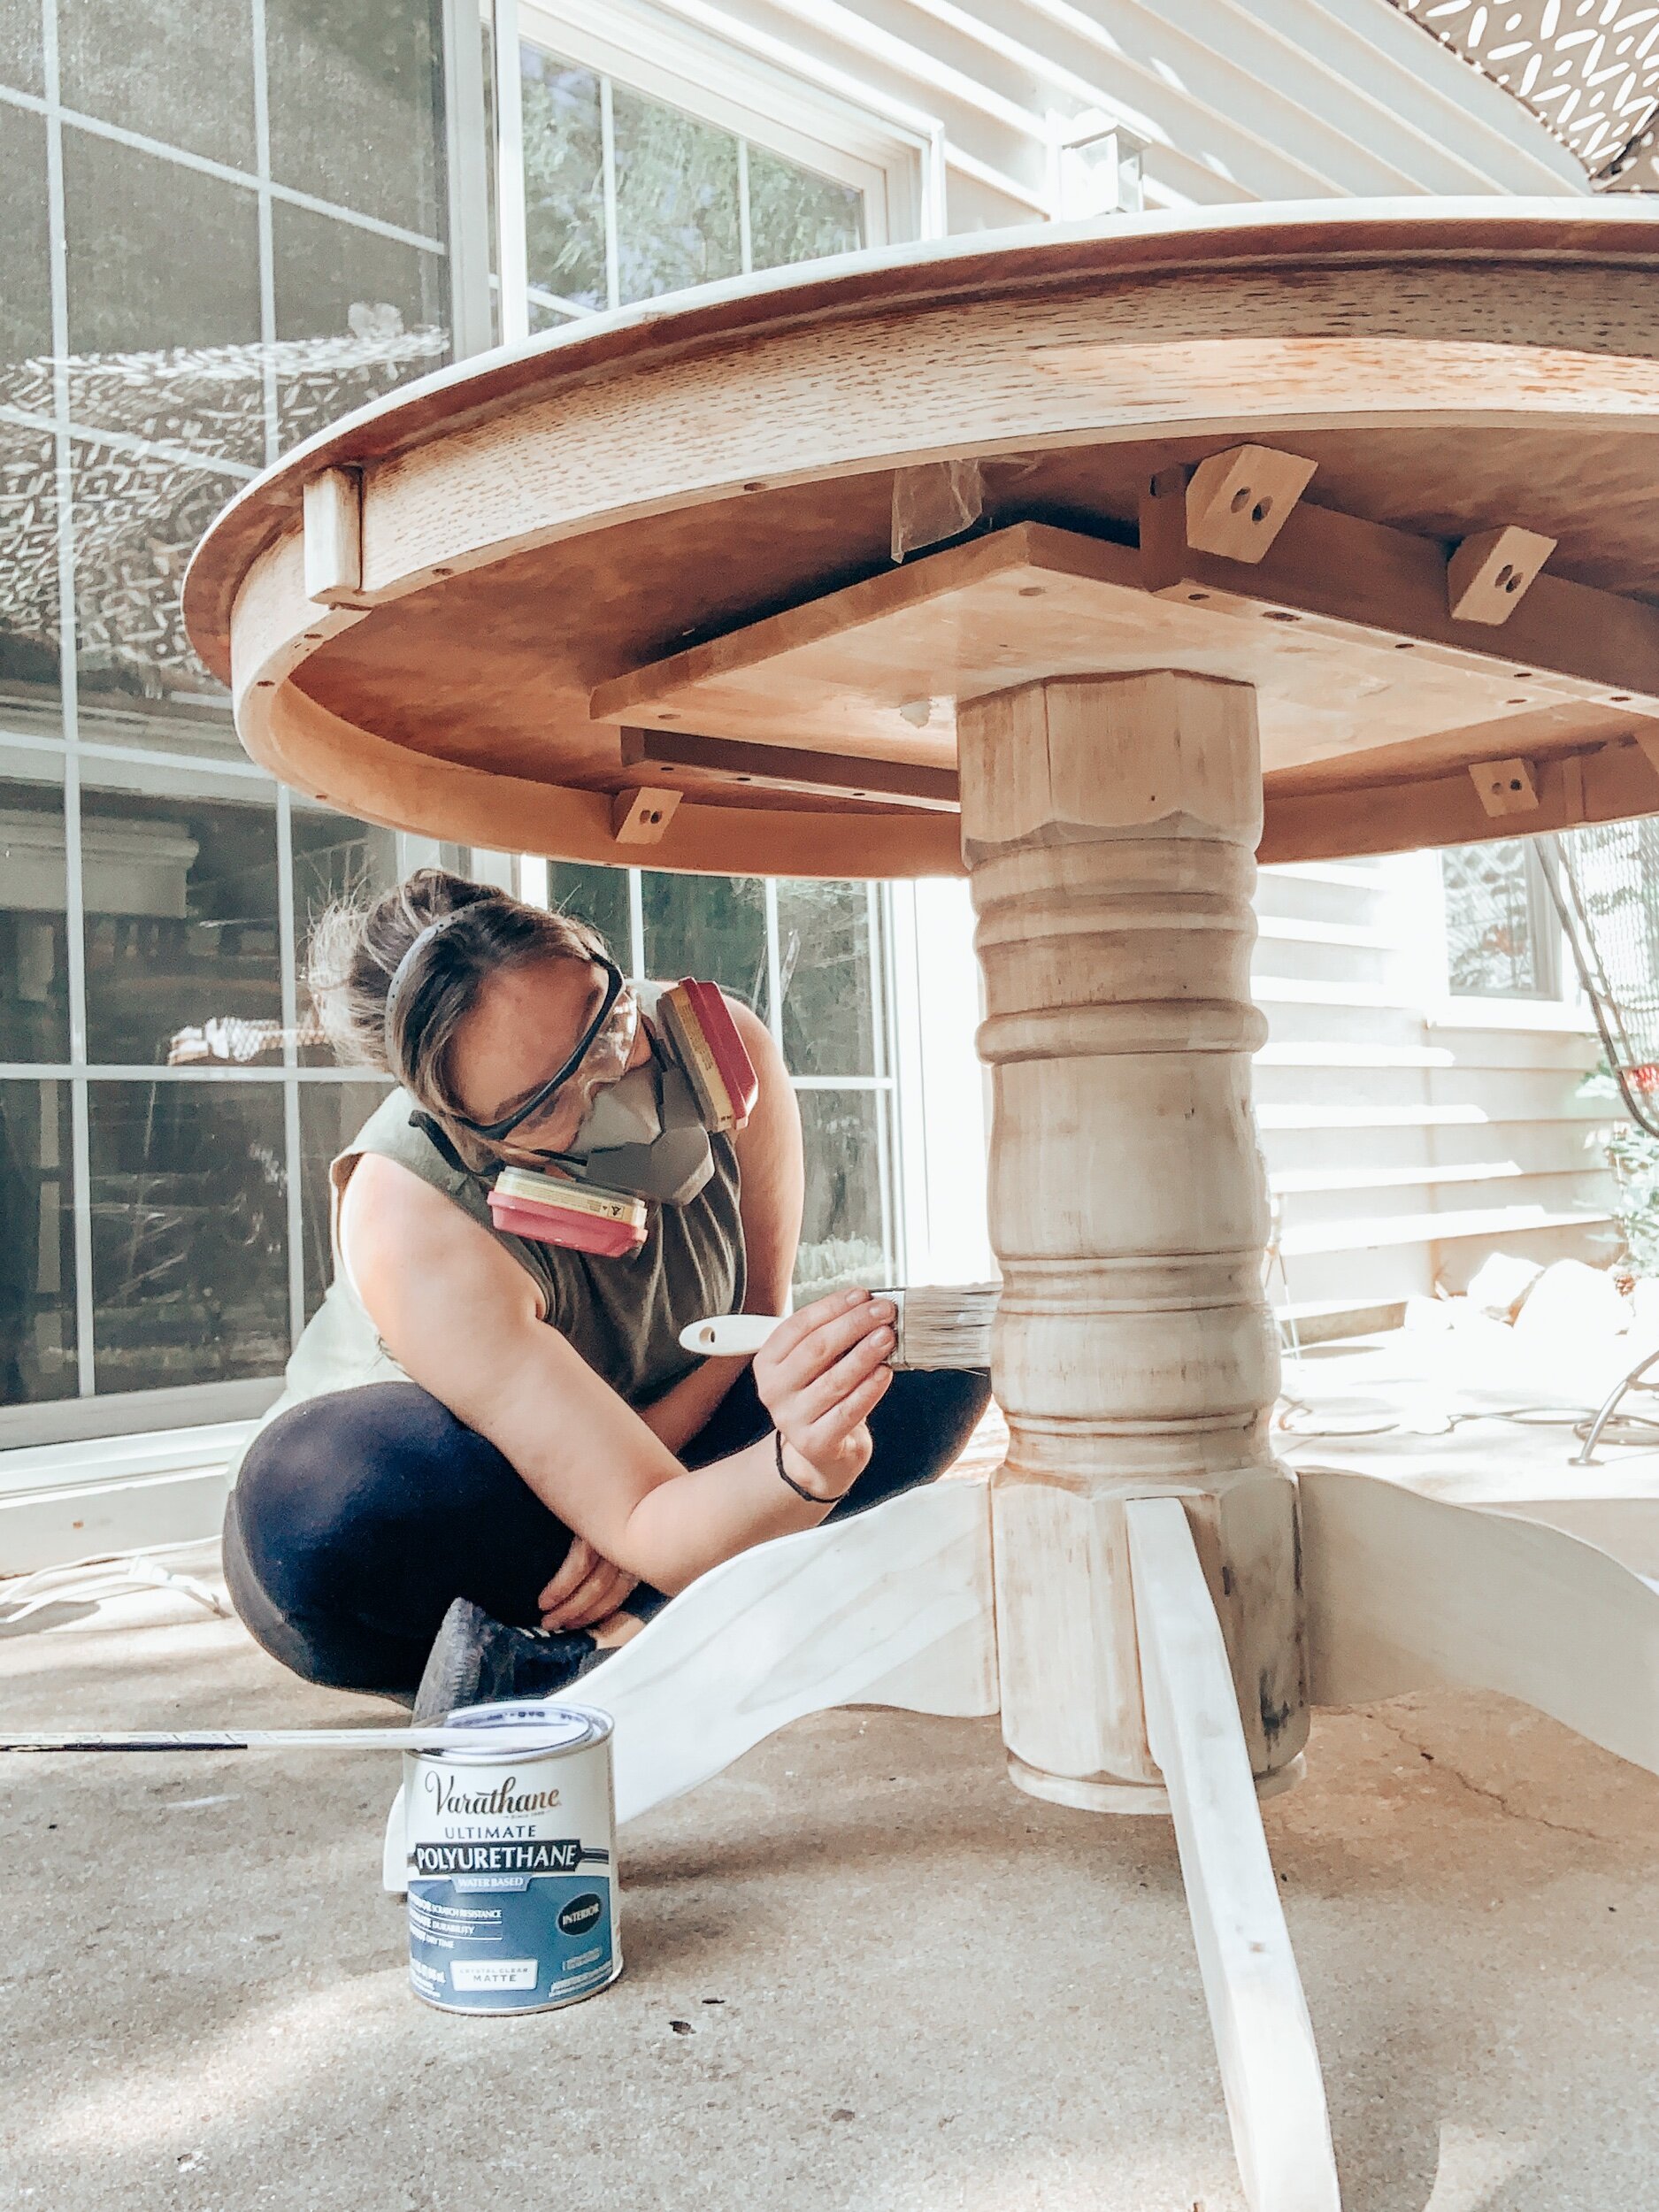
Once your piece is dry, add your first coat of polyurethane. I used a crystal clear matte because I didn’t want any shine on my table. I wanted that bleached look to truly show.
-
Take your 220 grit sandpaper and lightly sand any areas that maybe ruff. The bleaching process can cause the wood to slightly rise and become coarse, but a light sand will do the trick.
-
Wipe off the sand and repeat your clear coat a second time.
Note: Your table will look darker when you add the polyurethane but don’t worry, it will dry clear and back to the color the wood was before it was applied.
That’s it!
Allow your piece of furniture to dry for a few hours and it’s ready to be showcased in your home.
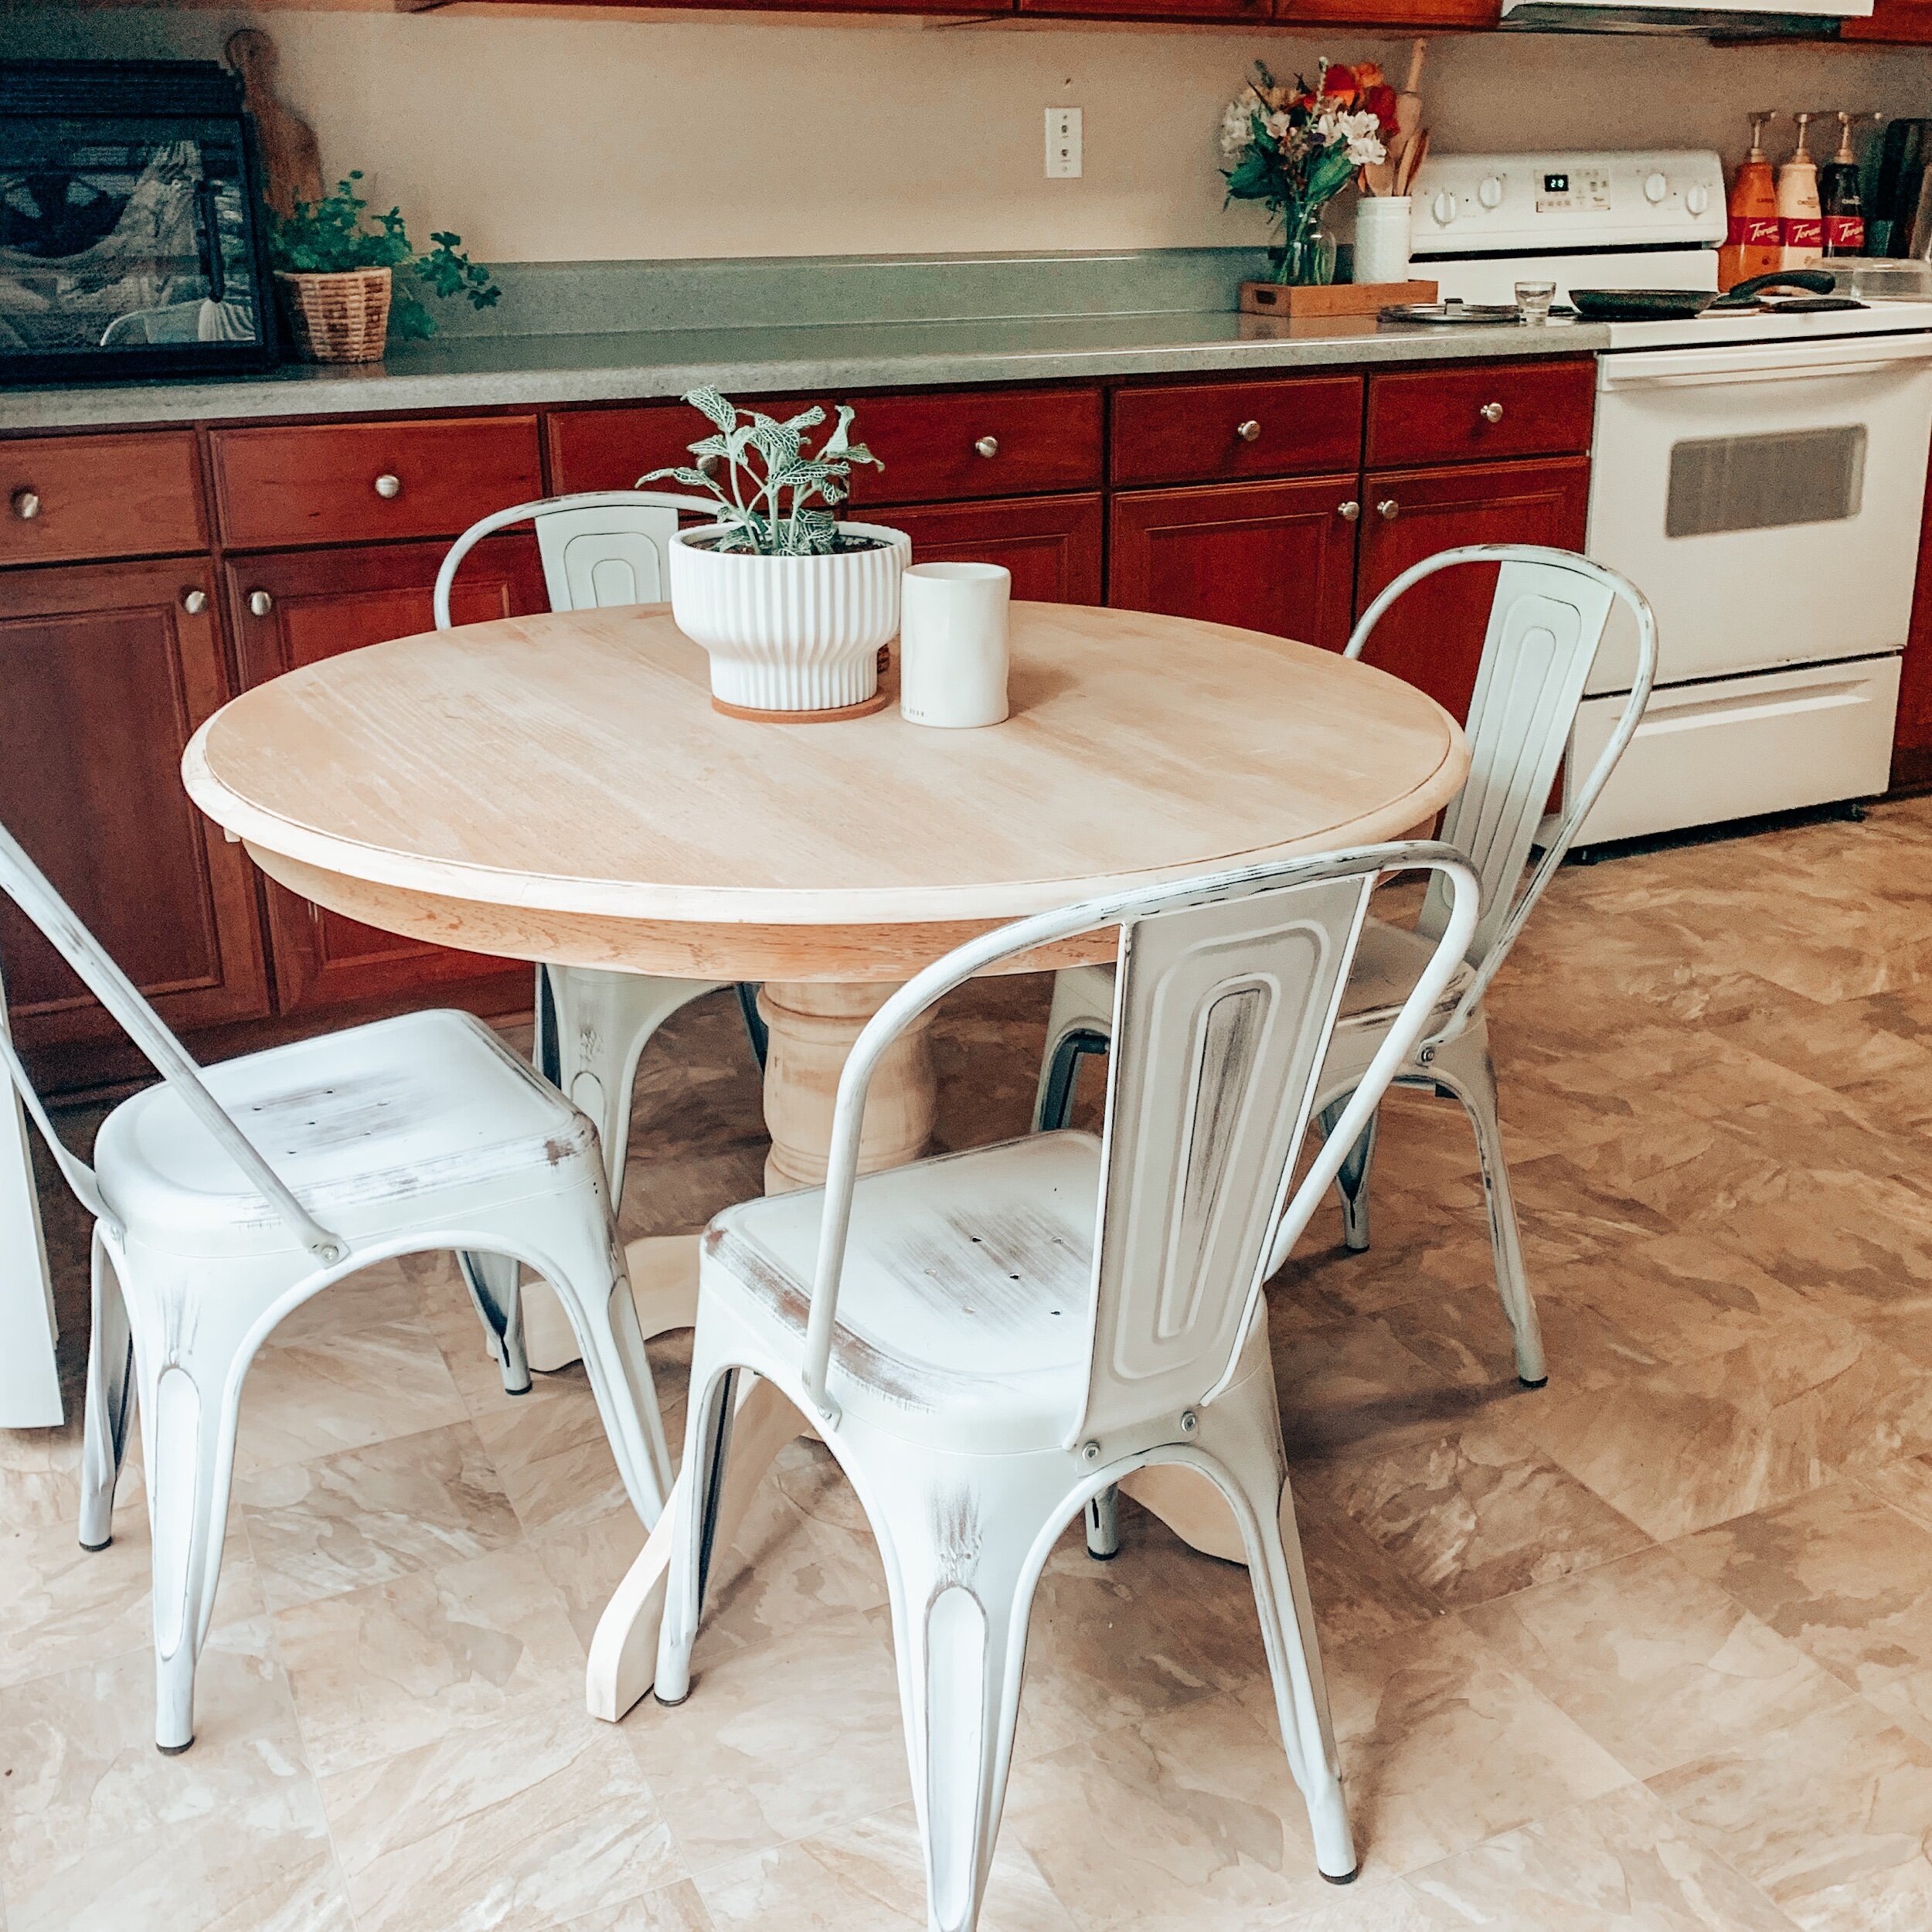
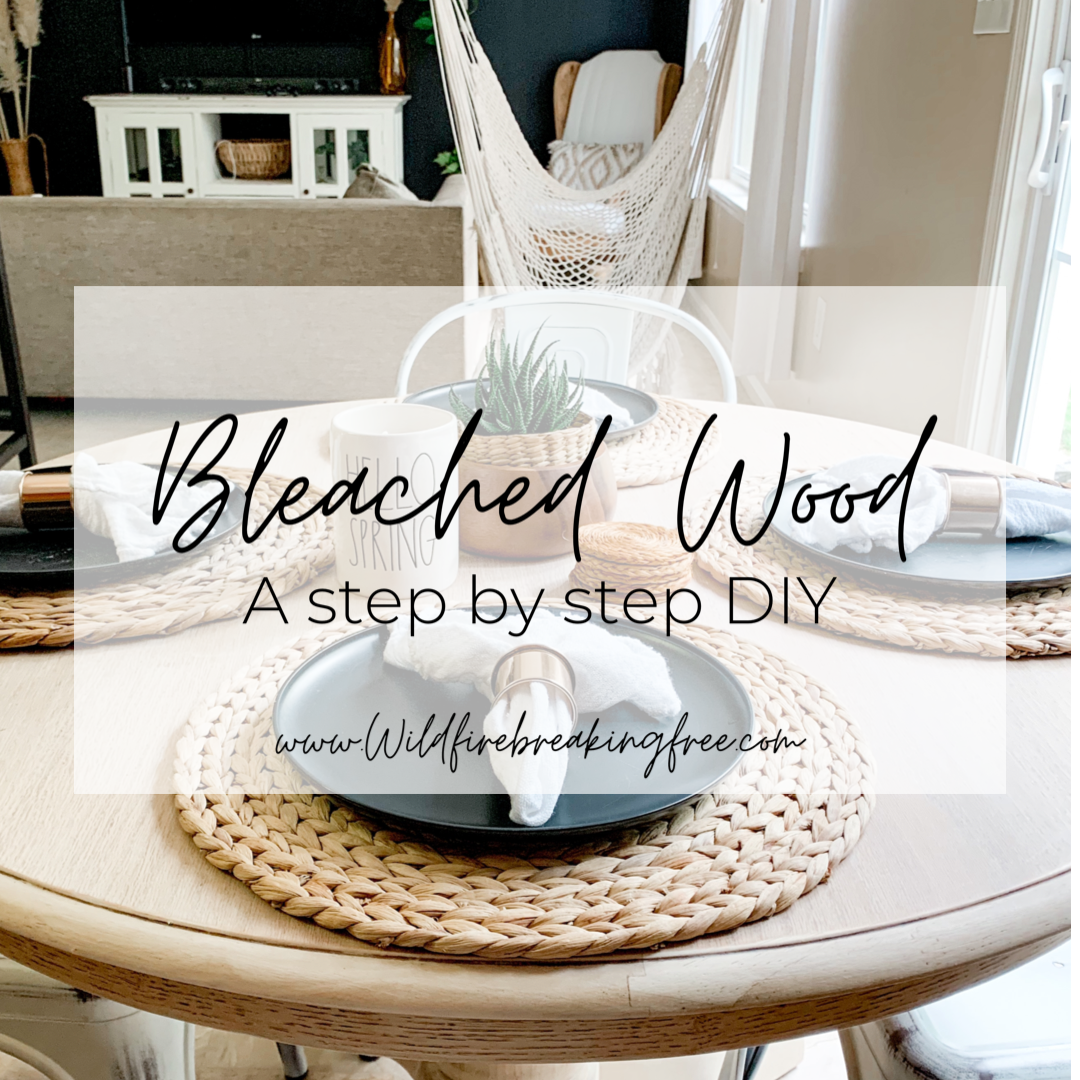
Our table sits in the kitchen of our on post house. It’s just the right size for the space.
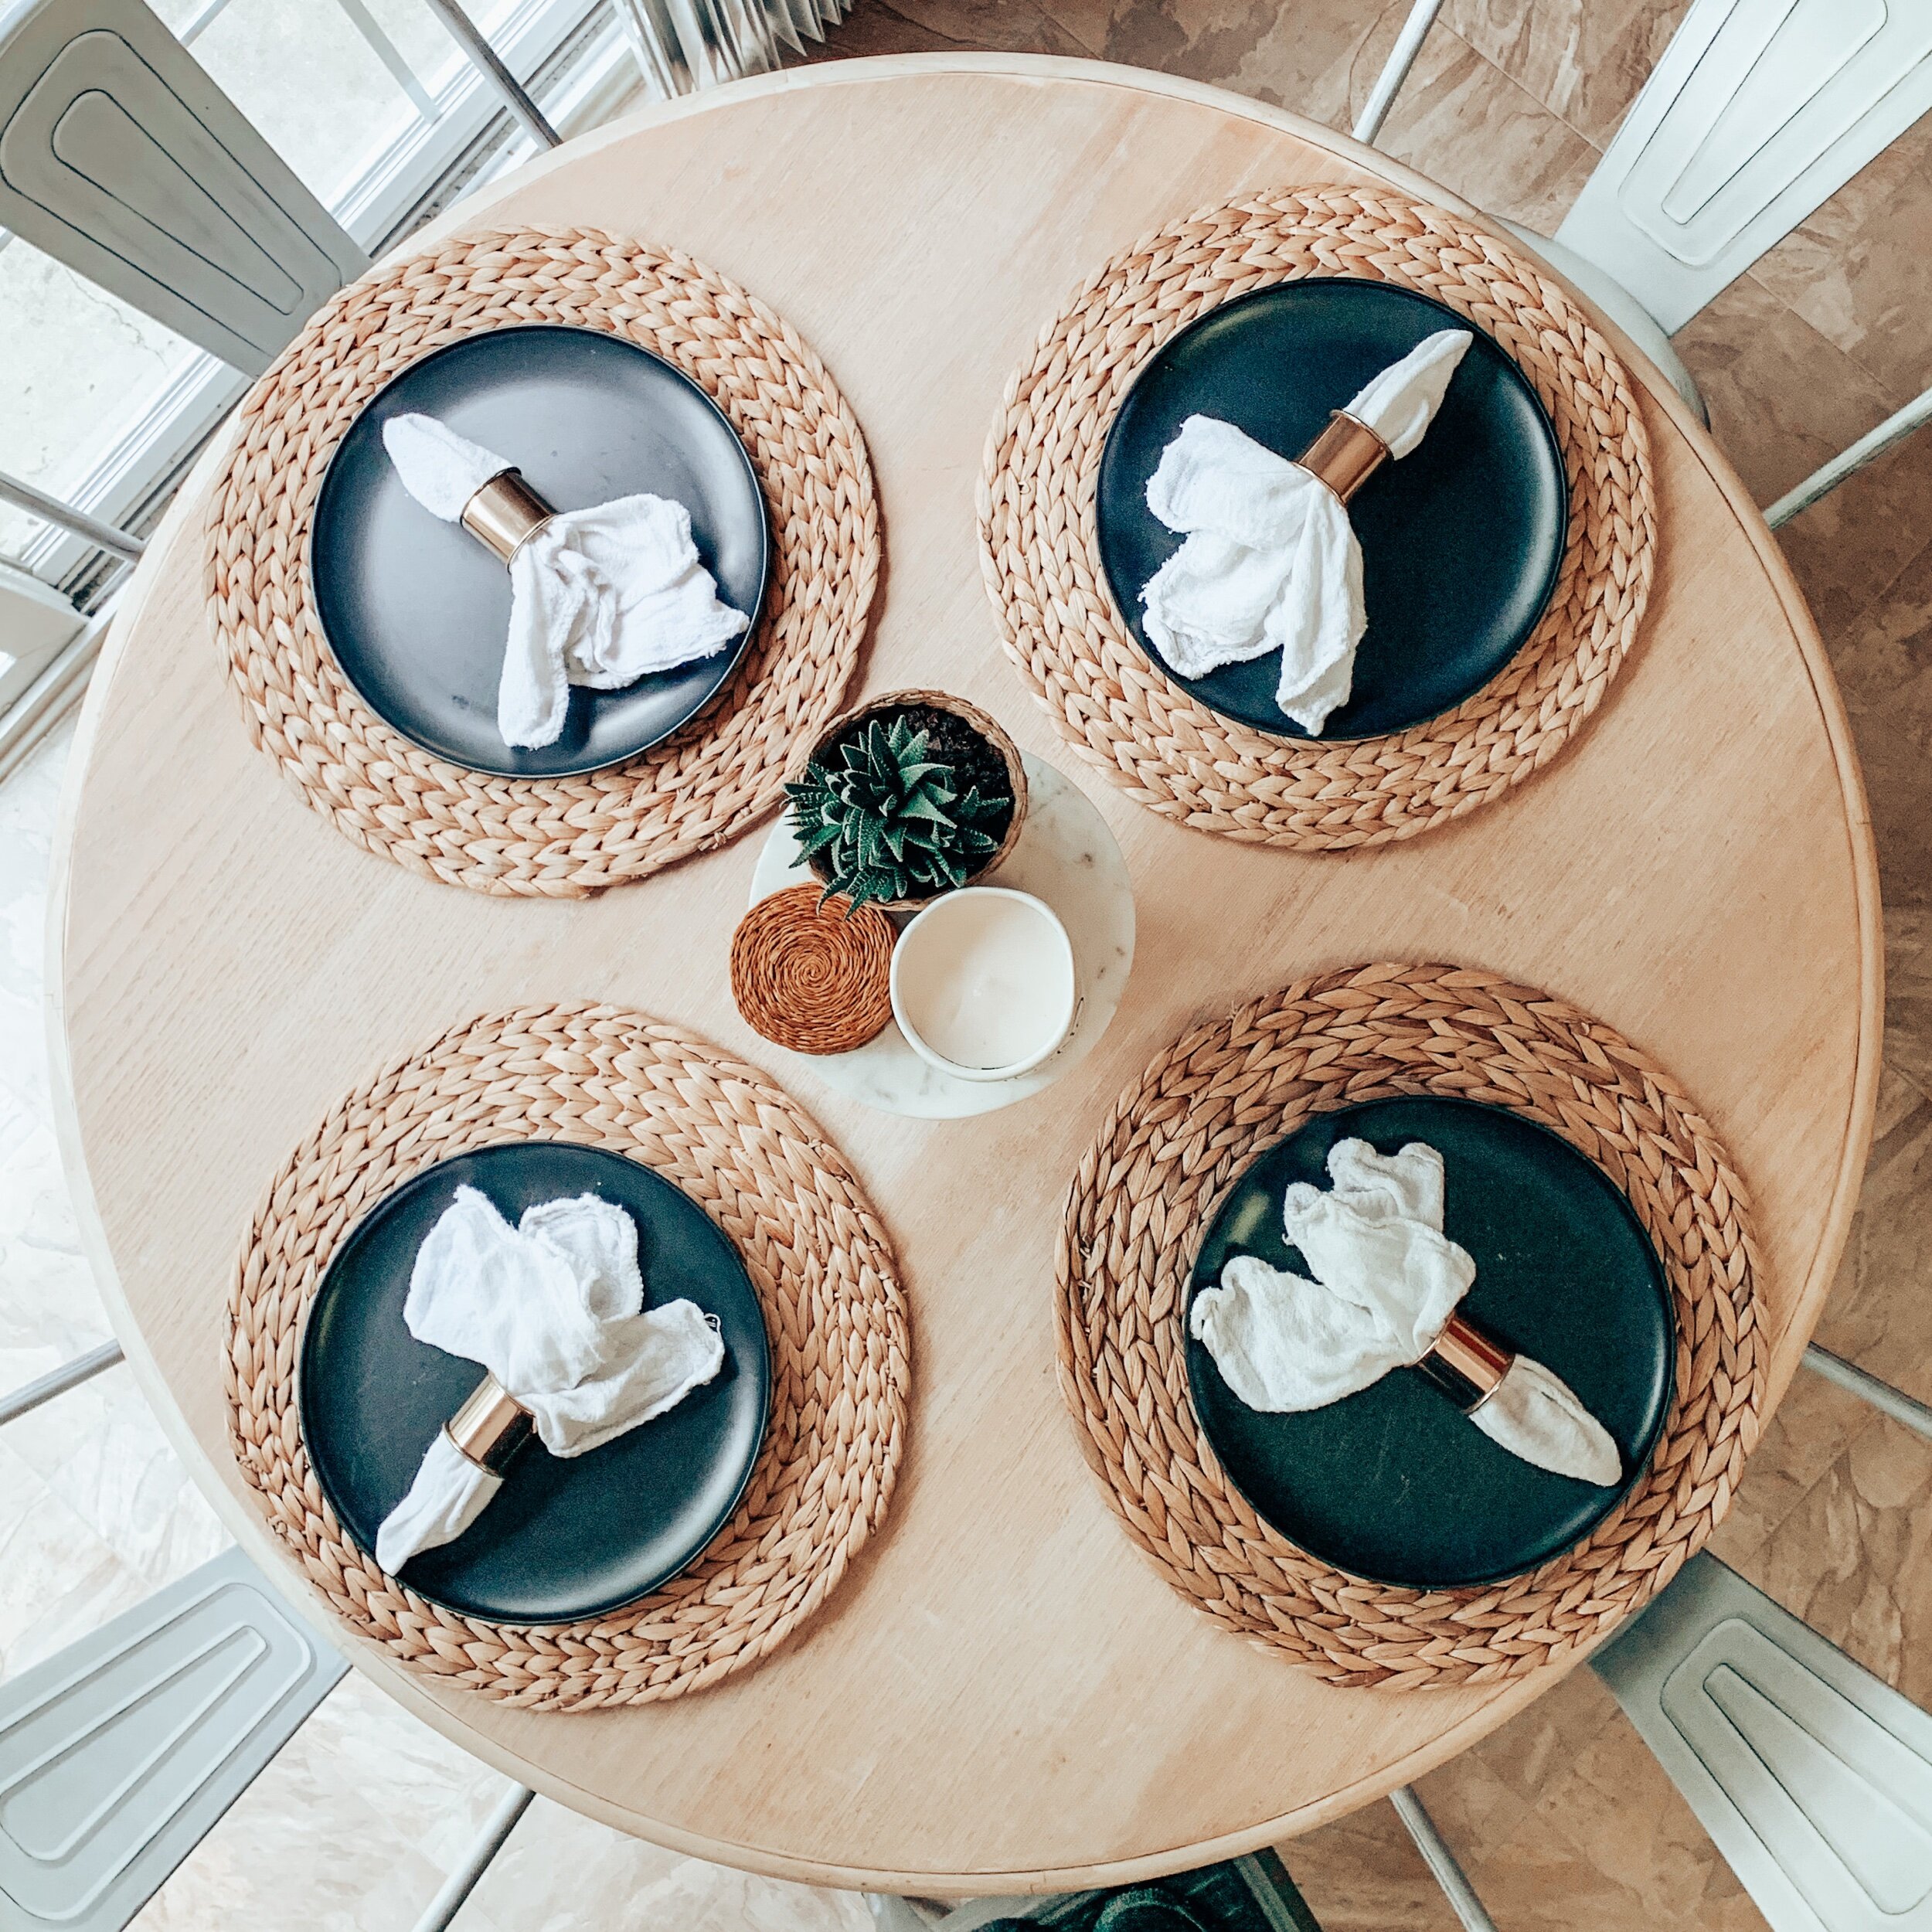
Leave me any questions or comments you may have below and share this to your Pinterest or favorite social media platform for easy access!
