
Dip-Dyed Stool Dupe
Inspired by Serena & Lily
Serena & Lily is a website I go to drool! They have the most beautiful pieces for your home.
Their dip-dyed stool caught my eye a long time ago but I couldn’t bring myself to pay $88 for a stool that was mainly for looks and a place for a plant or drink to sit.
So, I decided to try to make one of my own.
I already had all of the wood, stain and paint that I needed, so I only had to order the leg mounting kit for $9.99! That’s nothing compared to the $88 that the Serena & Lily stool cost.
I did add up the cost for you in case you don’t have the materials. It came up to around $37. 50, which is still a great savings! You can make two of these stools for the price of one.
You can find all you need just click here!
Materials you’ll need to buy
-
2 in x 12 in x 8 ft Southern Yellow Pine
-
Madison Mill Round Wood Poplar Dowel 72 in L x 1.25 dia
-
Stain of your choice
Tools
I also wear a mask and eye protection when I am cutting and sanding.
Step One
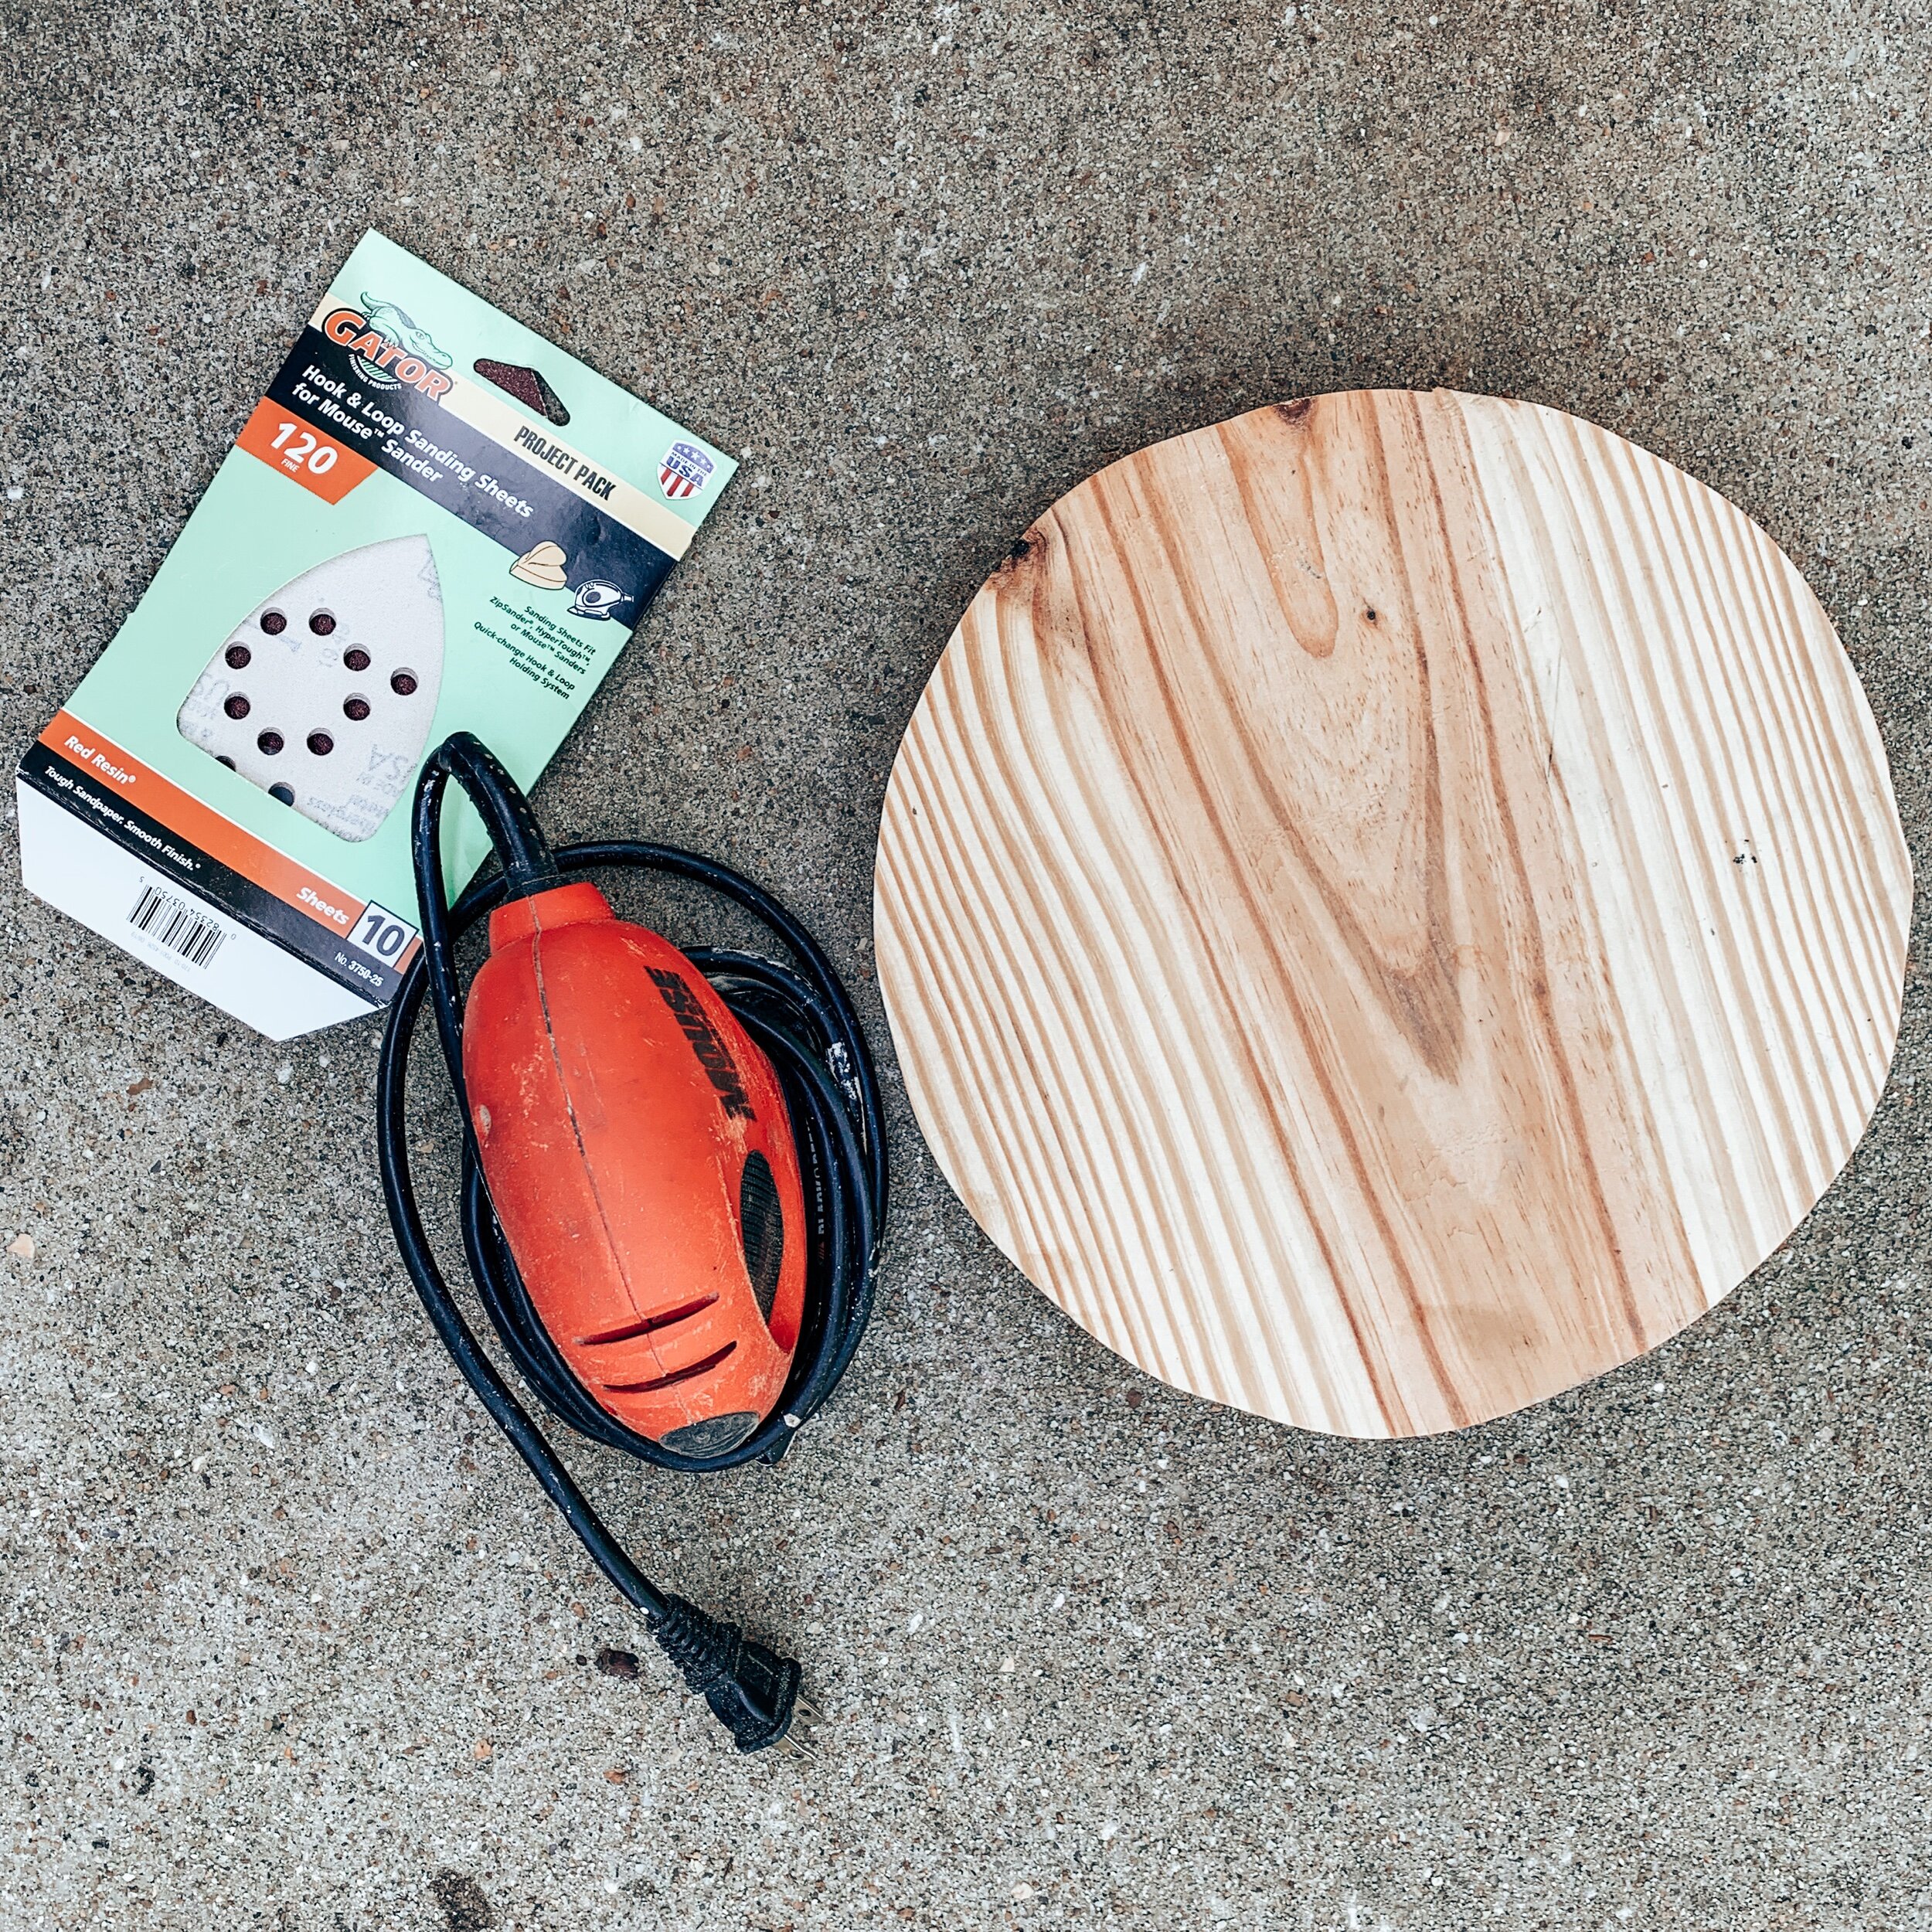
Make your cuts!
I used a table saw to cut the poplar dowel that I used for the three legs of the stool. I chose to cut them 16 1/2 inches long.
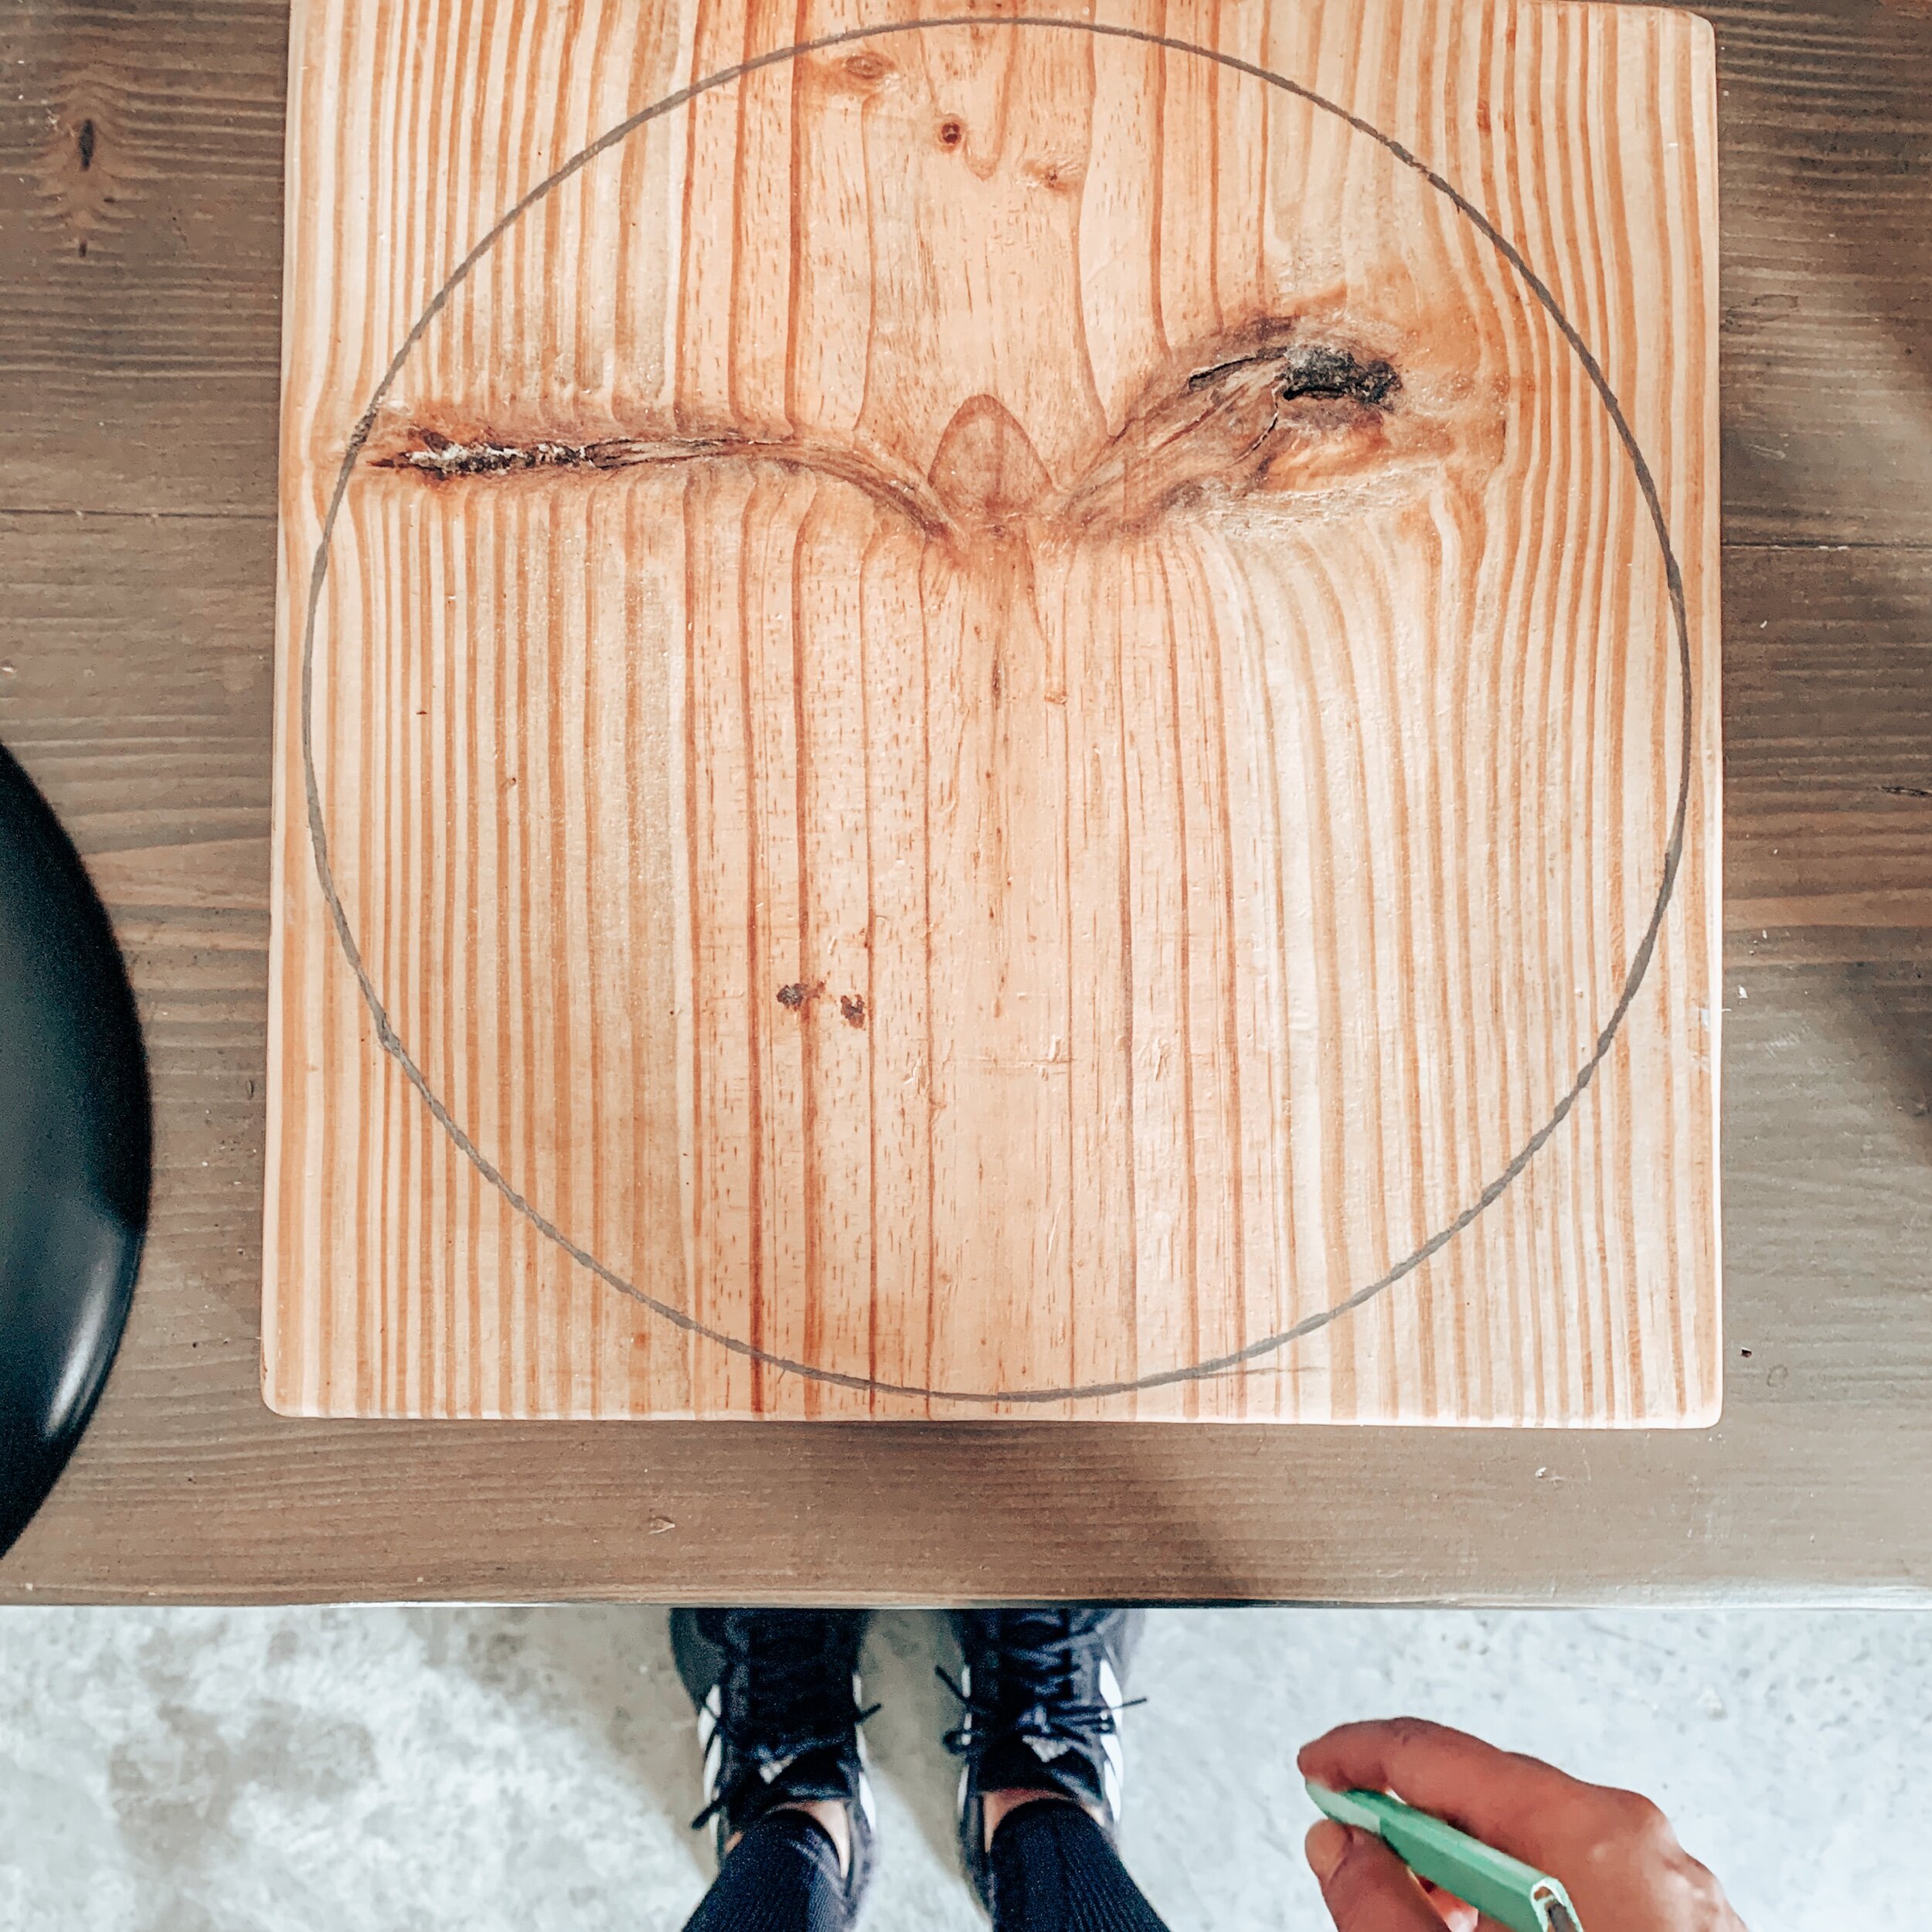
For the top of my stool, I used a plastic black plate as a stencil. It came out to about 10 1/2 inches in diameter.


Step Two
Once you have made your cuts, you’ll need to sand them. The legs are fairly easy and you could use a hand held sand sponge if you wanted to. I used my Mouse Sander.
I also used my round sander to work on the ruff edges of my circle.

Step Three
Attach your Mounting Plates.
You can watch the video below to see what this process looked like but here are the steps I took.
-
Find the center of your board and mark it with a piece of chalk or pencil.
-
Lay the three mounting plates in a triangle shape around the center mark.
-
Carefully move each mounting plate closer to the edge of your circle. I made sure they were about 2 2/3 inches away from the edge. Be sure to measure each one and use a pencil to mark where each mount goes, along with marking each screw hole and center hole as well.
-
Remove the mounting plates so you can pre drill the holes for your threaded nut.
-
Use an allen bit that fits your threaded nut and drill it down into the predrilled holes.
-
Once all three threads are in place, attach the mounting plates with the smaller screws that come in the pack.
Step Four
Predrill your pilot holes in the bottom of each leg. Be sure it is directly in the center of the leg. You will want to drill a little more than half of the length of the bolt, no further.
Step Five
You are so close to being done!
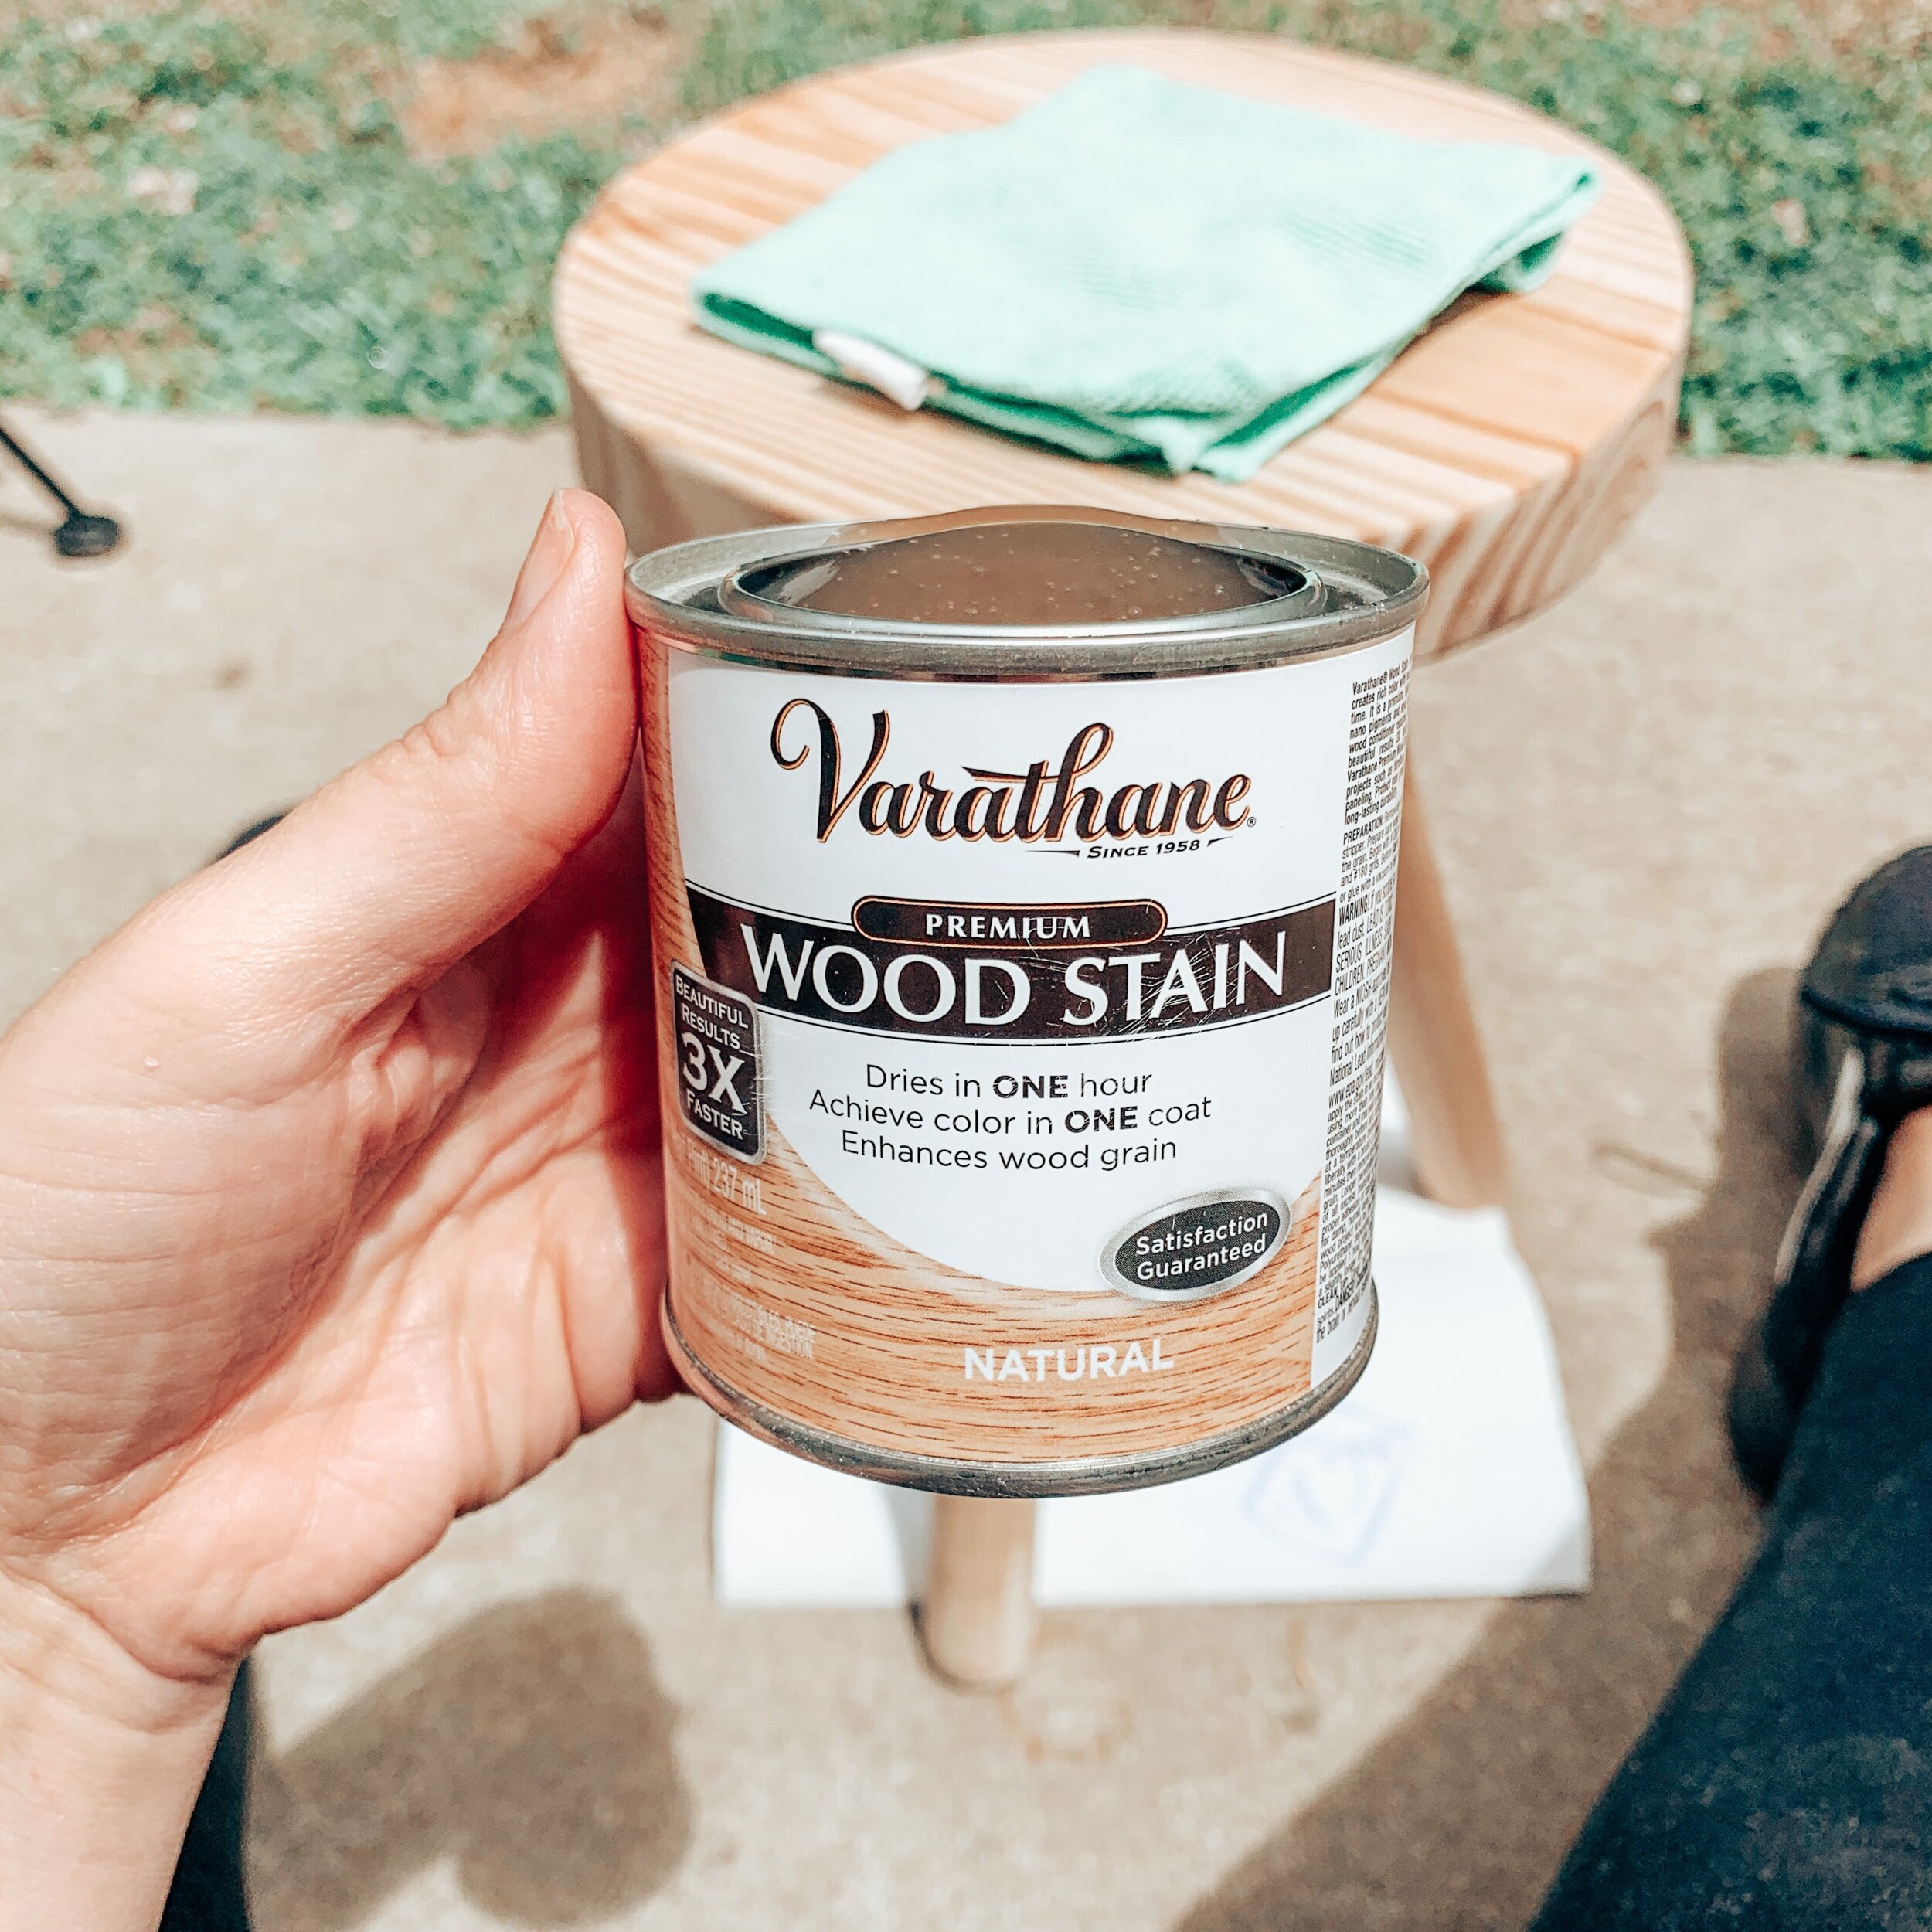
It is time to stain your stool. Be sure to wear gloves because this stain is sticky and very hard to wash off.
I like to roll my towel (as shown in the video) so it fits into the small stain container and its easier to control how much stain I am applying and where it is going.
Tip: Rub your stain in the direction of the wood grain and make sure there are no drips. Less is more when it comes to stain. You can always add more, so take your time.
Step Six
Once the stain is dry, it’s time to paint the bottom of the legs.
I used Tricorn Black, which is the same color I painted two of the walls in my home.
-
Mark where you want to paint to stop. I marked about 8 inches from the part of the leg that would be sitting on the ground. (Shown in video)
-
Grab your painters tape and wrap each leg using the marks you just made for a guide.
-
Paint! I did two light coats and that worked perfect for the look I was going for.
You can choose any color you’d like which is another perk of a DIY.
Once your paint is dry, remove the painters tape and you are done!
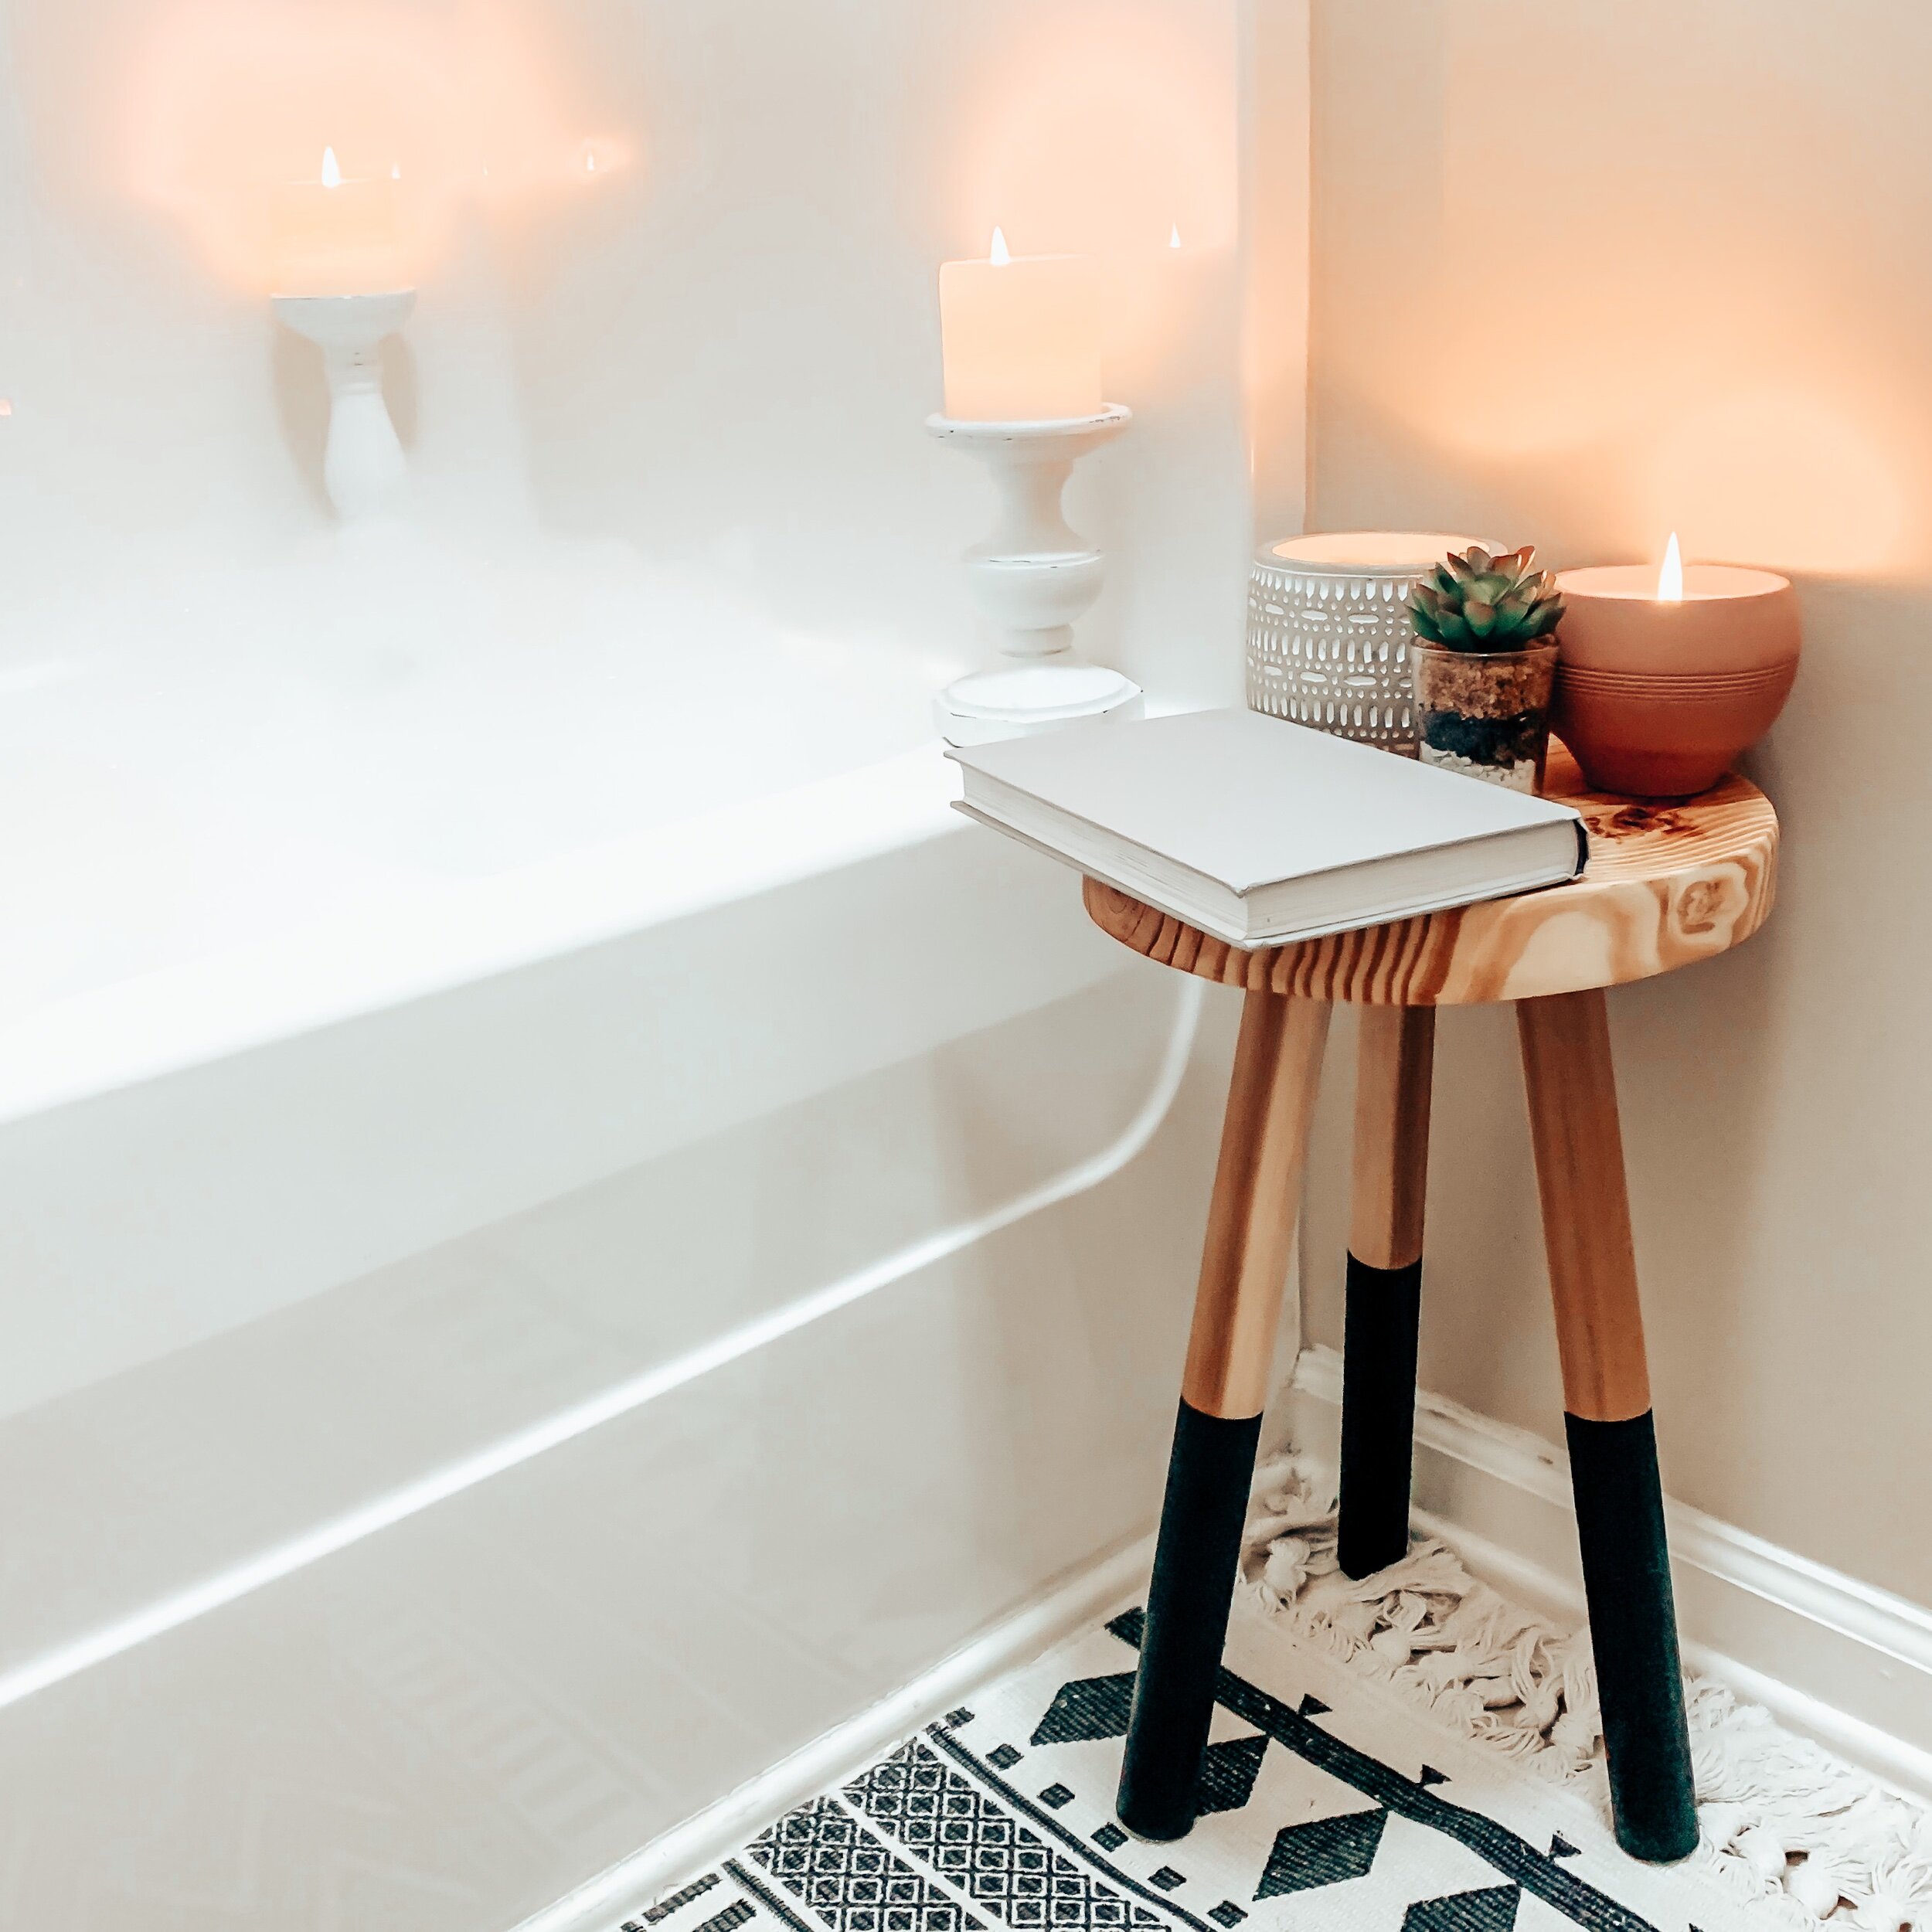
Your stool is ready to be showcased in your home.
The DUPE stool
I am not sure how much weight this DIY stool will hold. I plant to use it as a side table to hold a cup of coffee and a plant stand.
I will say, it is very sturdy for what I plan to use it for and it looks amazing! Definitely worth the time and cost in my opinion.
When you are deciding between your DIY version or the original, here are some things to take into consideration.
The Serena & Lily Dip – Dyed Stool
The Serena & Lily stool is…
-
Handmade in Indonesia.
-
Handcrafted of solid teak.
-
Painted legs.
-
Natural marks and cracks have evolved in the teak over time.
-
Because it’s handcrafted, no two will look exactly alike.
-
For decorative use. Not recommended as a seat or step stool.
-
Avoid direct contact with water (do not use in shower).
-
Small: 9.5″DIAM x 15″H
-
Large: 9.5″DIAM x 19″H
-
Holds up to 225 lbs.
Their stool is worth what they are asking and the craftsmanship is incredible!
( I got this information on their website. https://www.serenaandlily.com )
It truly will be up to you on the direction you go, but I hope that this Dupe/DIY version was helpful.
If you have any questions, please ask away in the comments below.


[…] Dip-dyed stool duplicate by Wildfire Restoration […]
[…] Dip-dyed stool duplicate by Wildfire Restoration […]
[…] Dip-dyed stool duplicate by Wildfire restoration […]