
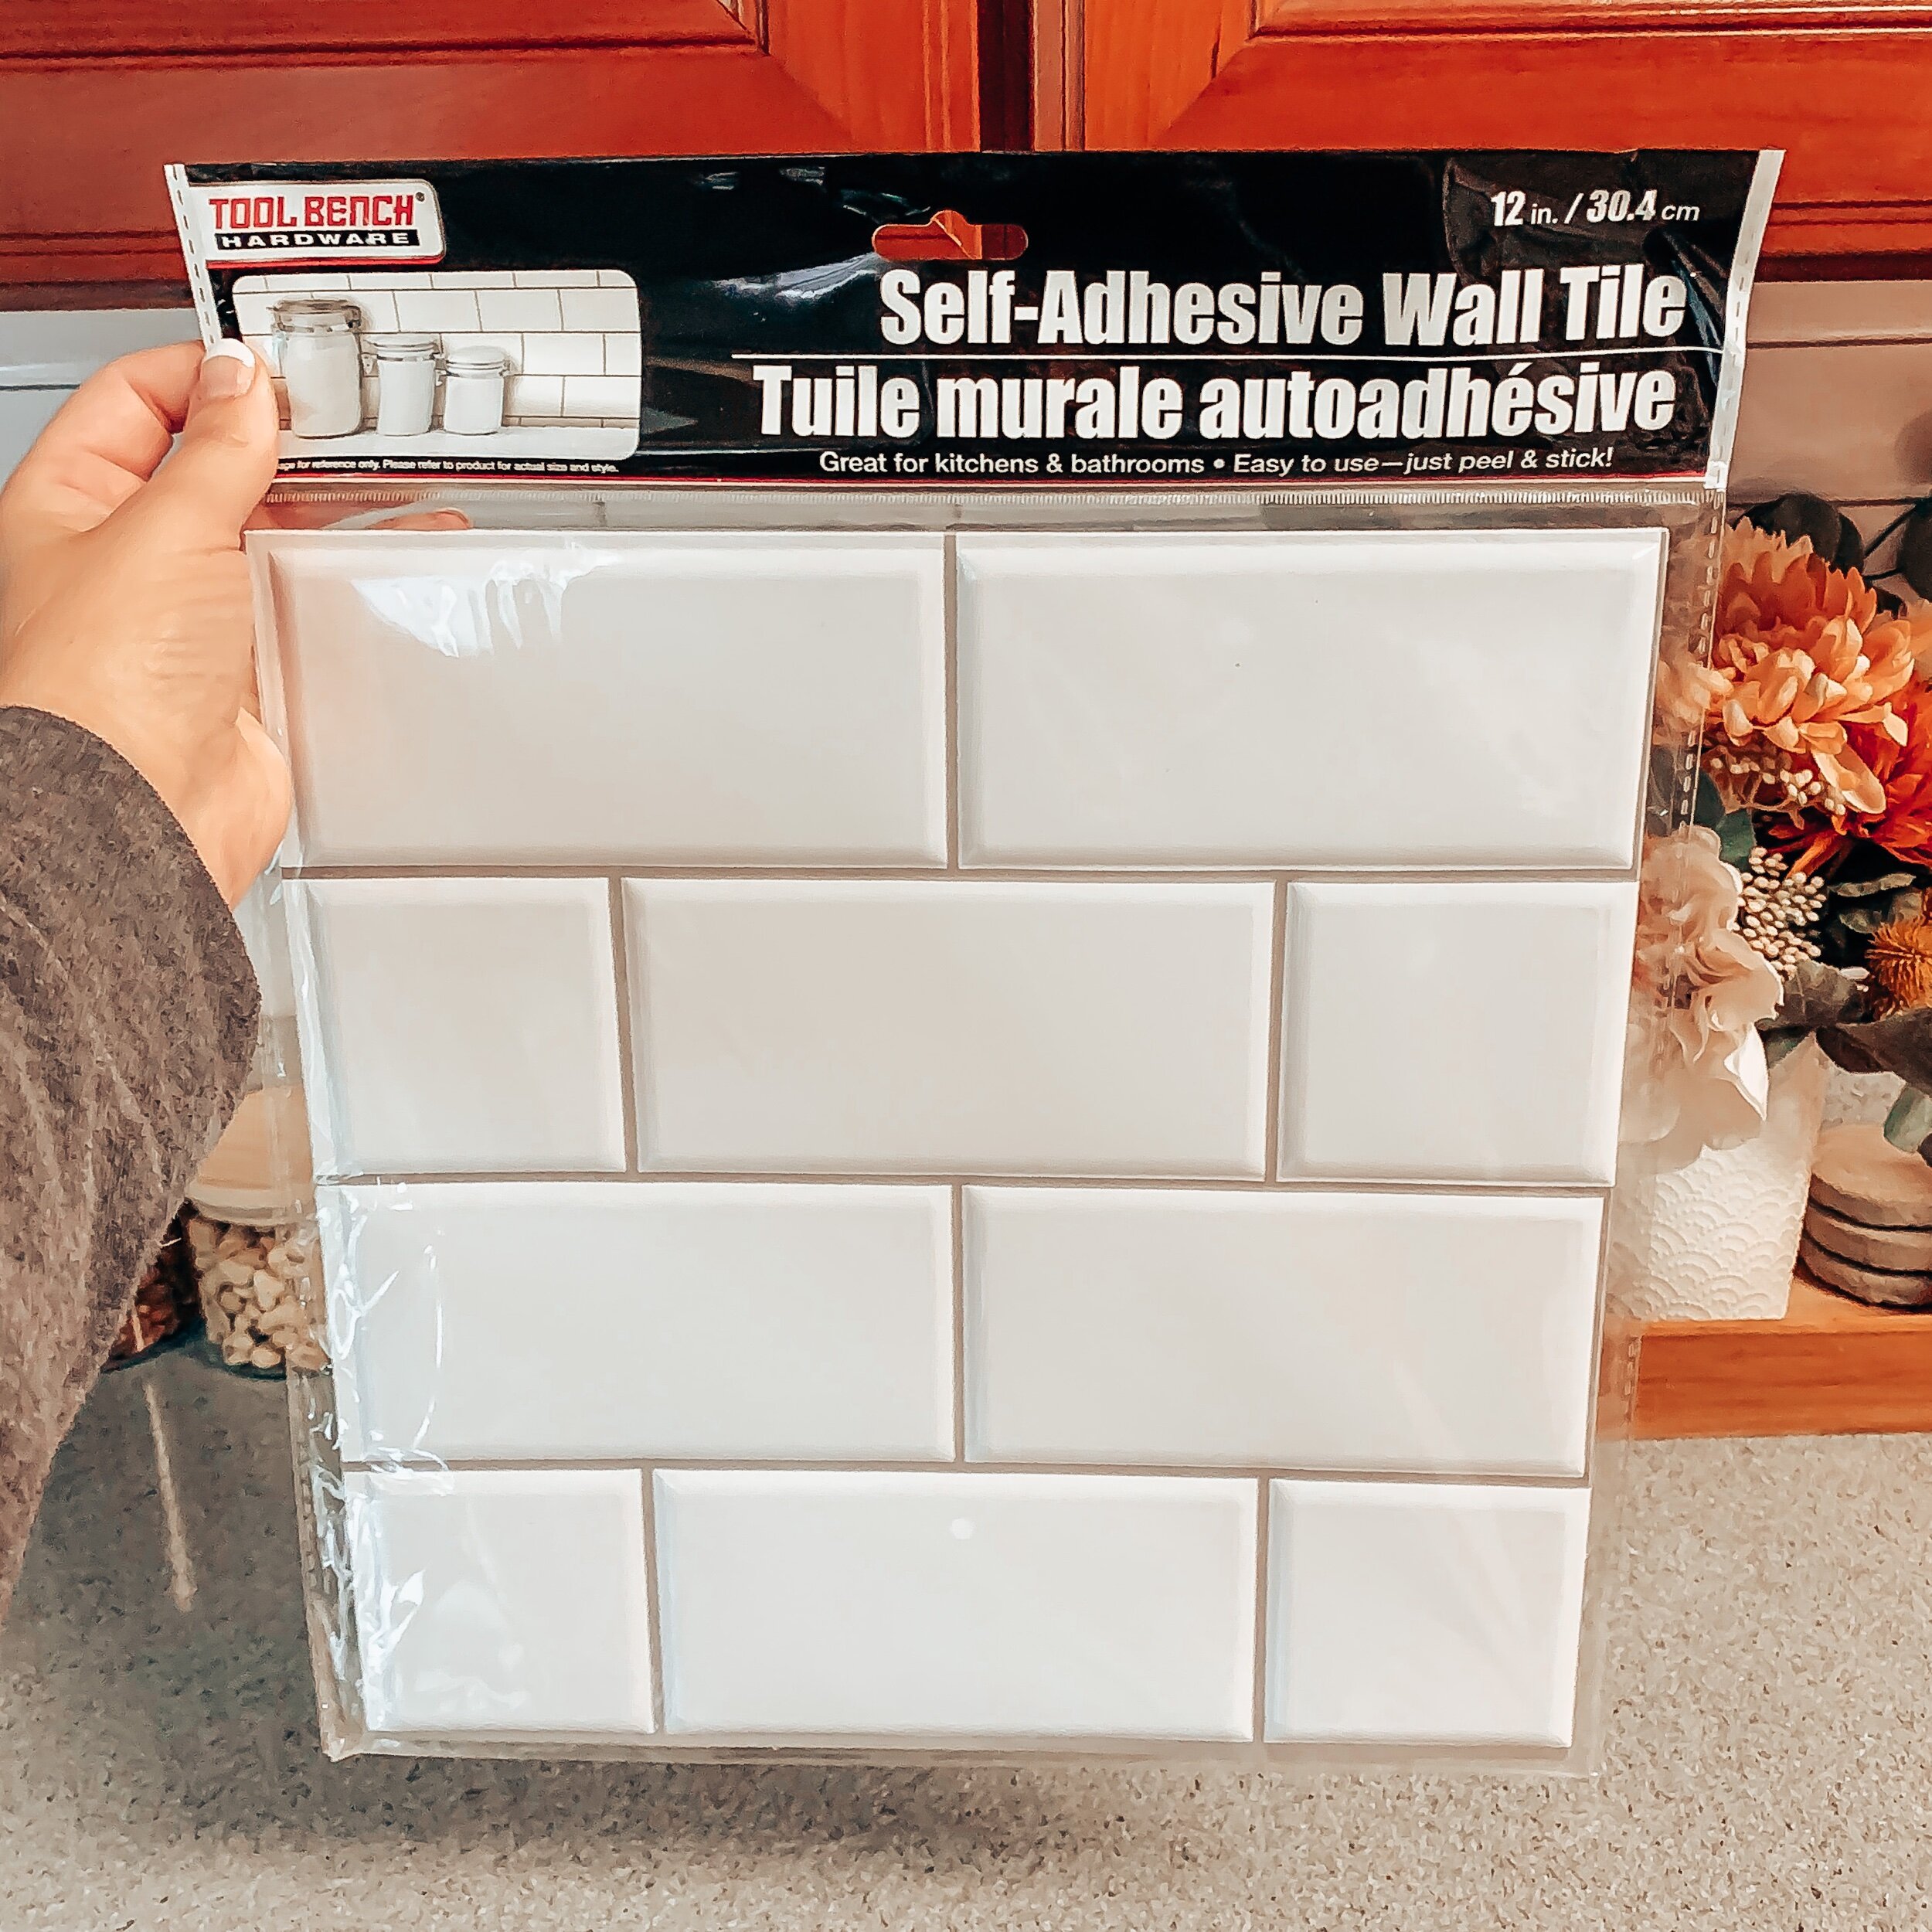
Dollar Tree Peel and Stick Subway Tiles
If you dream of subway tiles, without all the crazy work, this is for you!
I personally love the crisp, bright white addition to a kitchen! It’s a timeless look that will never go out of style.
This post may contain affiliate links and I may earn a small commission when you click on the links at no additional cost to you. As an Amazon Affiliate I earn from qualifying purchases.
We are currently renting, on post, and although I dream of beautiful backsplash, they won’t let me tile up the place! (Insert sad face) So, I decided to use the Dollar Tree’s self adhesive wall tiles, as an alternative.
In this blog post, you’ll find a helpful video, before and afters, as well as all the things I learned during this project. So be sure to read all the way through if this is a project you’re considering.
Dollar Tree Peel & Stick Subway Tiles
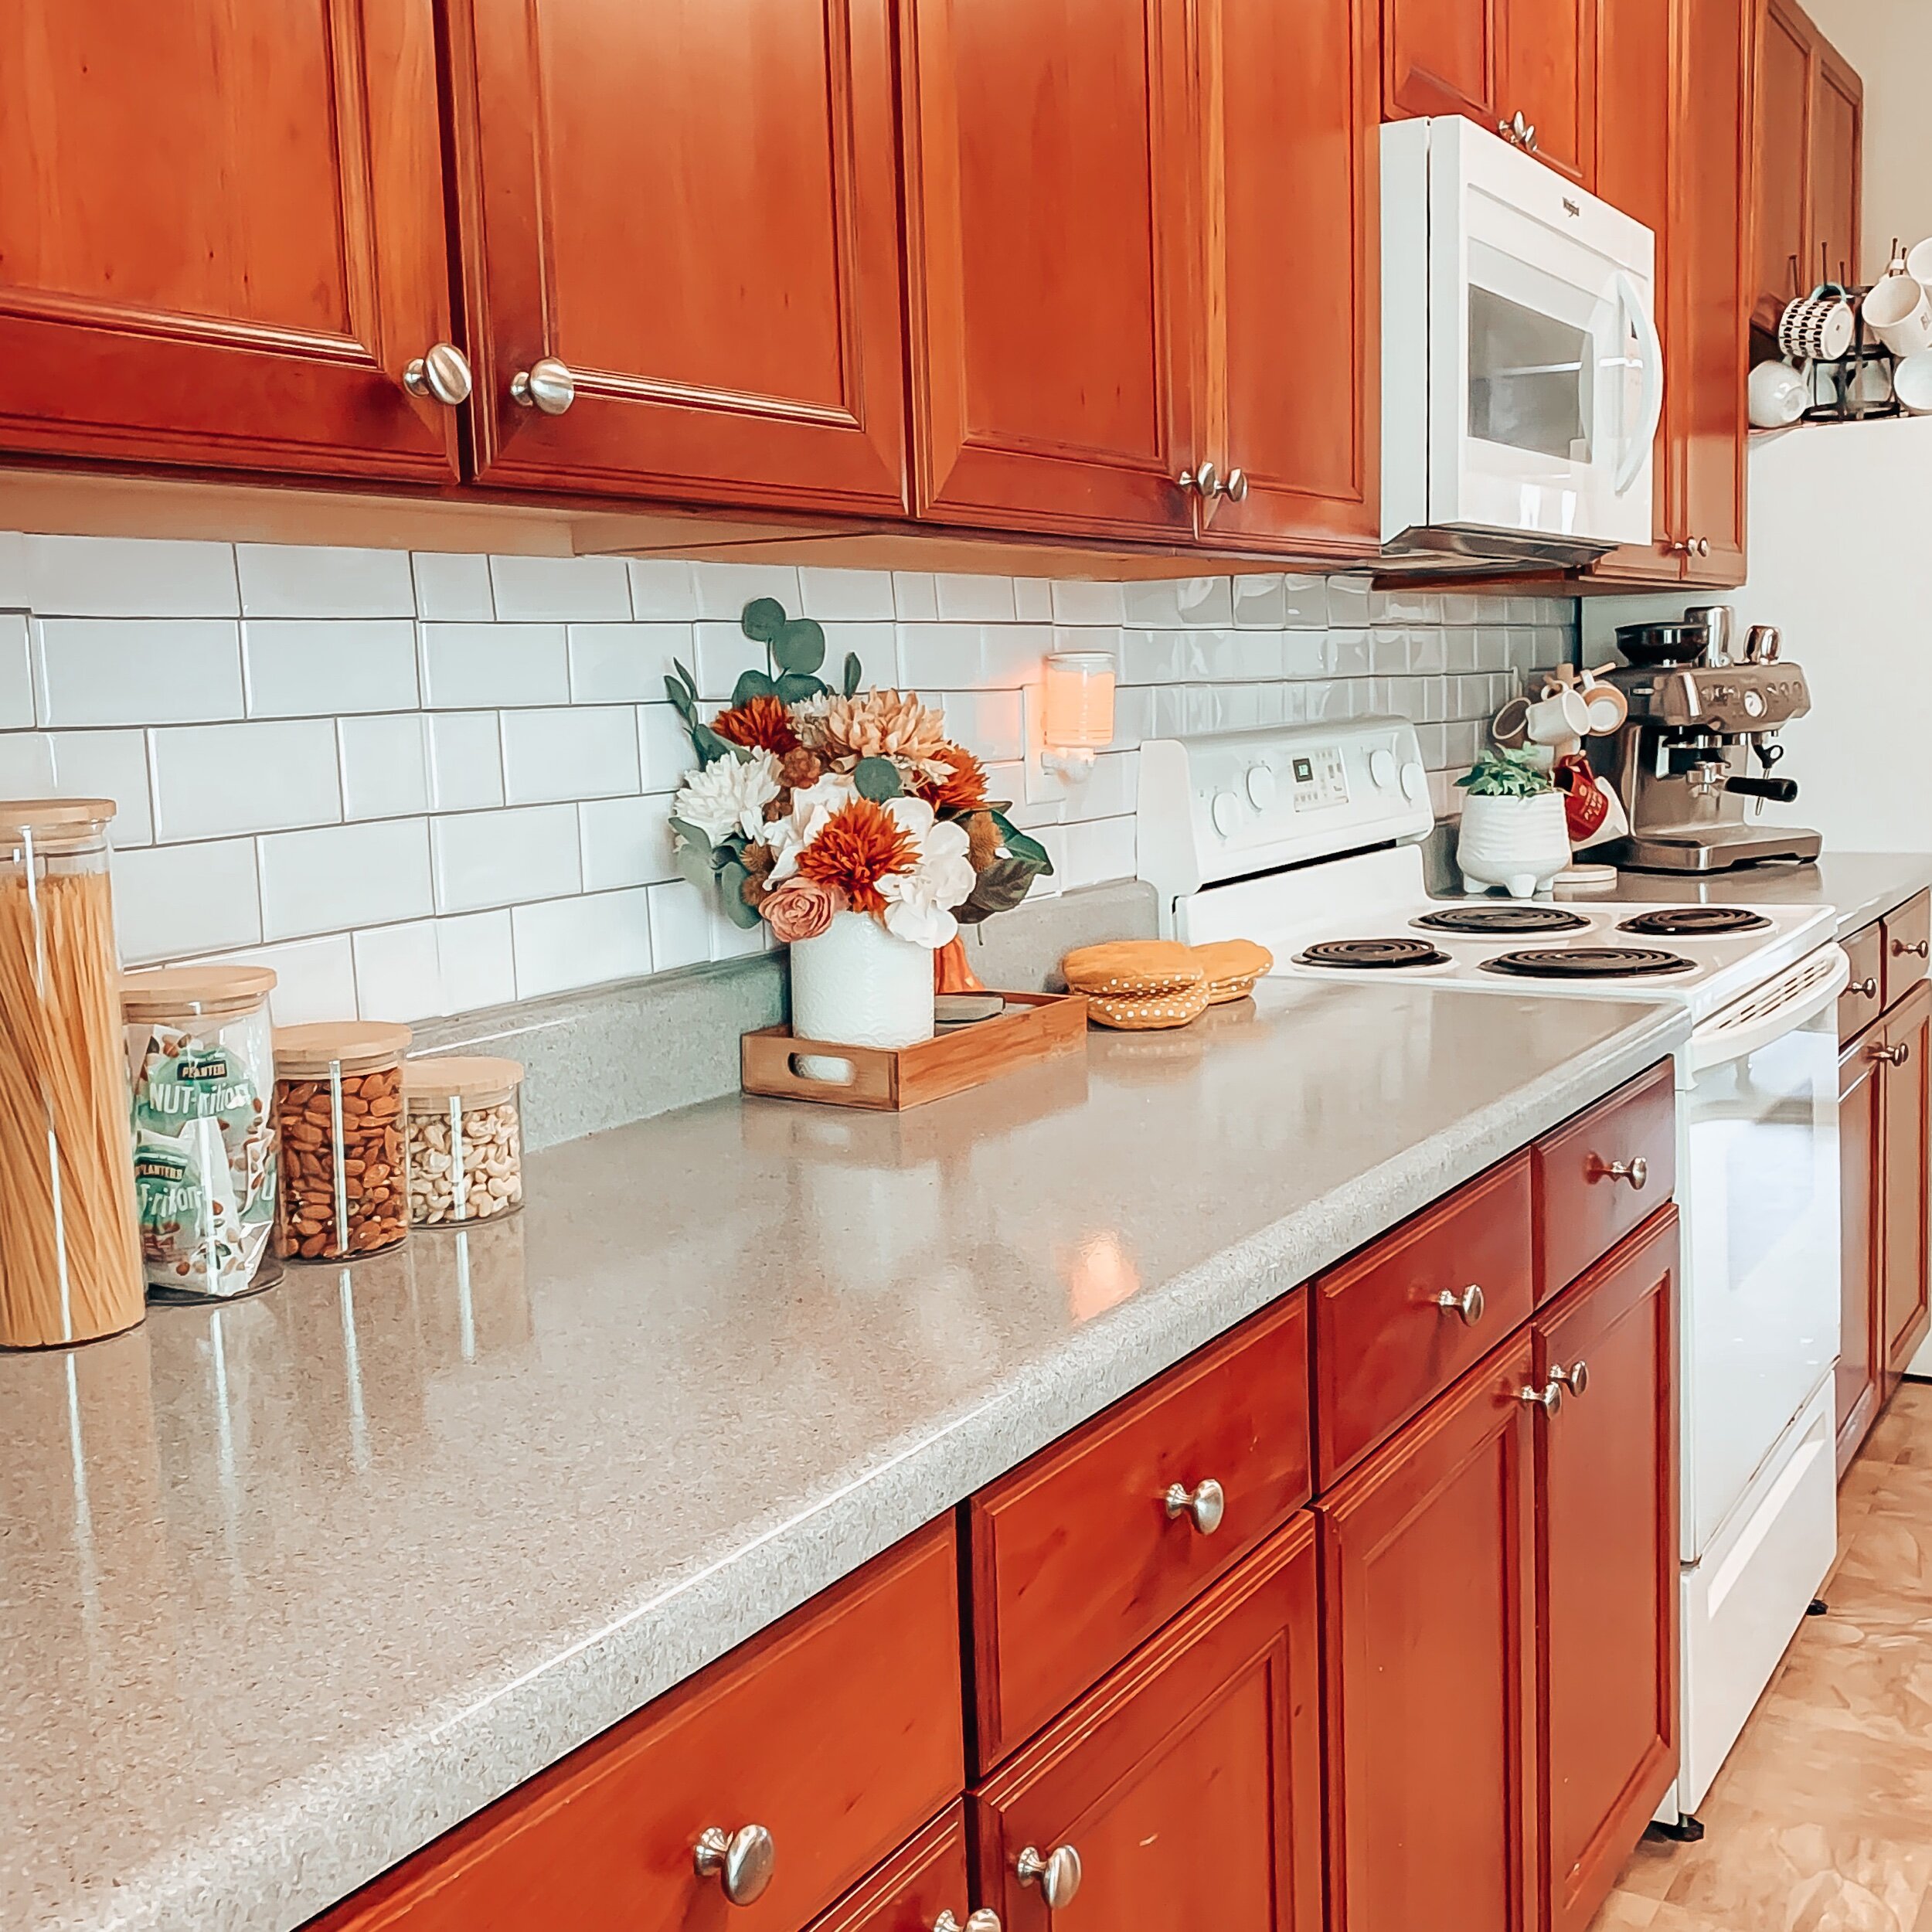
This is our kitchen before I applied the tiles. It’s not that it’s a bad kitchen, I’m very grateful for it, but it’s just not my style.
Since we rent and can’t make major changes, these really were the perfect solution!
If you’re in a similar situation, I’m excited for you to read so you can make the right decision for your own place.
What you’ll need for this project
-
Paper cutting tool. I used scissors, a razor (in some spots) and a cutting mat

What you need to know before you apply your Dollar Tree Peel and Stick Subway Tiles
There are a few things I learned, while working with these tiles, that I feel you should know.
Check out the video below, but keep reading because there are a few extra things it doesn’t cover.
Like I mentioned in the video, the sticky part, at the back, is not attached to the front part of the tile. This makes it very difficult when making cuts and applying your tiles after cuts have been made. This was very frustrating and had me second guessing the entire kitchen project.
So, I started on an easier project, the laundry room, where I didn’t have to make any major cuts and I simply choose to overlay the last two tiles to fit the space.
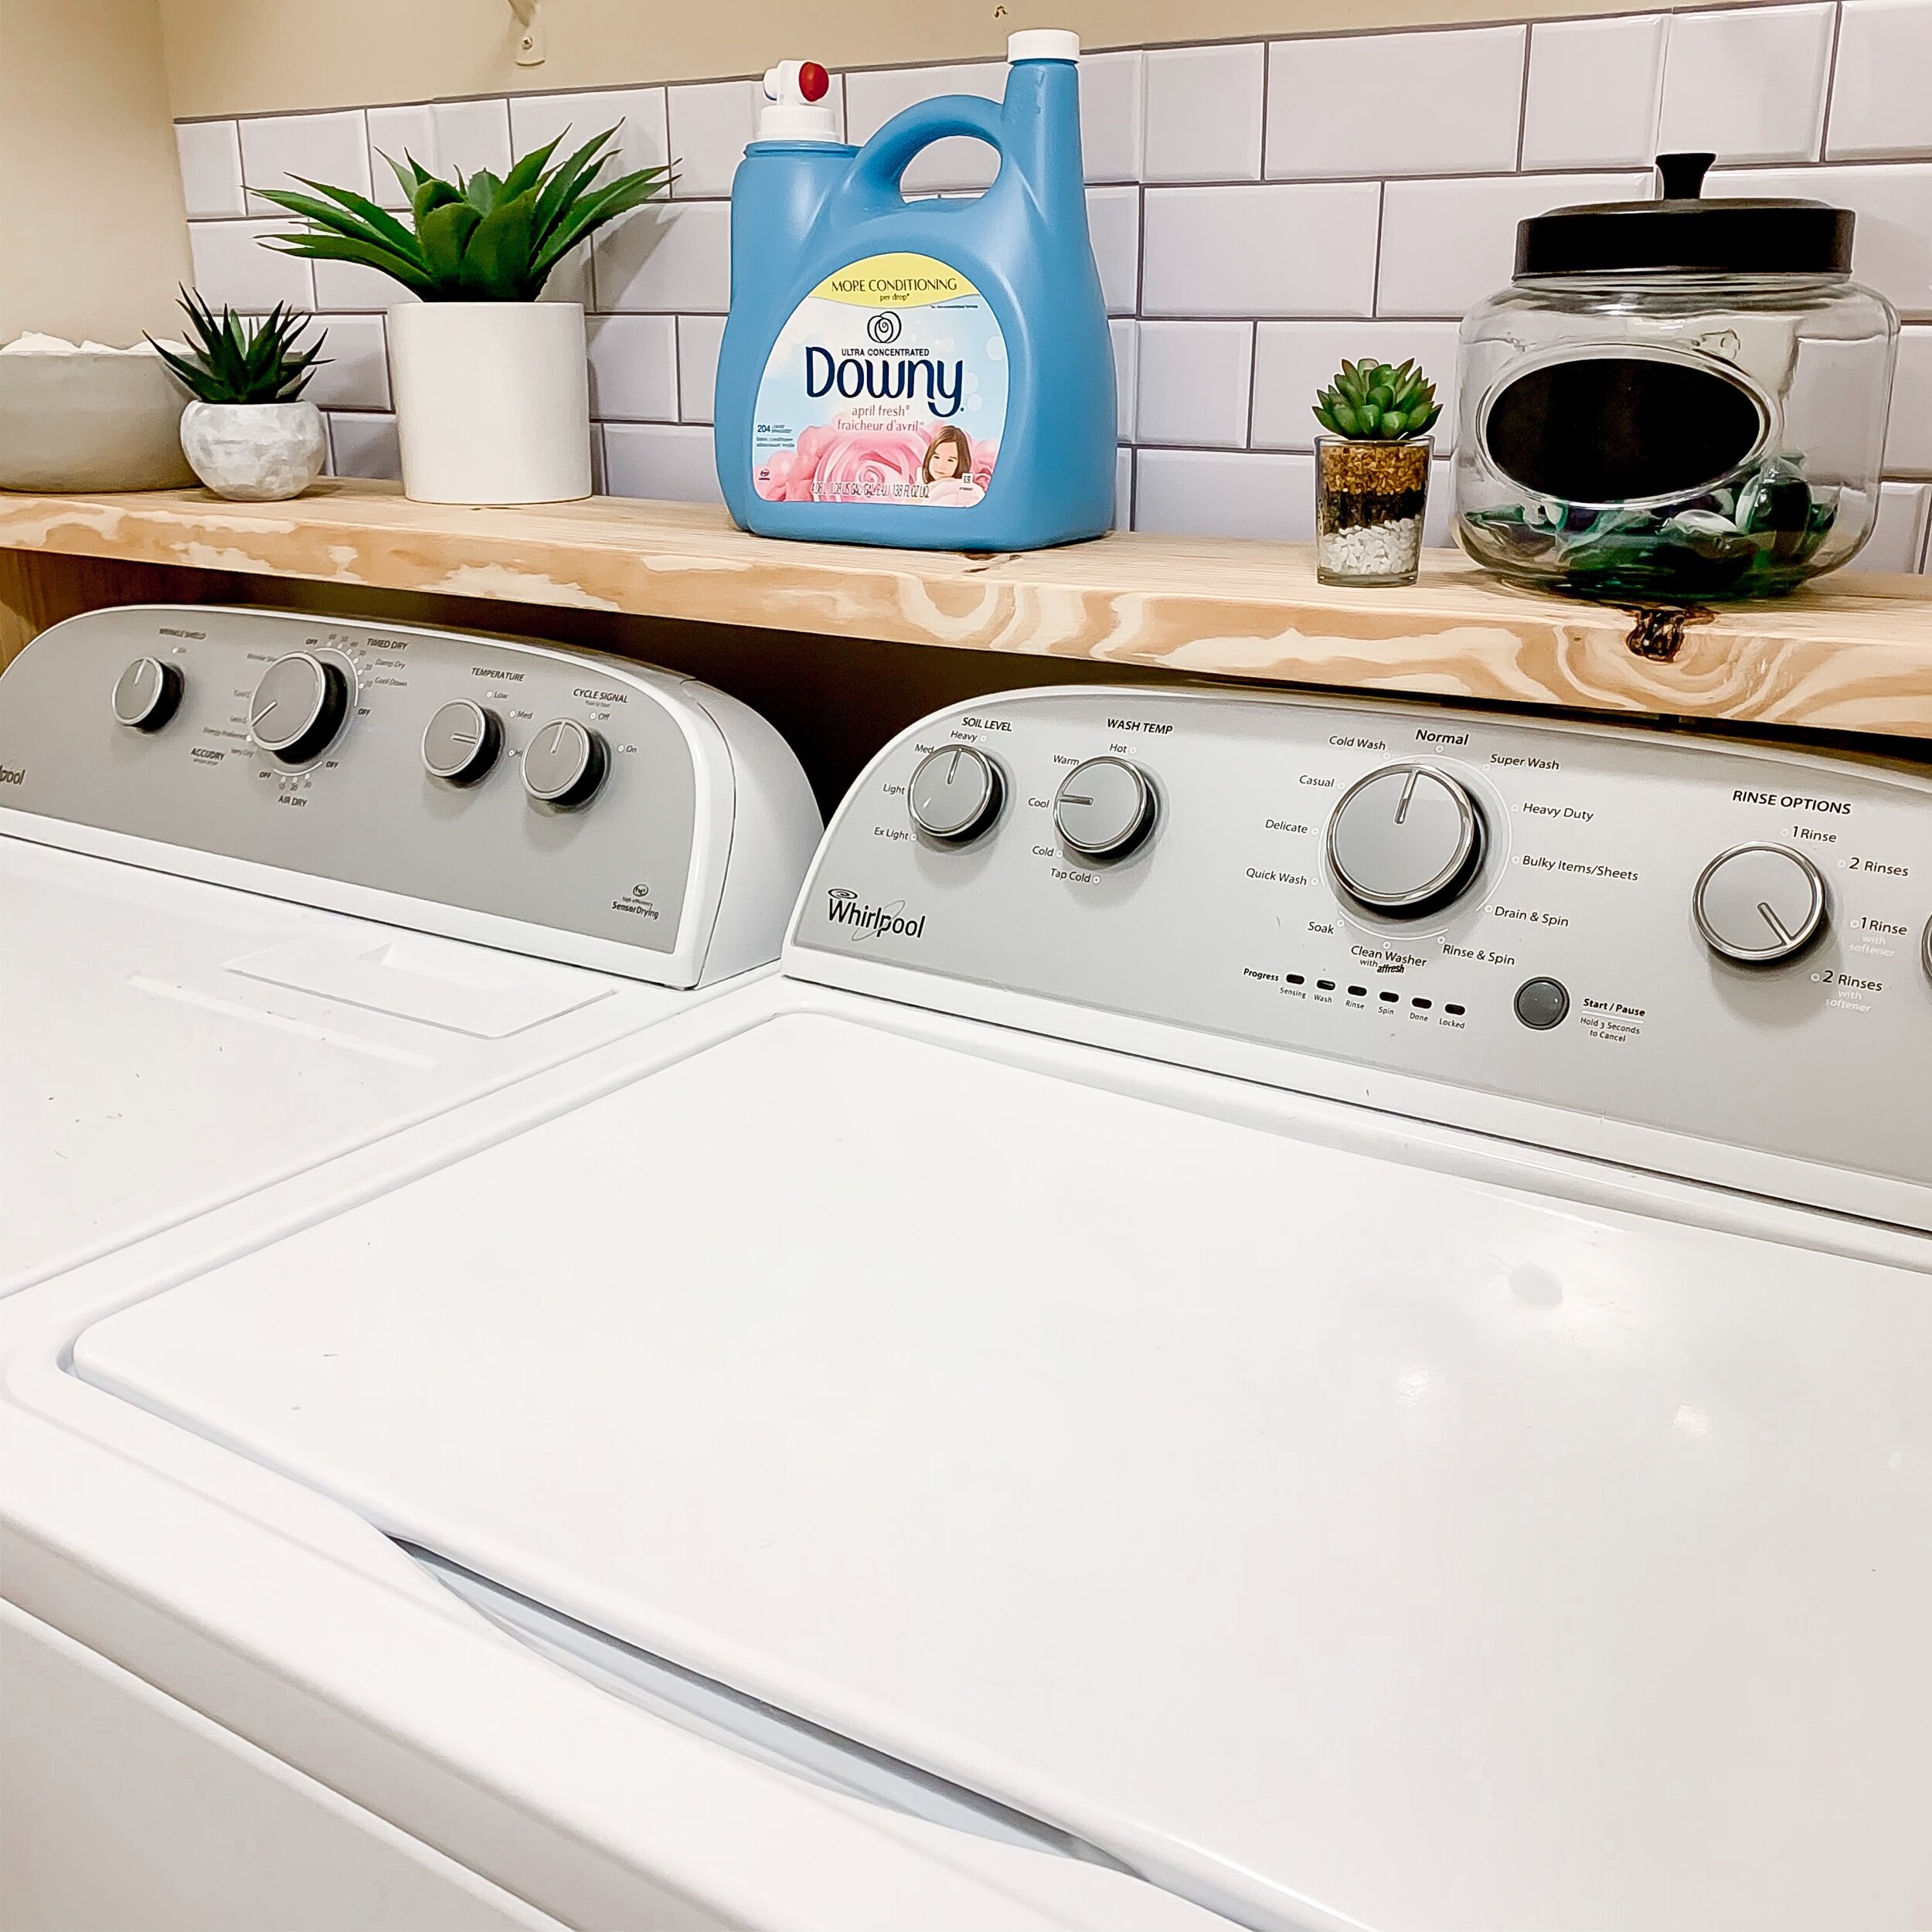
I loved the way the laundry room looked so much, that I finally decided to find a way to get my kitchen done.
How to apply your tiles…
-
Clean your walls well before getting started.
-
Take off outlet covers.
-
Start with a section of wall, that is large enough for the entire tile. Start by placing the bottom of the tile closest to your countertop. Once it’s on the wall, rub the front of the tile well so the adhesive fully sticks to the wall. Focus on the edges and lightly rubbing along the grout lines of the tile.
-
Tip: When making your cuts, use a piece of paper to create a stencil. Lay or tape the piece of paper to the front of your tile, so your cut is accurate.
-
For the tiles that have to be cut, use scotch double sided tape to attach the tile to the adhesive layer, being sure to avoid the grout area. (Watch the video to see and example)
-
When placing tile over your electric outlet covers, place tile (with the plastic still on the adhesive side) over the outlet area. Then trace where you will need to make your cuts for the outlets. Make the cuts just big enough for the plugs to show. That way, once you replace the cover, it will hold the tile in place without you having to use the extra scotch tape.
-
Seal the edges with caulking. I used white but you can get grey as well. The caulking can help seal the edges to keep moisture out, while giving it a crisp, professional look.
-
To clean, simply wipe with a damp towel.
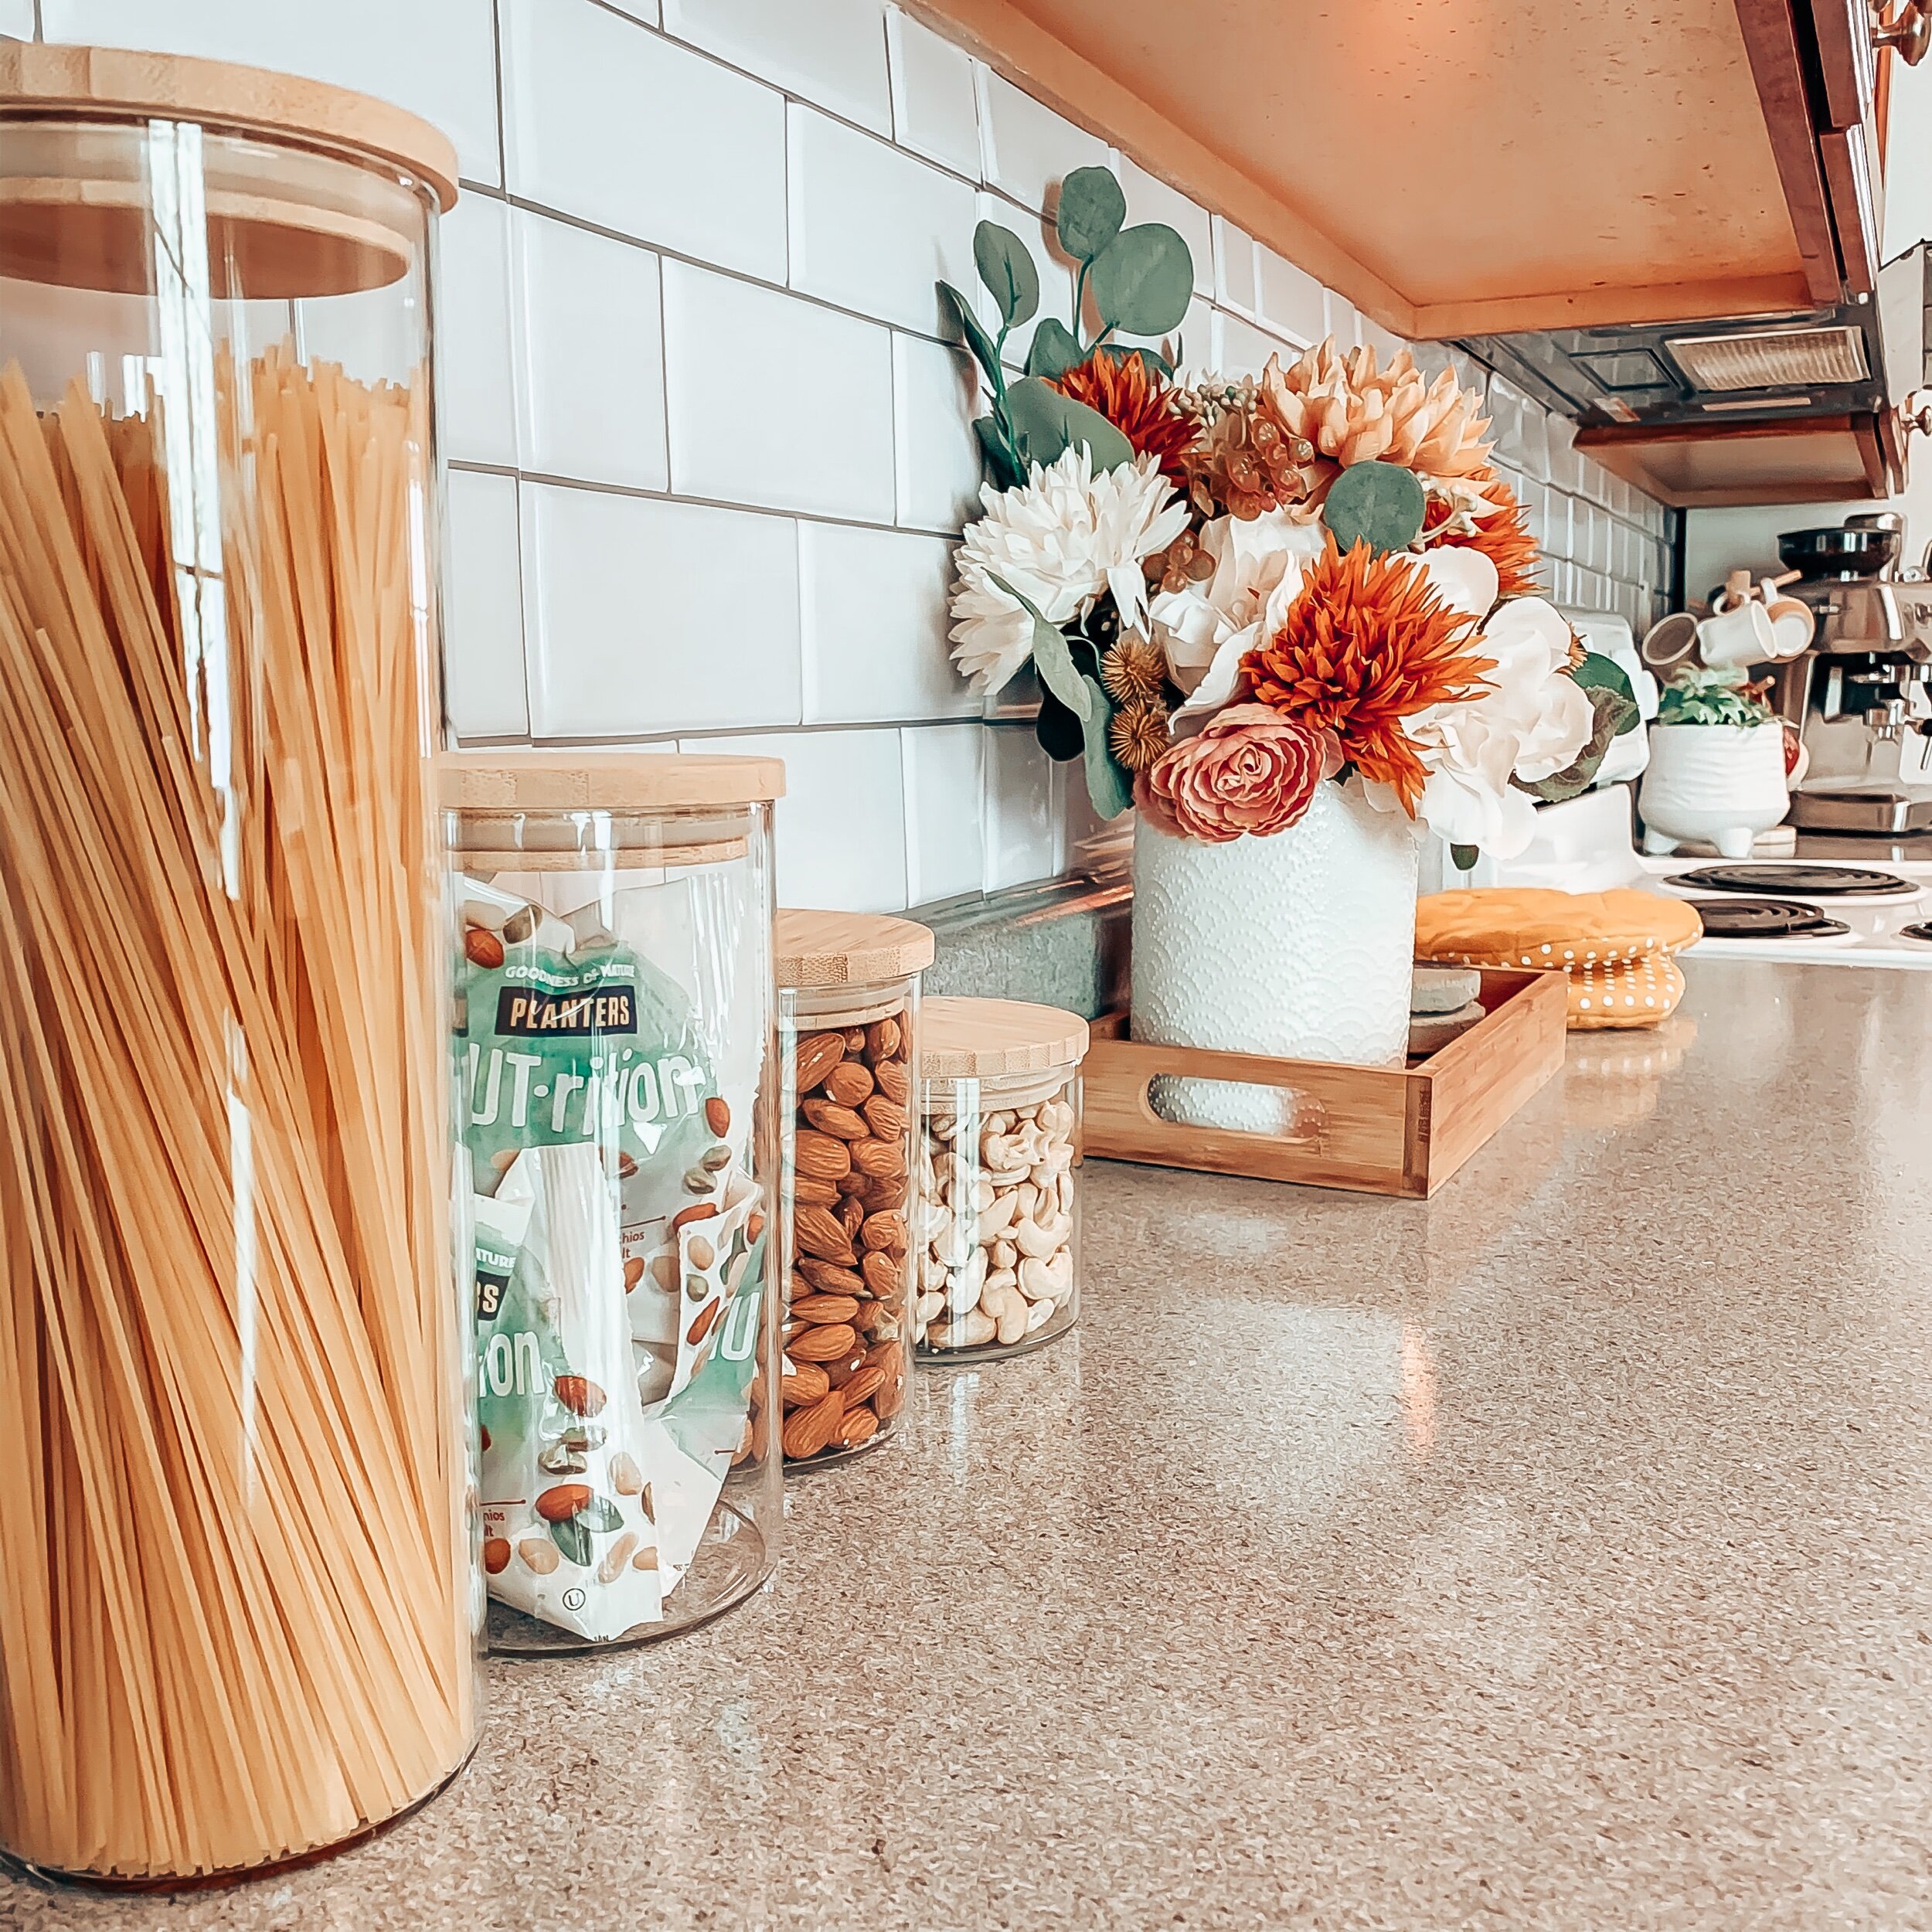
Tap to purchase these beautiful glass bamboo top canisters HERE! They are from one of my favorite companies Honey-can-do
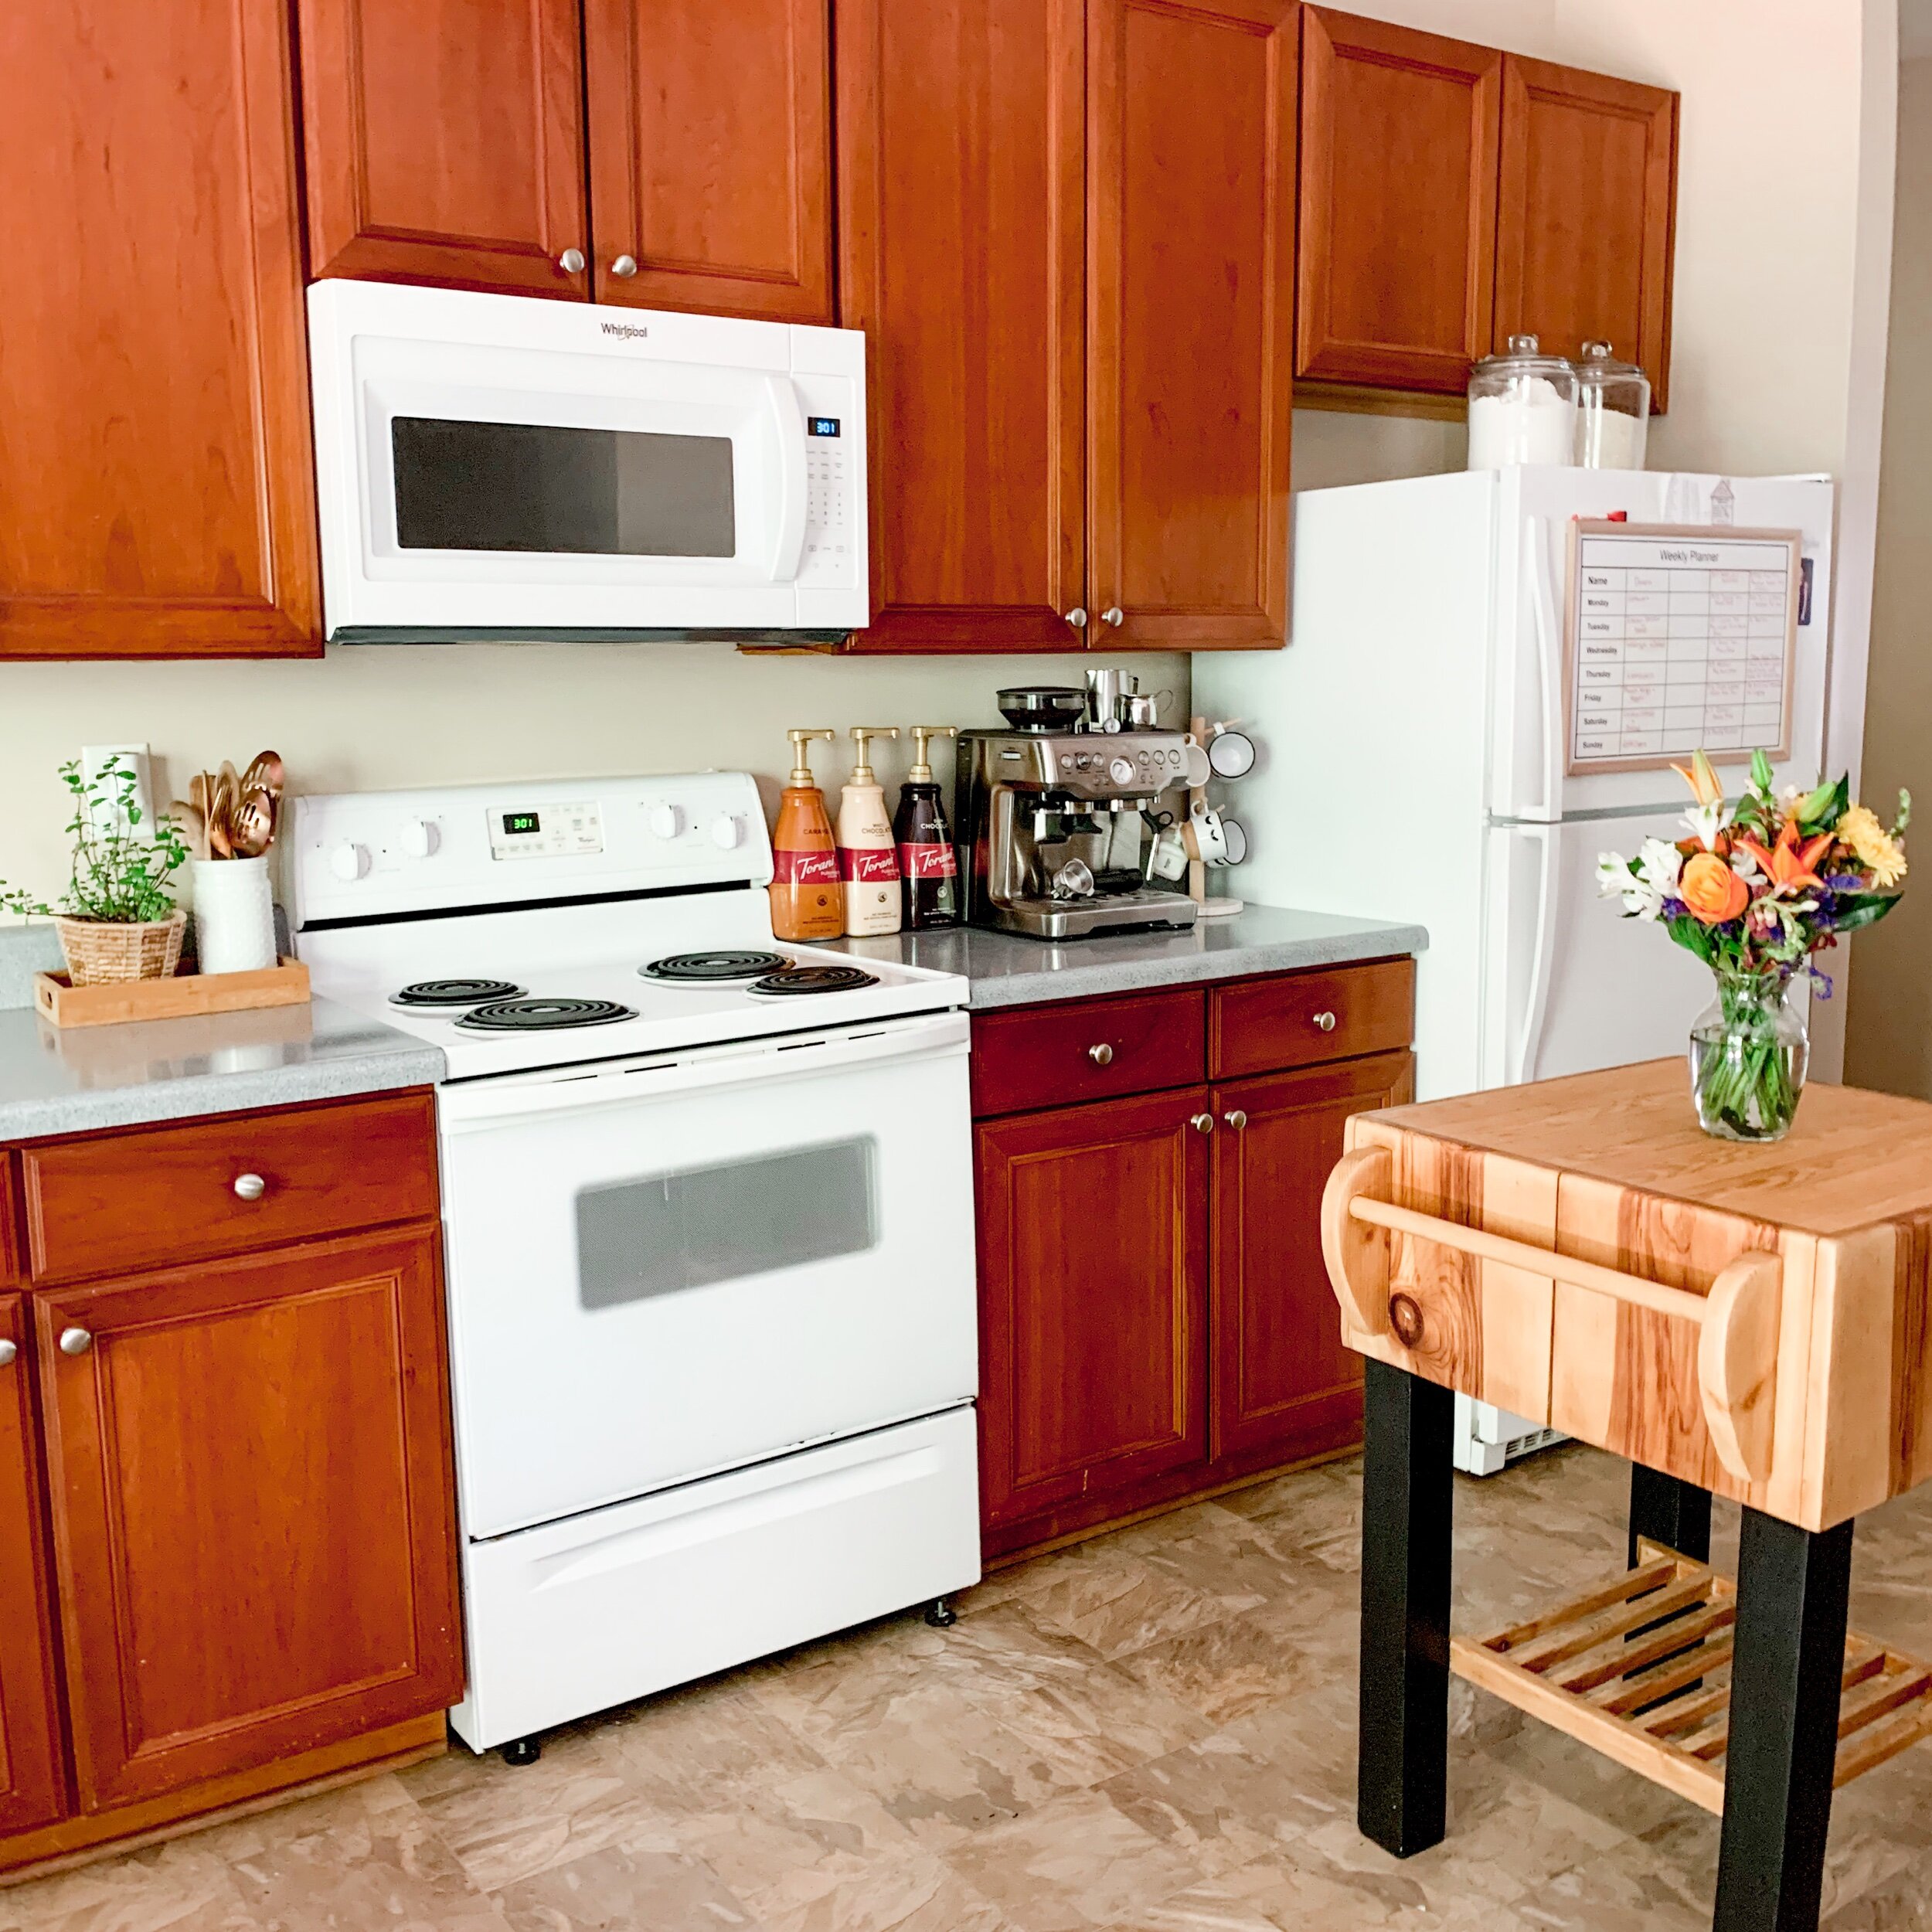
My honest review…
I truly love the difference this made in our kitchen. However, if this was in a forever home, I would definitely go with the real thing or at least spent a little more money to get the peel & stick tiles that are thicker and more like the real thing.
Right now we are looking at moving in a few months so it was the perfect time to give these a try.
The reasons I wouldn’t choose the dollar tree tiles in a home owner situation…
Like I mentioned before, making the cuts and then having to attach the adhesive part to the actual tile front, was a huge pain! I nearly lost my religion until I finally came up with the scotch tape idea. In fact, I still have some places I want to remove and replace that have the craft dots on them because it caused the tiles to bend in some awkward places.
Also, since they come in square pieces, you see the seams and they don’t always line up perfectly.
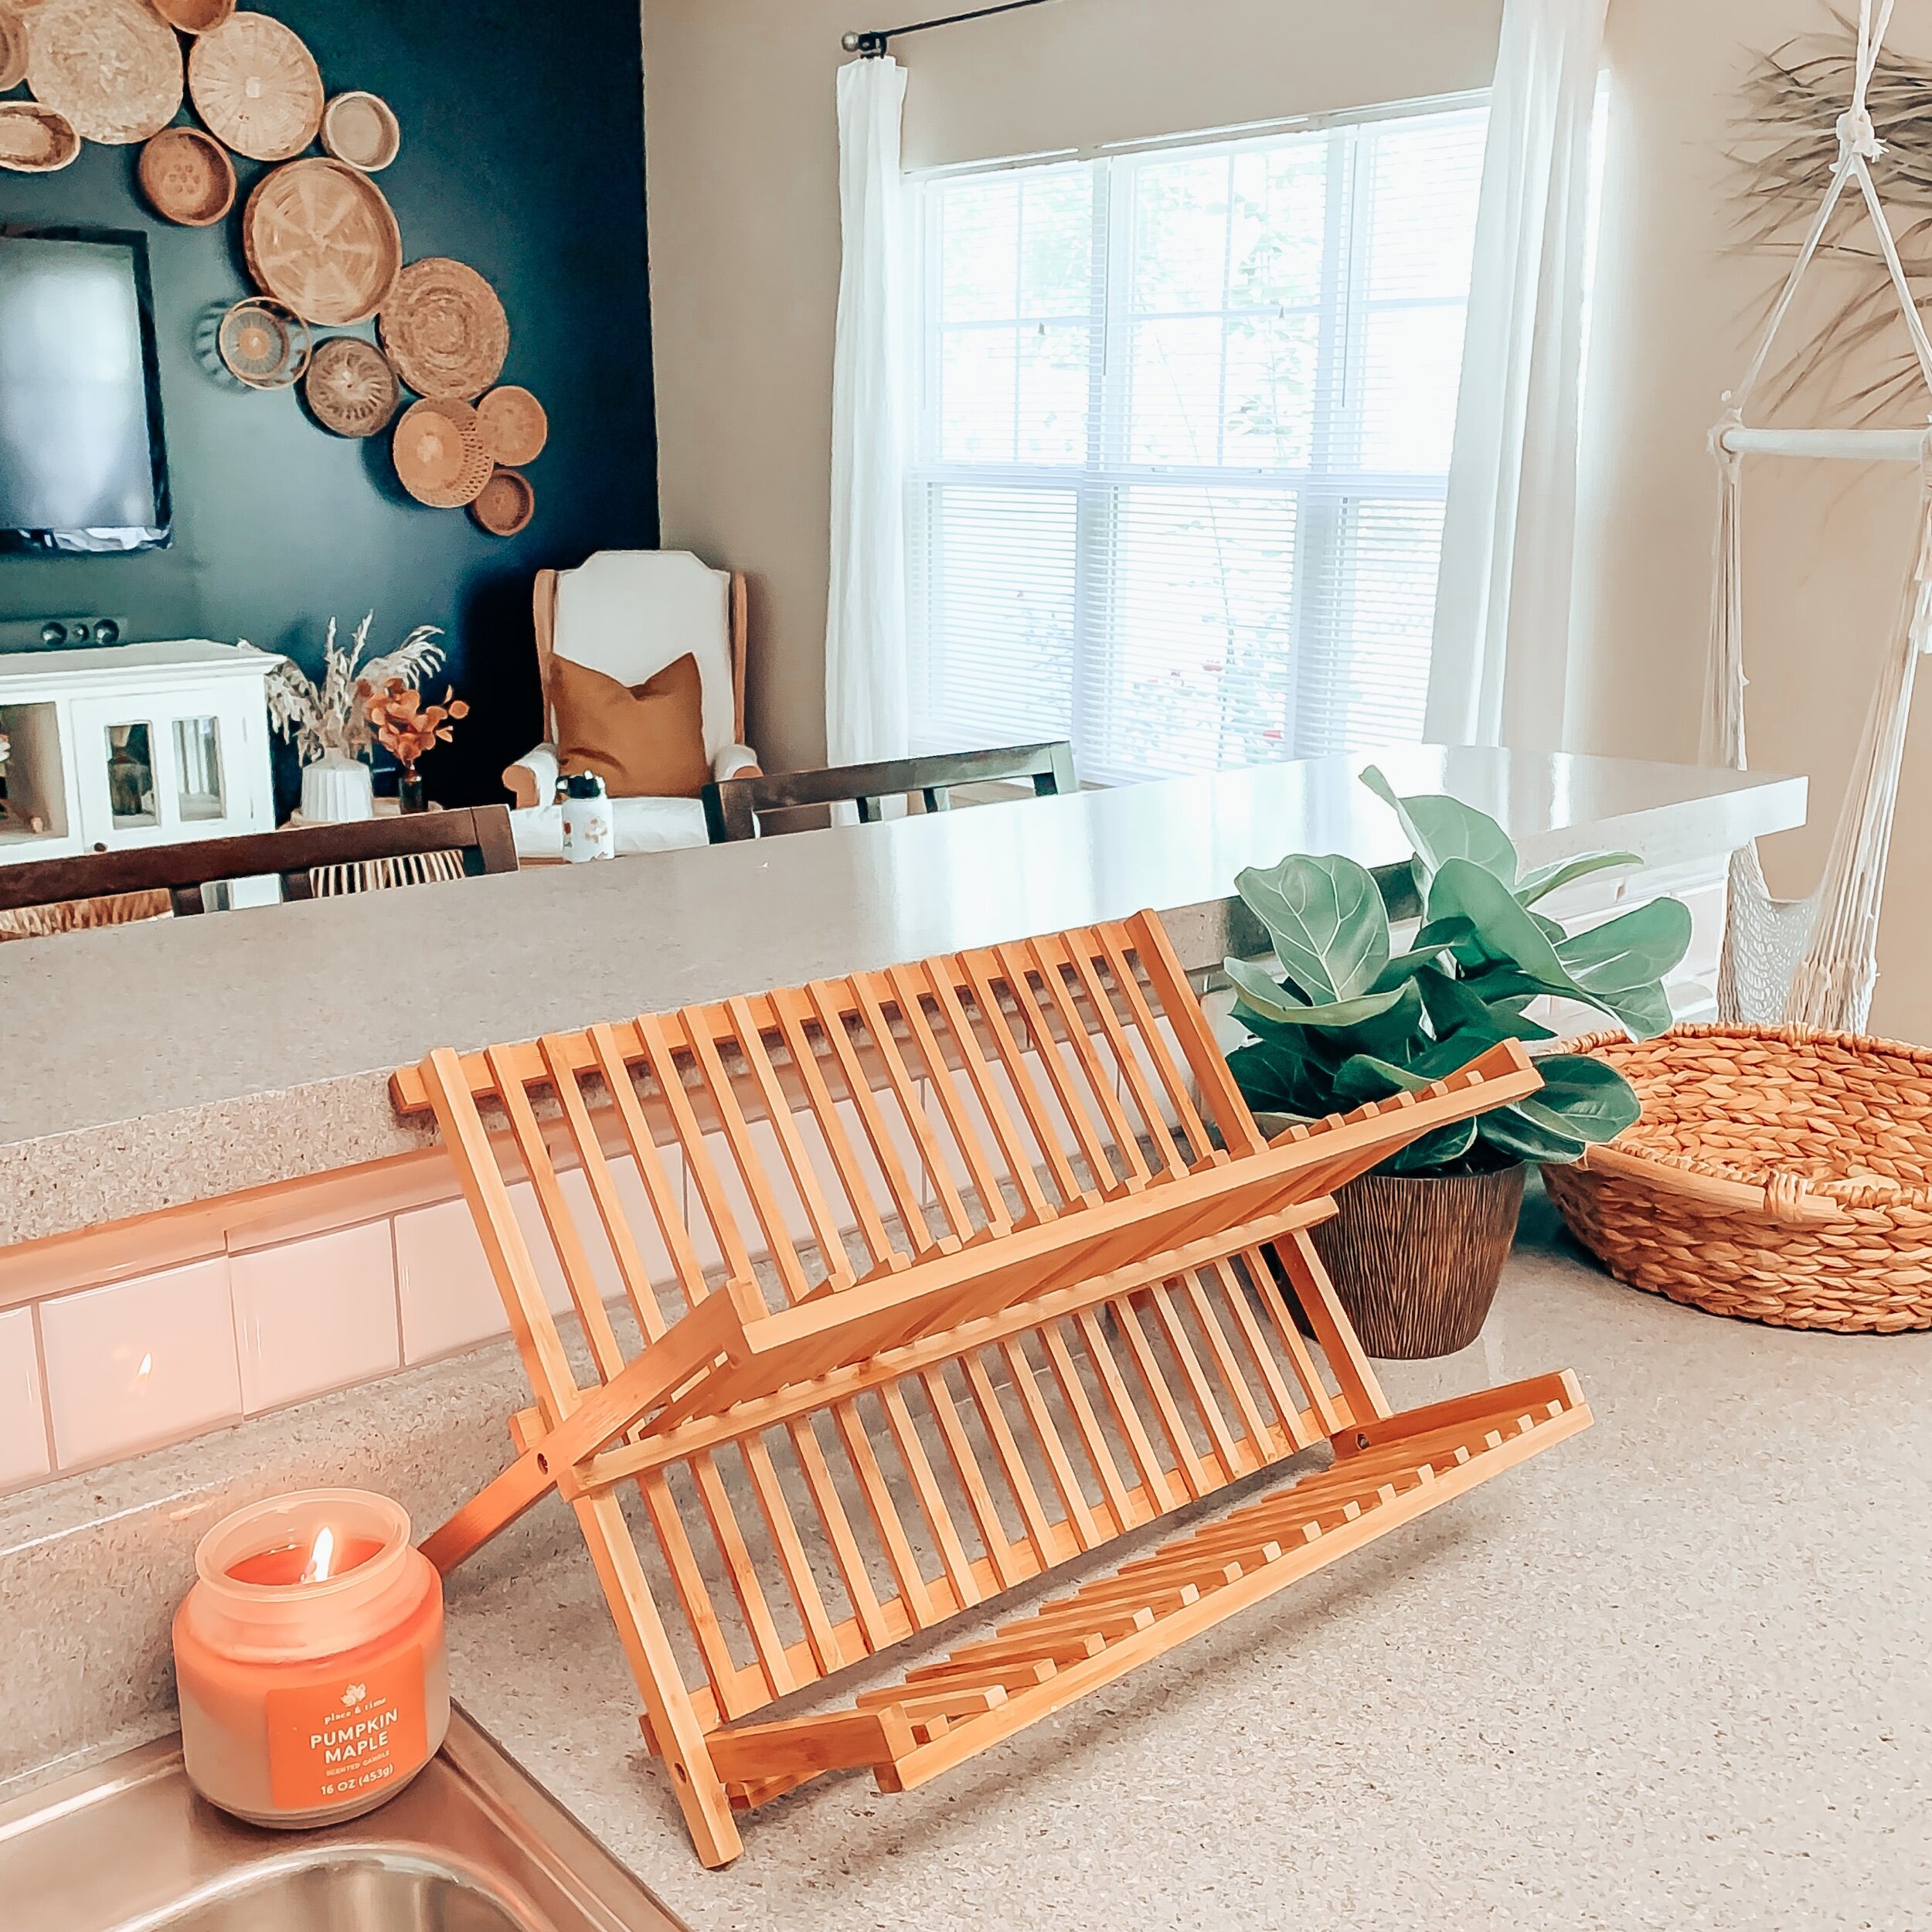
This beautiful bamboo dish rack is also from honey-can-do, click here to shop!
How are the tiles holding up?
I have only had the kitchen tiles on for about two weeks now but I’ve wiped them down daily and they are holding on fine. I have however had the laundry room tiles on for a few months and they are still doing great as well so I give it two thumbs up, so far, for stick ability!
In the end, I would do this project again and with all that I learned I think it would turn out even better.
I hope you found this blog and video helpful and if you do take that leap of faith to do this in your own home, feel free to ask me any questions you may have.
With Love,
Lisa Faye
These


Me and my husband used the silver tile in our kitchen and we found out its better to remove the back adhesive completely. We used the 3M spray adhesive. It works wonderful! When DT came out with the tiles I was using them as craft projects. My husband had the brains on the kitchen background design. We have had a lot of compliments to the new look and they could not believe it came from DT…