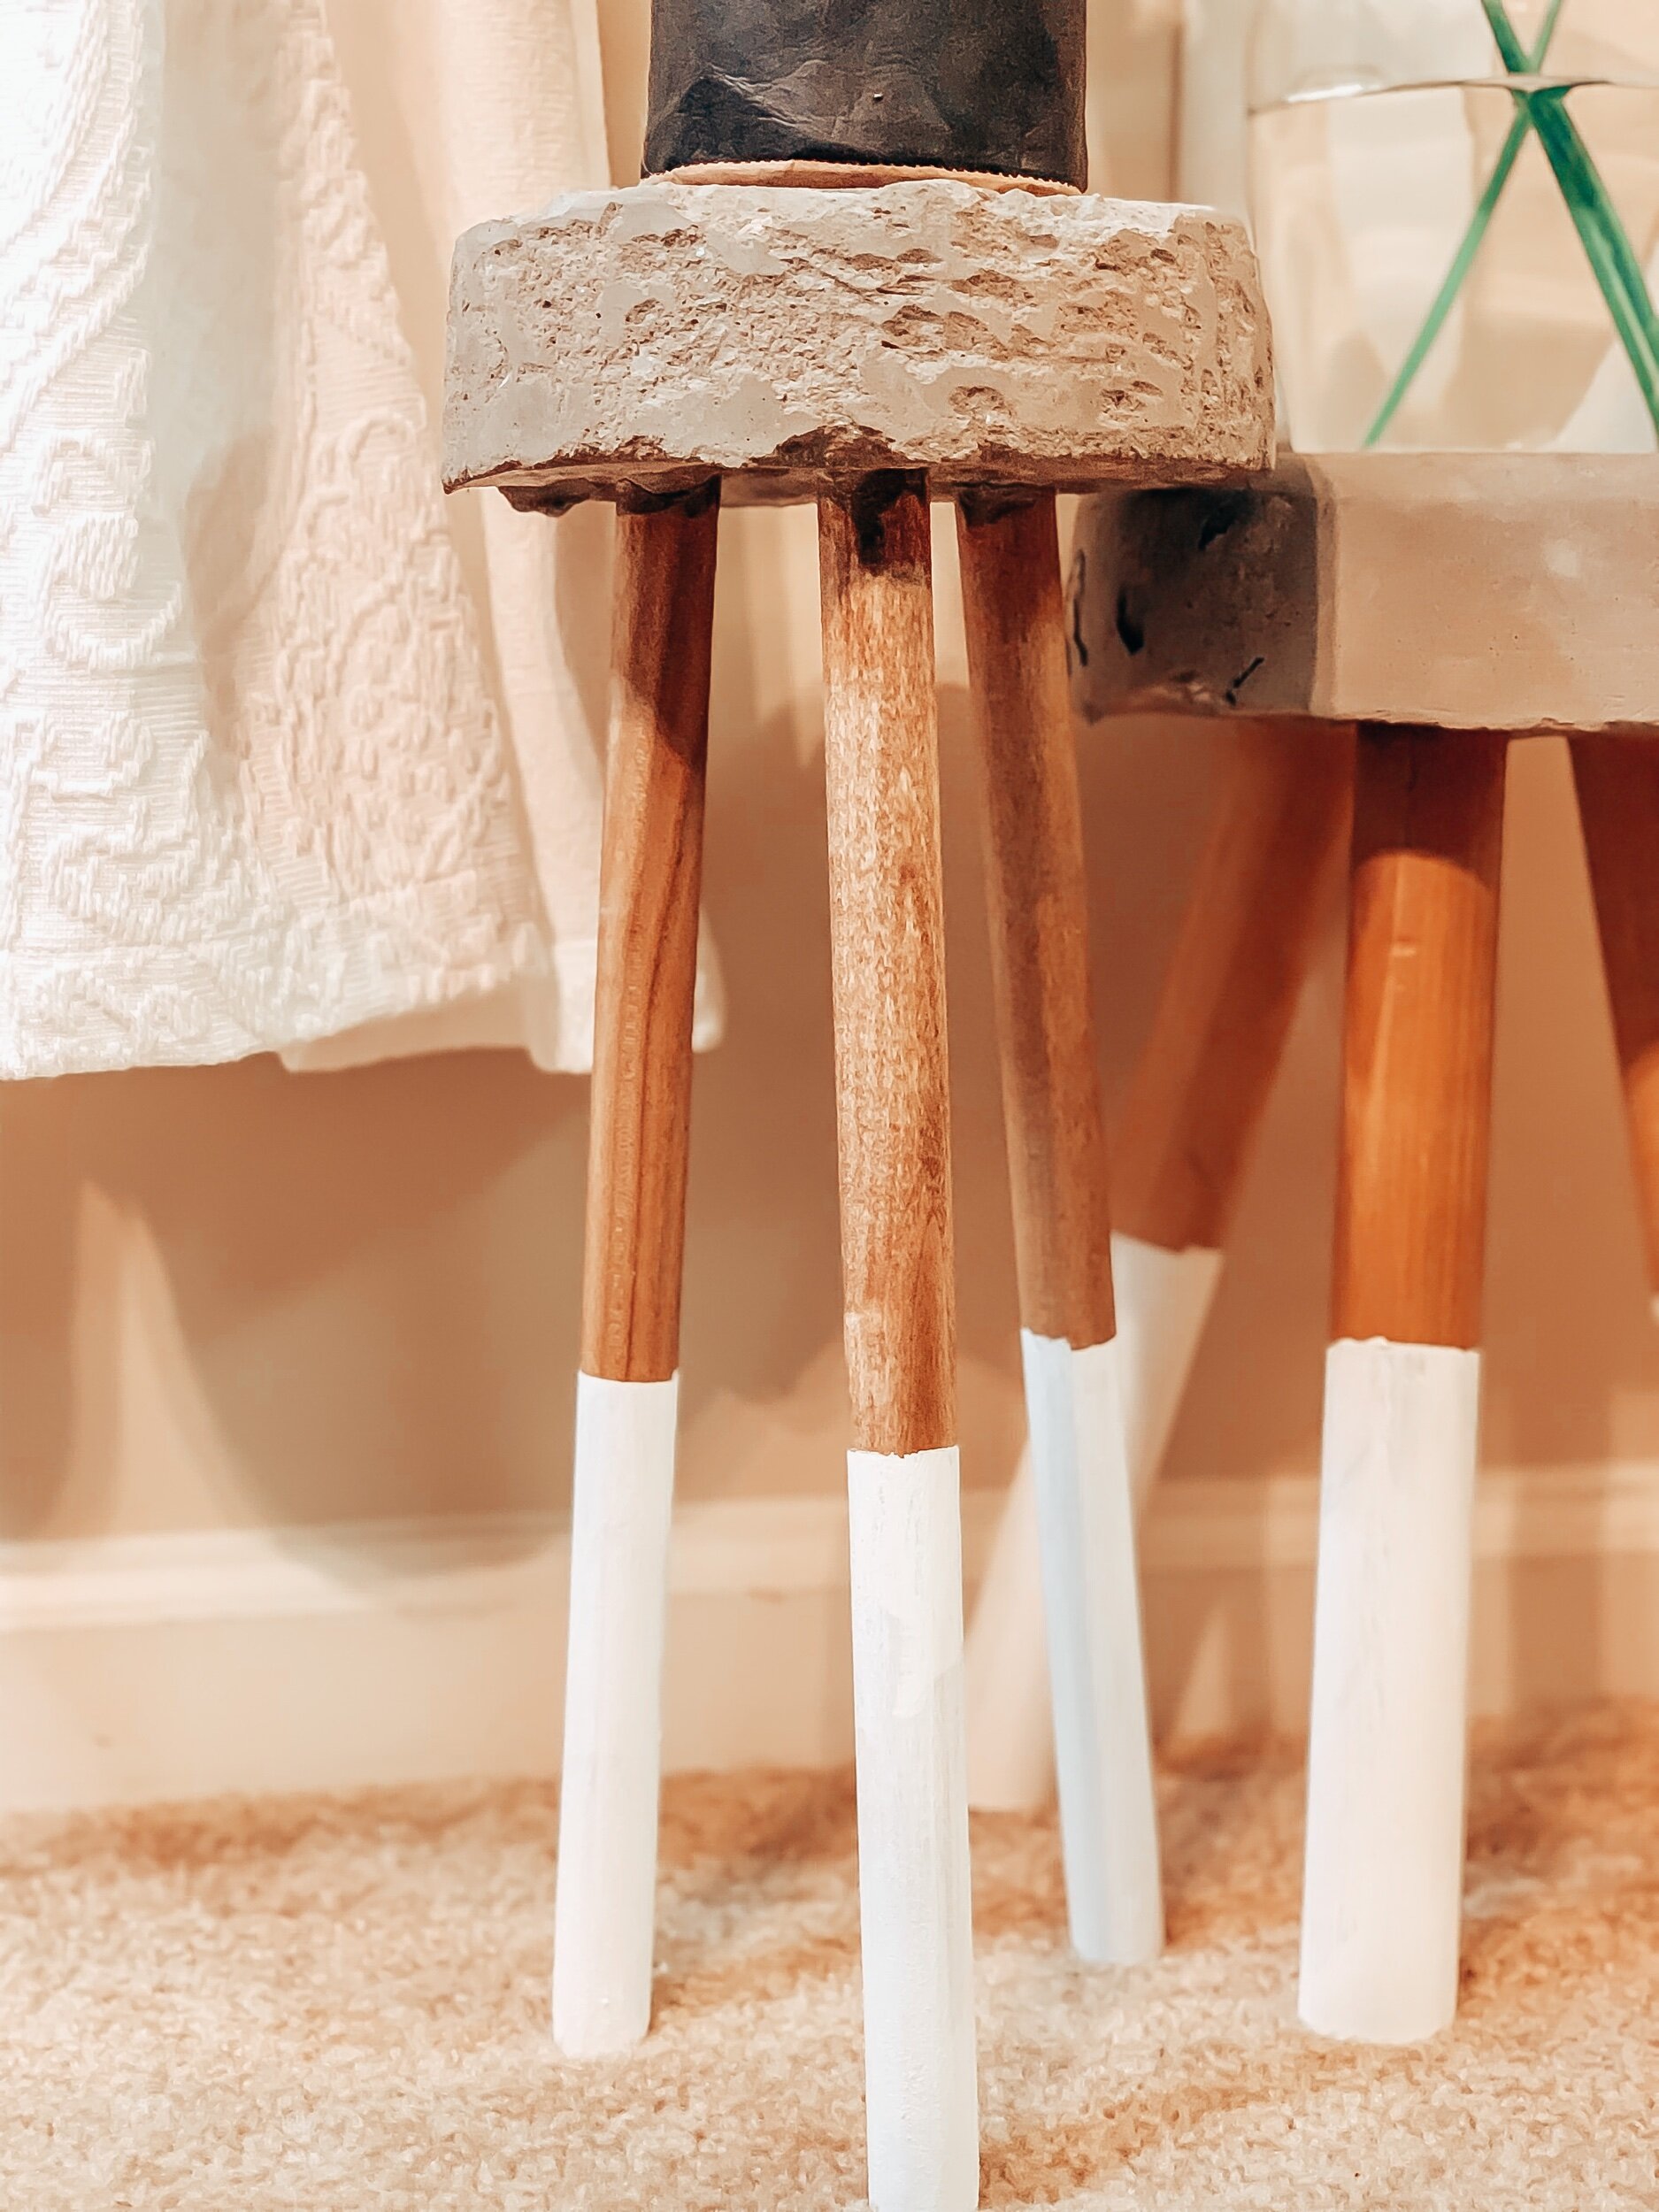
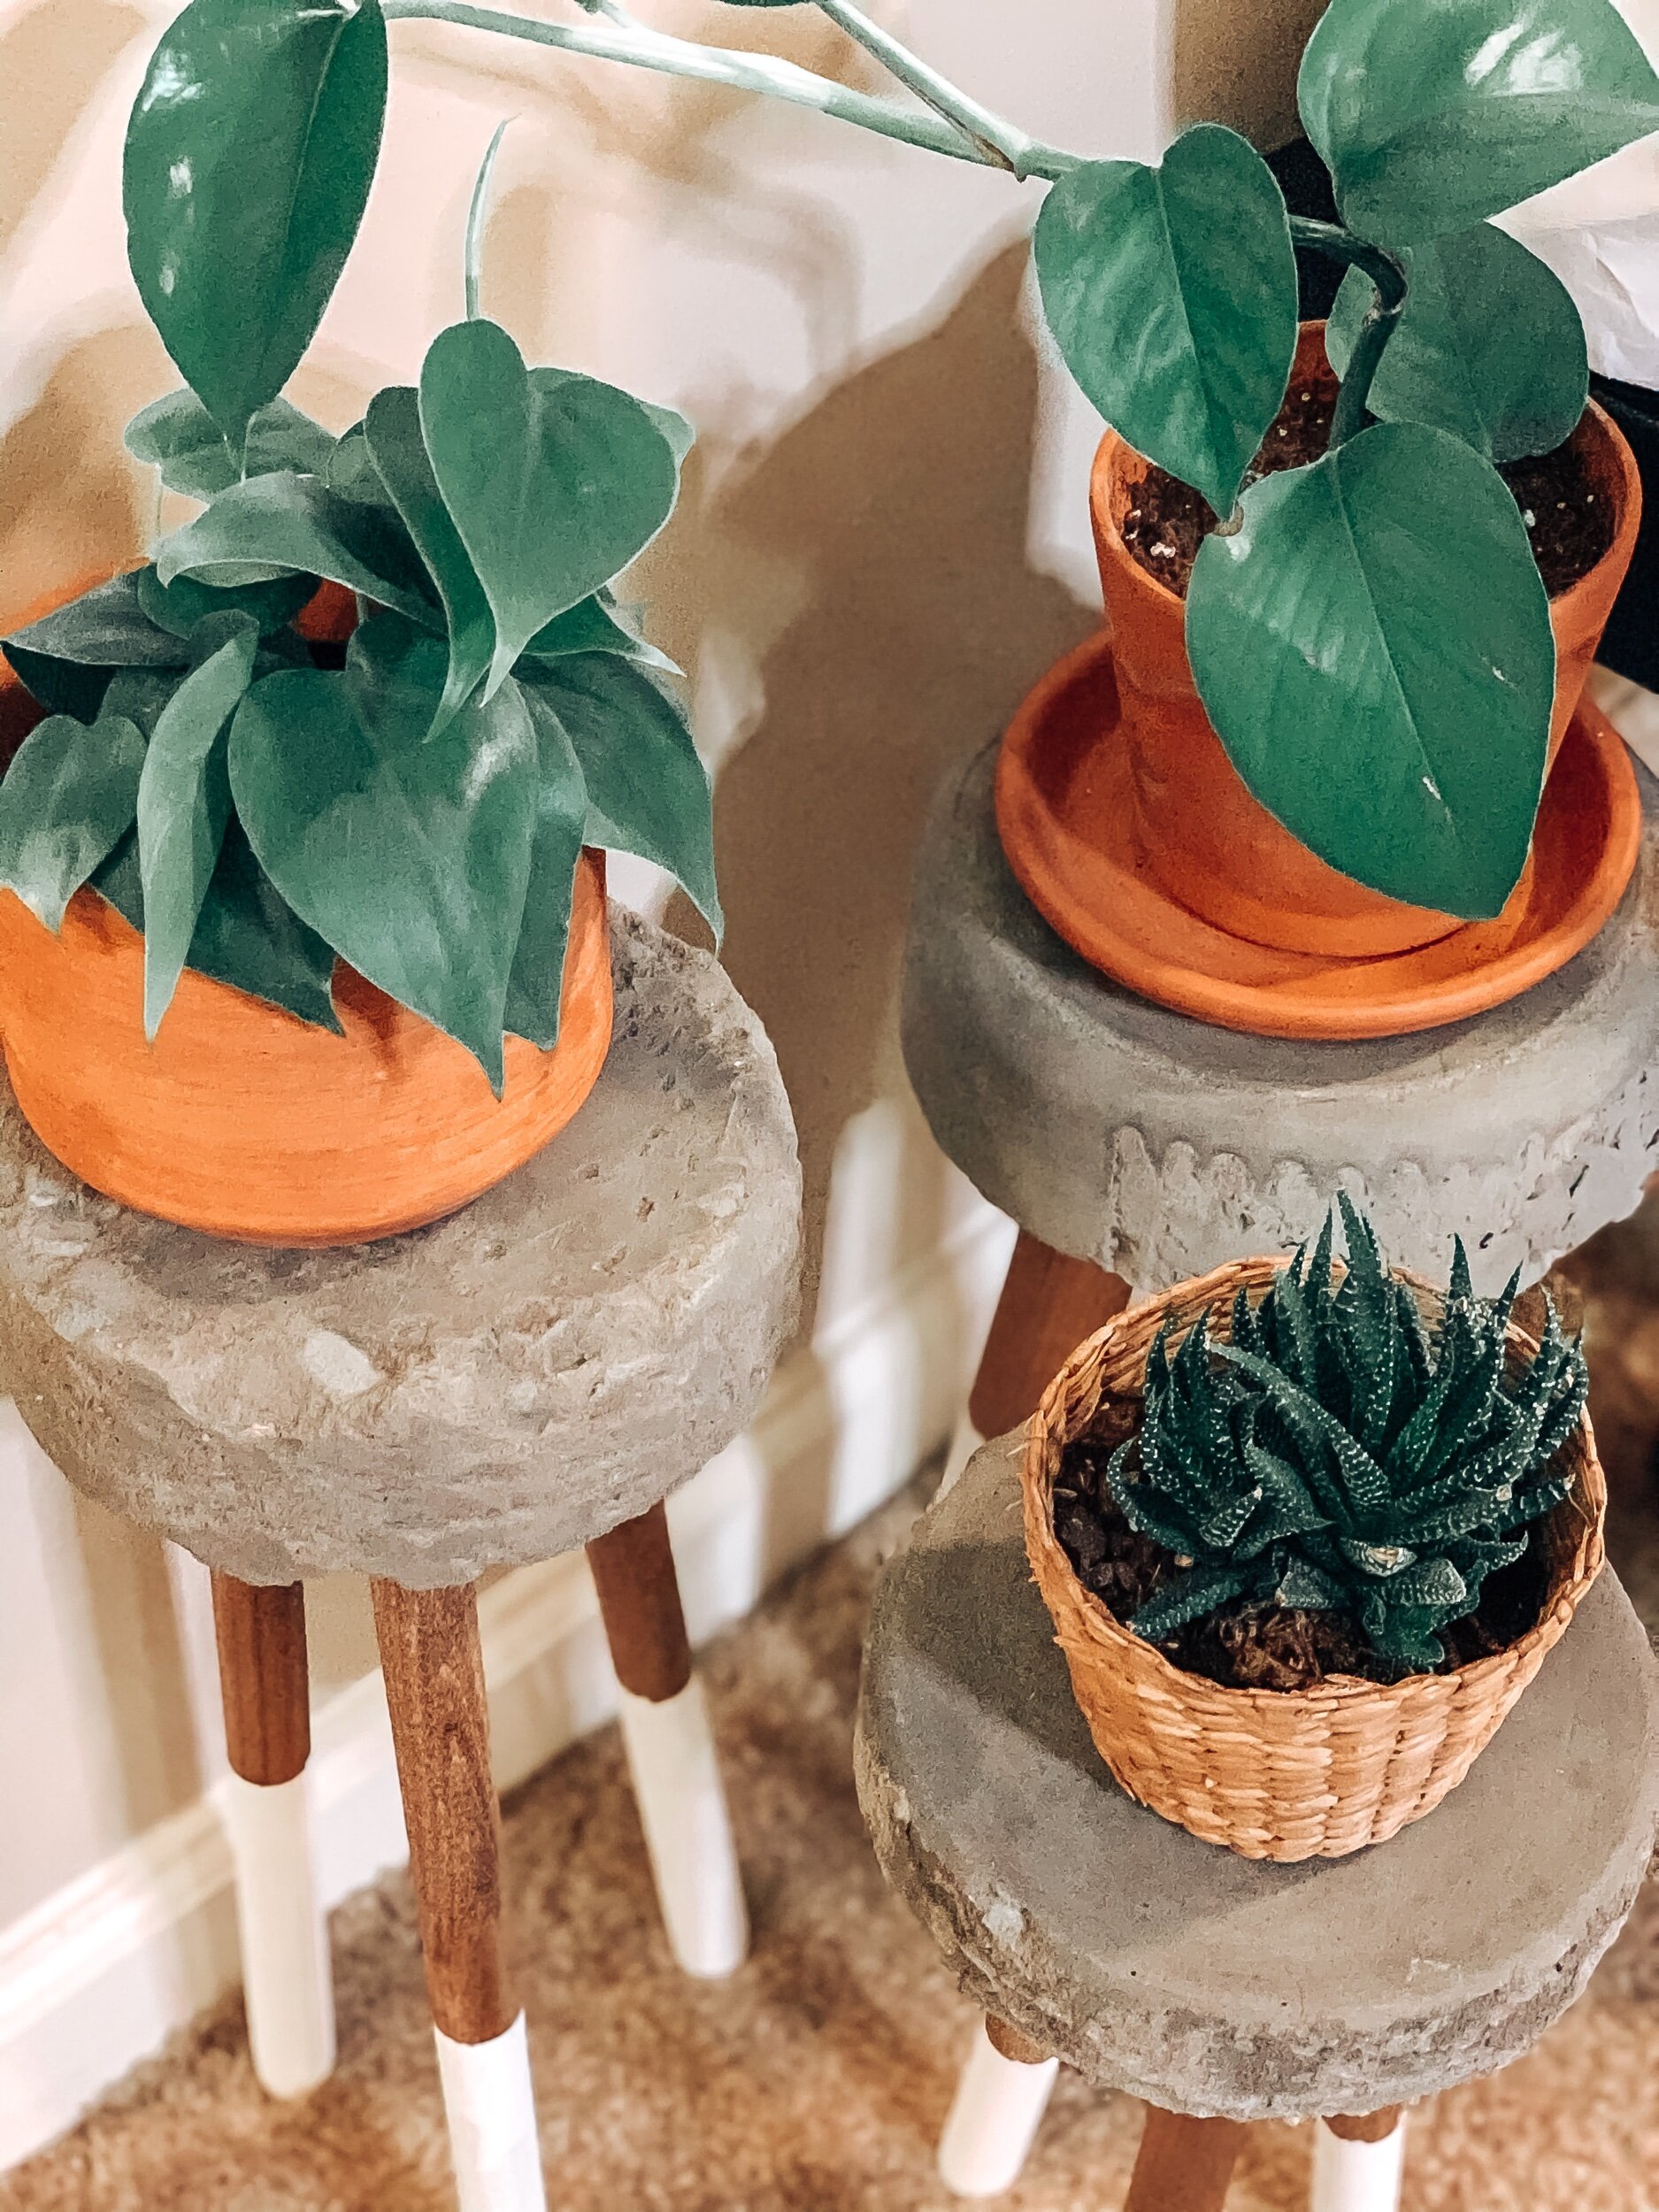
How to make your own Concrete Plant Stand
Have you ever made anything with concrete?
About a month or two ago, a friend of mine shared her DIY concrete bowl. I was intrigued by the process and how beautiful the bowl was, that I instantly added it to my long list of must do DIY projects!
A few weeks later I seen a concrete plant stand DIY on Pinterest and finally decided it was time to get me a bag of concrete!
In this post, I am sharing all of the steps I took in creating my own concrete plant stand. I will also link all the resources here for your convenience as well.
DISCLAIMER: The links I am adding are affiliate links, that means I may make a small commision, at no extra cost to you, if you purchase using my links. Thank you for your continued support.
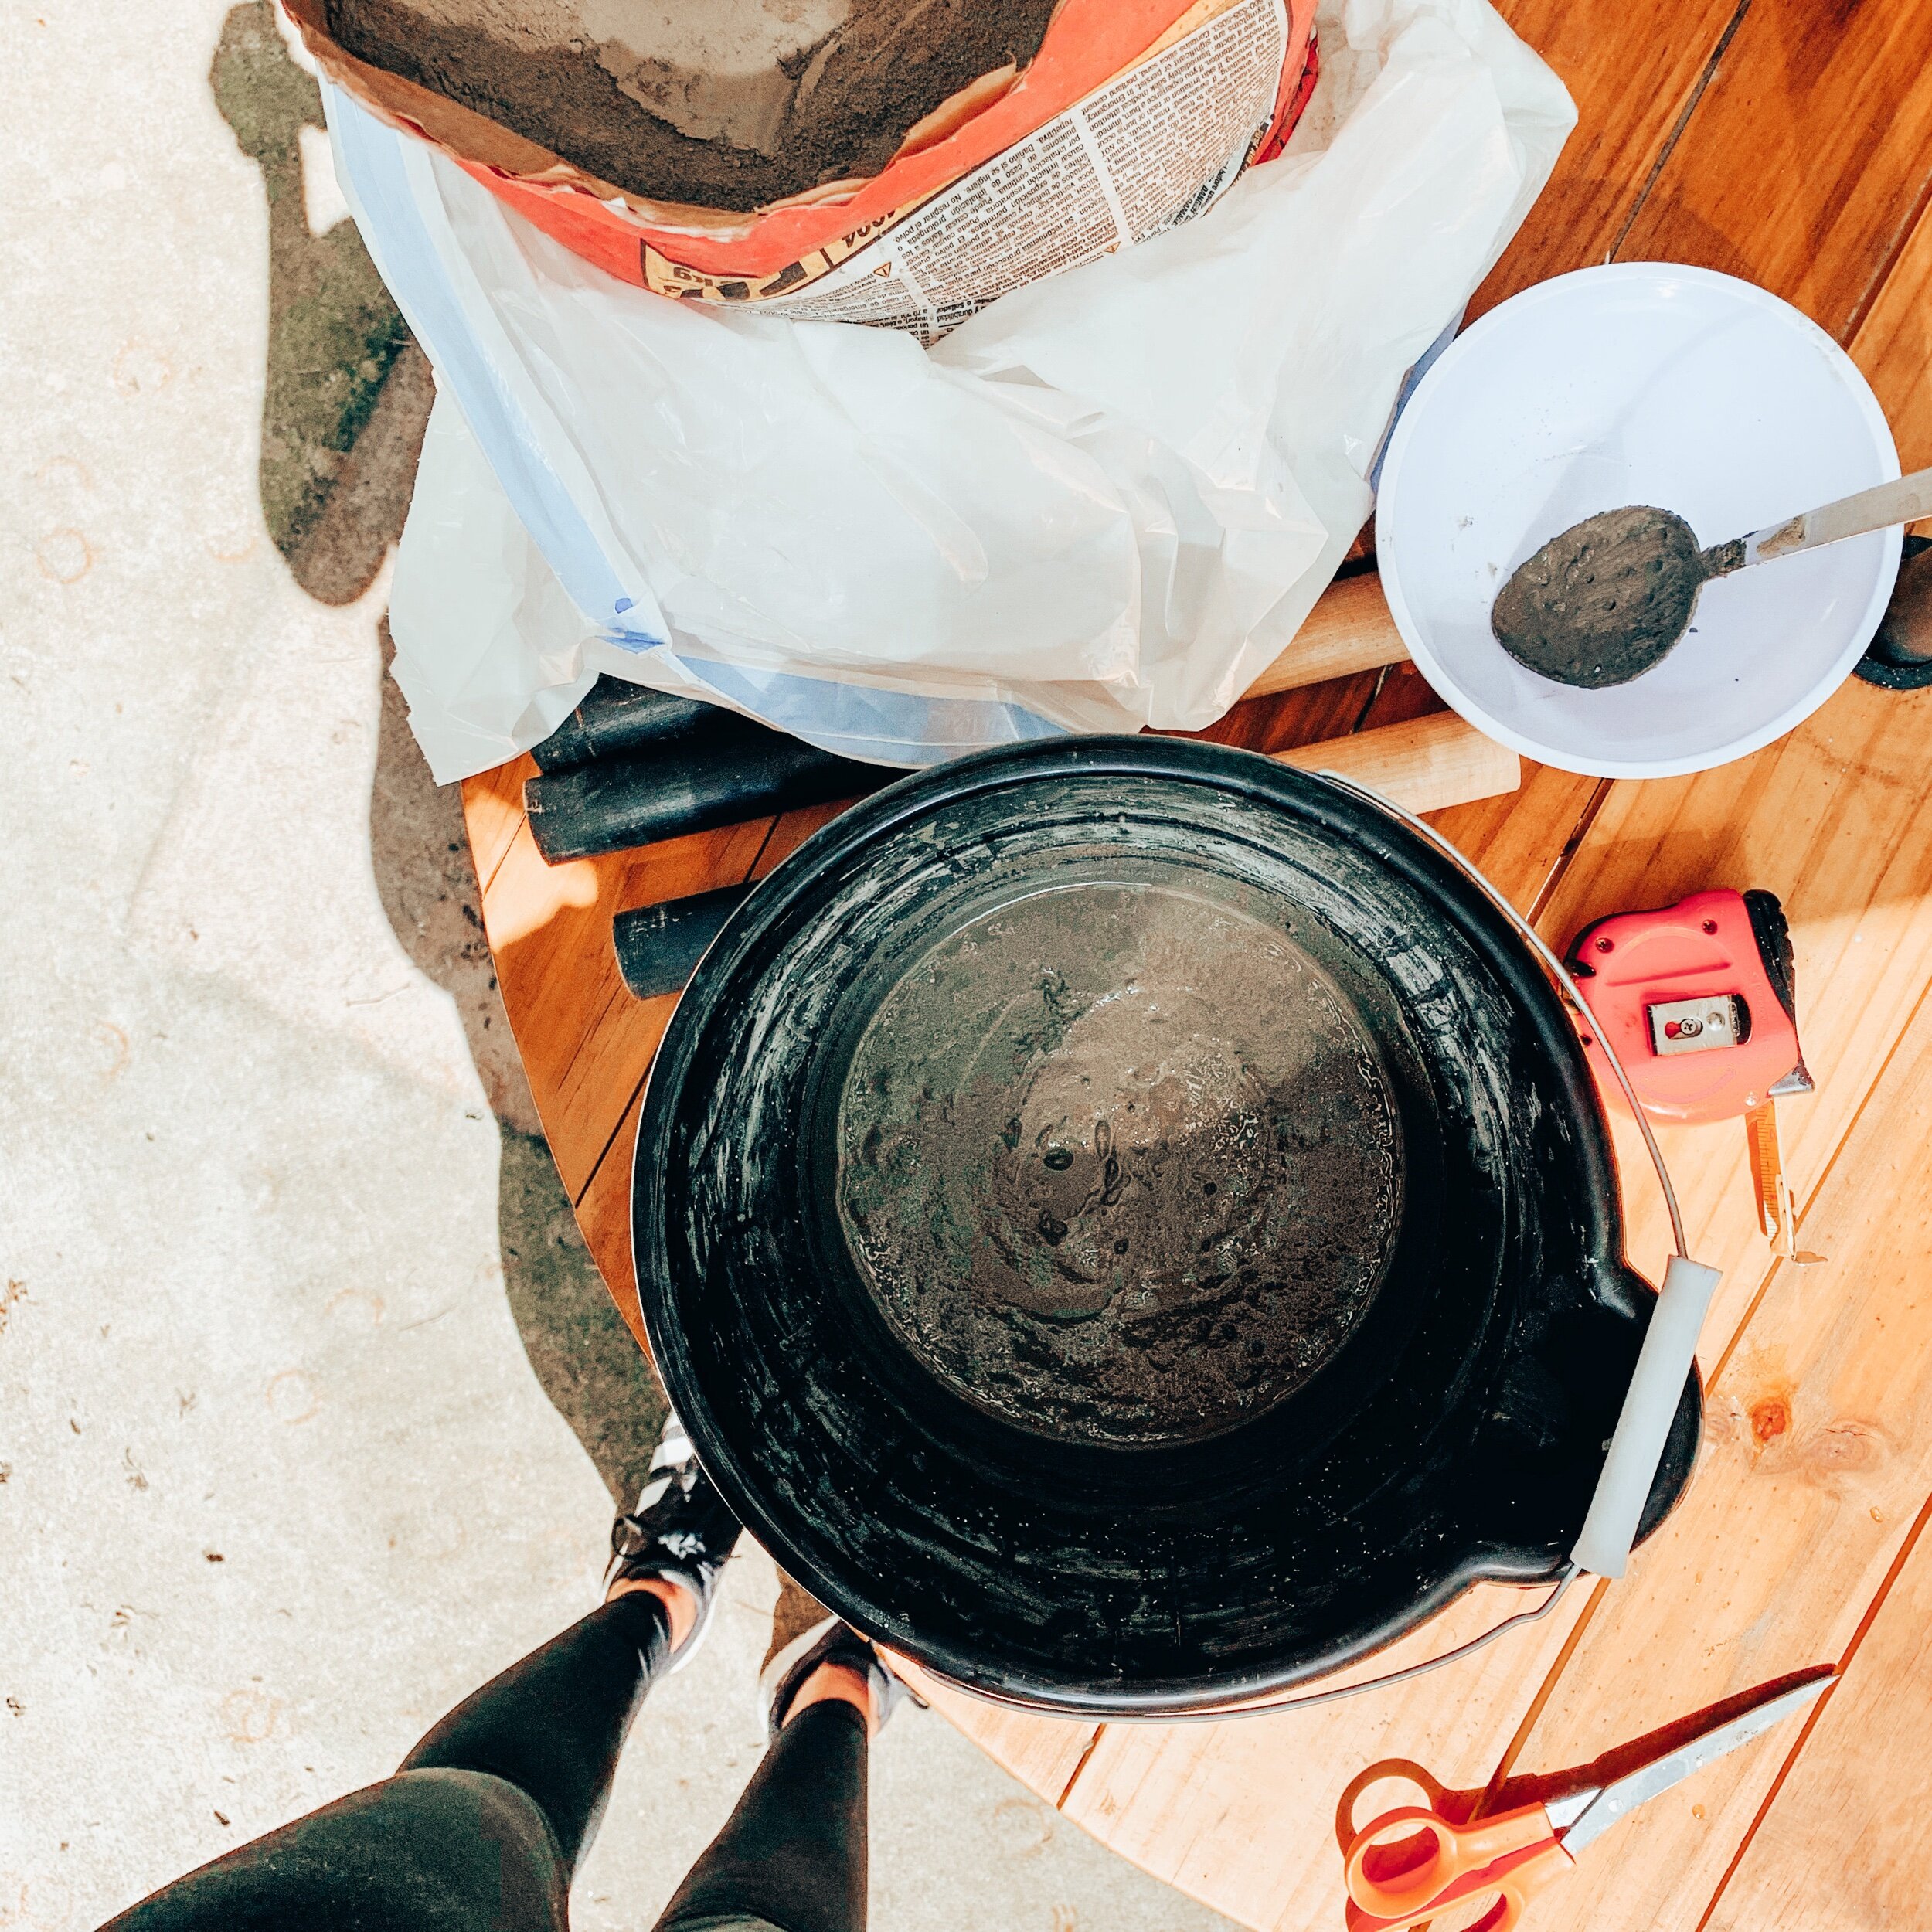
Here is what you will need.
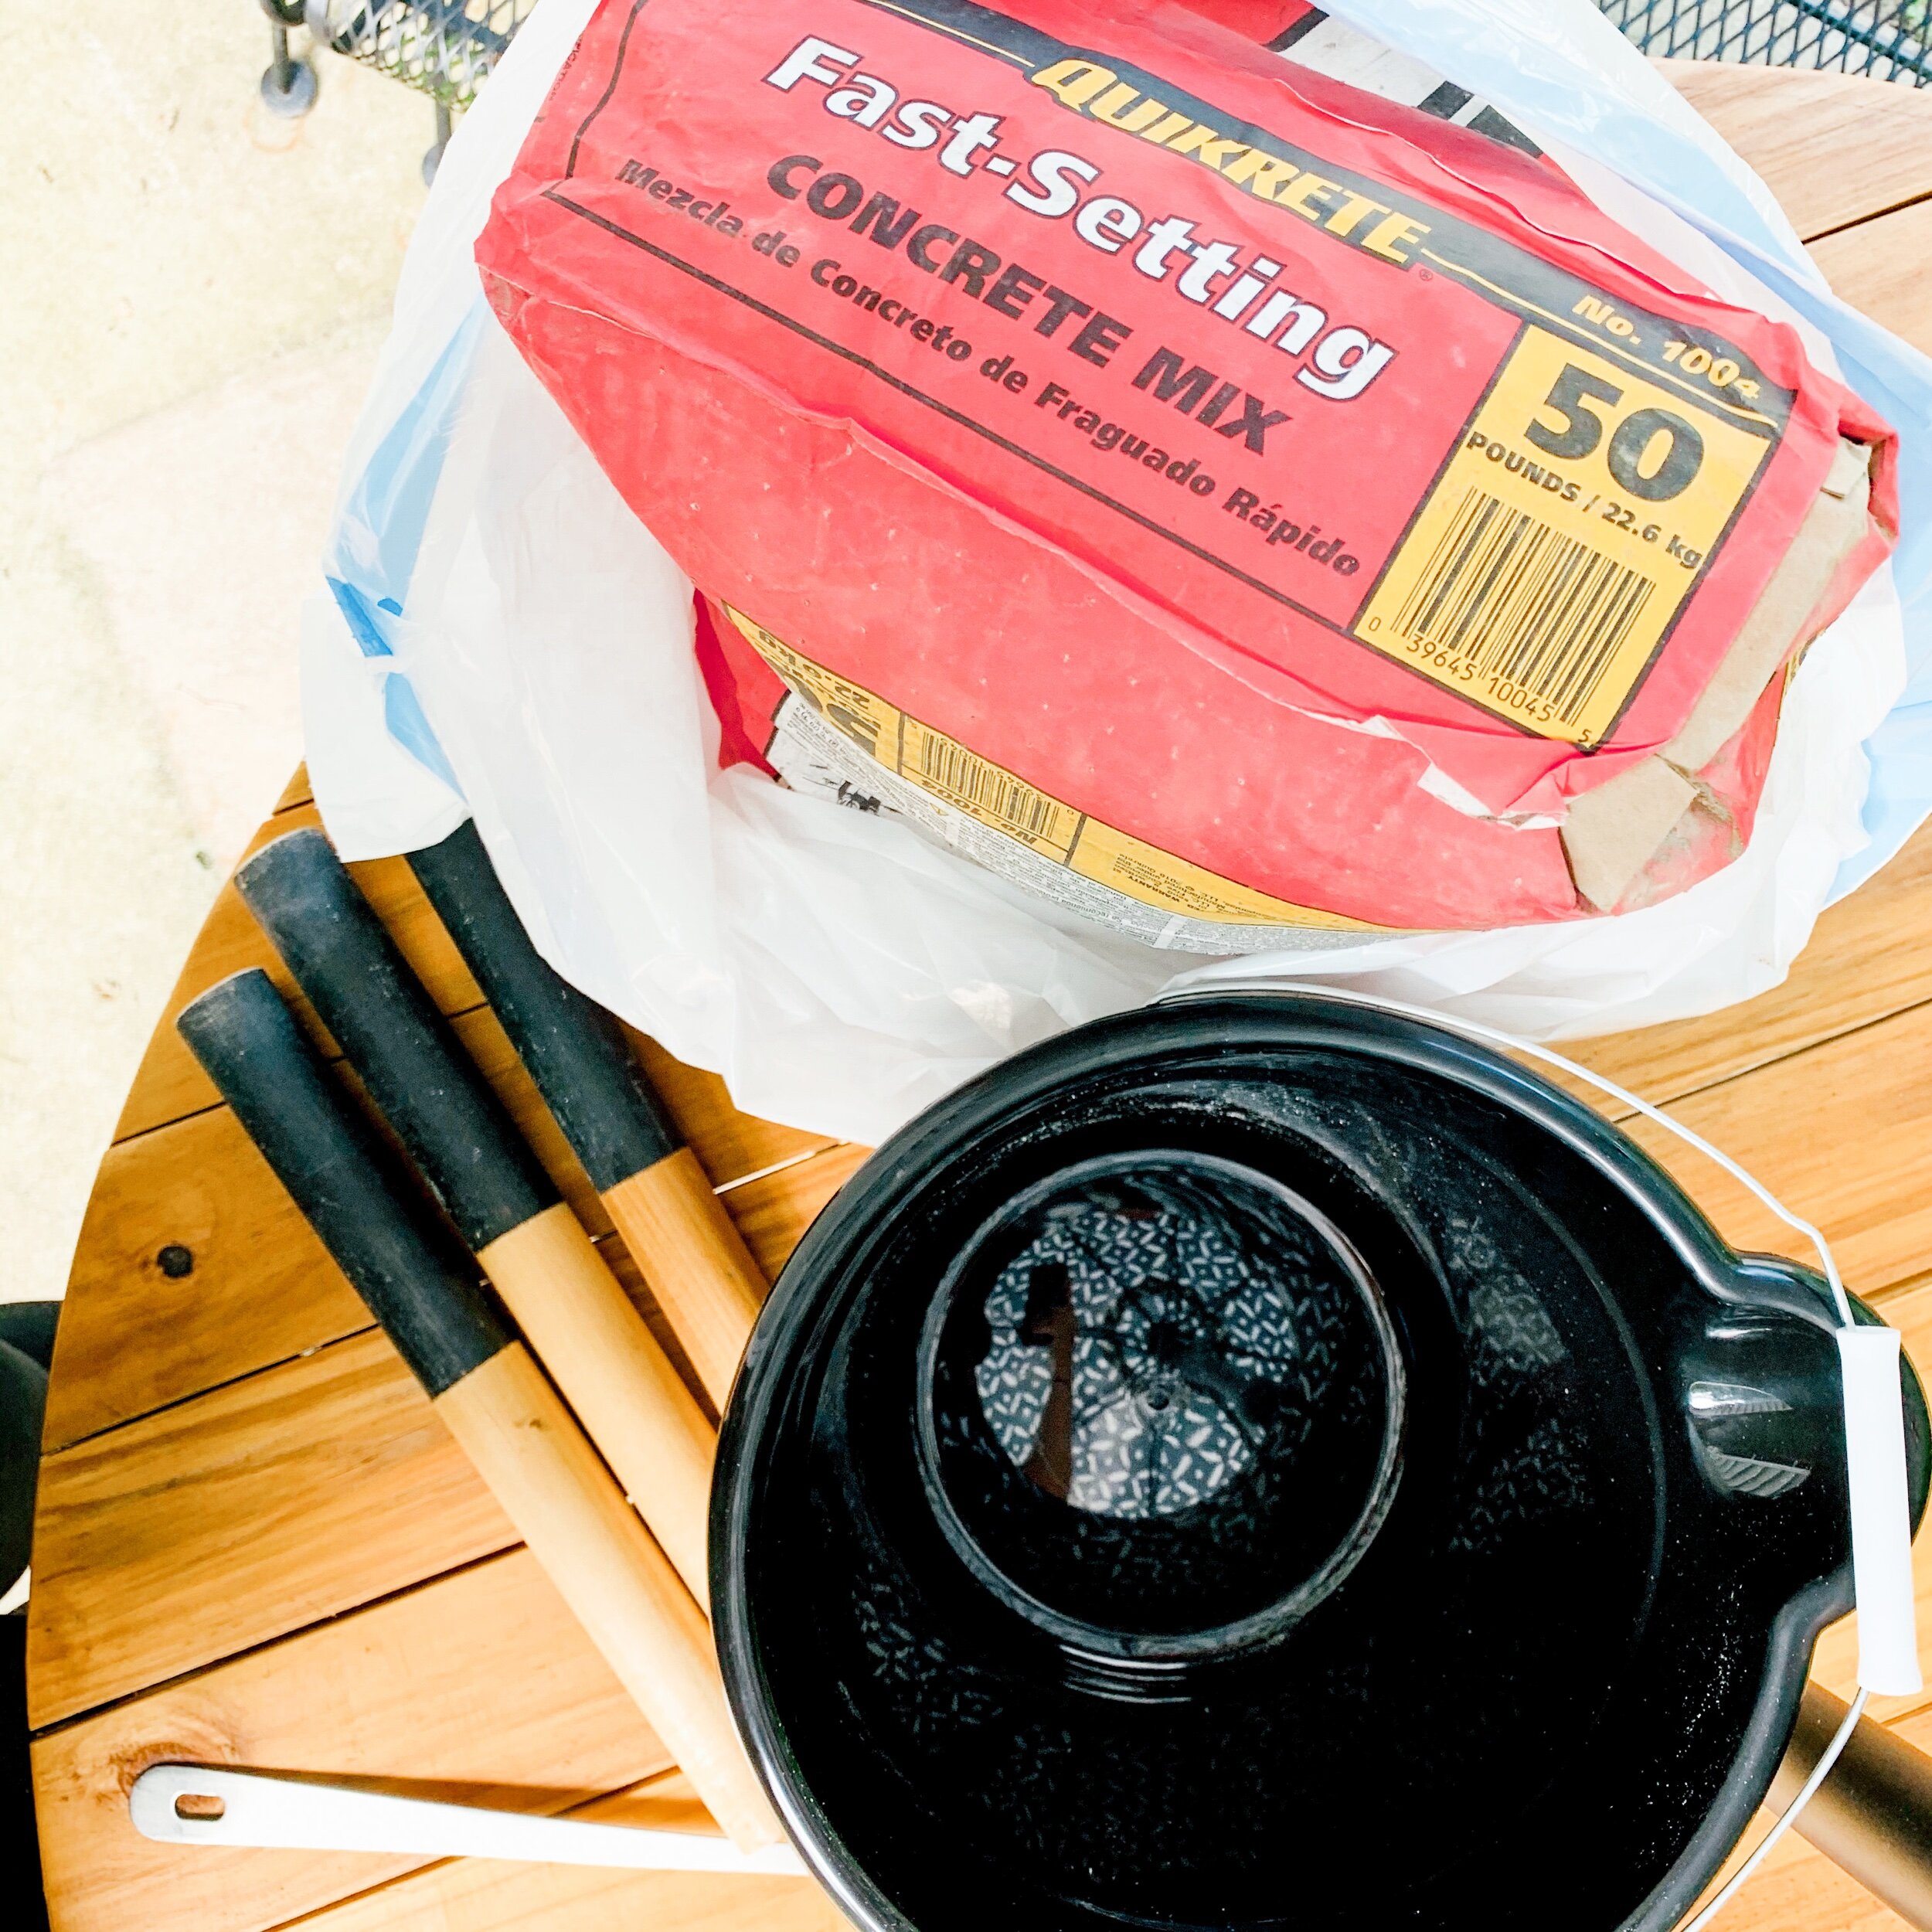
-
dowel(s) long and thick enough to create 3 legs at the height and thickness you prefer. I ended up liking the 7/8 dowel
-
plastic bucket I got mine from the dollar tree so it was pretty small but for my next one I will head to Walmart and get a larger one
-
spoon or something strong to stir with I ended up using an old metal one I had at the house
-
water (cold)
-
pre stain, stain and paint for the legs. I went with special walnut for my stain and used white for the paint color
-
Silicone mold release Unfortunately, I didn’t have any for this project, but I have read that it helps your concrete slide right out. I will definitely use this next time.
-
Hammer or mallet
Making your Concrete Plant Stand: Step by Step
-
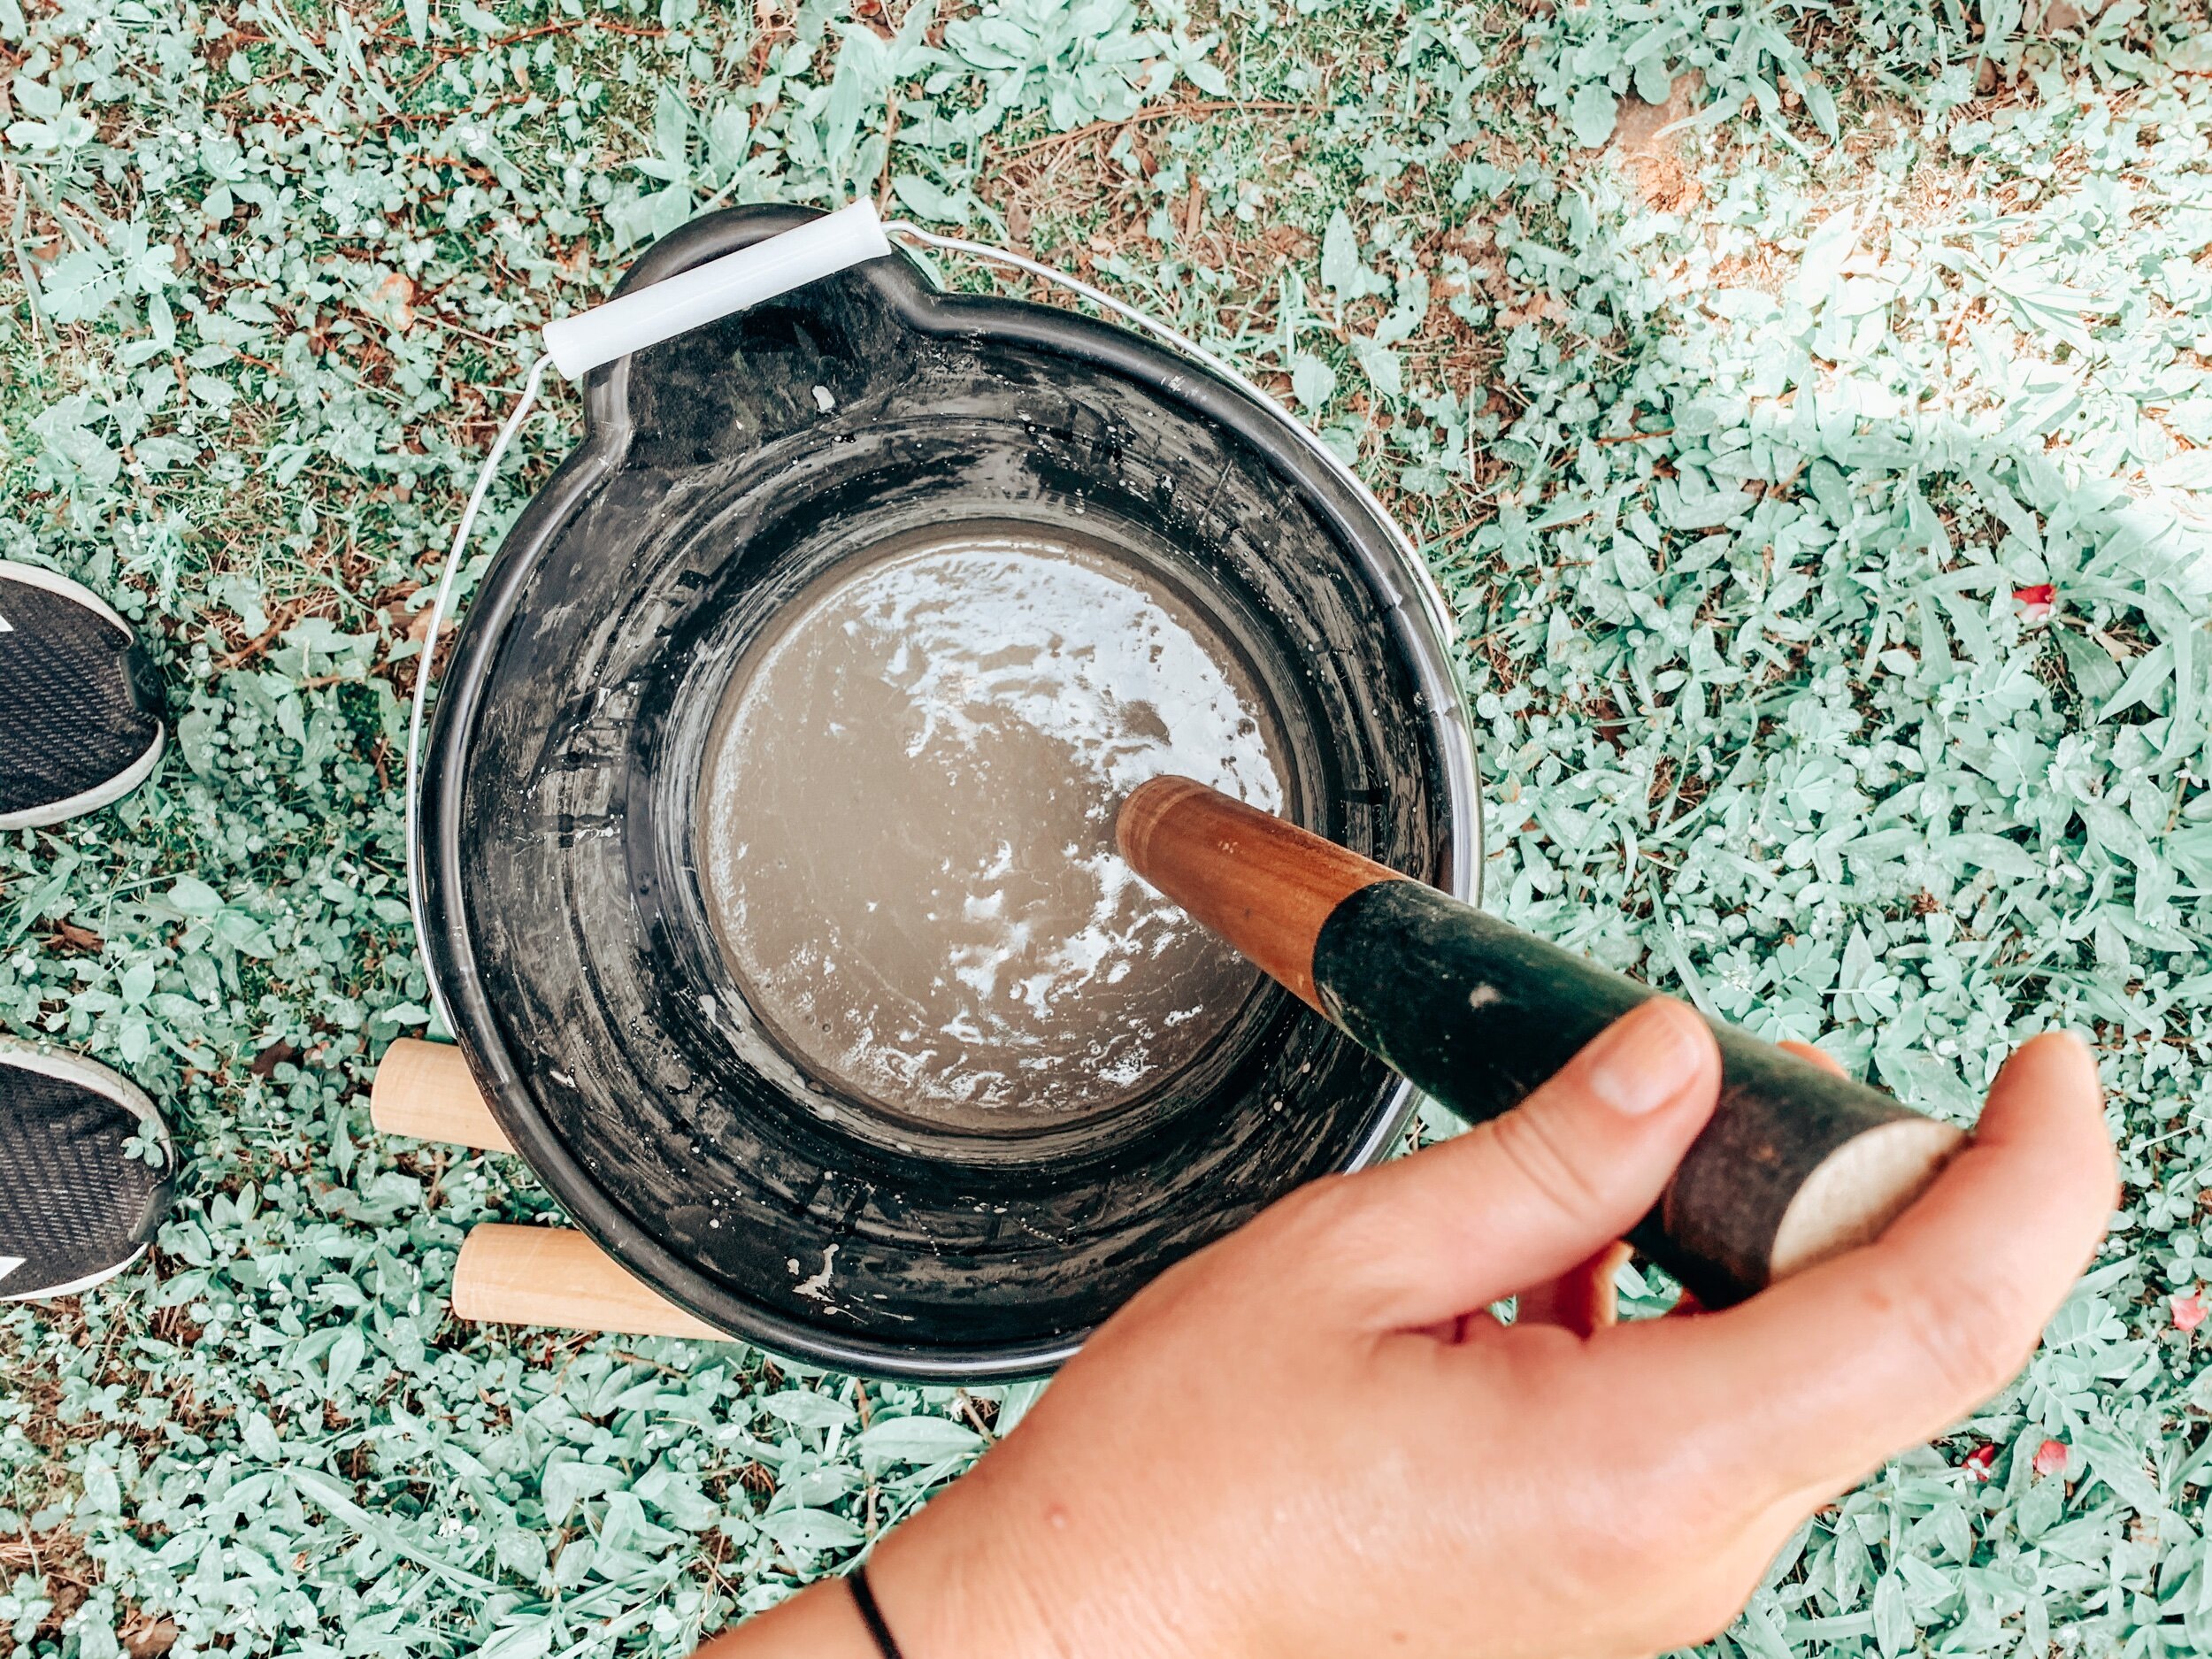
Pour a little cold water into your bucket.
-
Use a cup or bowl to dip a little cement out of the bag and slowly pour it into the water, stirring as you do.
-
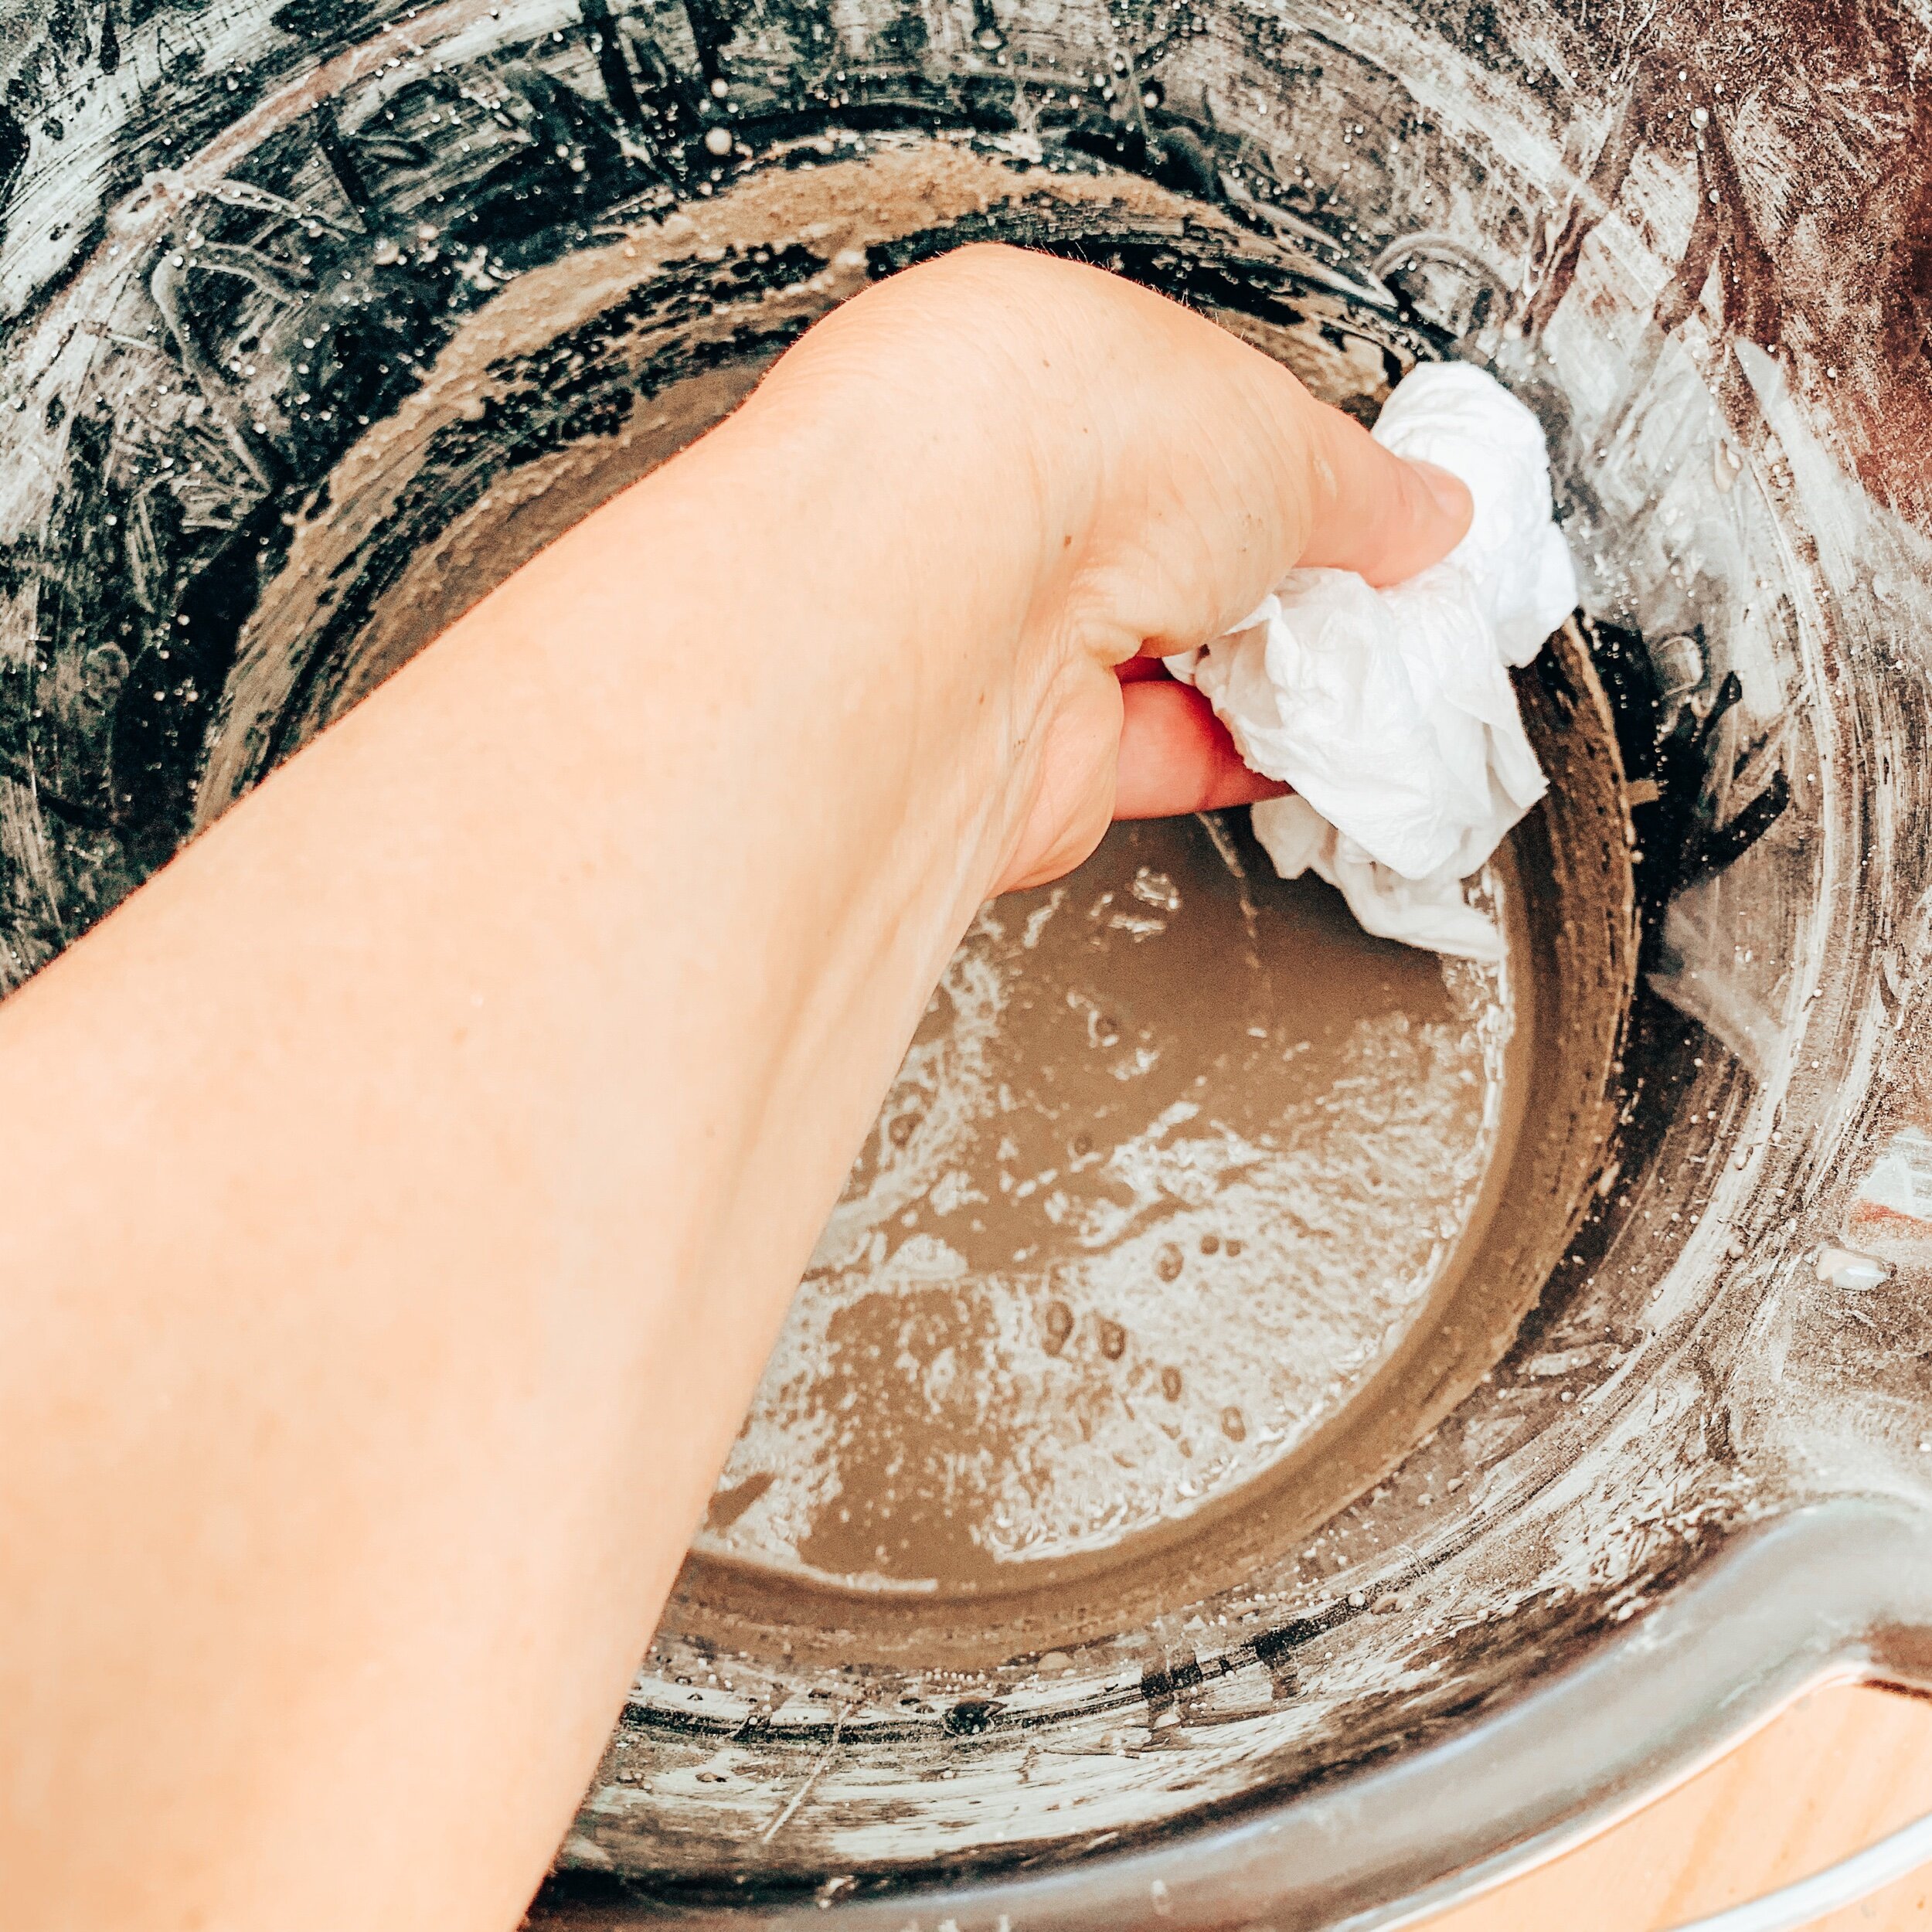
Continue adding concrete until you achieve a thick consistency, being sure everything is mixed well. I used a moist paper towel to remove some of the excess around the bowl, in hopes that it would help prevent it come out smoothly.
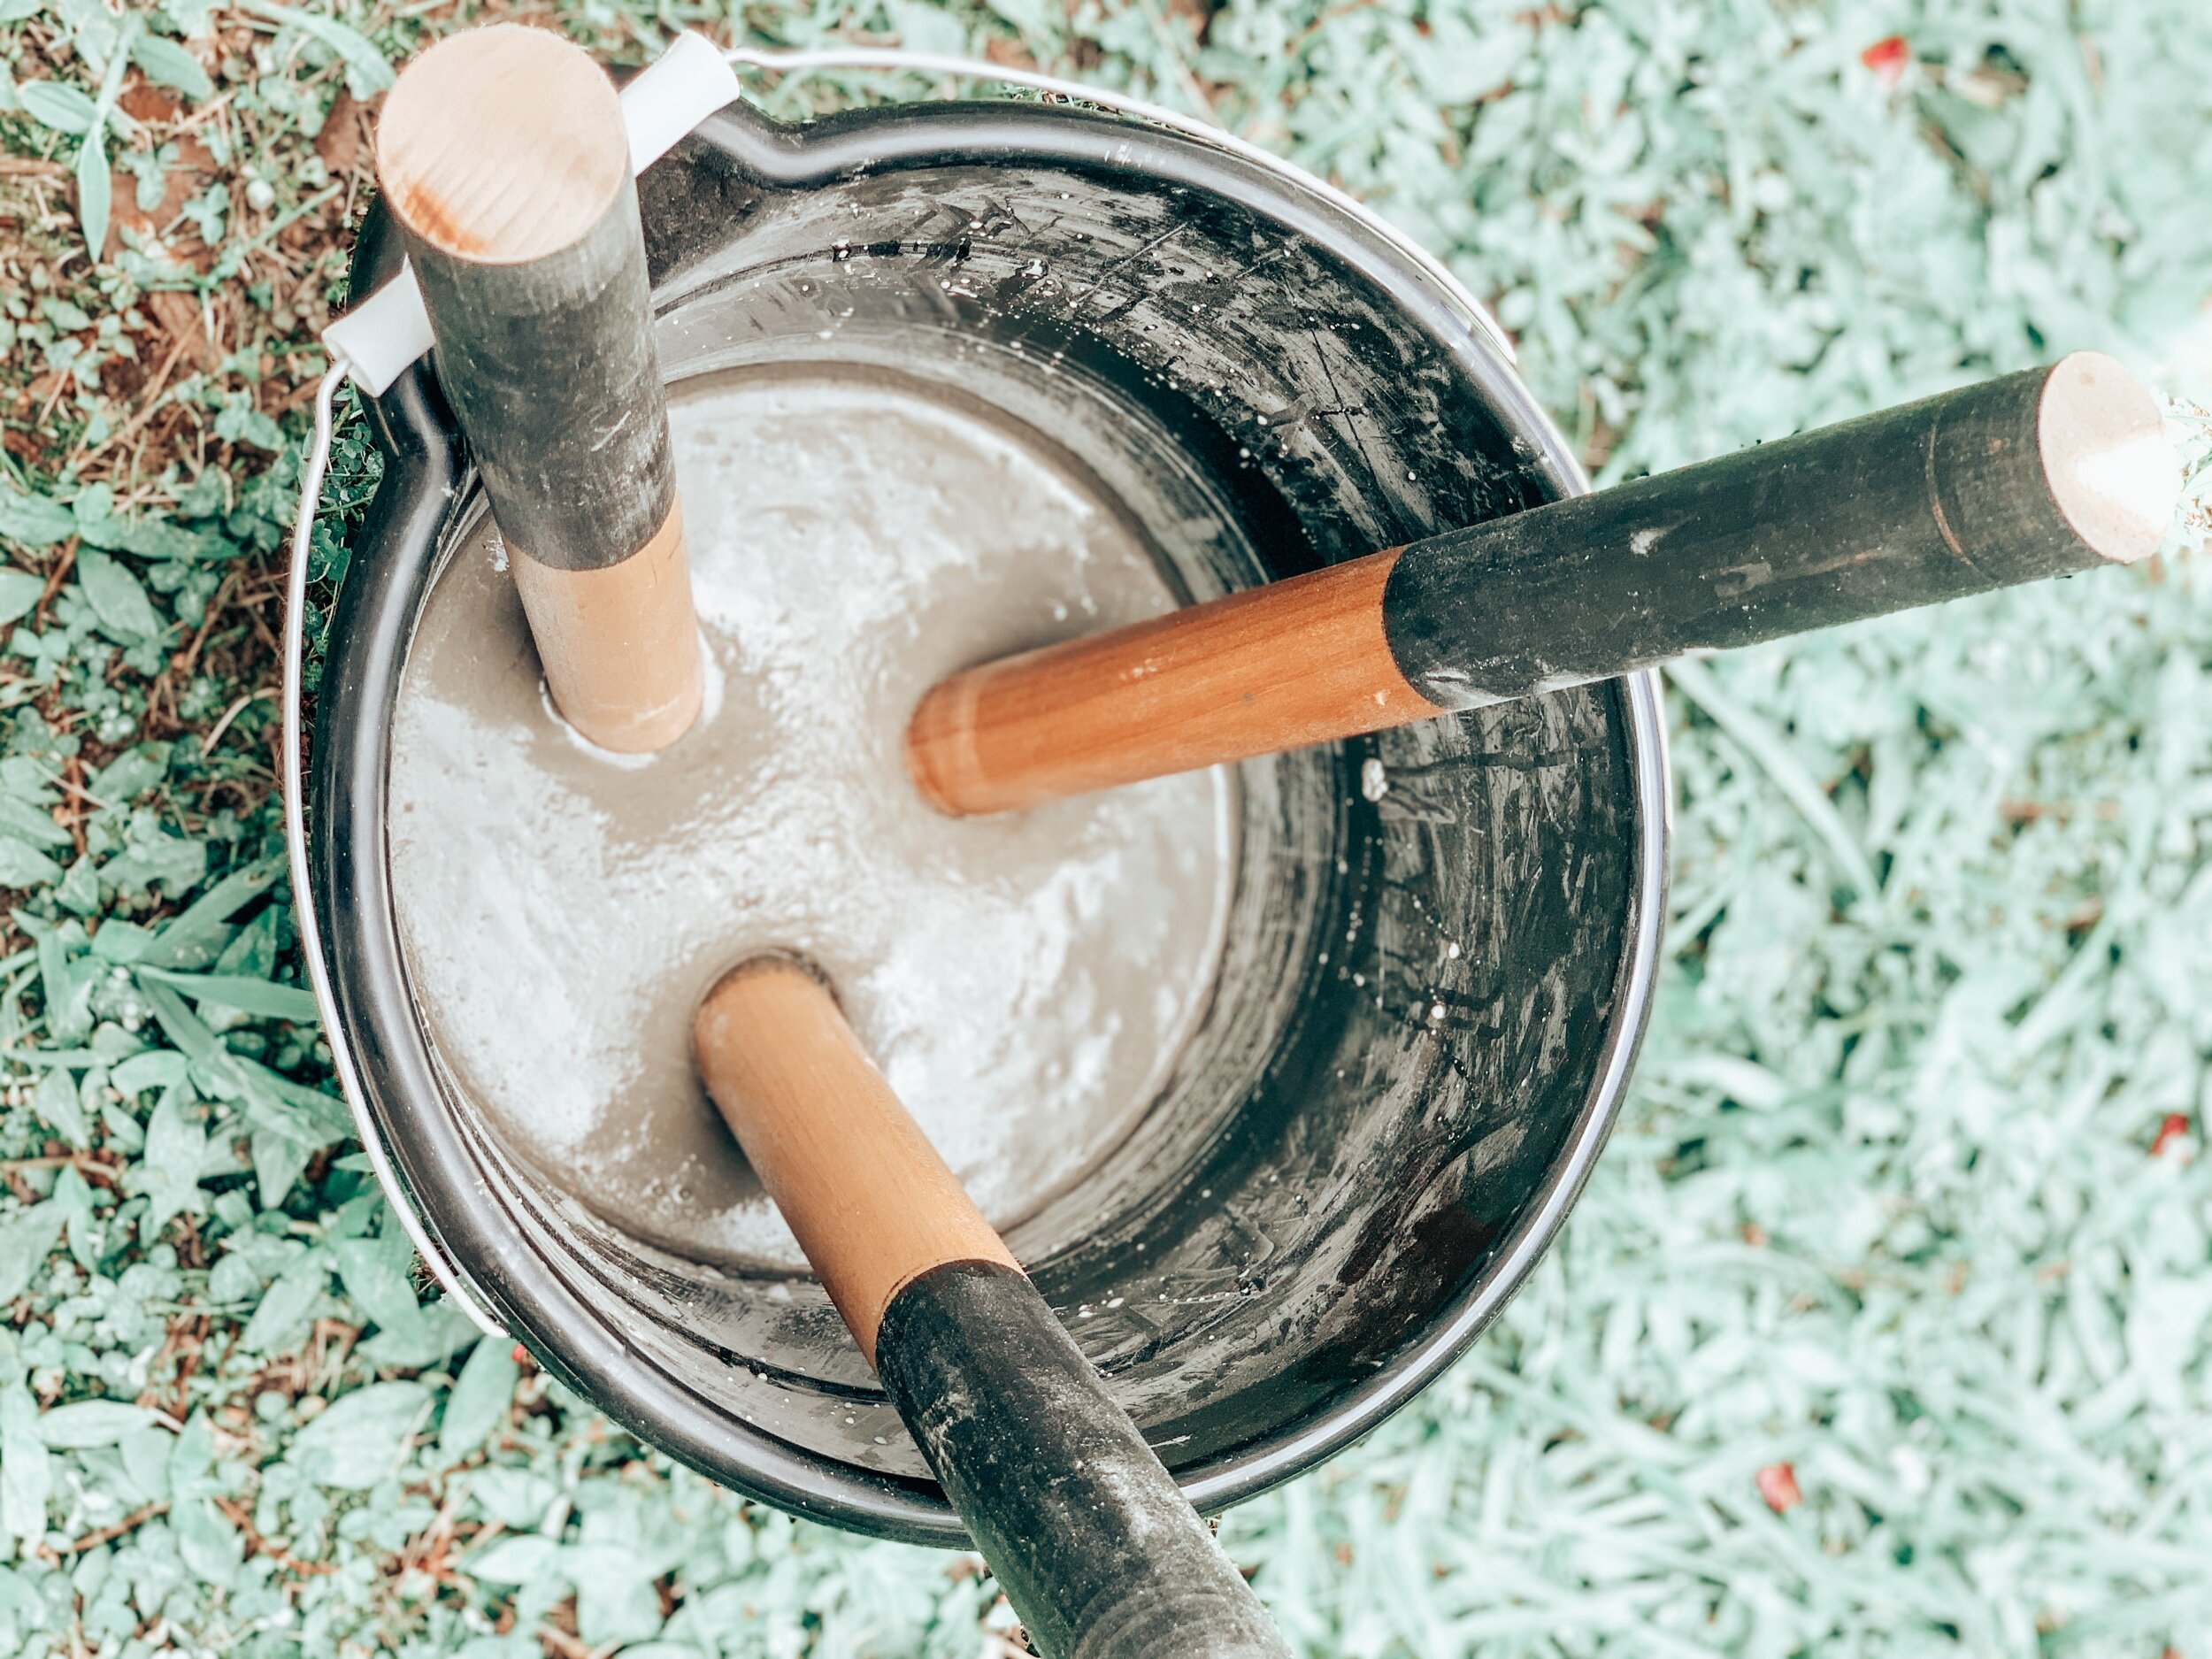
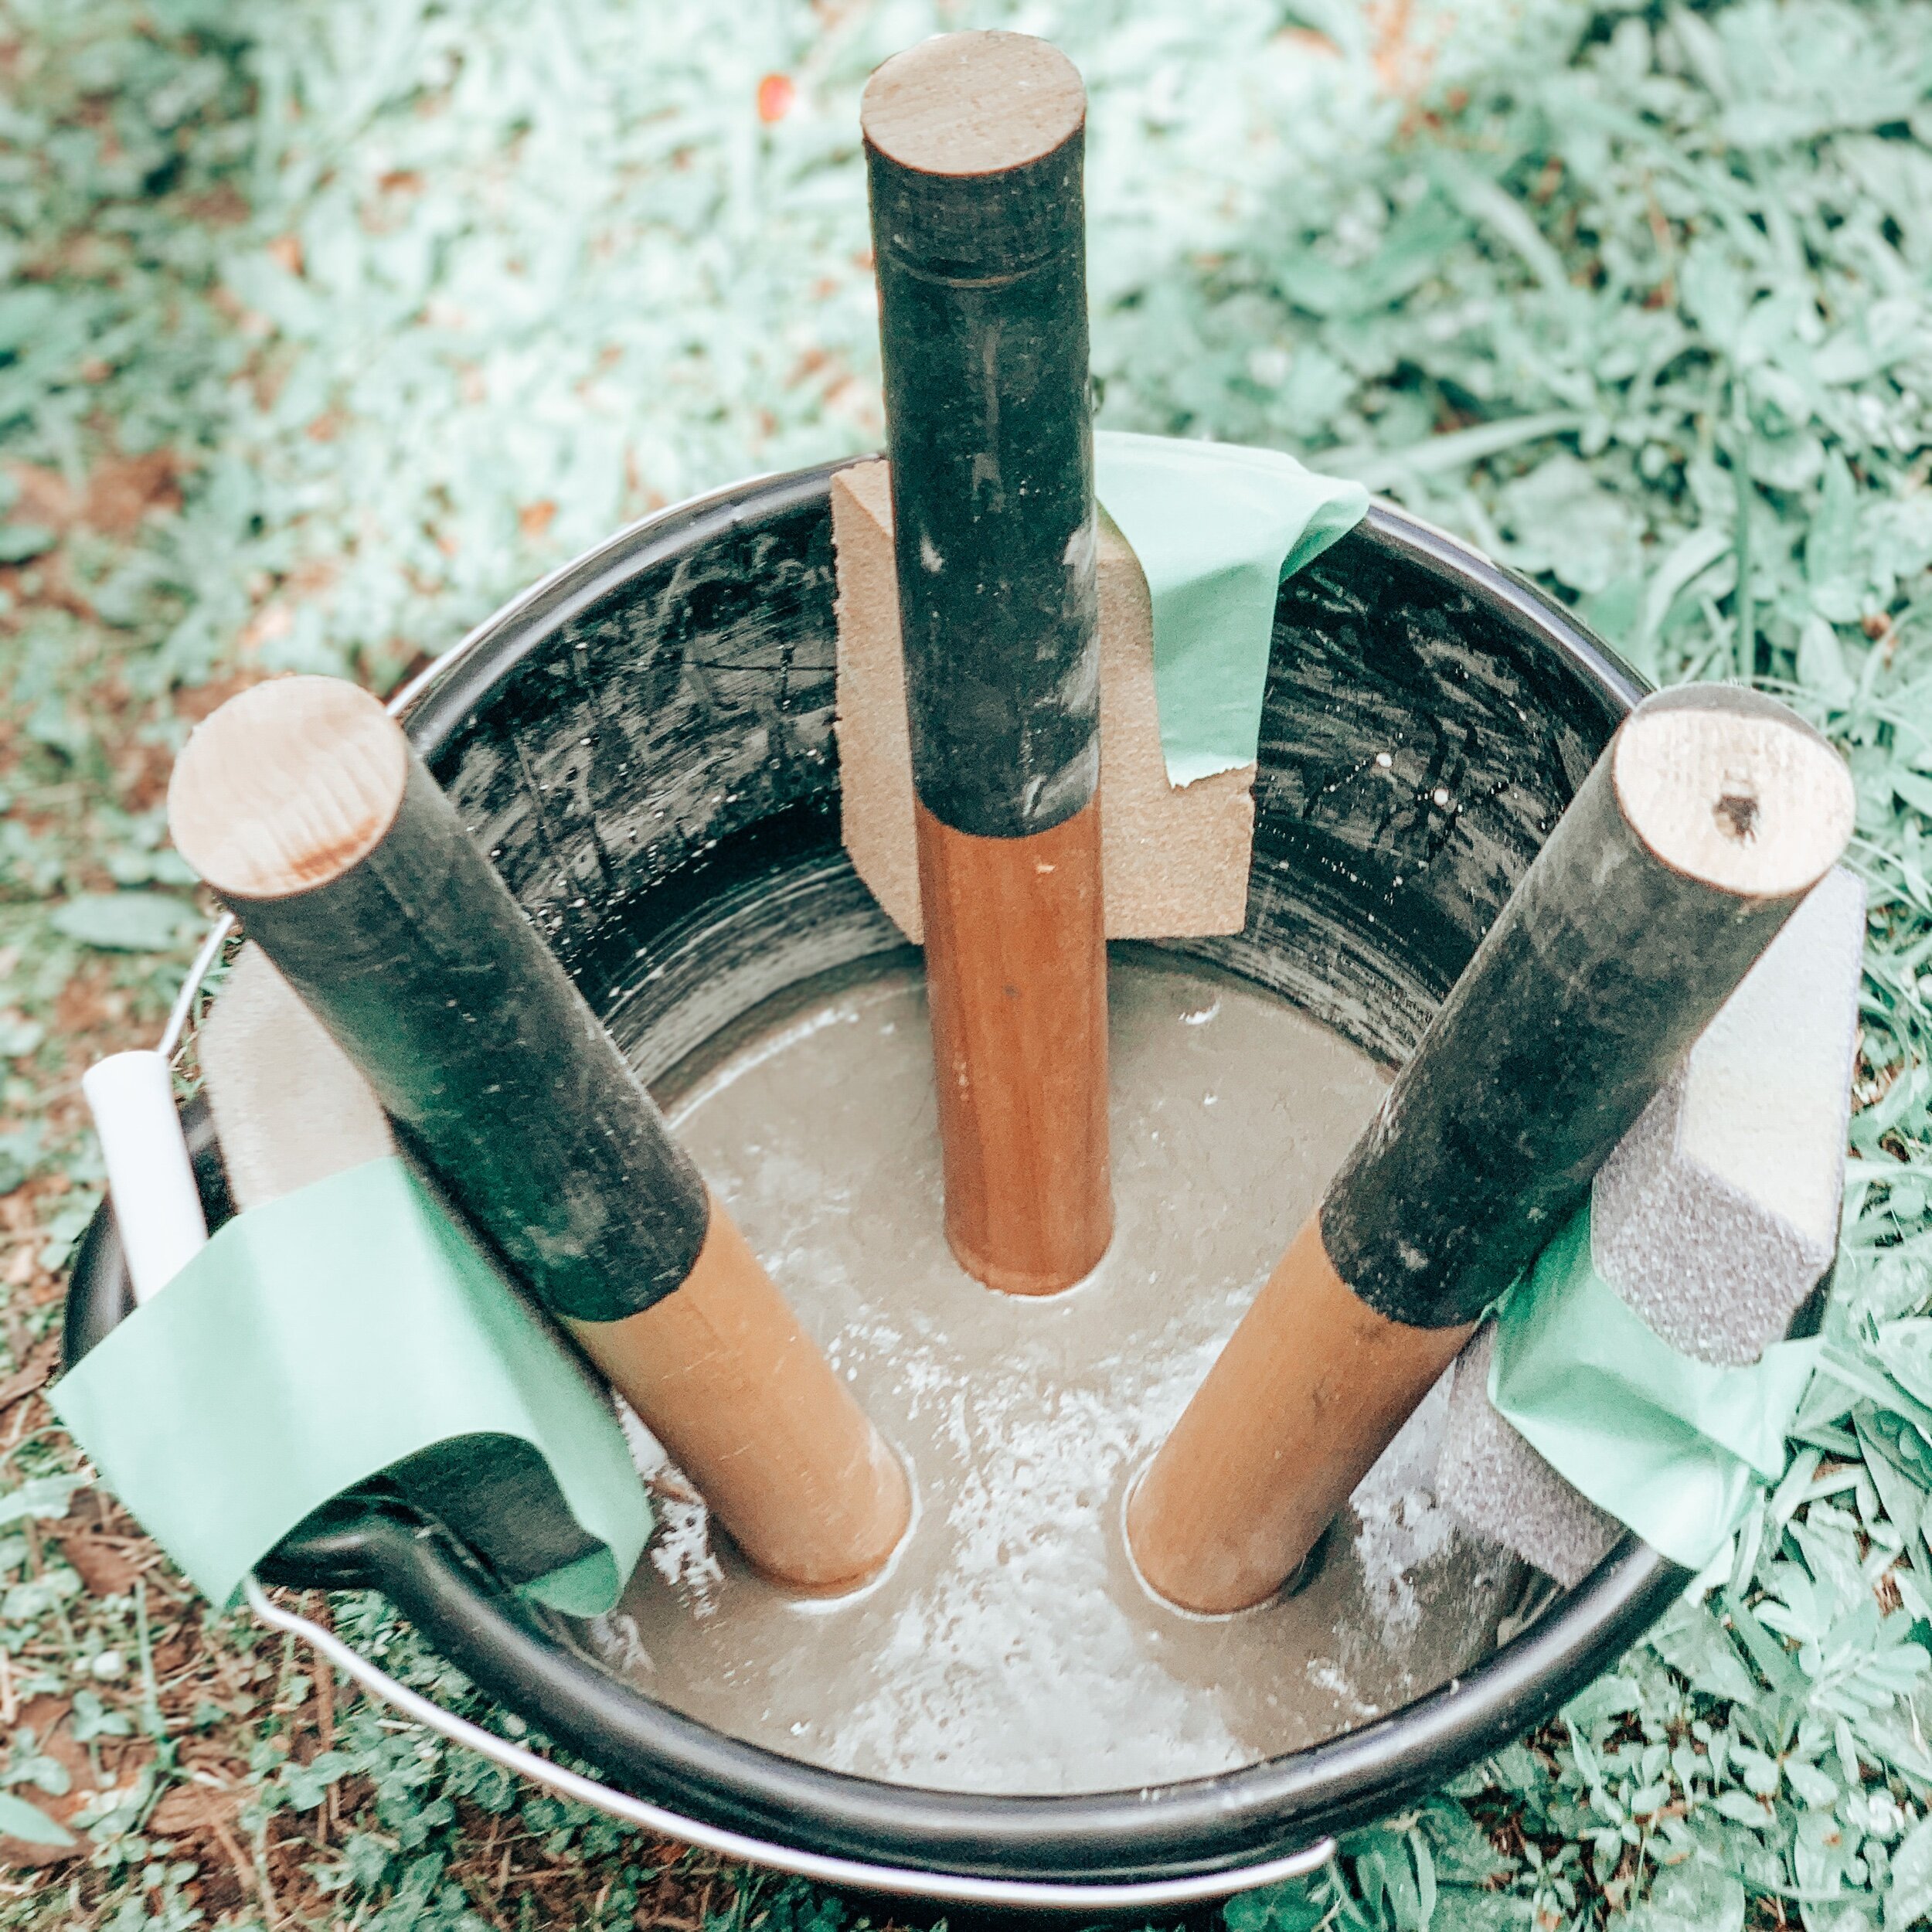
4. Allow the concrete to dry just enough to hold the legs in place. I made three concrete stools during this time, so I allowed mine to set while I stirred the other two. I was also outside and it was pretty hot with direct sunlight so I think that helped.
5. Put your legs in one at a time. (The legs in the photo above were from a previous project, which is why they were painted) I suggest each leg is at least 2.5 inches away from the side of the bucket. Also space them so they aren’t all touching. You can gently lay your legs against the sides of the bucket and they will turn out fine. I propped mine up using sand sponges and tape because I wanted mine to come in a little, since the bottom of my bucket was smaller than the top. When placing the legs, I pushed all the way down, then gently pulled them up and away from the top so they wouldn’t be seen there
6. Wait until the cement is completely cured and start to remove the stool from the bucket. If you use a silicone mold release, then the concrete should slide right out. I had to tap mine lightly, with a rubber mallet, all the way around the bucket.
7. This could be step 6 or 7 honestly…it’s all up to you! For this step, you will sand the legs, making sure they are even, and precious-stain and stain the legs.
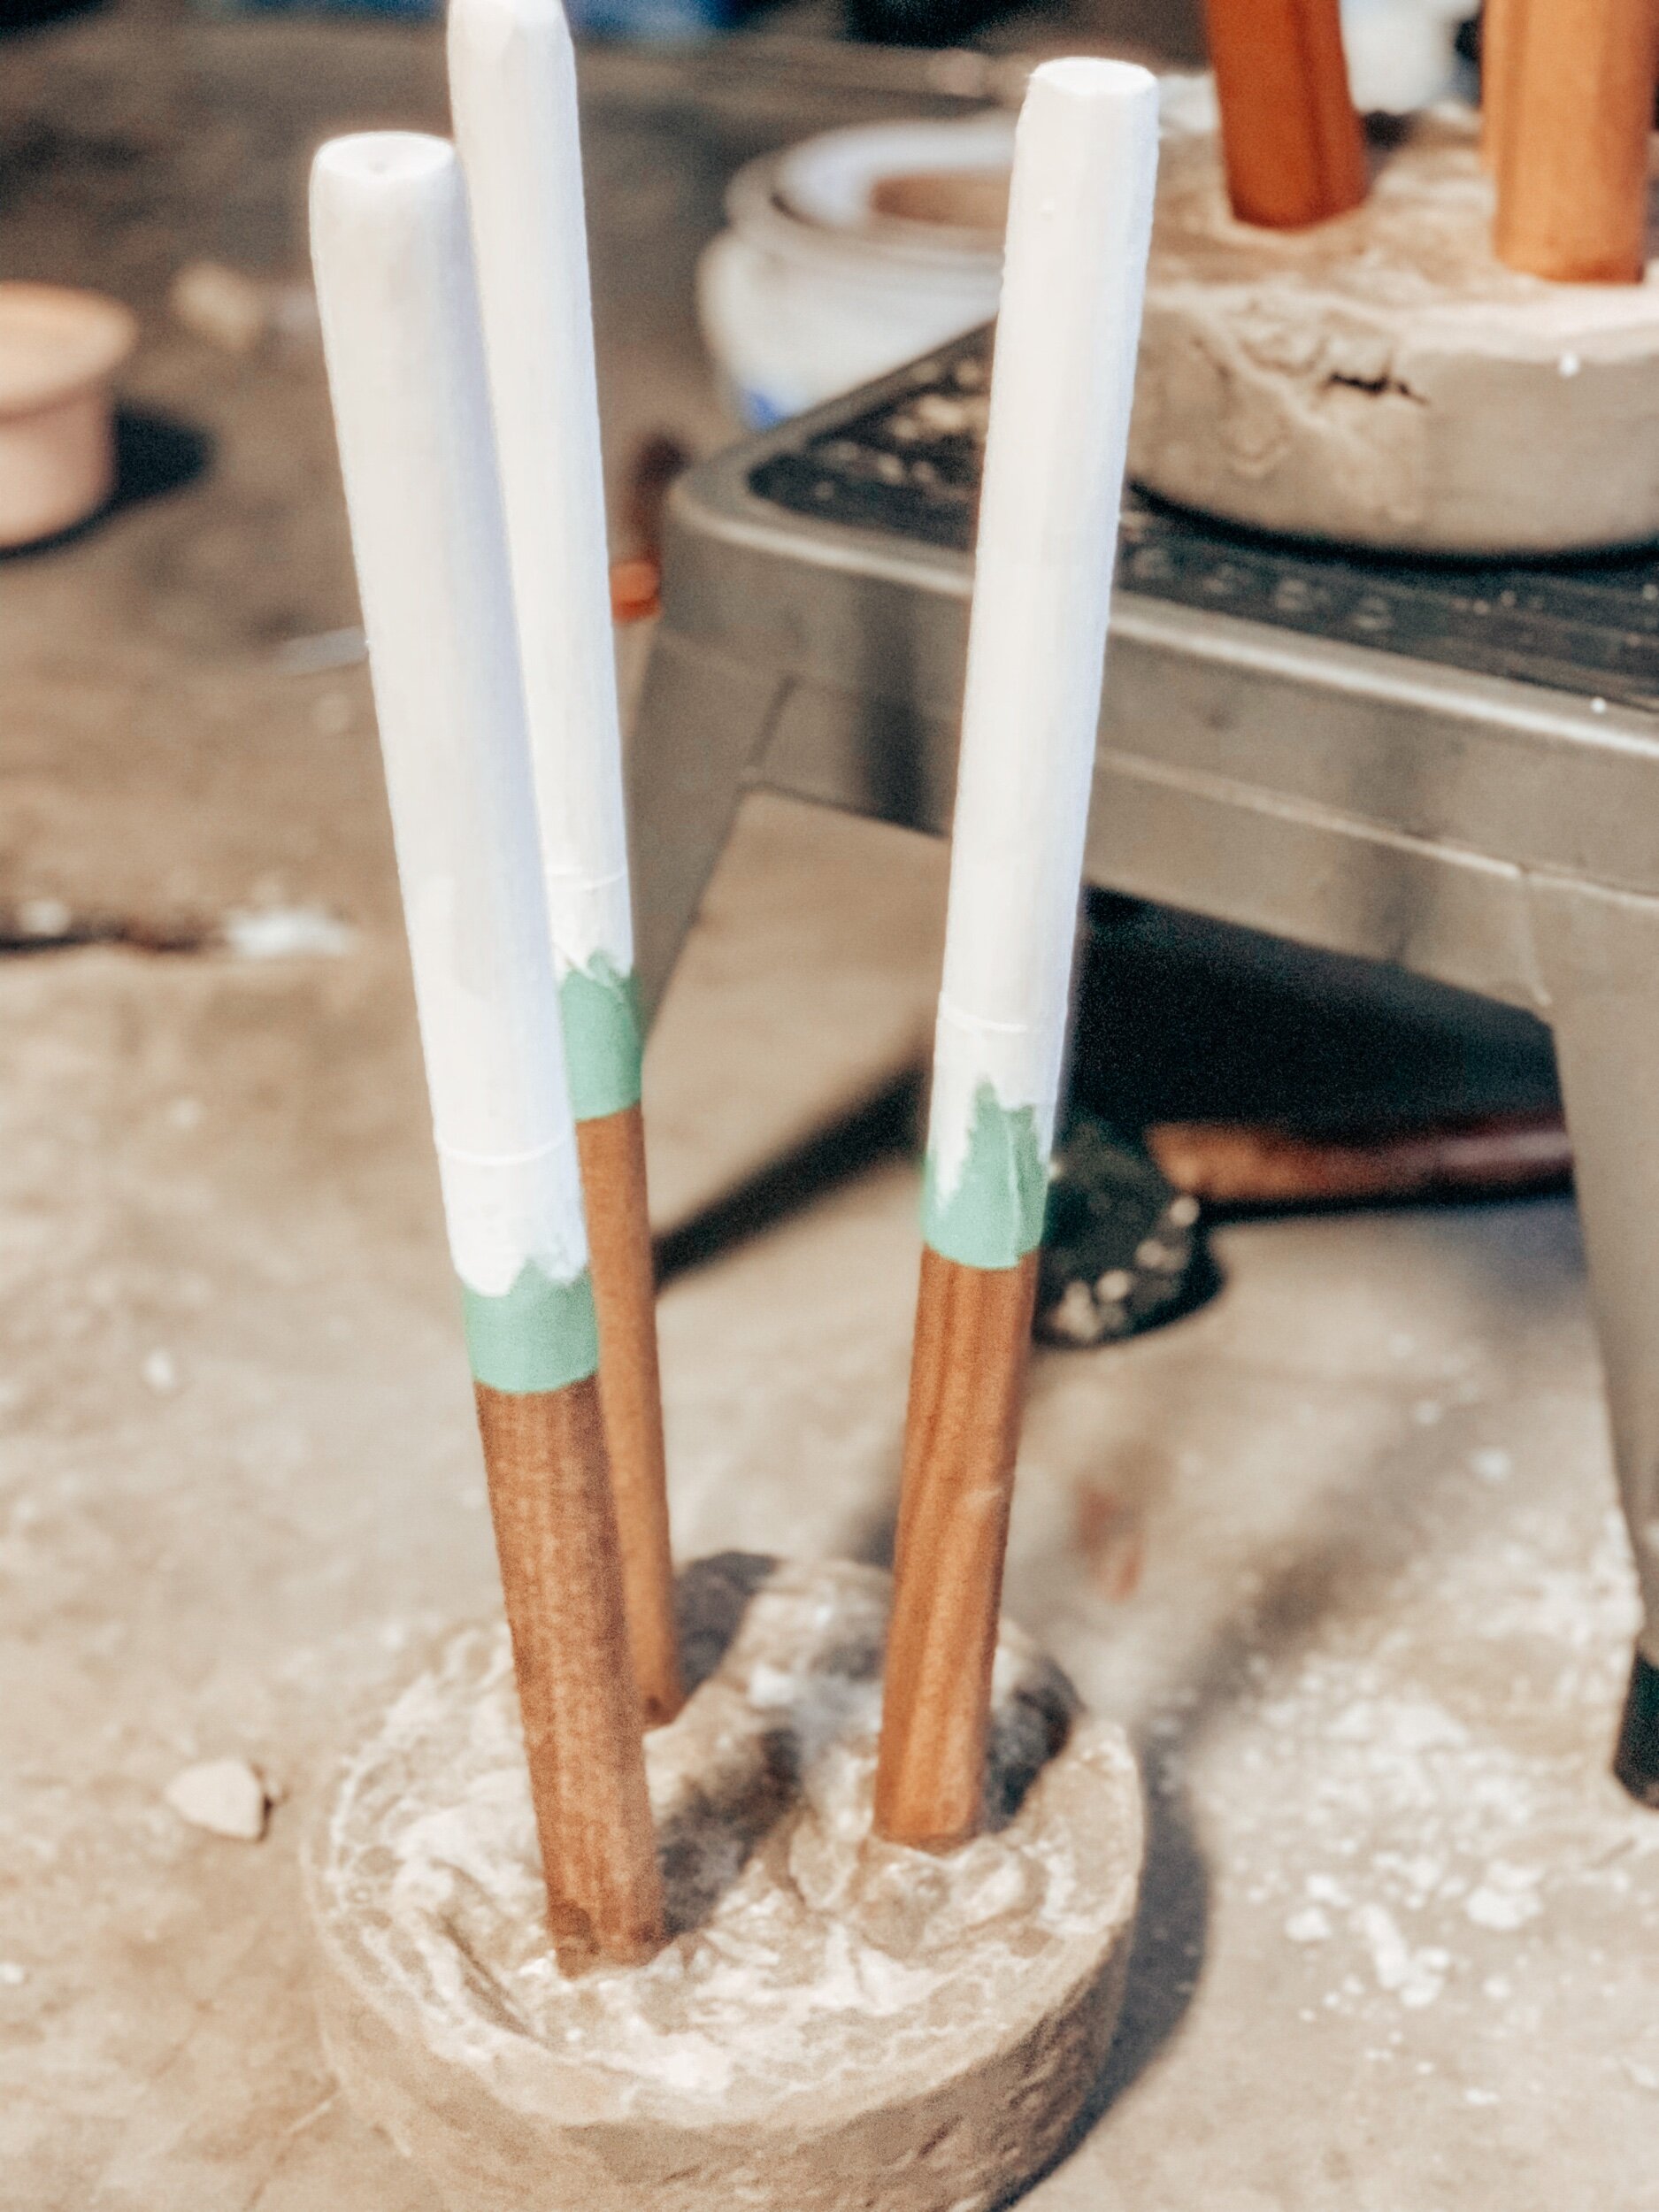
8. Next, wrap your painters tape around the leg, at the point you want your white paint to begin. I suggest measuring and marking first.
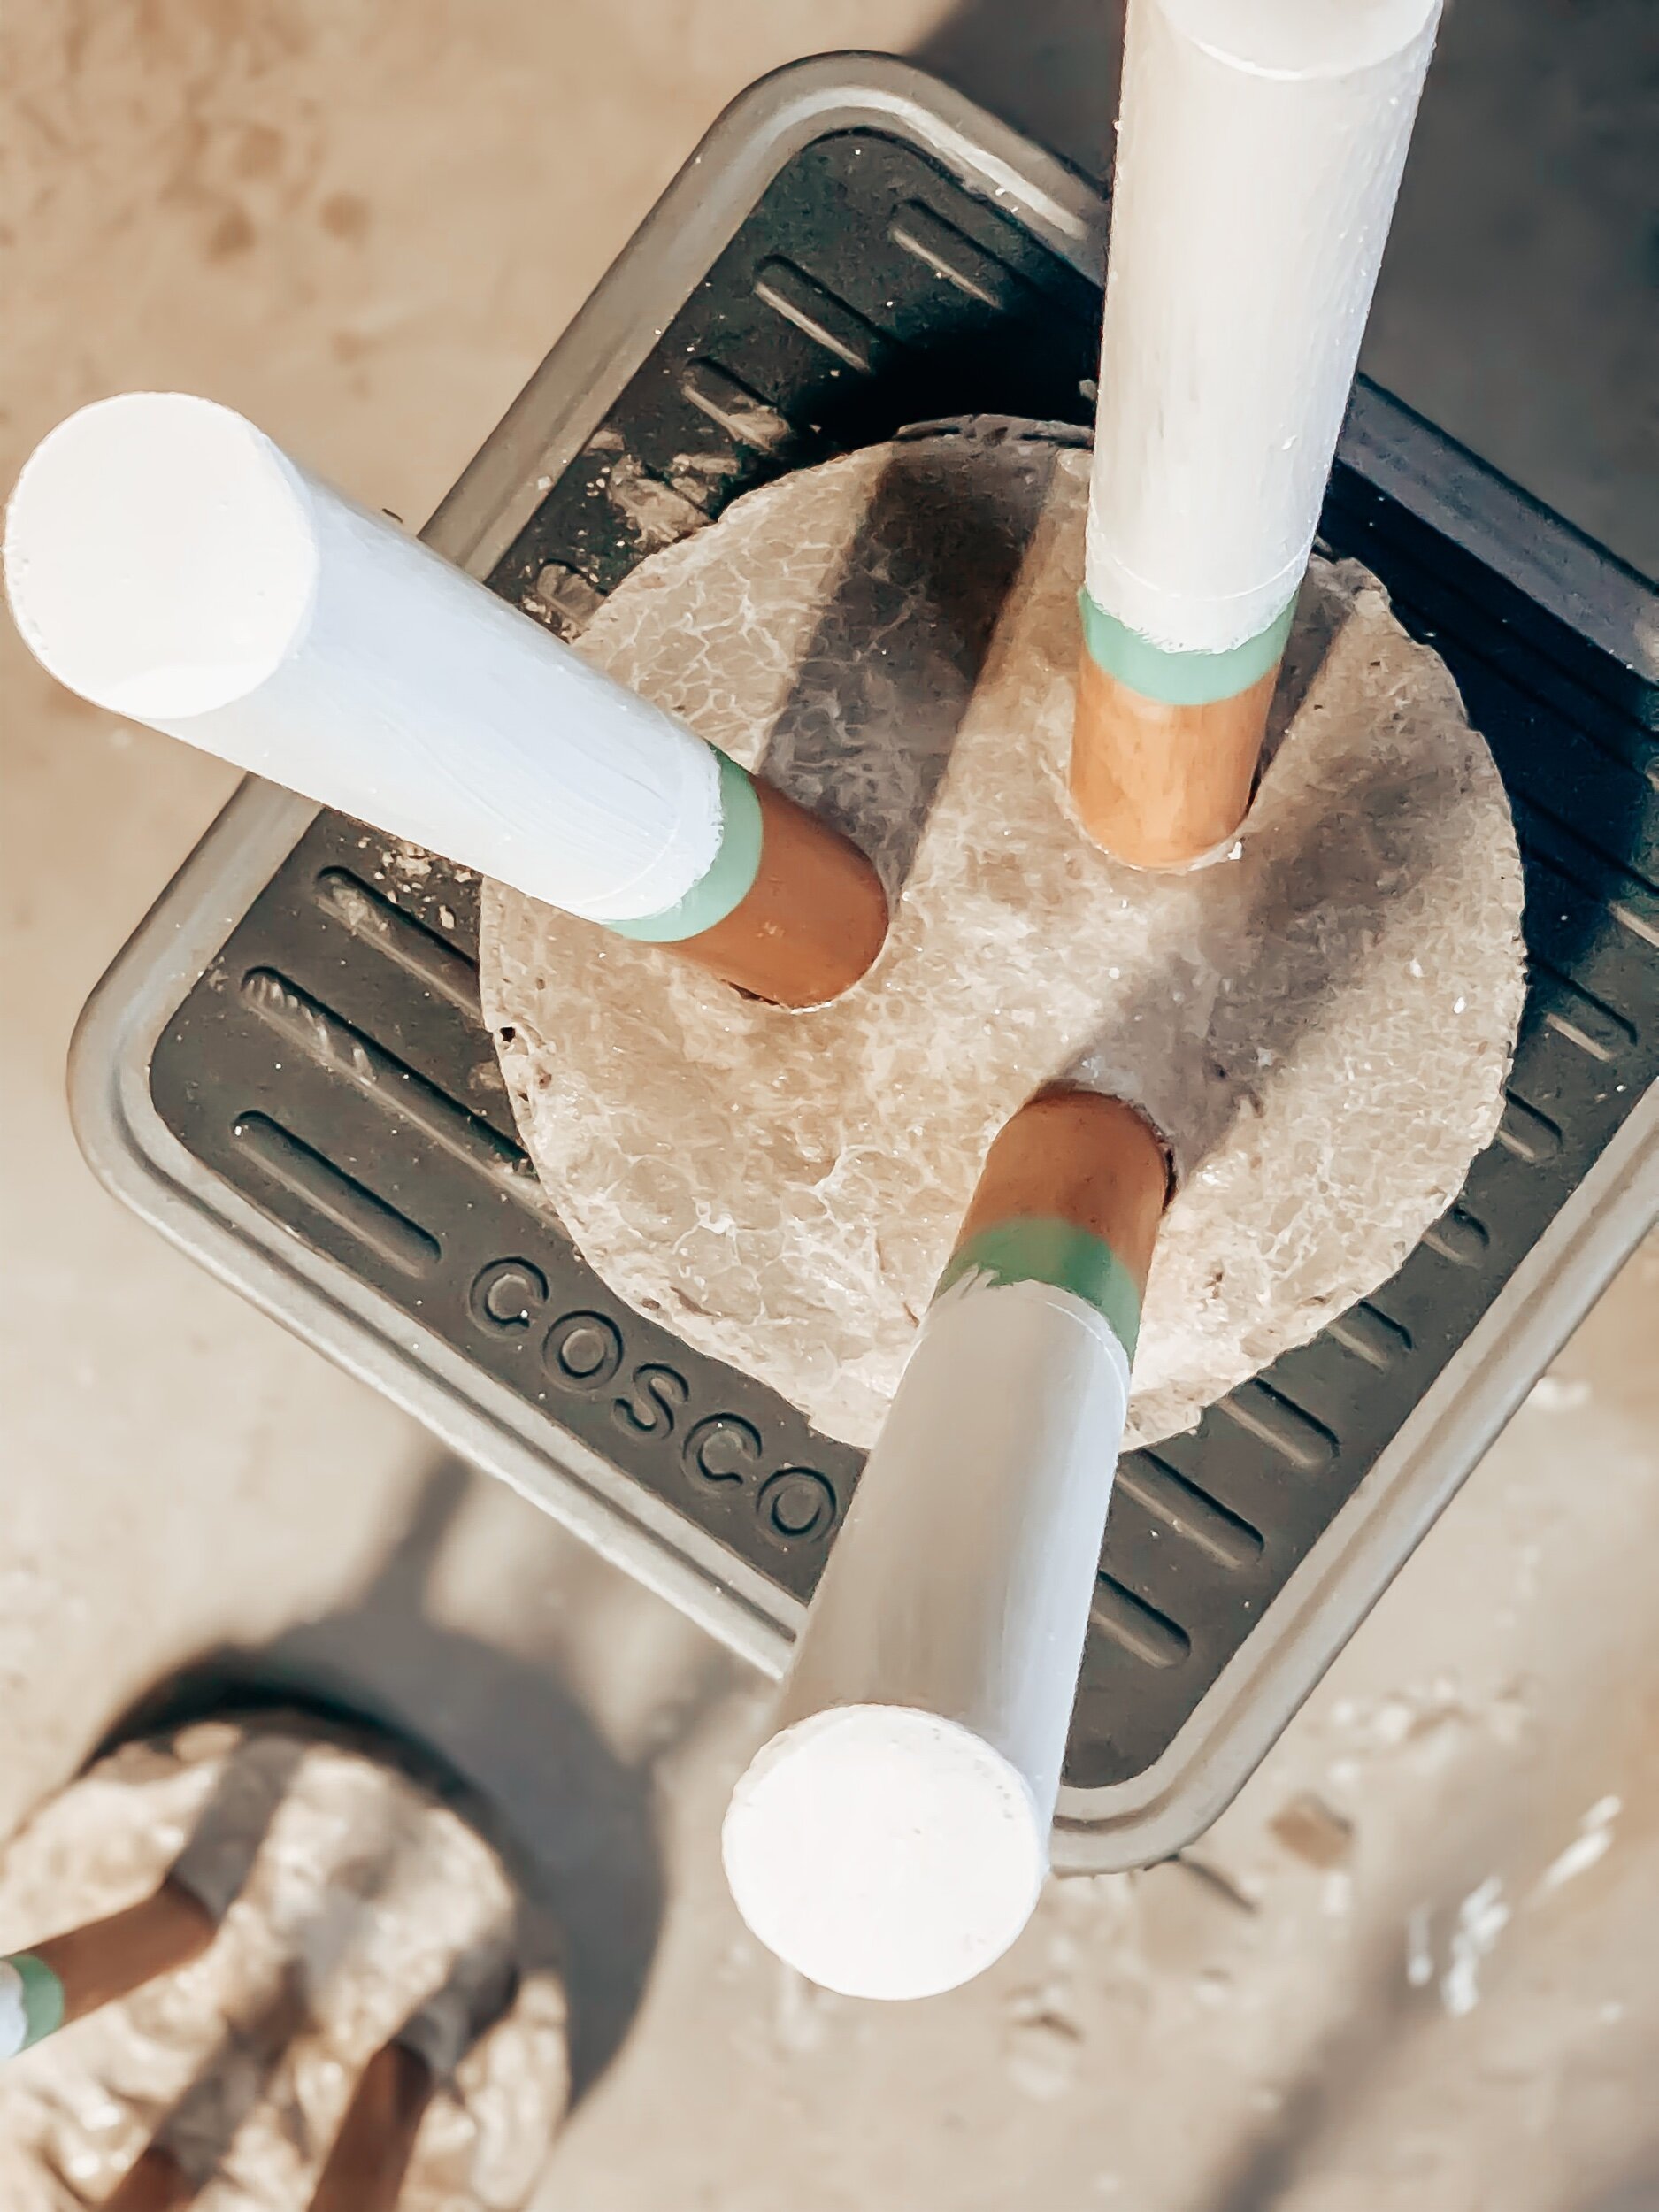
9. Last but not least, it’s time to paint and let it dry! Then it’s ready to go!
Waiting for the stools to dry is the hardest part! Well…maybe!
Pro tip: Lily at lilyardor.com is the amazing blogger who gave me the inspiration for this project! I contacted her on IG and she immediately got back to me. She told me to place a plastic bag over the top and sit it in a humid place to dry it faster.
For getting it out of the bucket, she suggest using a silicone mold release or slightly tapping it with a hammer.
Be sure to check out her stool here! She created a raw edge that is absolutely stunning!
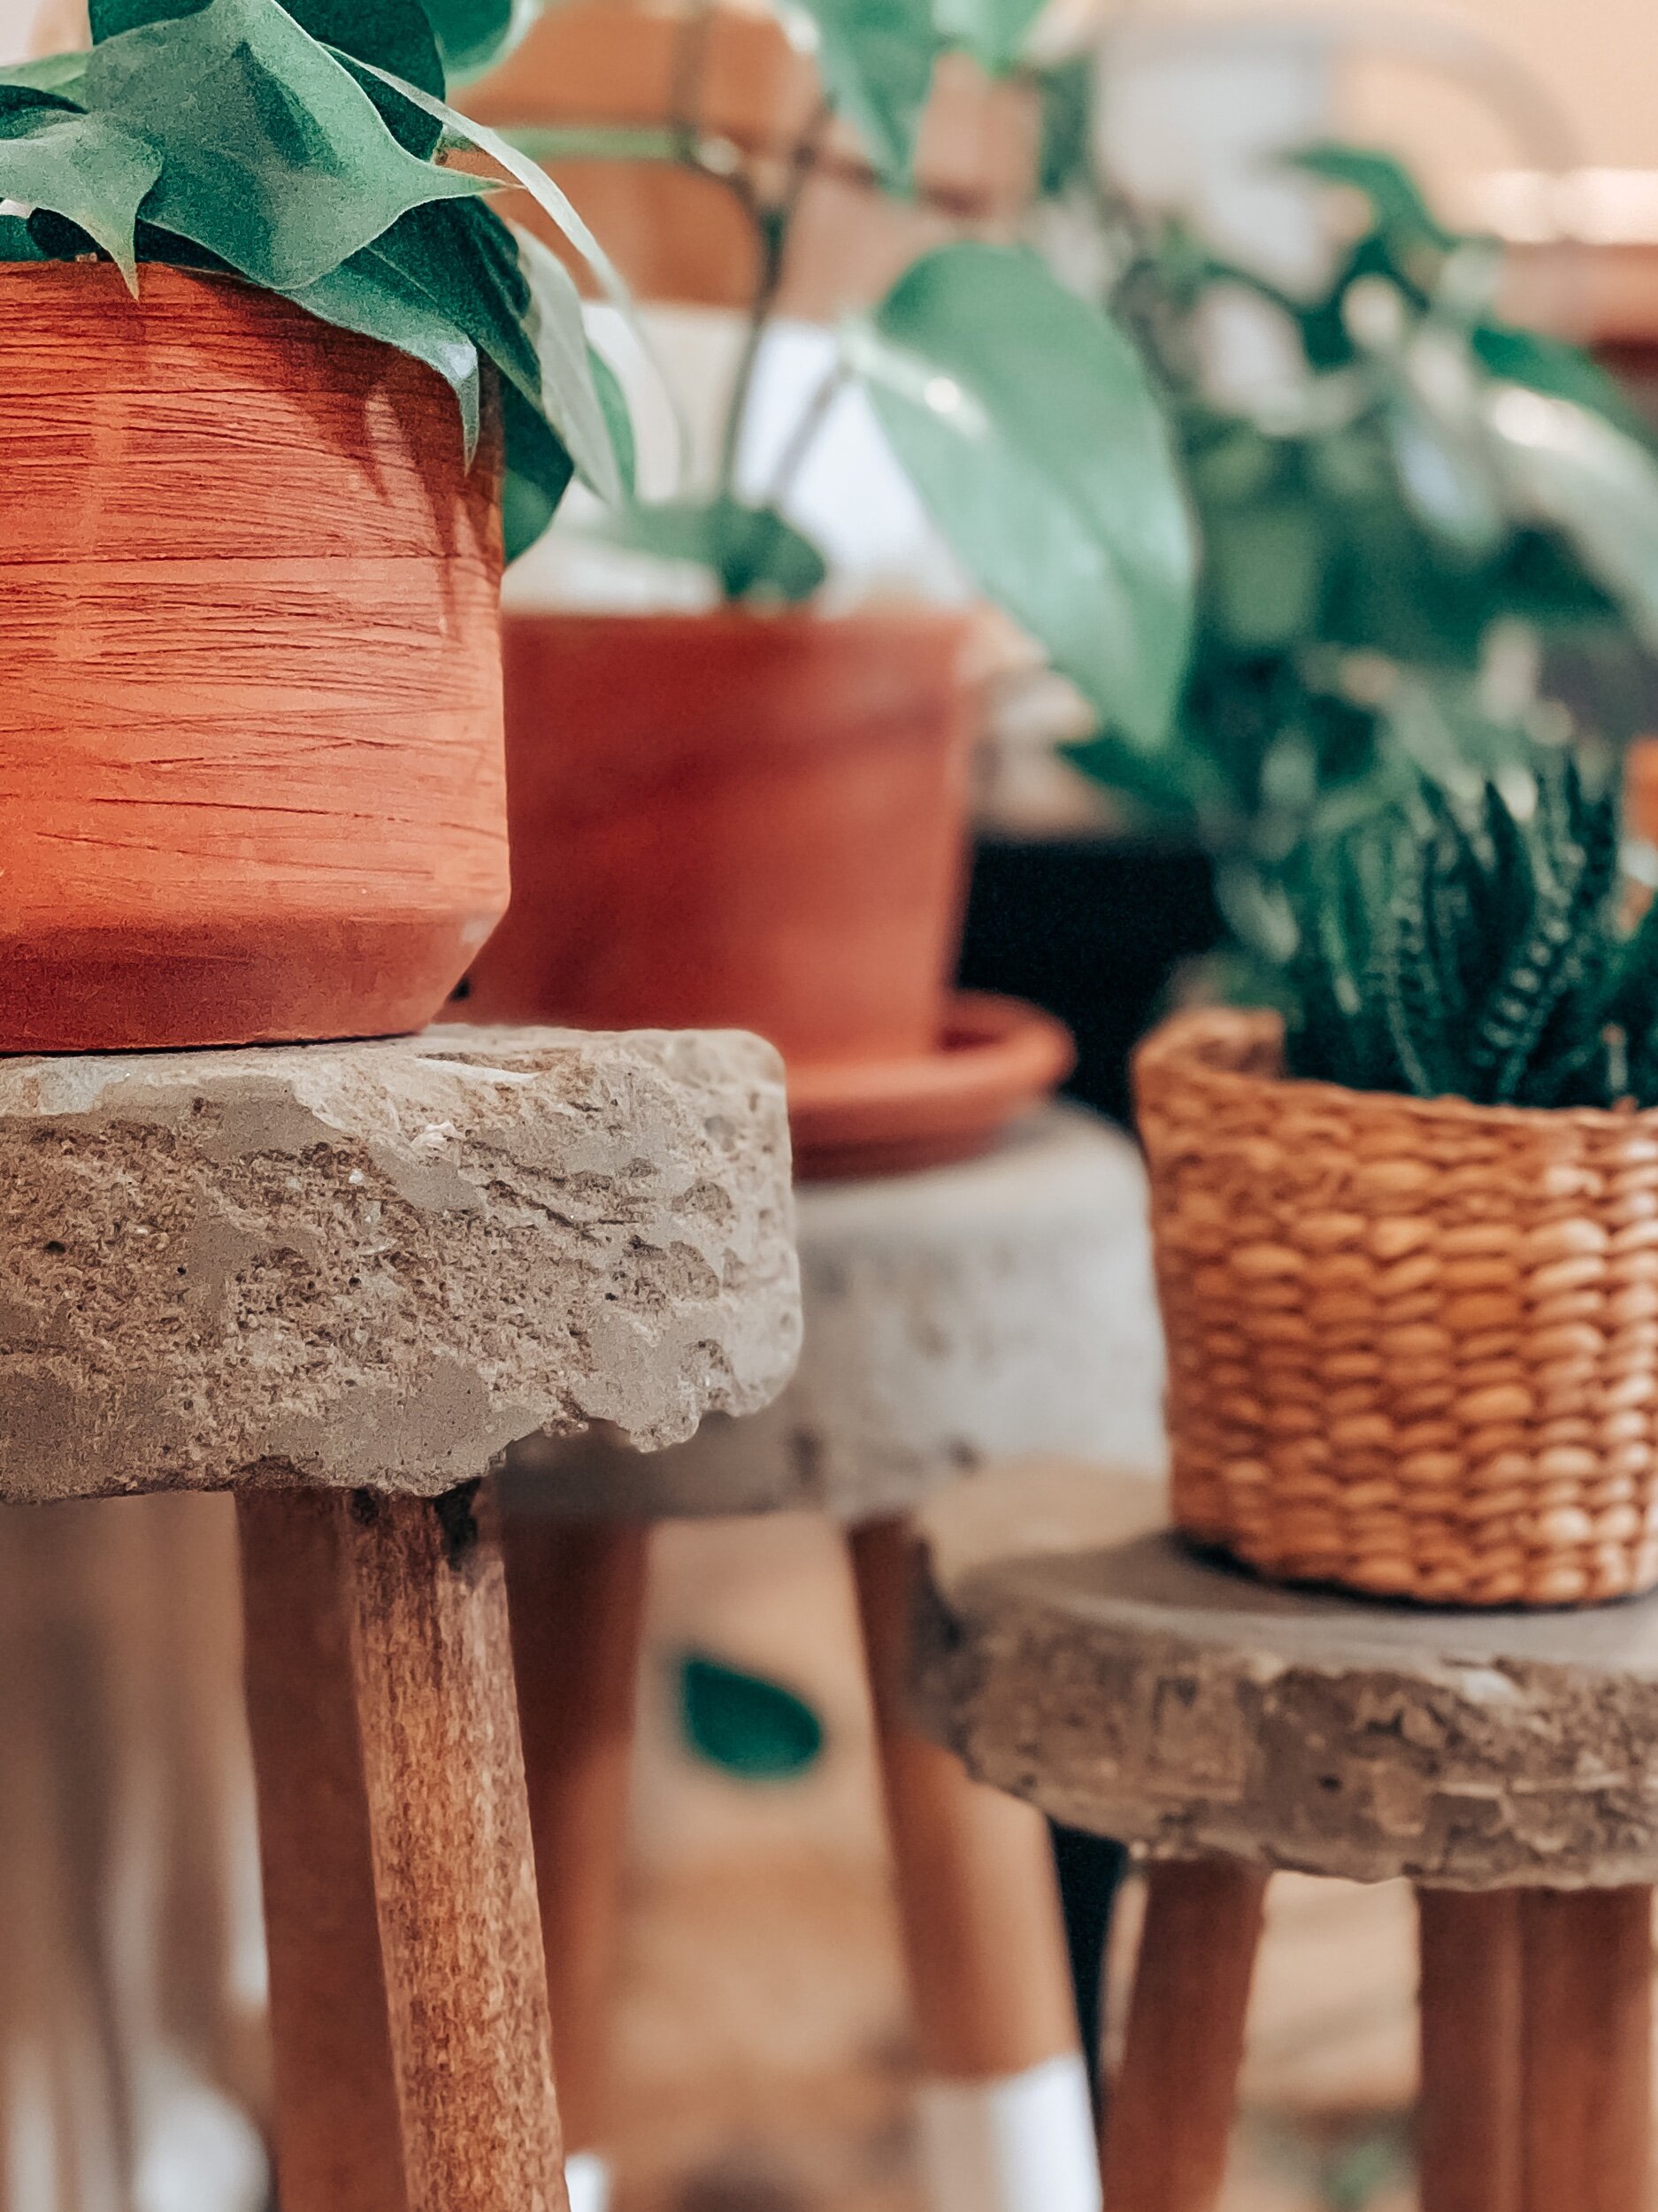
Lily also inspired me to do embrace the imperfections of the concrete…which is a good thing because I did pull these out too early and they started to create the chipped look all on their own.
Not planned, but I’m not mad about it.
So here is what I learned the hard way!
-
This is not a one day project! In order to truly give the concrete time to dry, wait 24-48 hours no matter what the bag says!
-
Once you have placed your legs into the concrete, laying them against the bucket is best! And checking them often is important! One of my legs dried crooked so my largest plant stand is a little wobbly, so I will be making another one.
-
Unless you have a larger bucket, the smaller legs look best. On the larger of my three plant stands, I used the bigger dowel legs that I already had laying around. I wasn’t a fan, so on the smaller legs I used 7/8 dowel.
-
For larger plants you will definitely want to use the larger bucket!
I hope this post inspires you to give concrete DIY’s a try! Don’t worry about the imperfections or messing up the first try!
Here are my first attempts and I will be trying more!
Remember, I want to hear from you. If you loved this post and want to give it a try, let me know. If you go for it and follow me on Instagram, send me a DM and I’ll feature you in my stories!
As always, remember, sharing is caring, so please click like, share this blog and comment!
With Love,
Lisa Faye
