
DIY Woven Bench
You know those beautiful benches you see online, click on the link and immediately click back off because the price tags is absurd?! If you’re like me, you won’t pay hundreds of dollars for a bench but you do want the look.
Scrolling on Pinterest one day I found some INSPO and decided to see how I could make this bench for under $50! It was a challenge but in this post I’ll share how I kept the budget and give you all the steps you’ll need if you decide to make one of your own! Including a “not to do” step too!
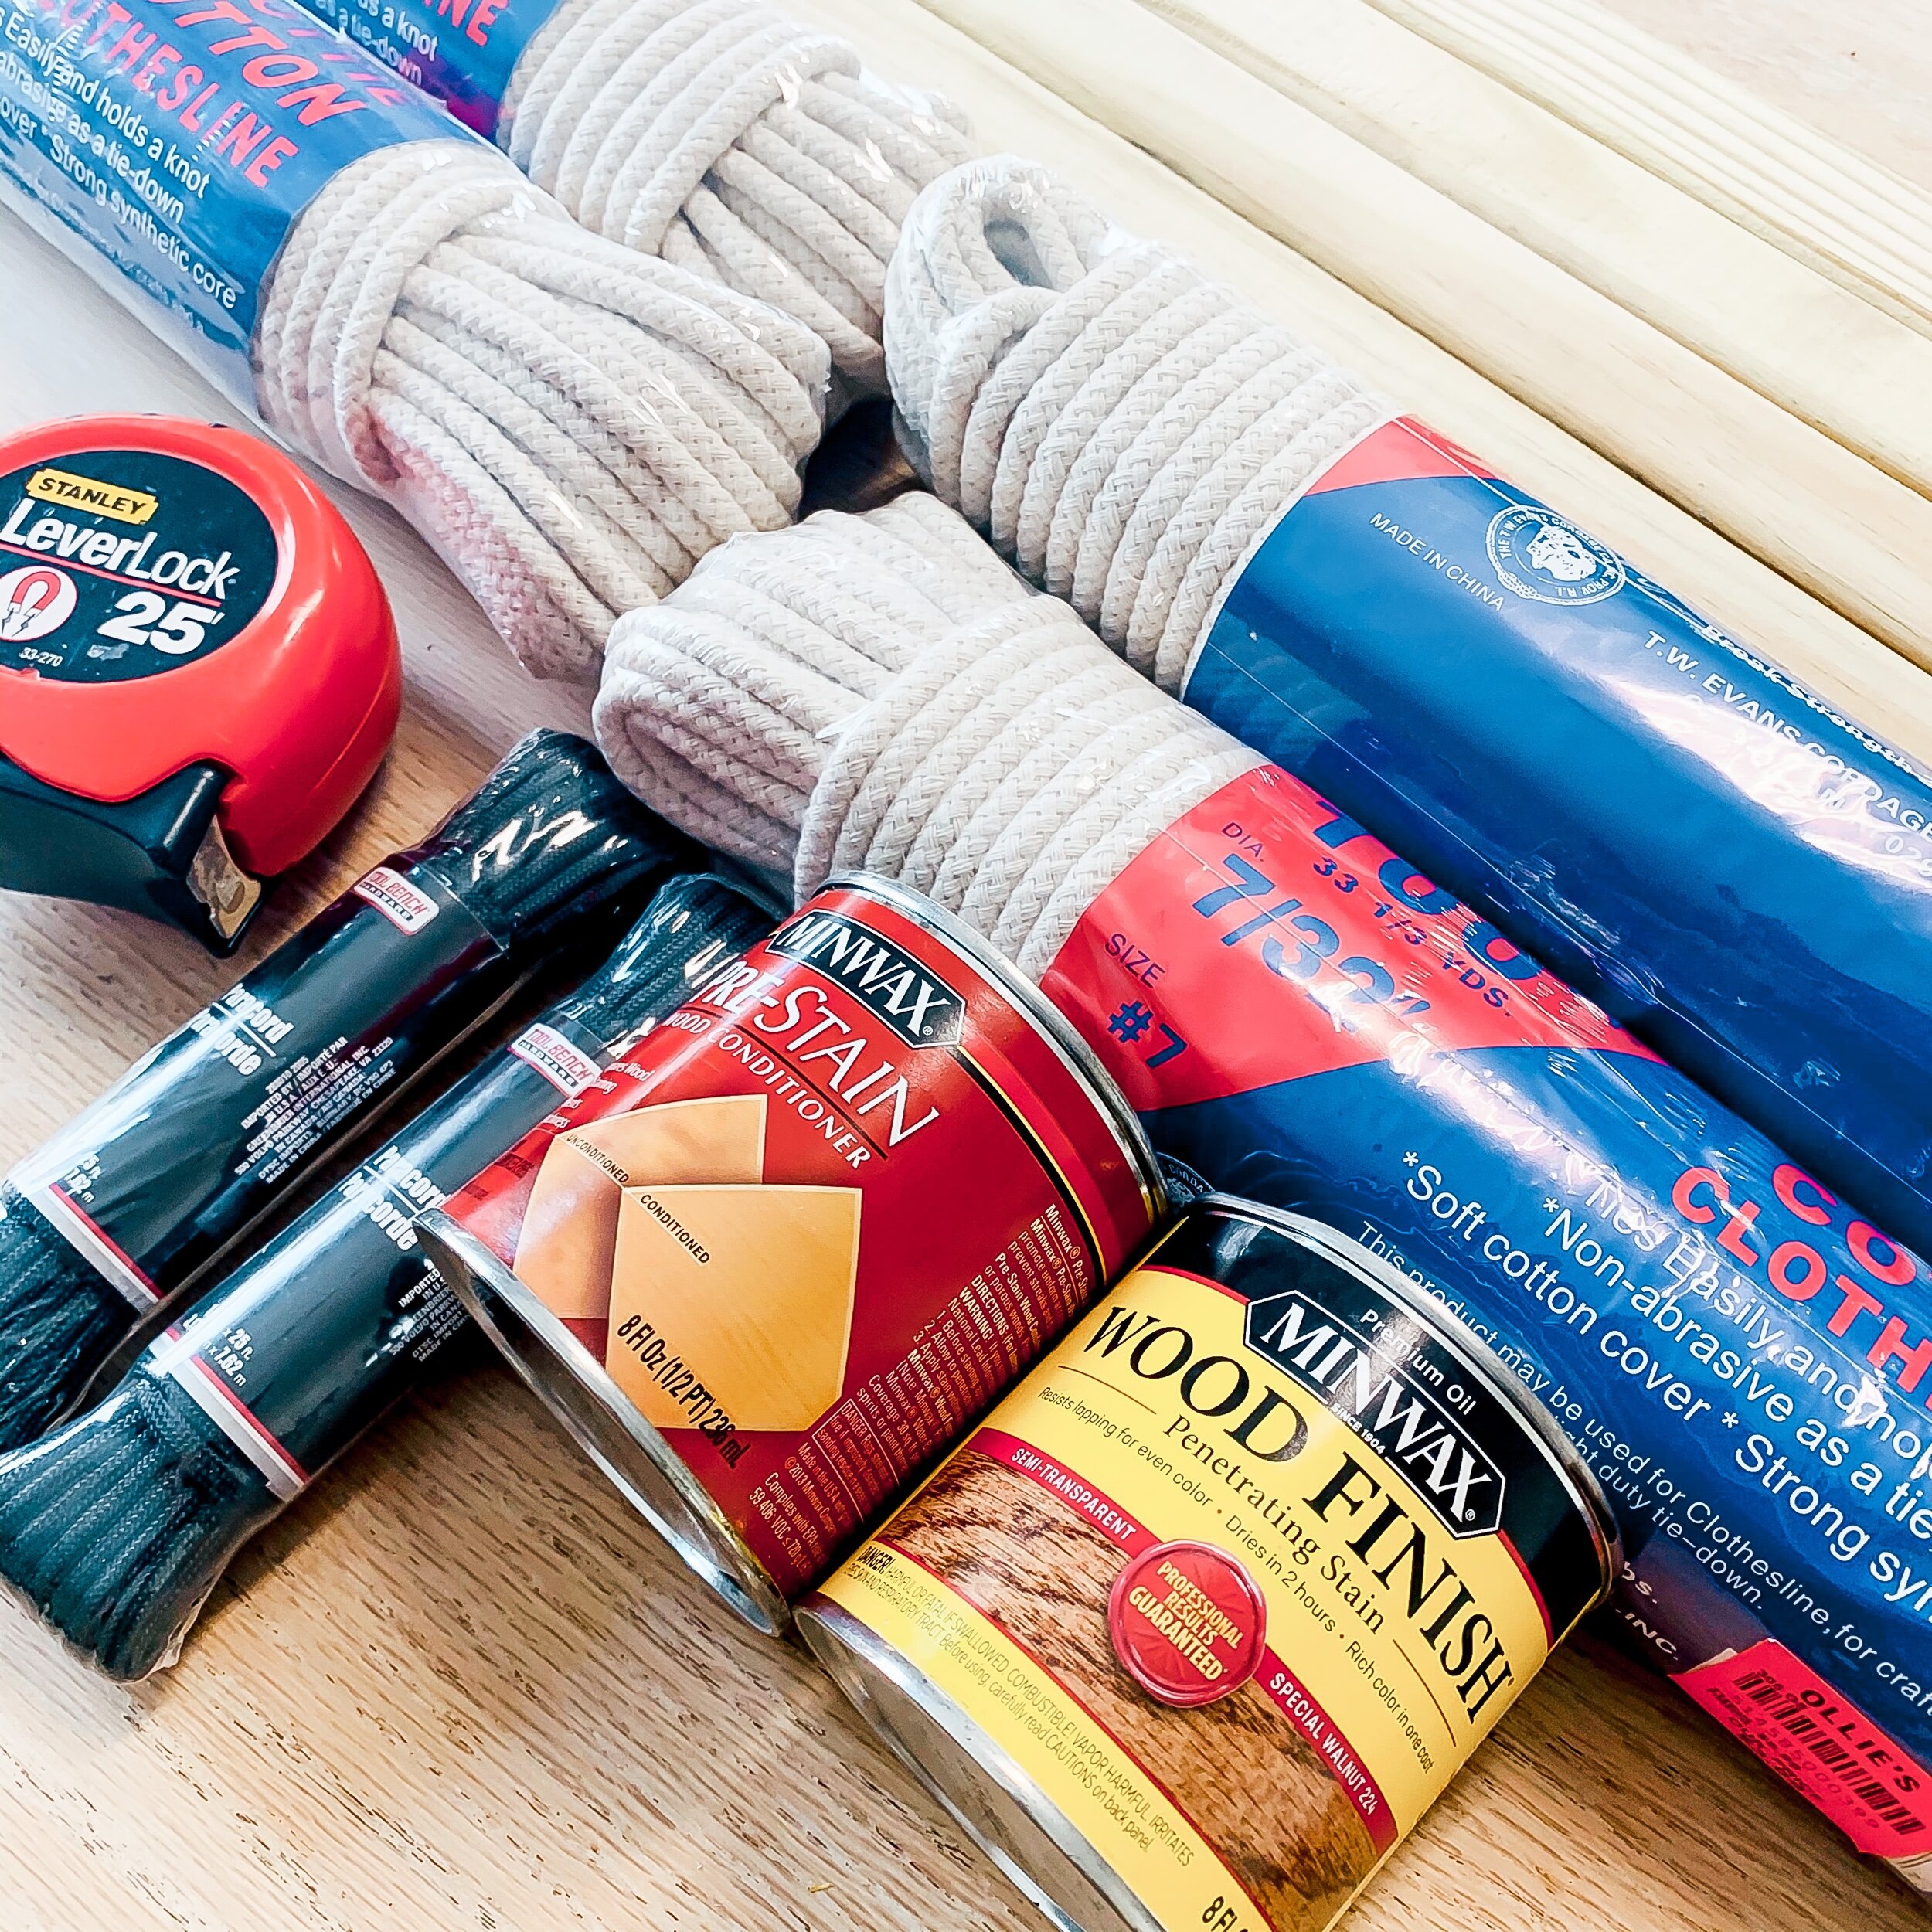
What you’ll need
• 400 ft of clothes line
• 2 – 45″ pieces of 2″x2″
• 4 – 16″ pieces of 2″x2″
• 2 -14″ pieces of 2″x2″
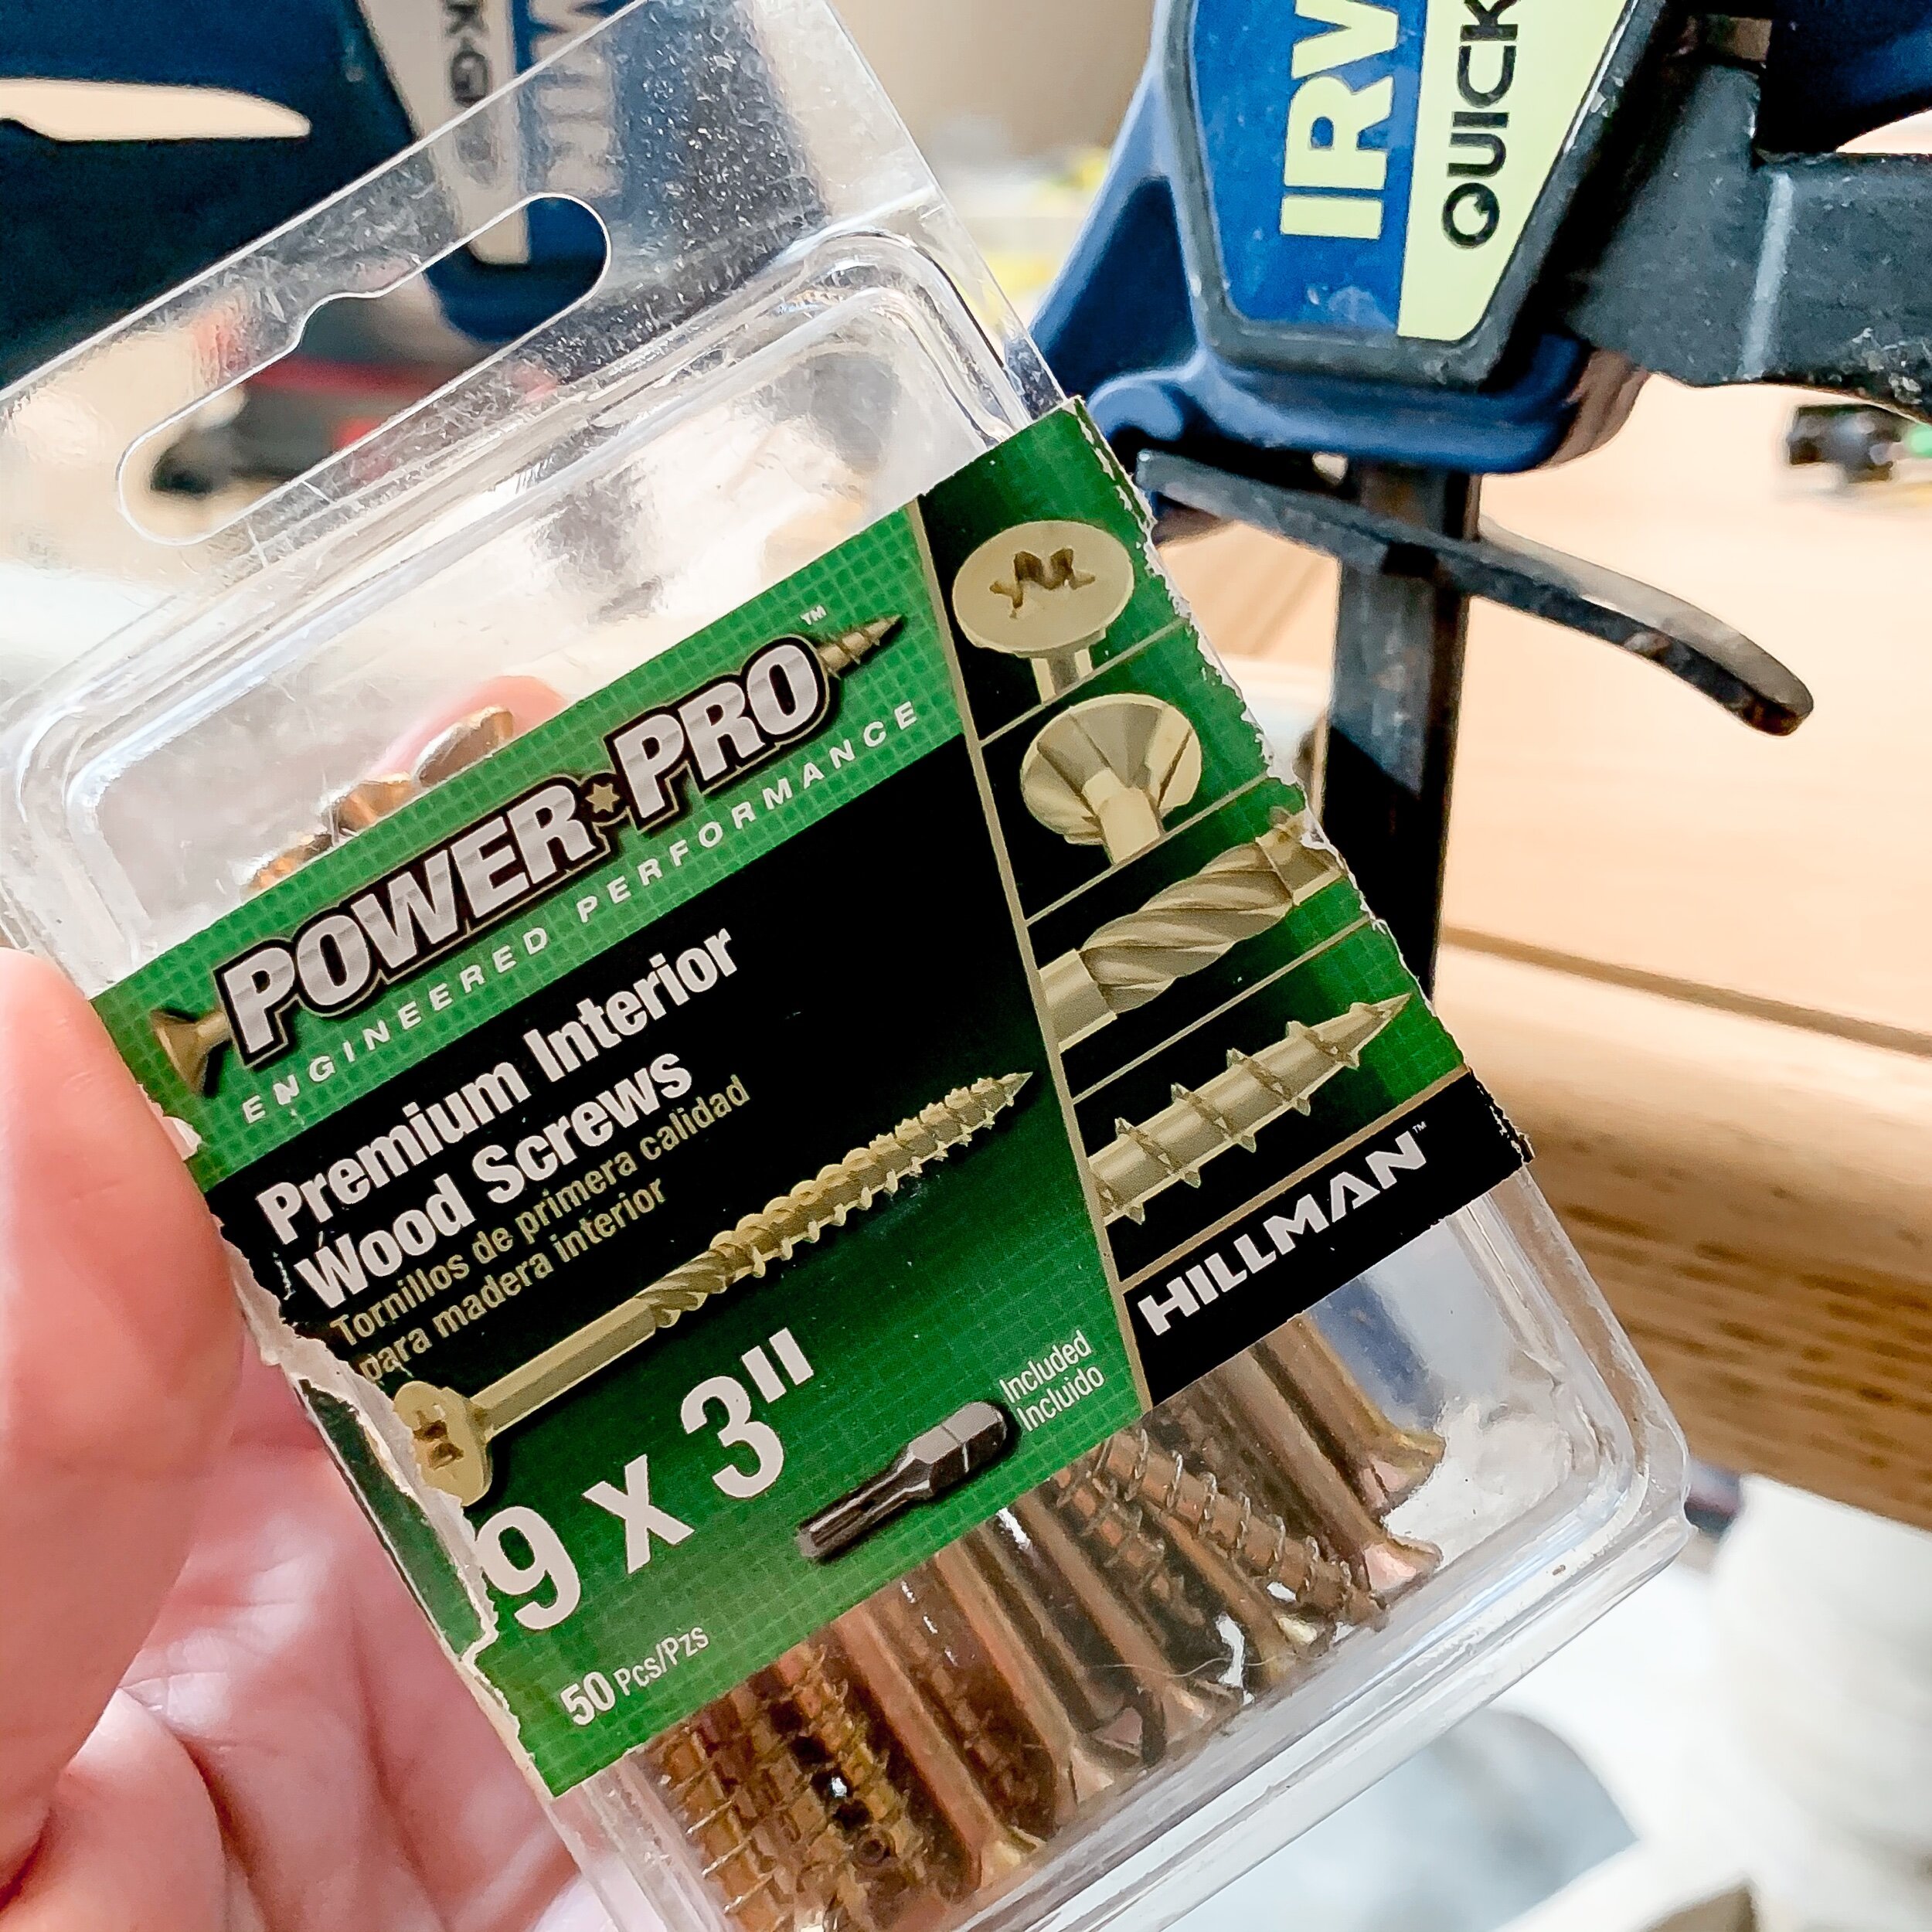
• Wood screws and wood filler
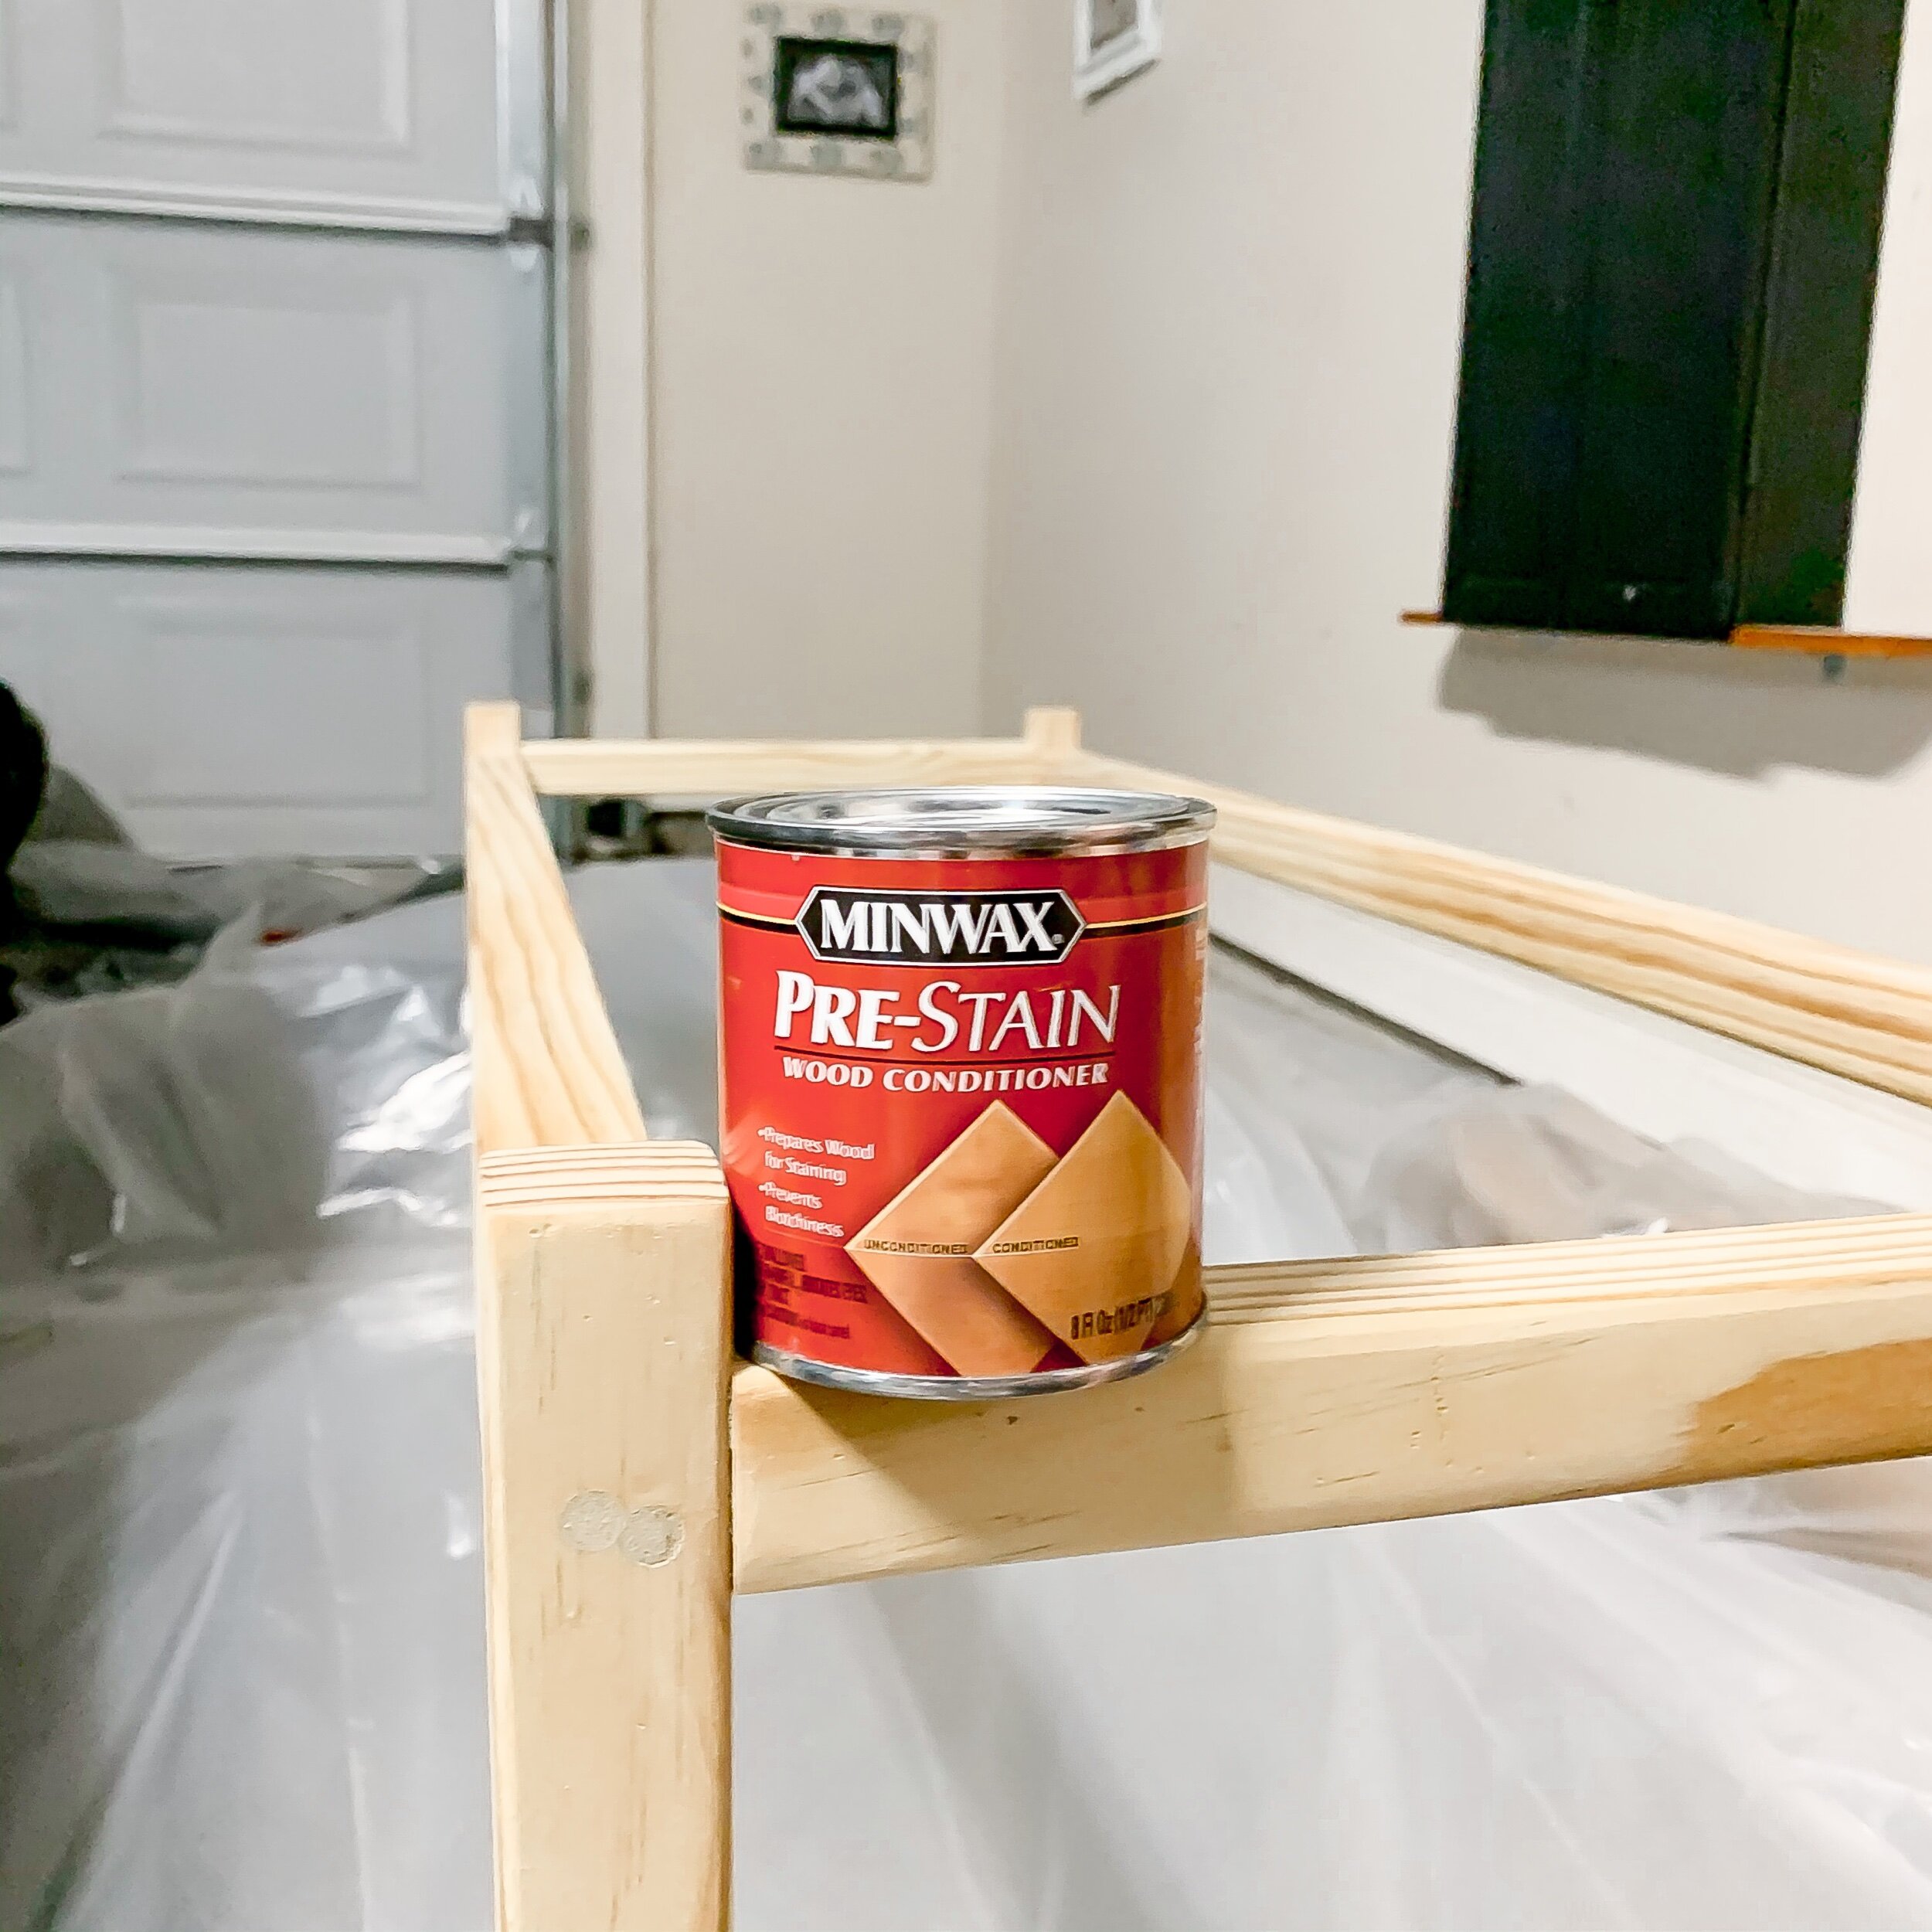
• Wood conditioner
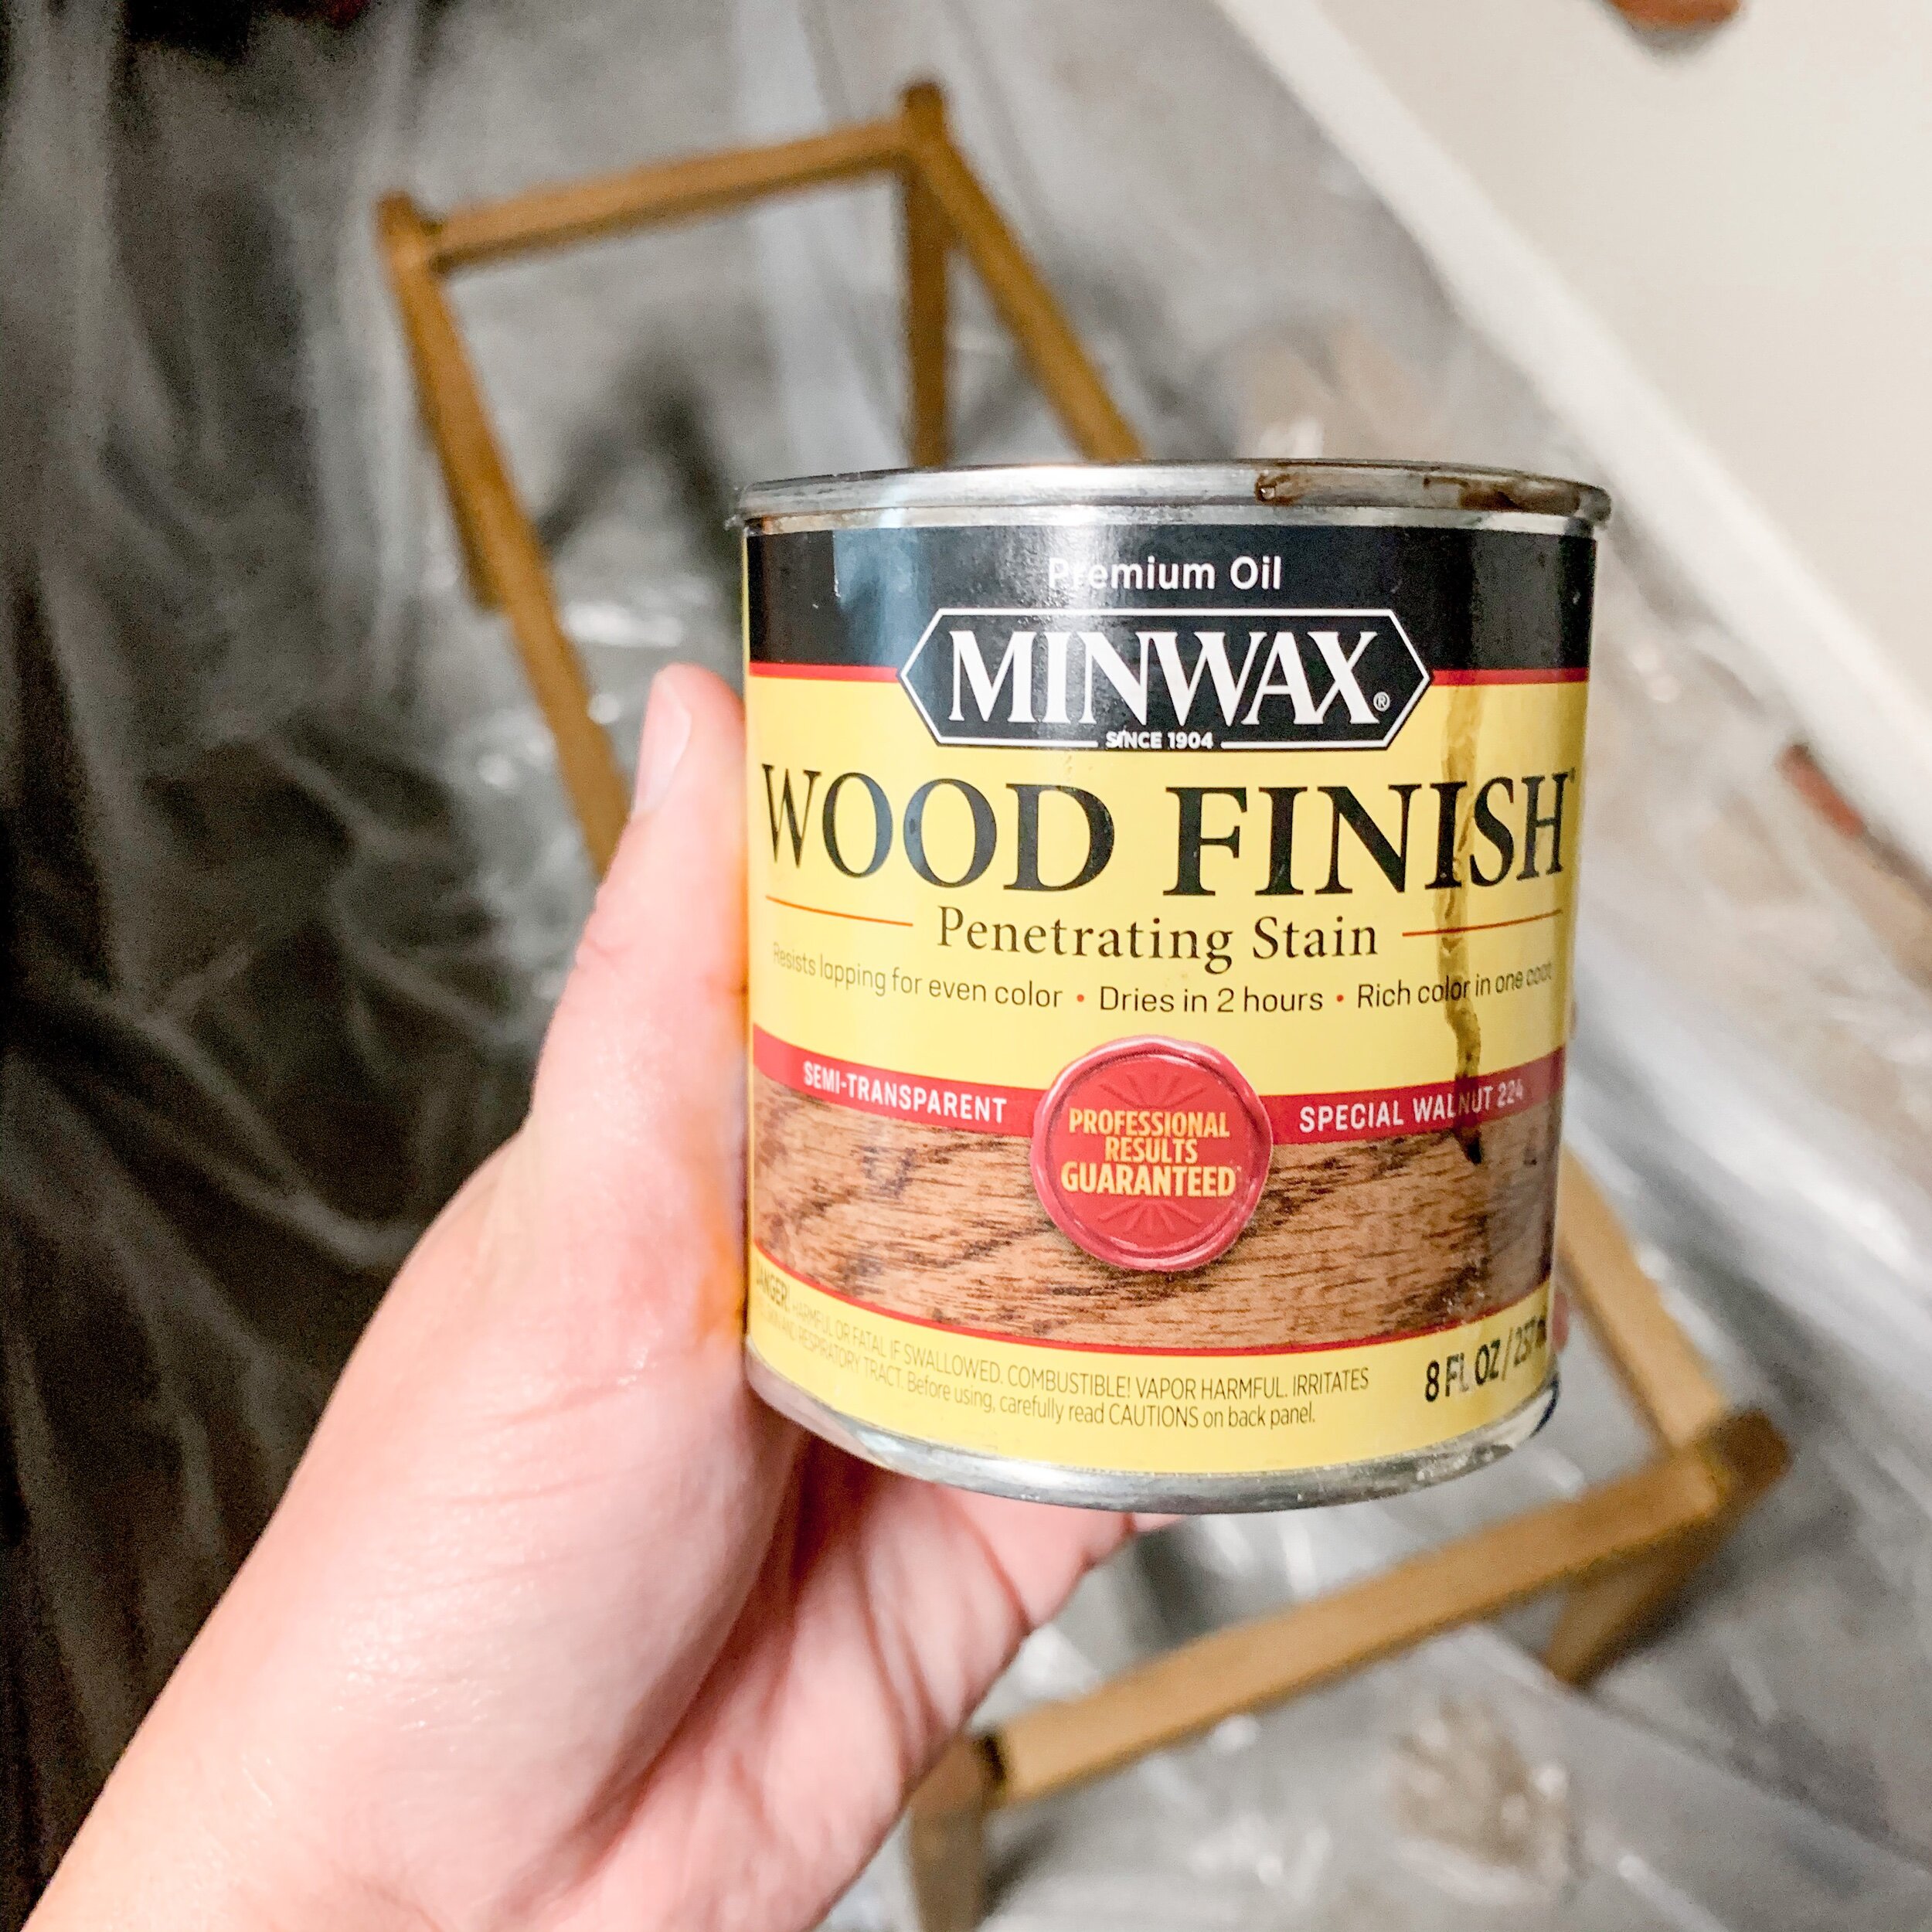
• Wood Stain ( I used Special Walnut)
• Optional Staple Gun and staples
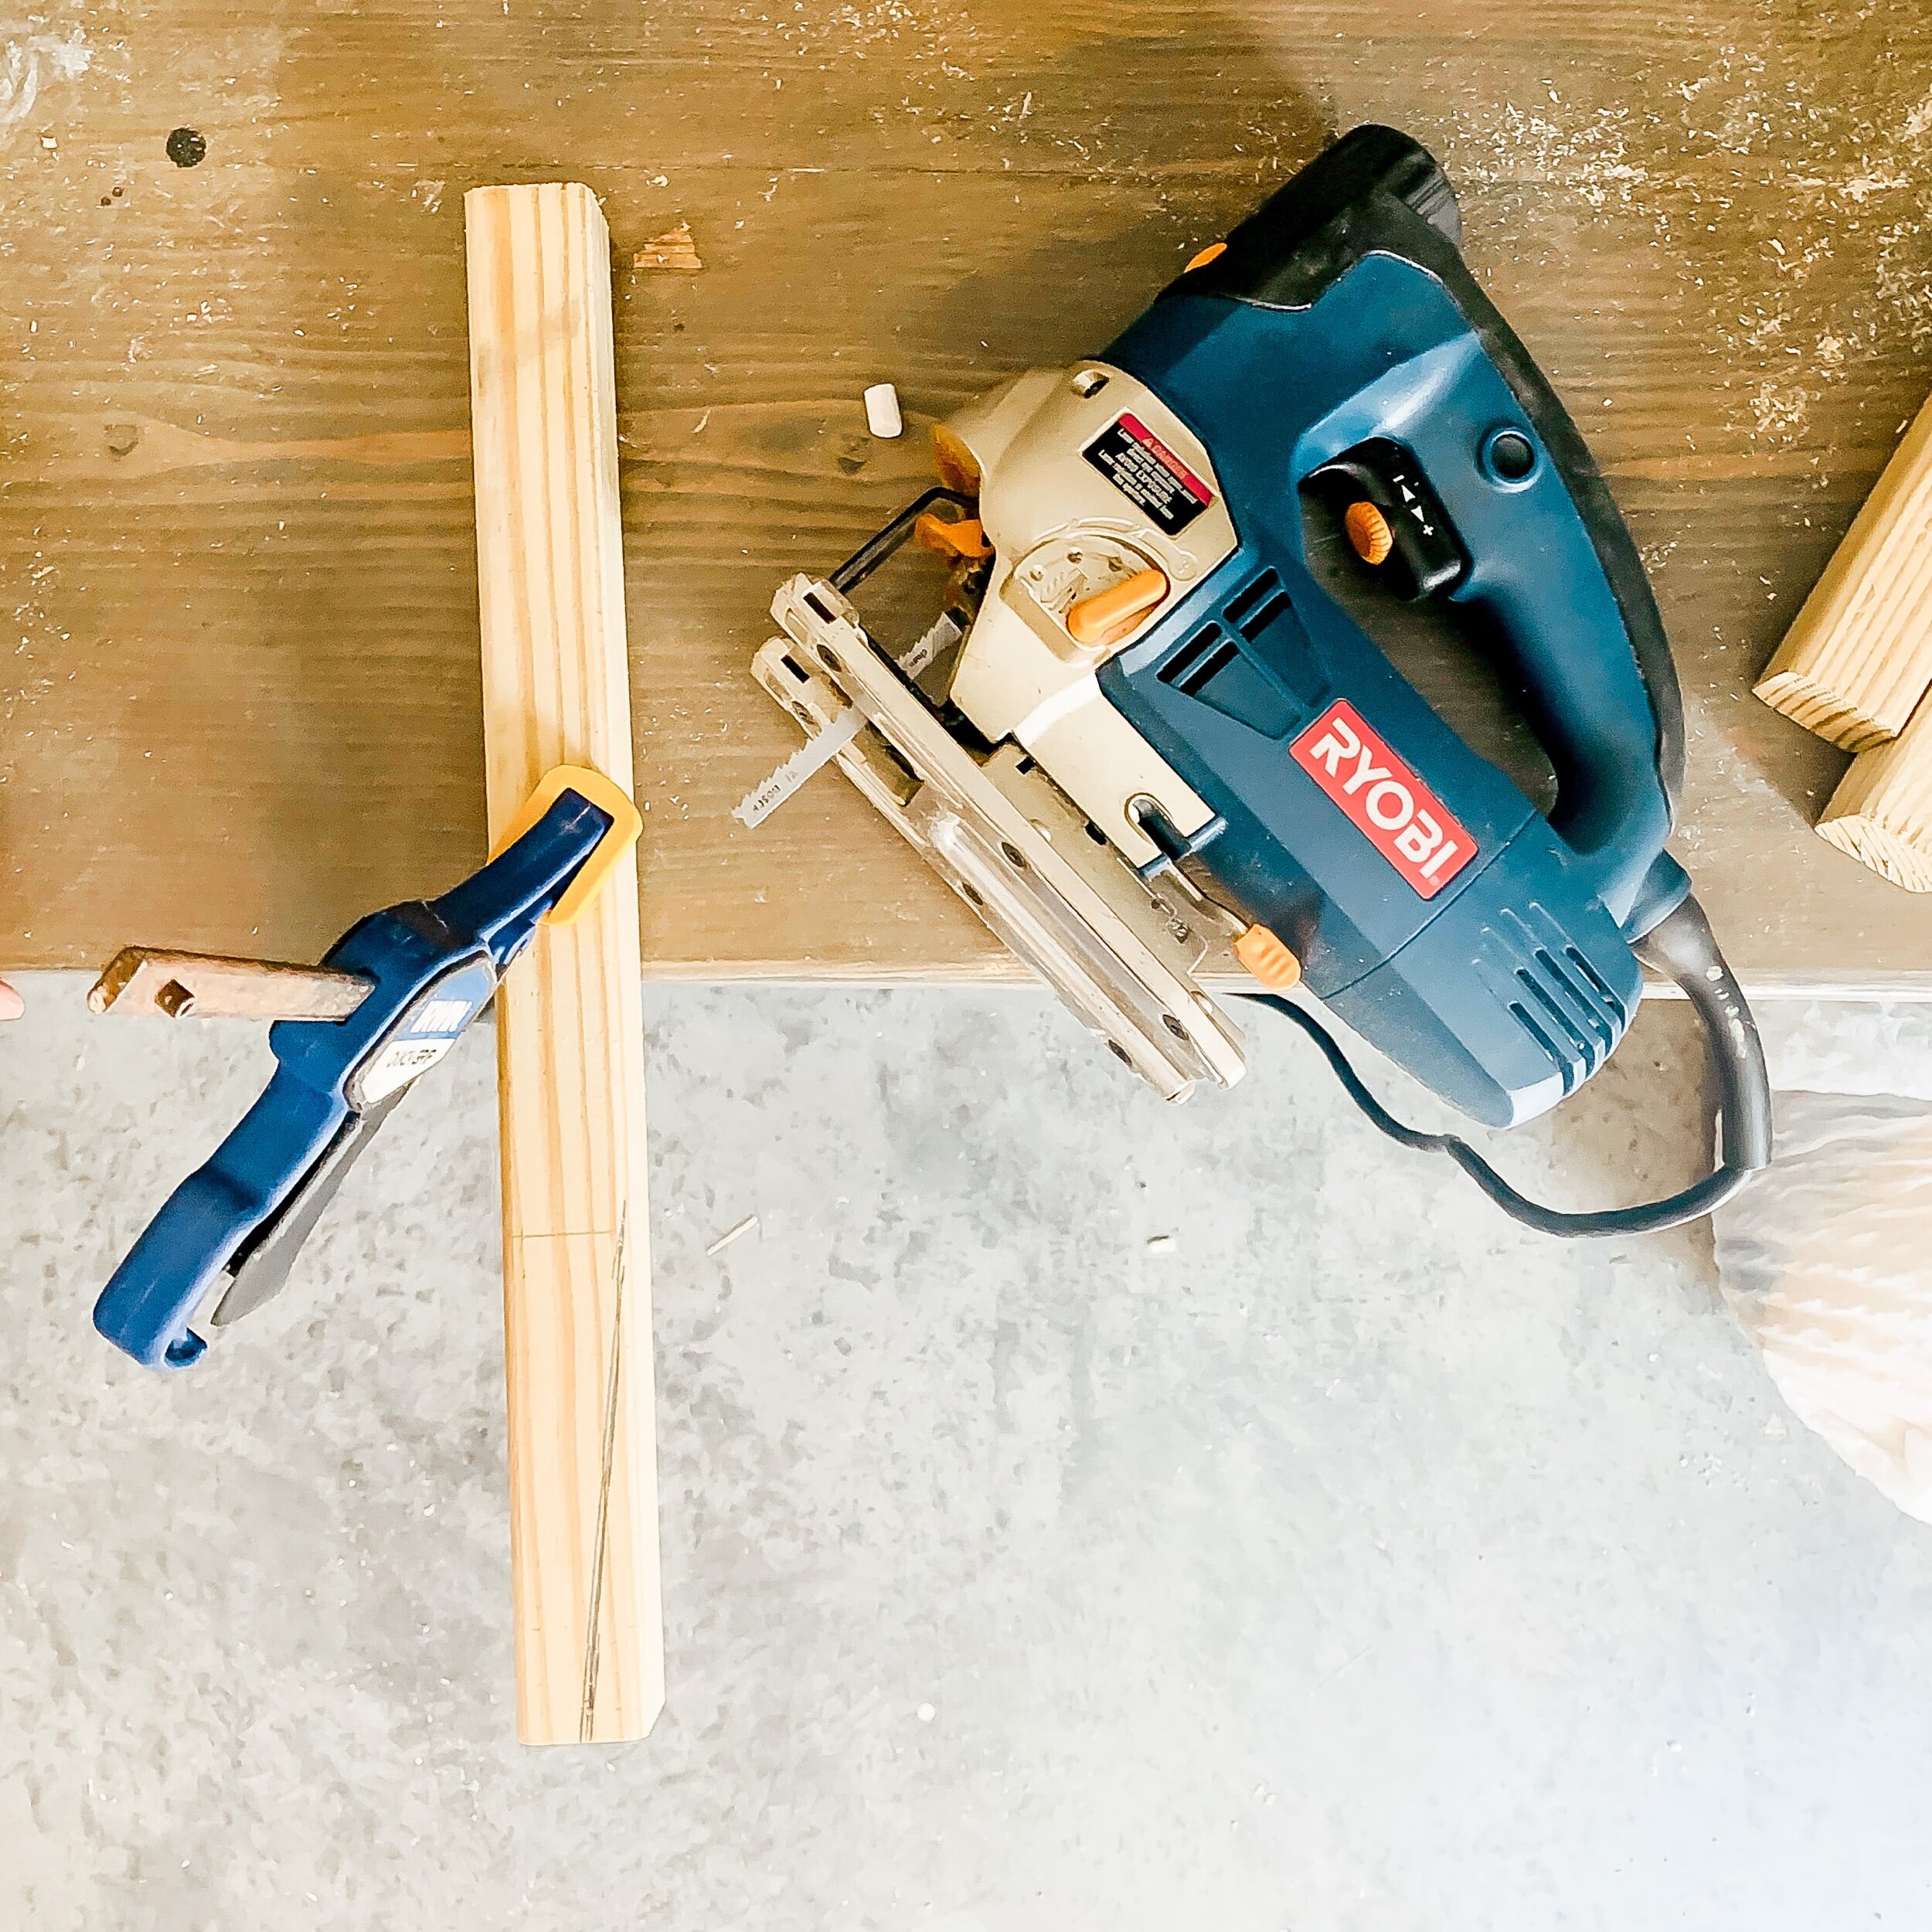
• Chop saw/jigsaw
• Sander
Your personal budget can determine some of the products you might use. For example, for the wood, I saved money by snagging my wood in the deck section. Think, the wooden pieces between the top and bottom of the deck railing but make sure its not the kind that splinters.
Another way I saved was on the clothesline. At Lowe’s and Home depot, 200ft was over $20 and I would have needed two of those! I found my clothes line at a local discount store named Ollie’s. They were only $3.99 per 100 ft! All four for less than one at the other stores.
I also purchased my stain and wood conditioner at Walmart for cheaper and then found some at Ollies for 99 cents! So keep your mind open and take a stroll through your local discount stores to see if they have these supplies for less.
Step By Step Instructions
• Make your cuts first. 2 pieces of 45″ 2″x2″ , 4 pieces of 16″ 2″x2″, 2 pieces of 14″ 2″x2″.
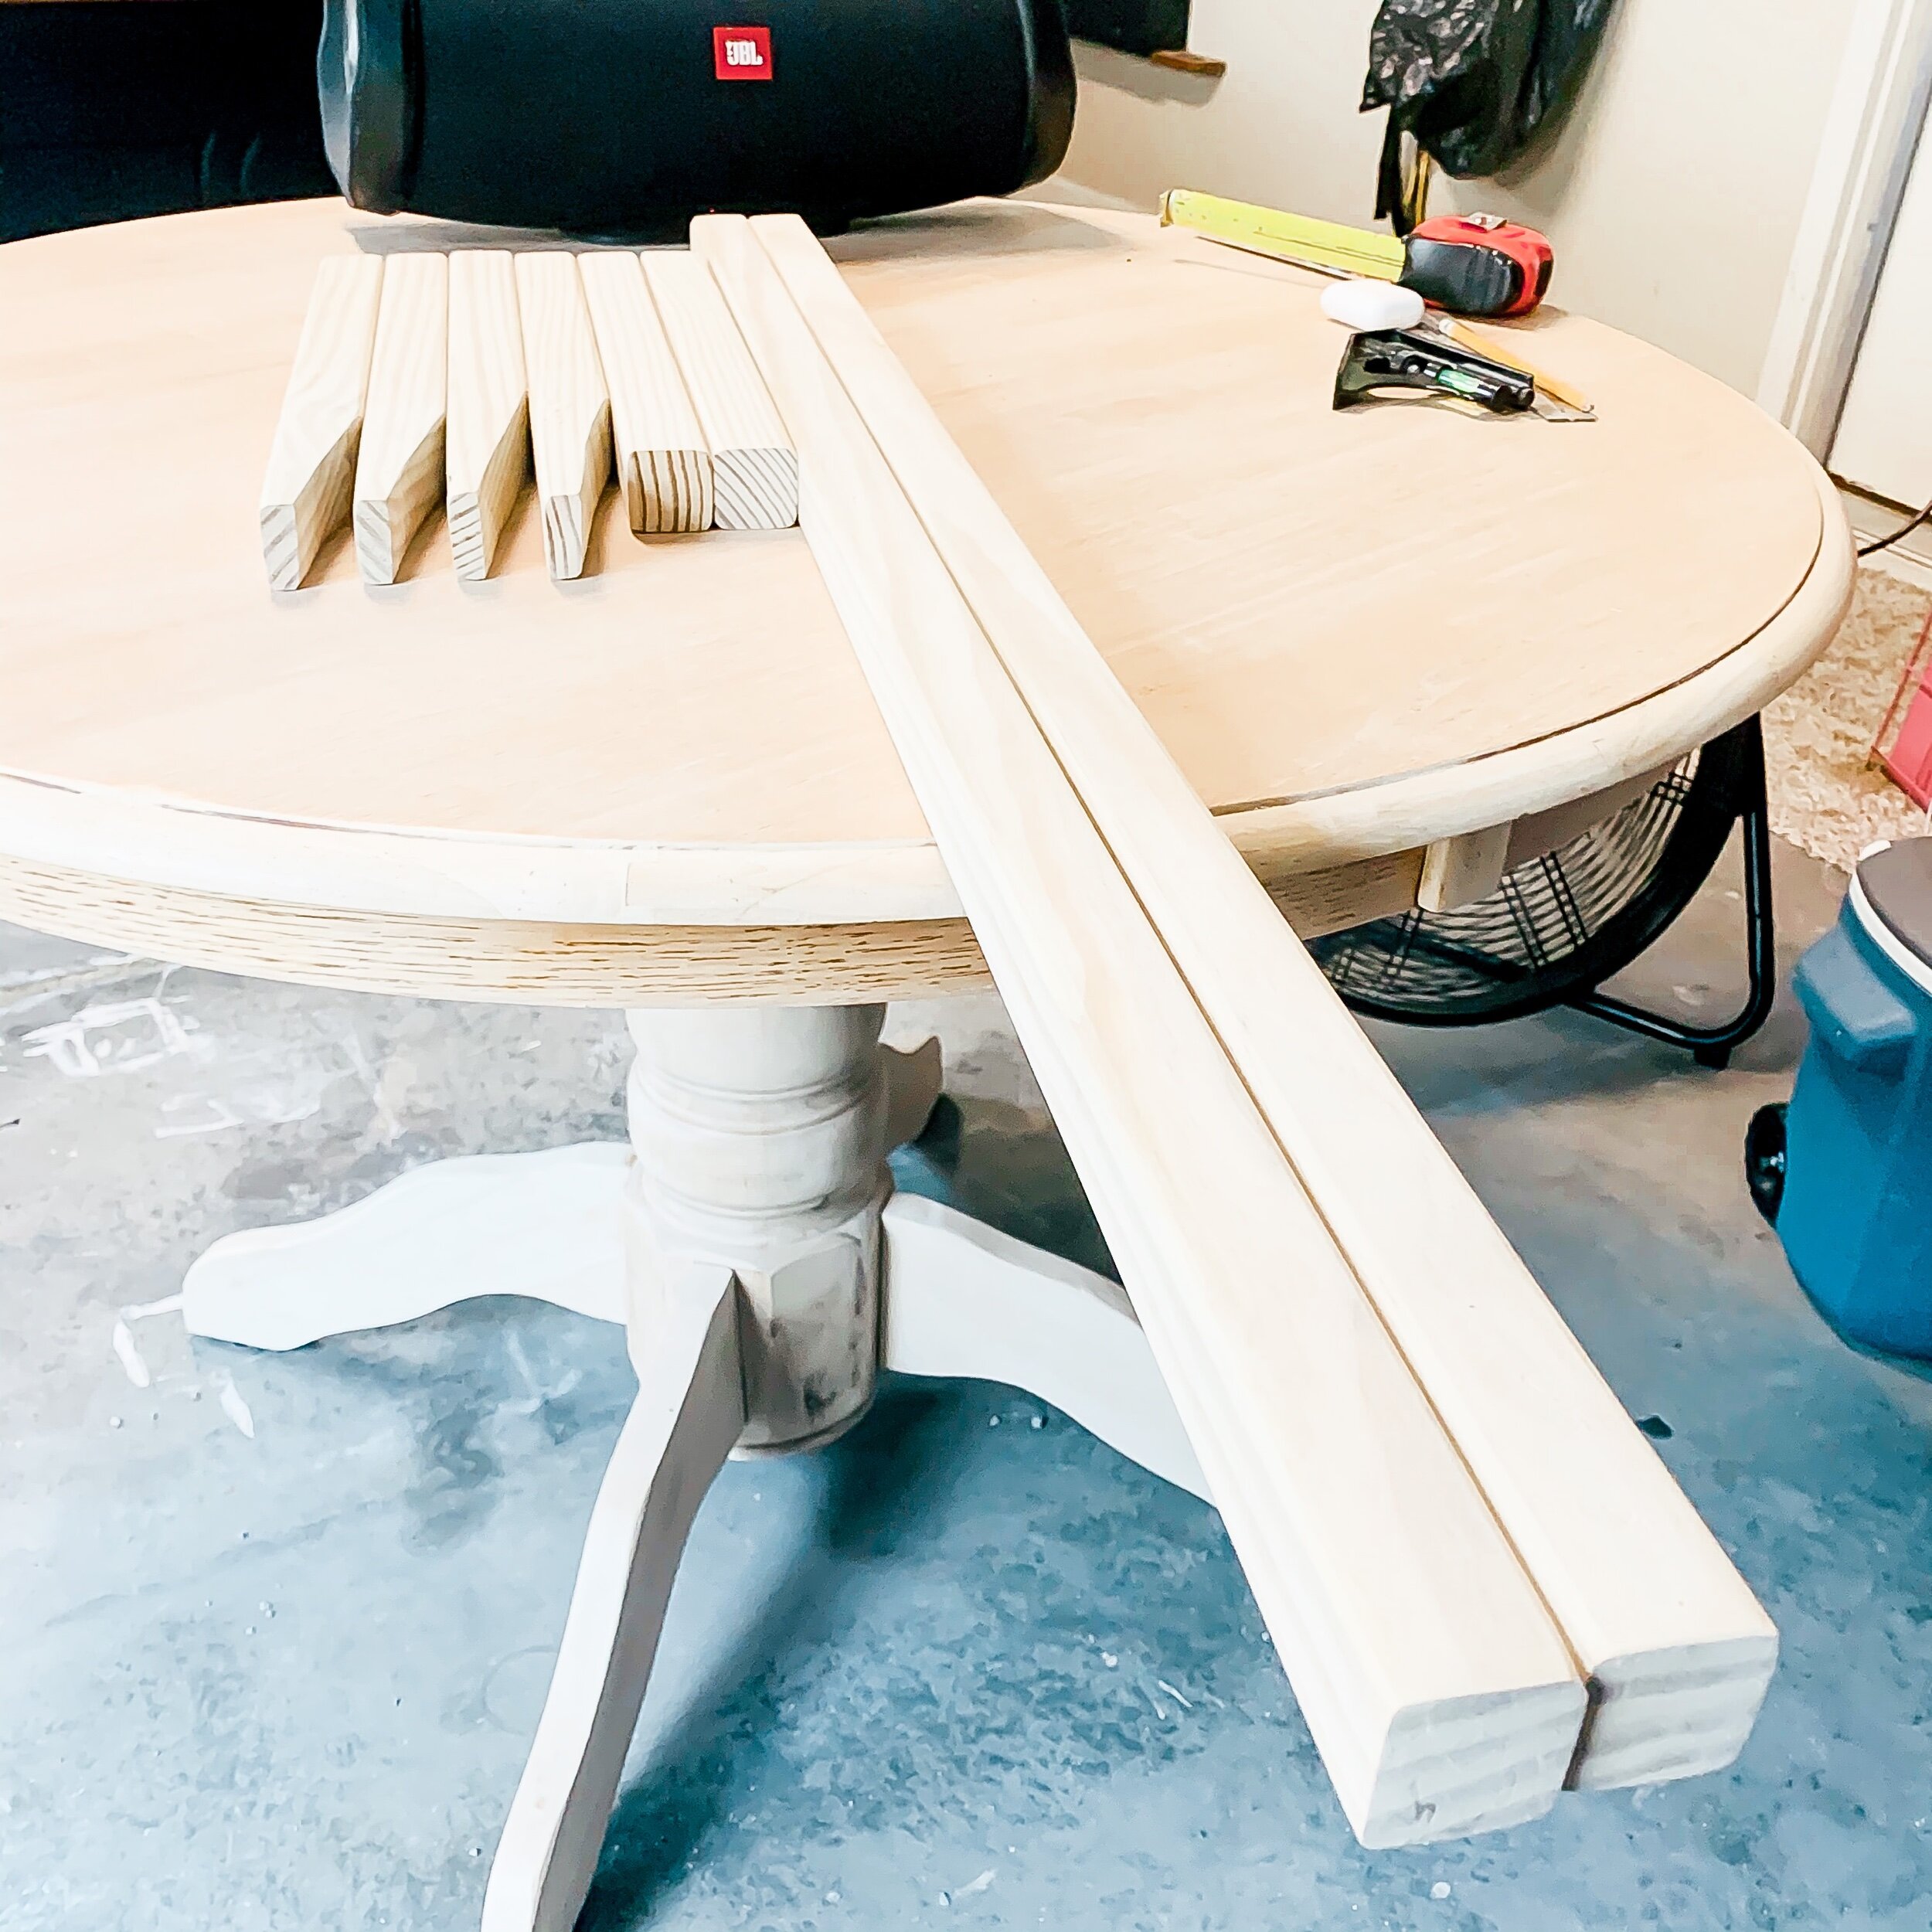
• I followed my INSPOs instructions to make the legs of this bench a little fancier. She measured measured 5″ up each 16″ leg, then 3/4″ in on the bottom. Then I use a jigsaw to cut along the line. I’m still not that great with a jigsaw but sanding helps hide the imperfections.
• Sand each piece making sure it’s smooth. I had to add a little extra sanding into the legs.
• Once your pieces are stained, wipe them down with a dry cloth to get the dust off and then start your assembly. (Photos below)
• Mark the top of each leg where you will want to sides to touch. I went down one inch on mine.
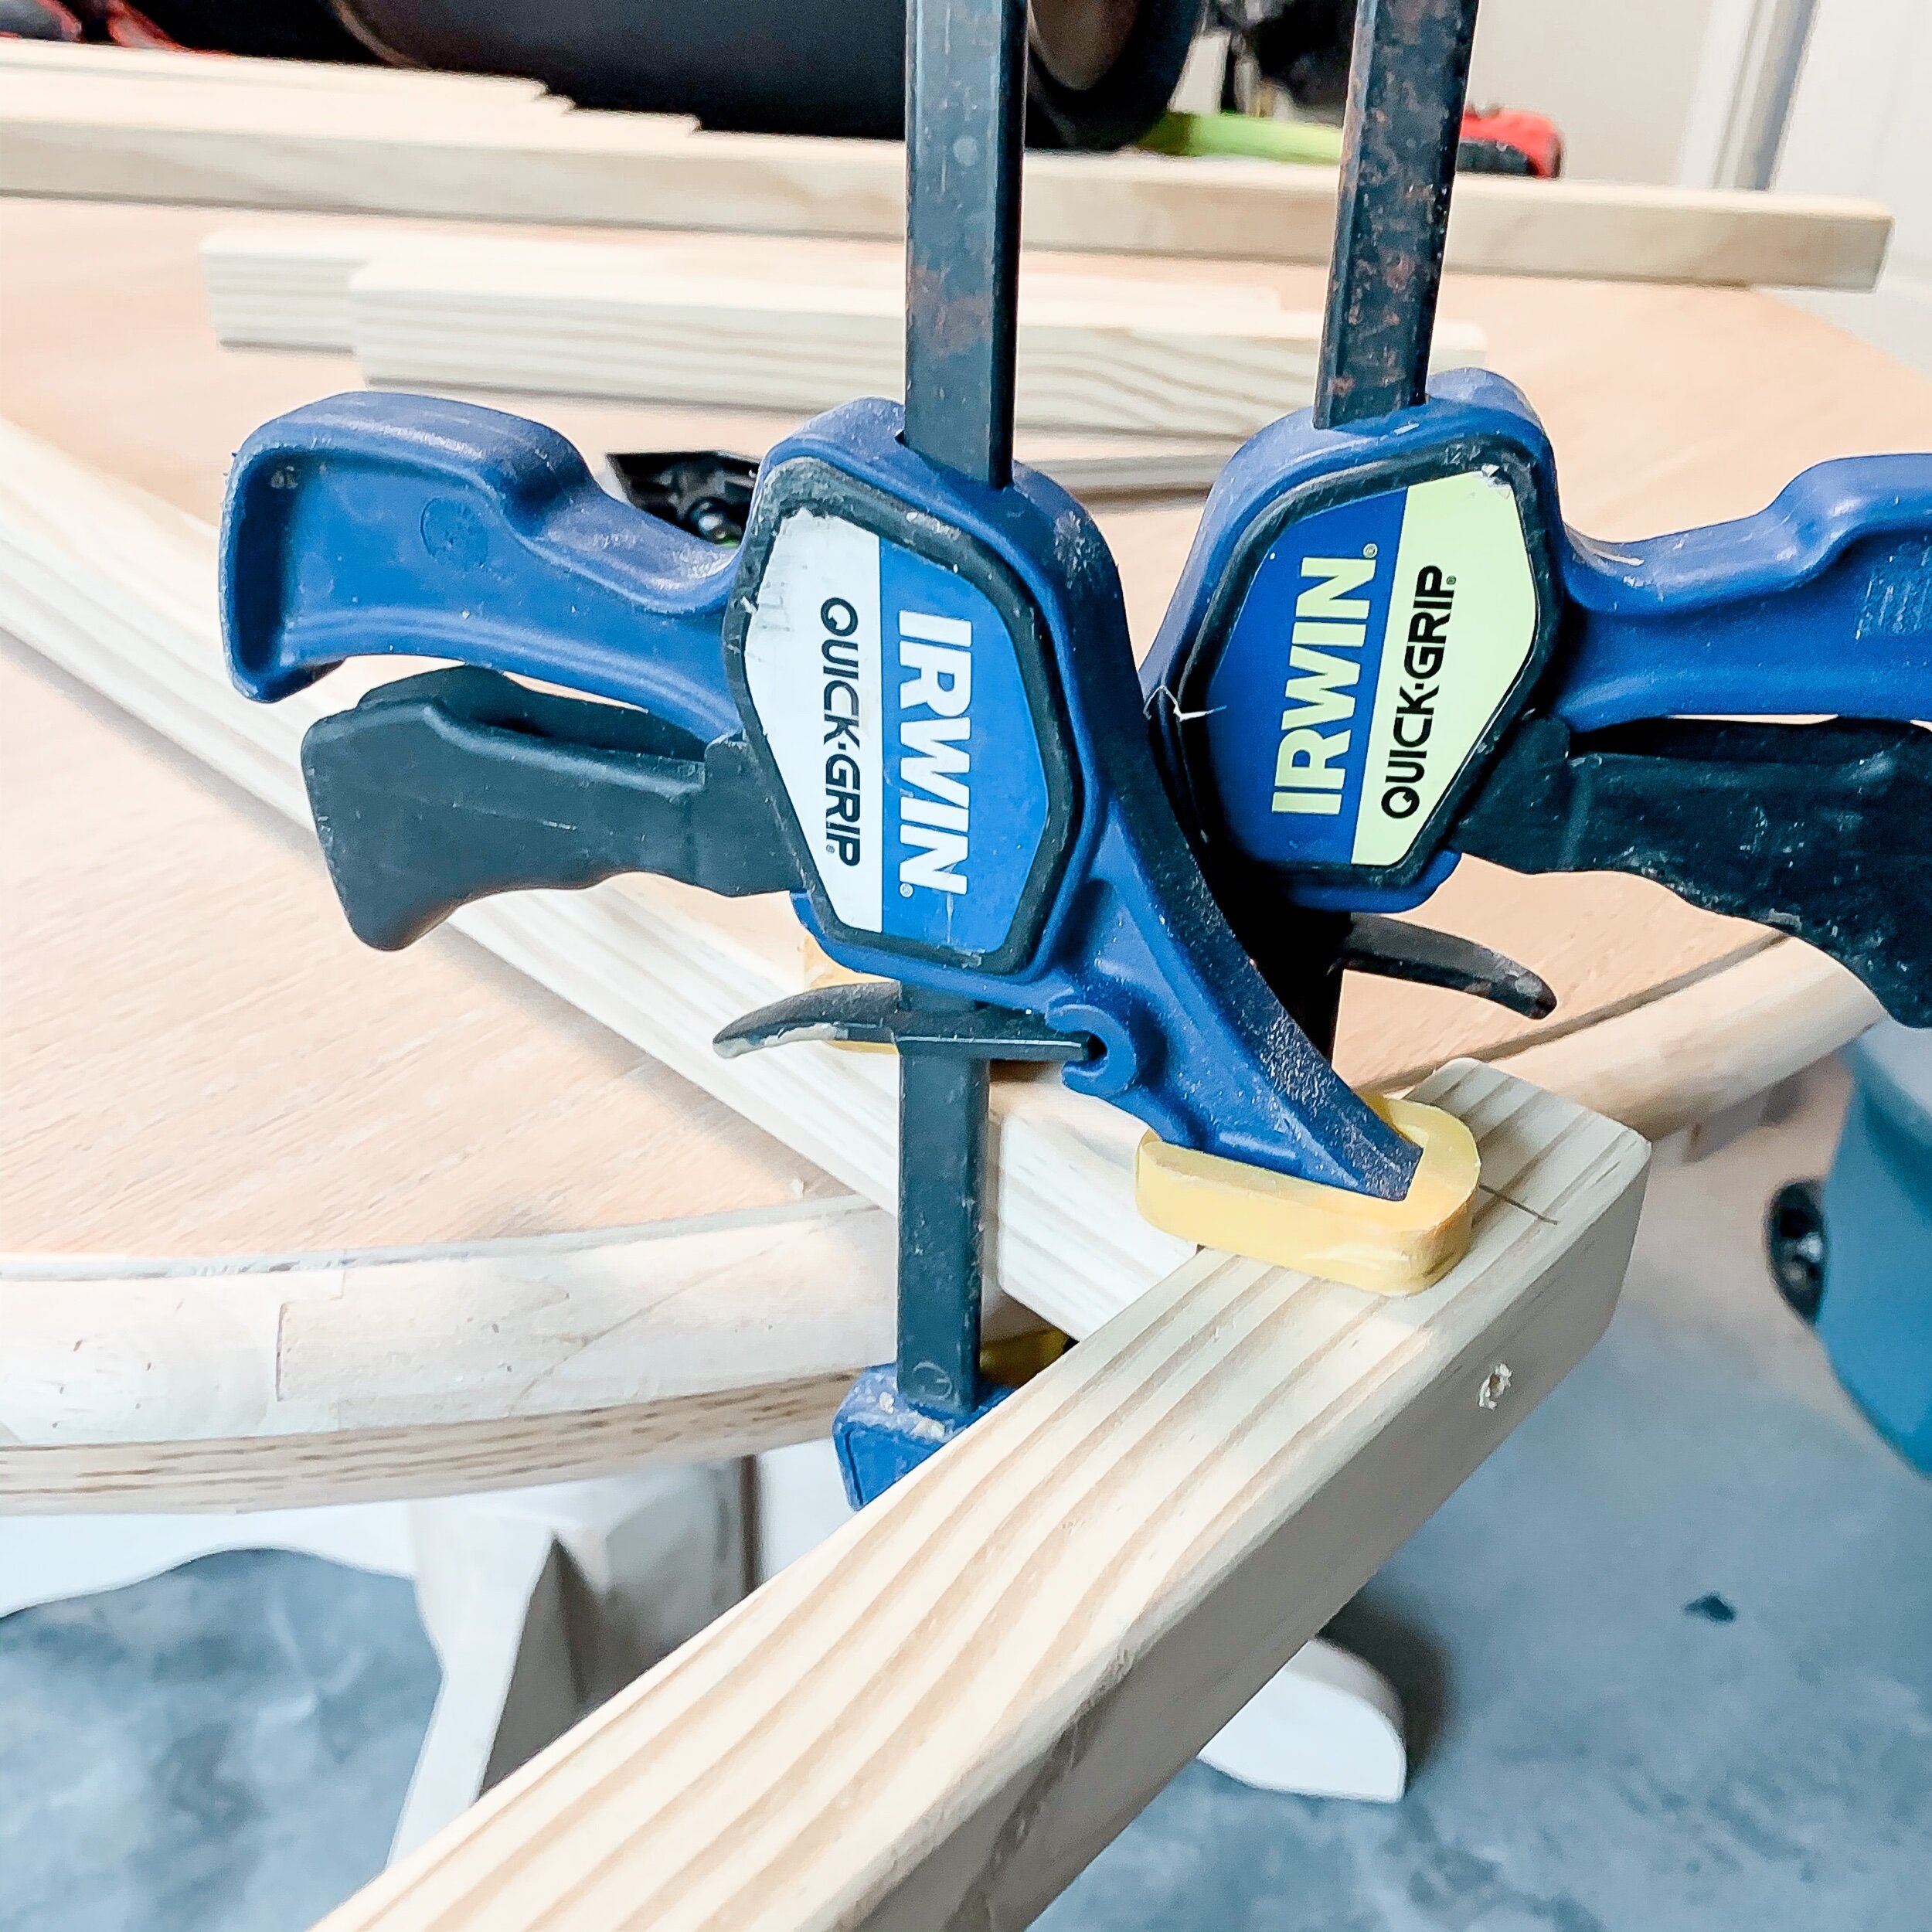
• Start assembly by attaching one of your 45″ side pieces, to one of the 16” legs.
• Then add the 14” , smaller side, to the other leg. Repeat for each side.
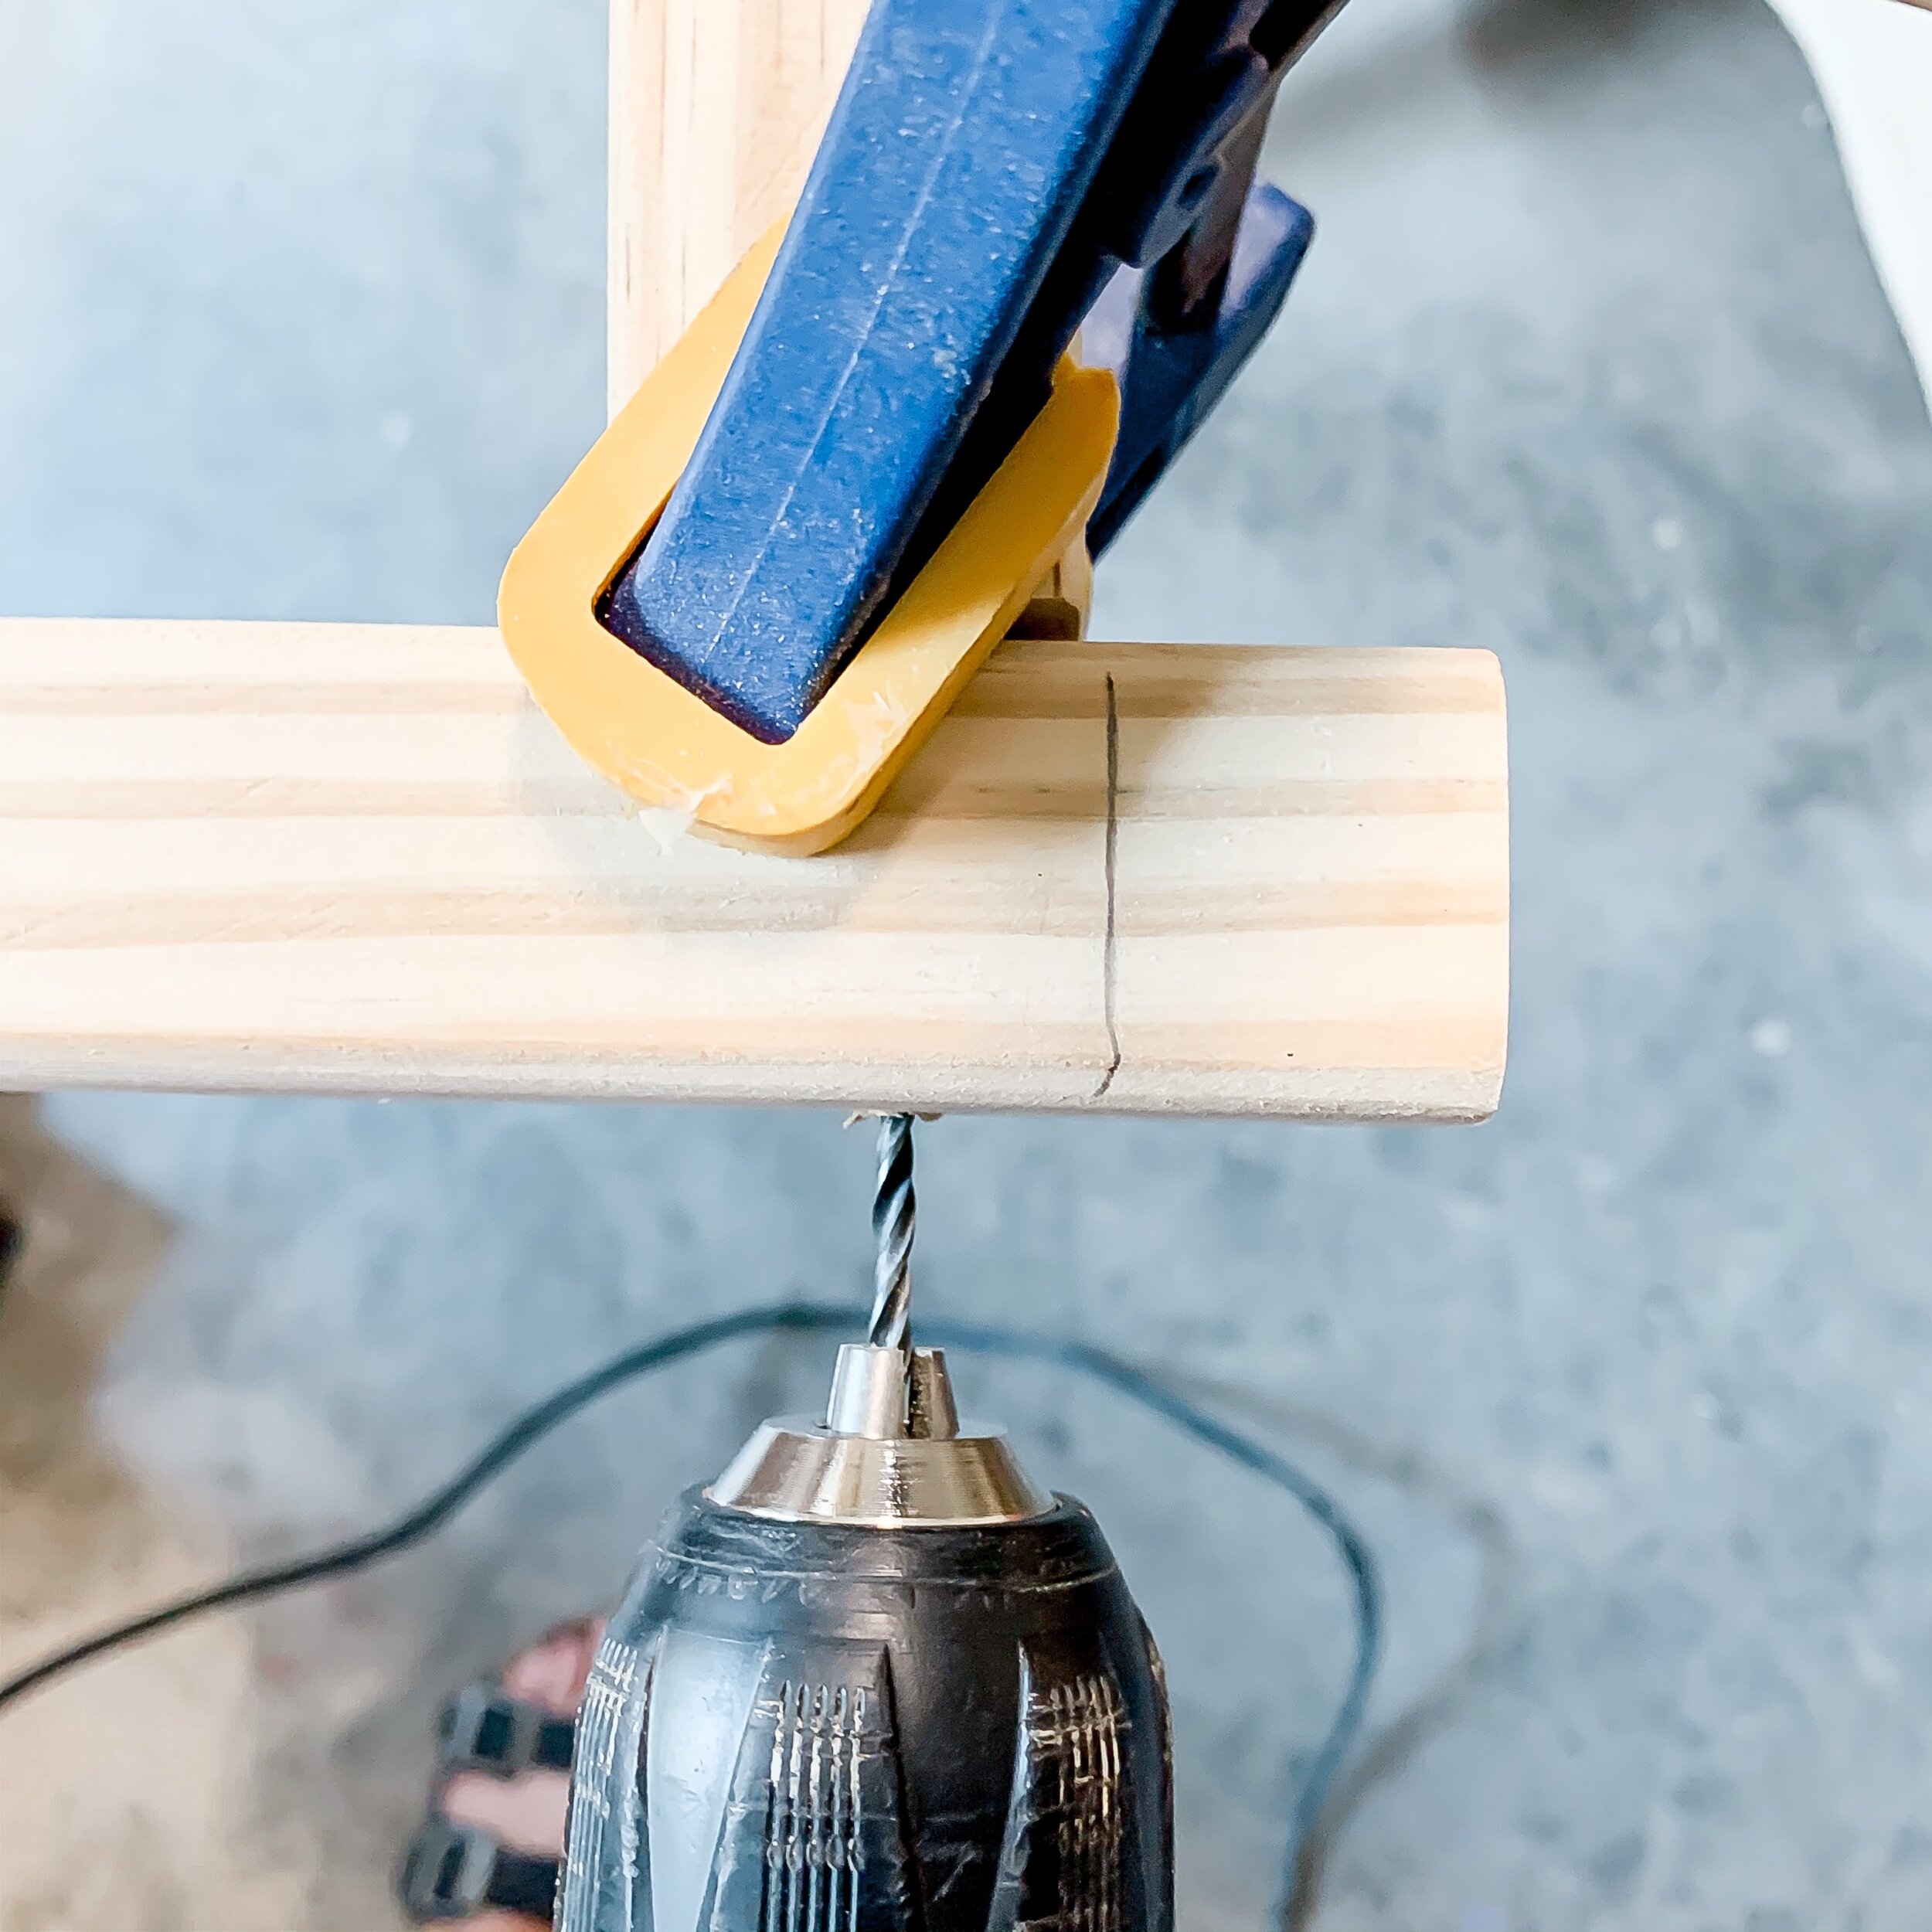
• Pre drill holes where your wood screws will go. I used clamps to help hold the wood while I pre drilled and screwed in my wood screws. I suggest using two wood screws on each side.
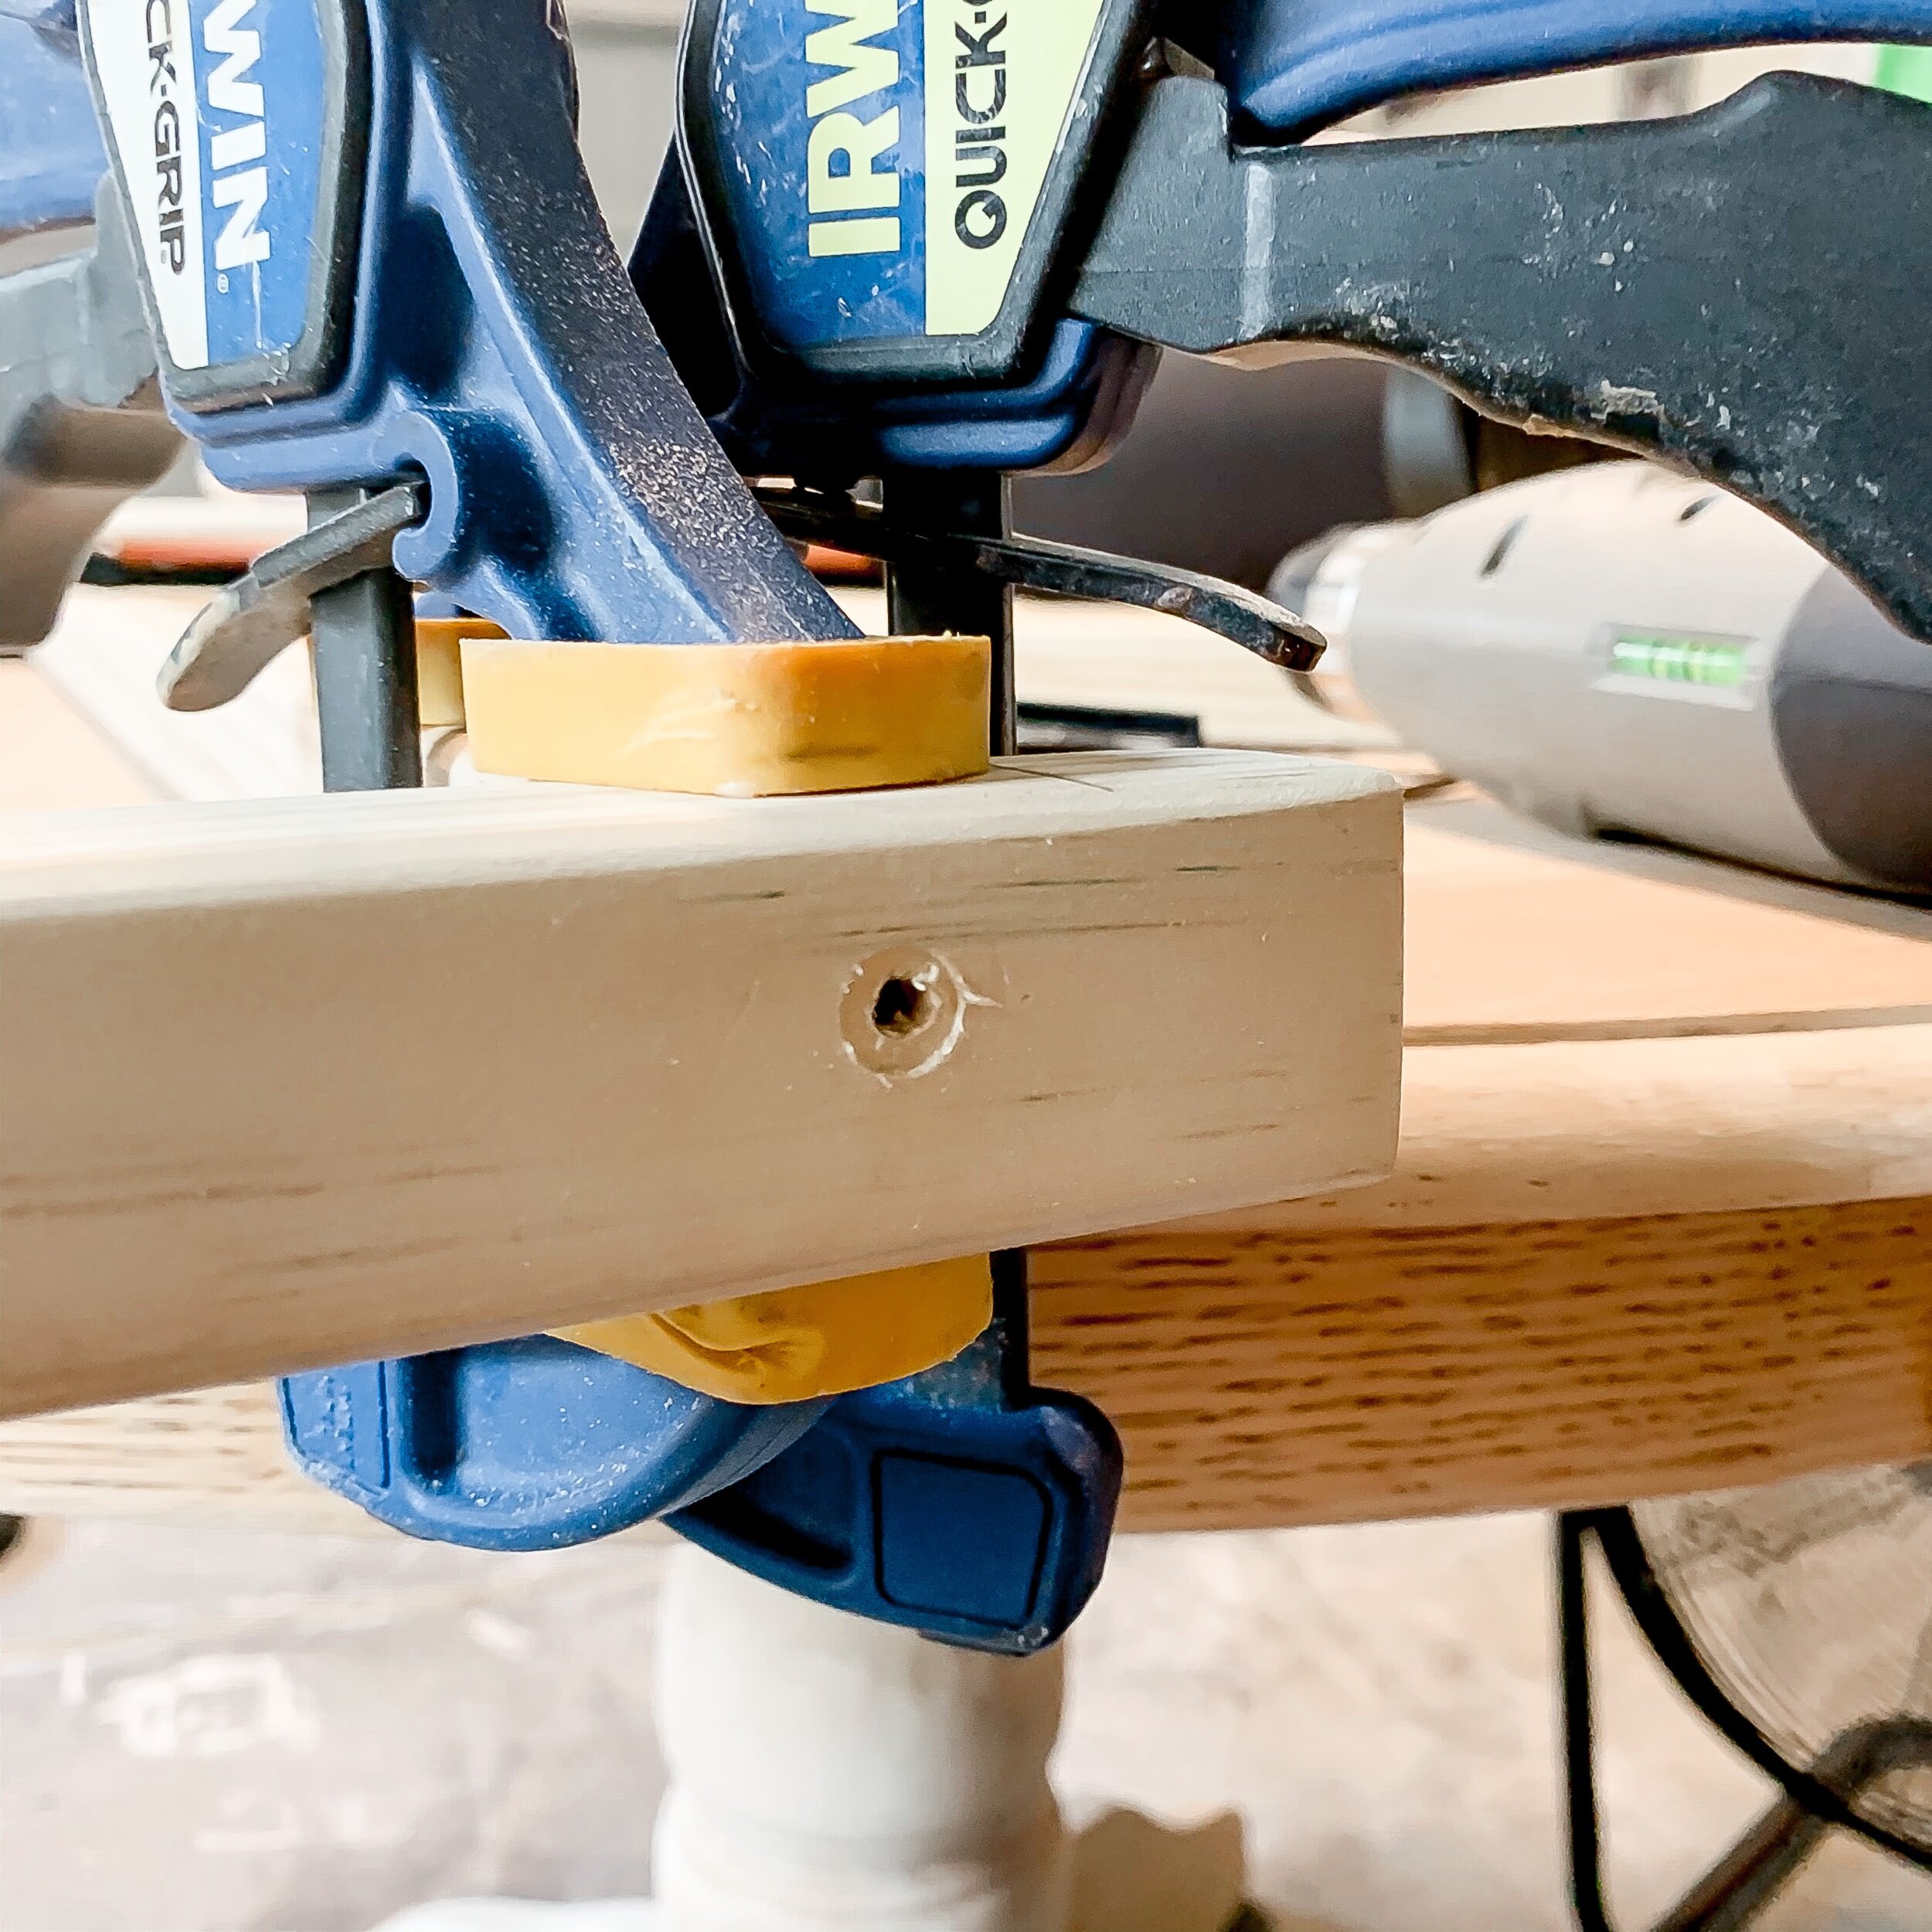
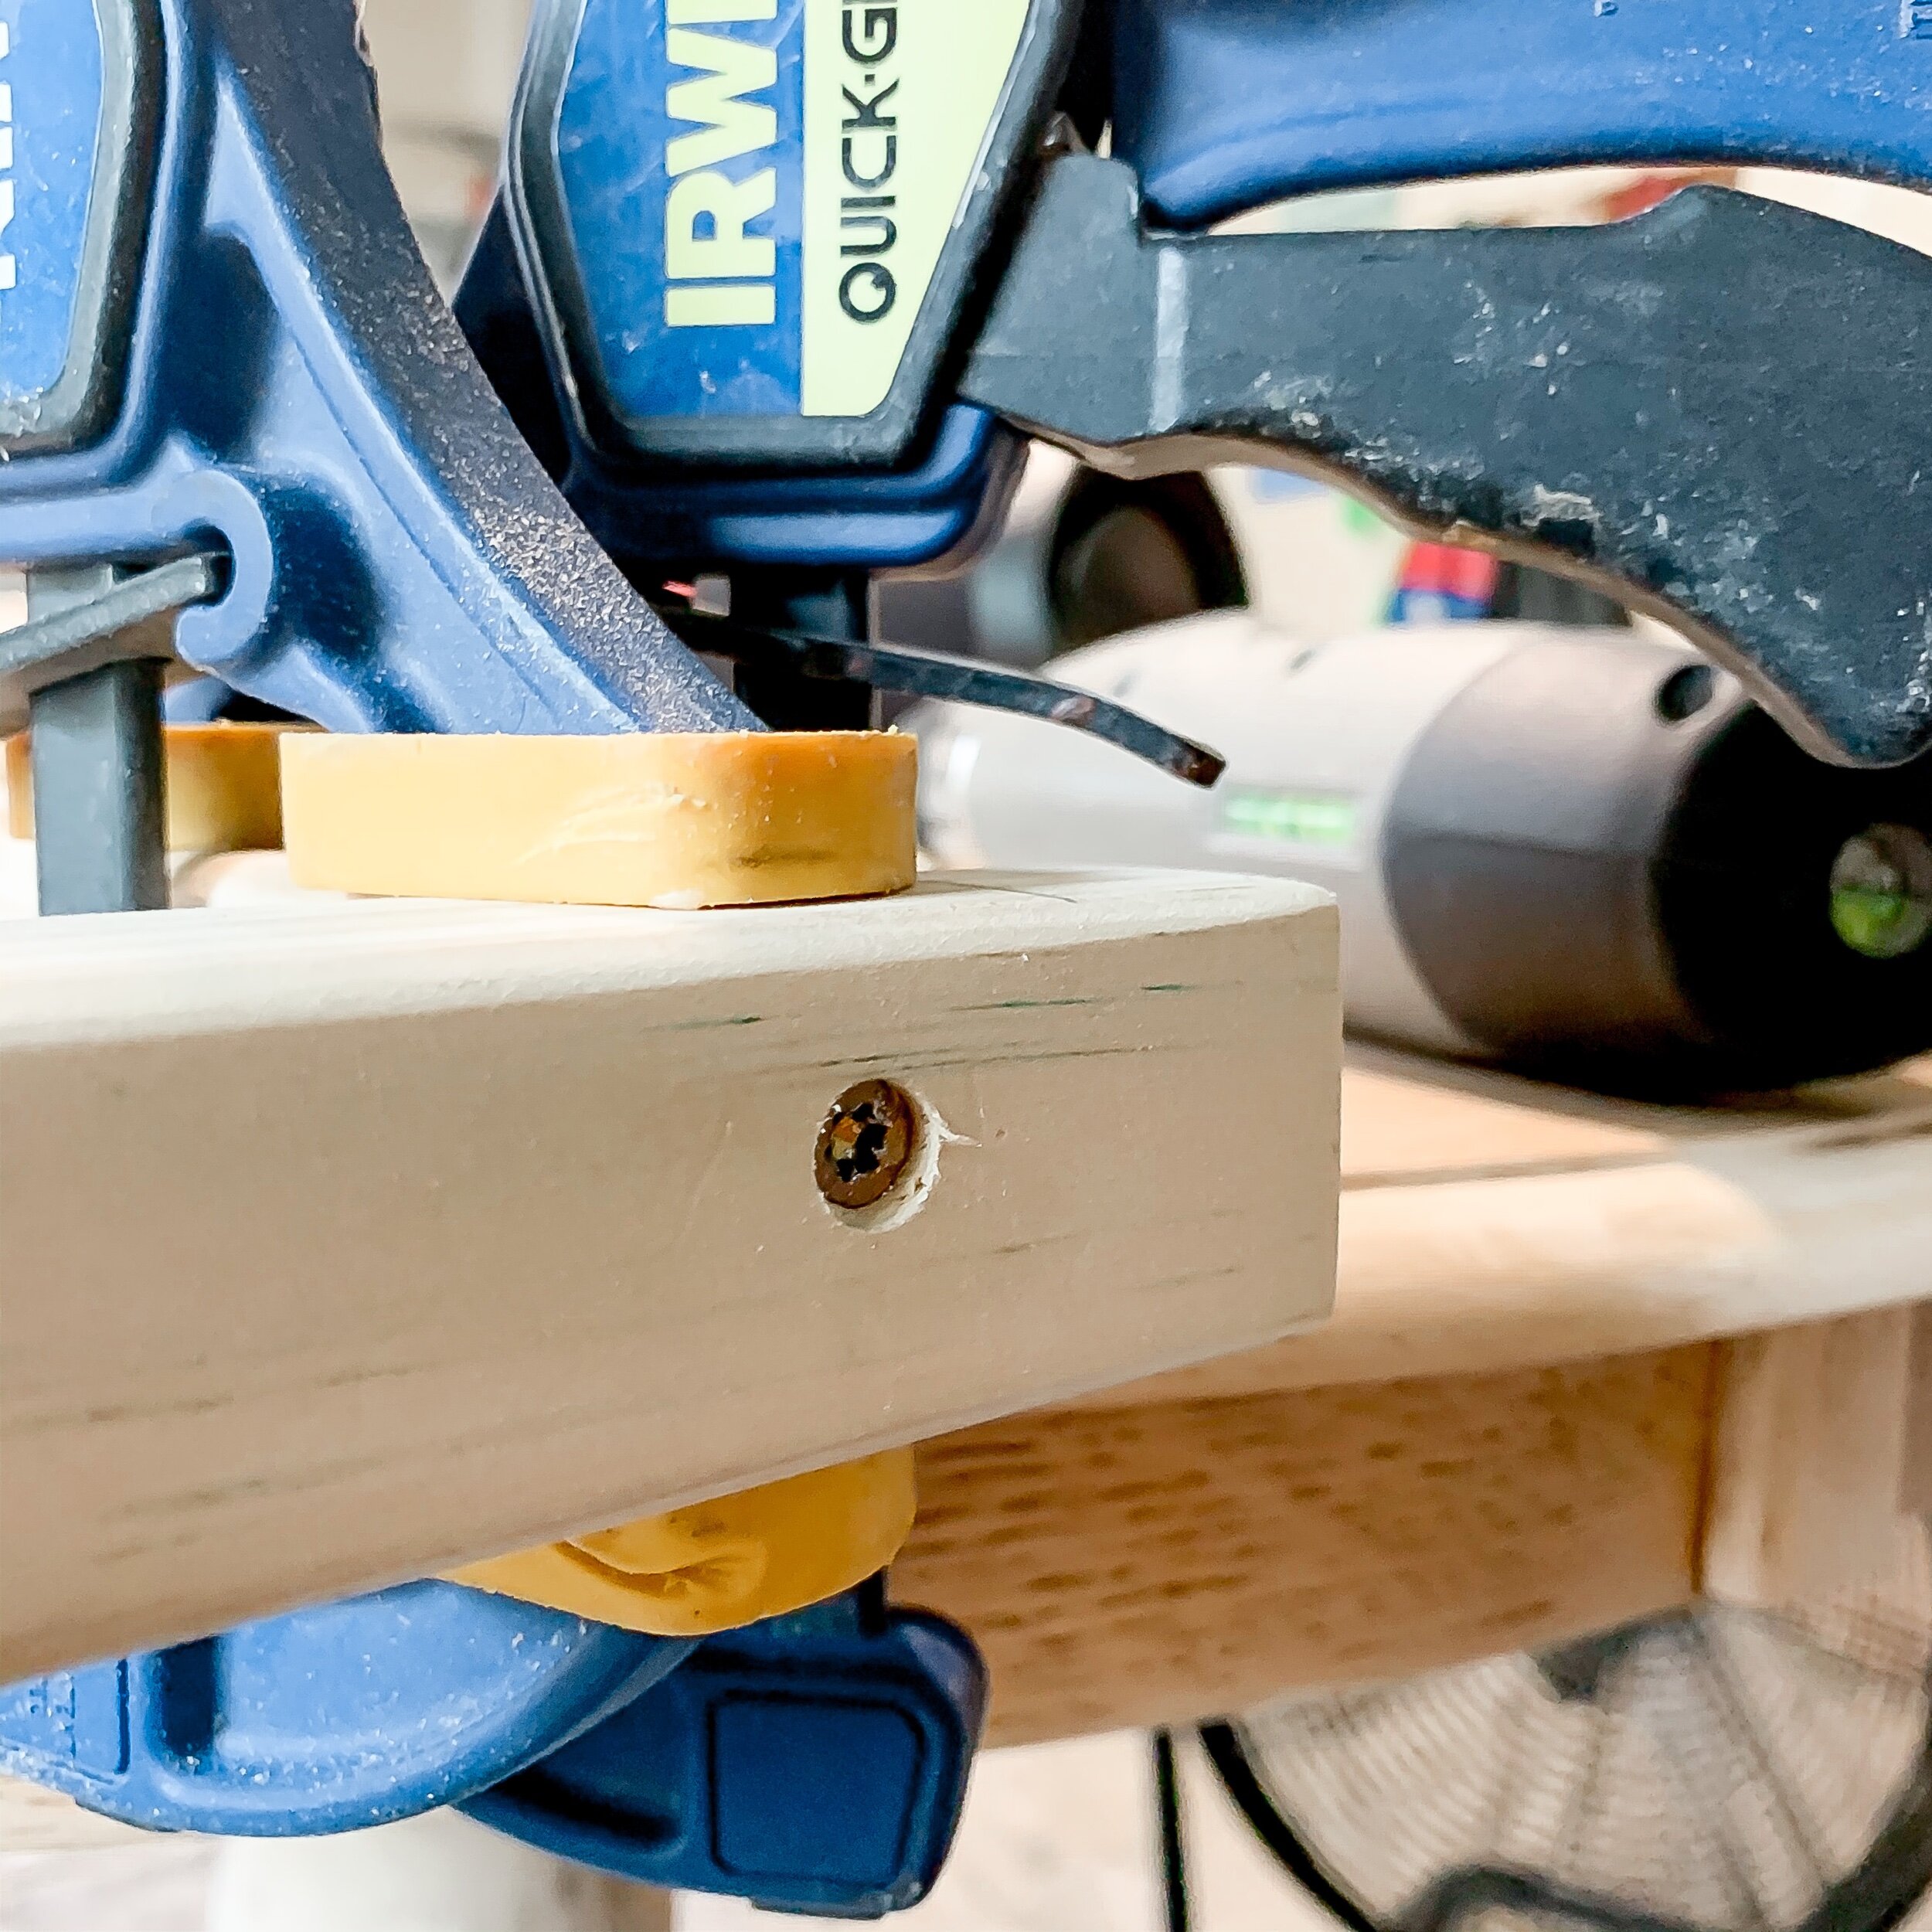
• Once the frame is done, you can fill the screw holes with wood filler. You don’t have to do this but if you want a more seamless look, this helps.
• After the wood filler is dry, sand off the access, making sure none is left on other areas of the wood.
• Next, you are ready to pre stain your wood with your wood conditioner and once that is dry, stain the frame with your desired shade of stain. I used Special Walnut and only used one coat.

This part is EXTREMELY important!
Once your frame is dry, it is time to start weaving.
DO NOT DO THIS! Here is where I went wrong!
In the inspo post she said to be sure to pull your clothesline tight. I ended up pulling mine so tightly that it began to make the sides of the bench bow in. I had to unweave and start all over again!
What I learned: Although you do want to make sure you are keeping tension on the clothesline as you are weaving, you DO NOT want to pull it to hard. Keep just enough tension so it doesn’t sag.
I tied my clothesline, around the side of the bench, with a knot. I also choose to staple that piece to the inside of the bench for extra stability.
To create the weaved look, you will repeat an over and under patern as shown in the video below. When you run out of clothesline, attach your next one with a knot. Keep the knot towards the under side of the bench and you can hide it under the weaves.
End the way you started, with a knot around the other side and staple if desired.
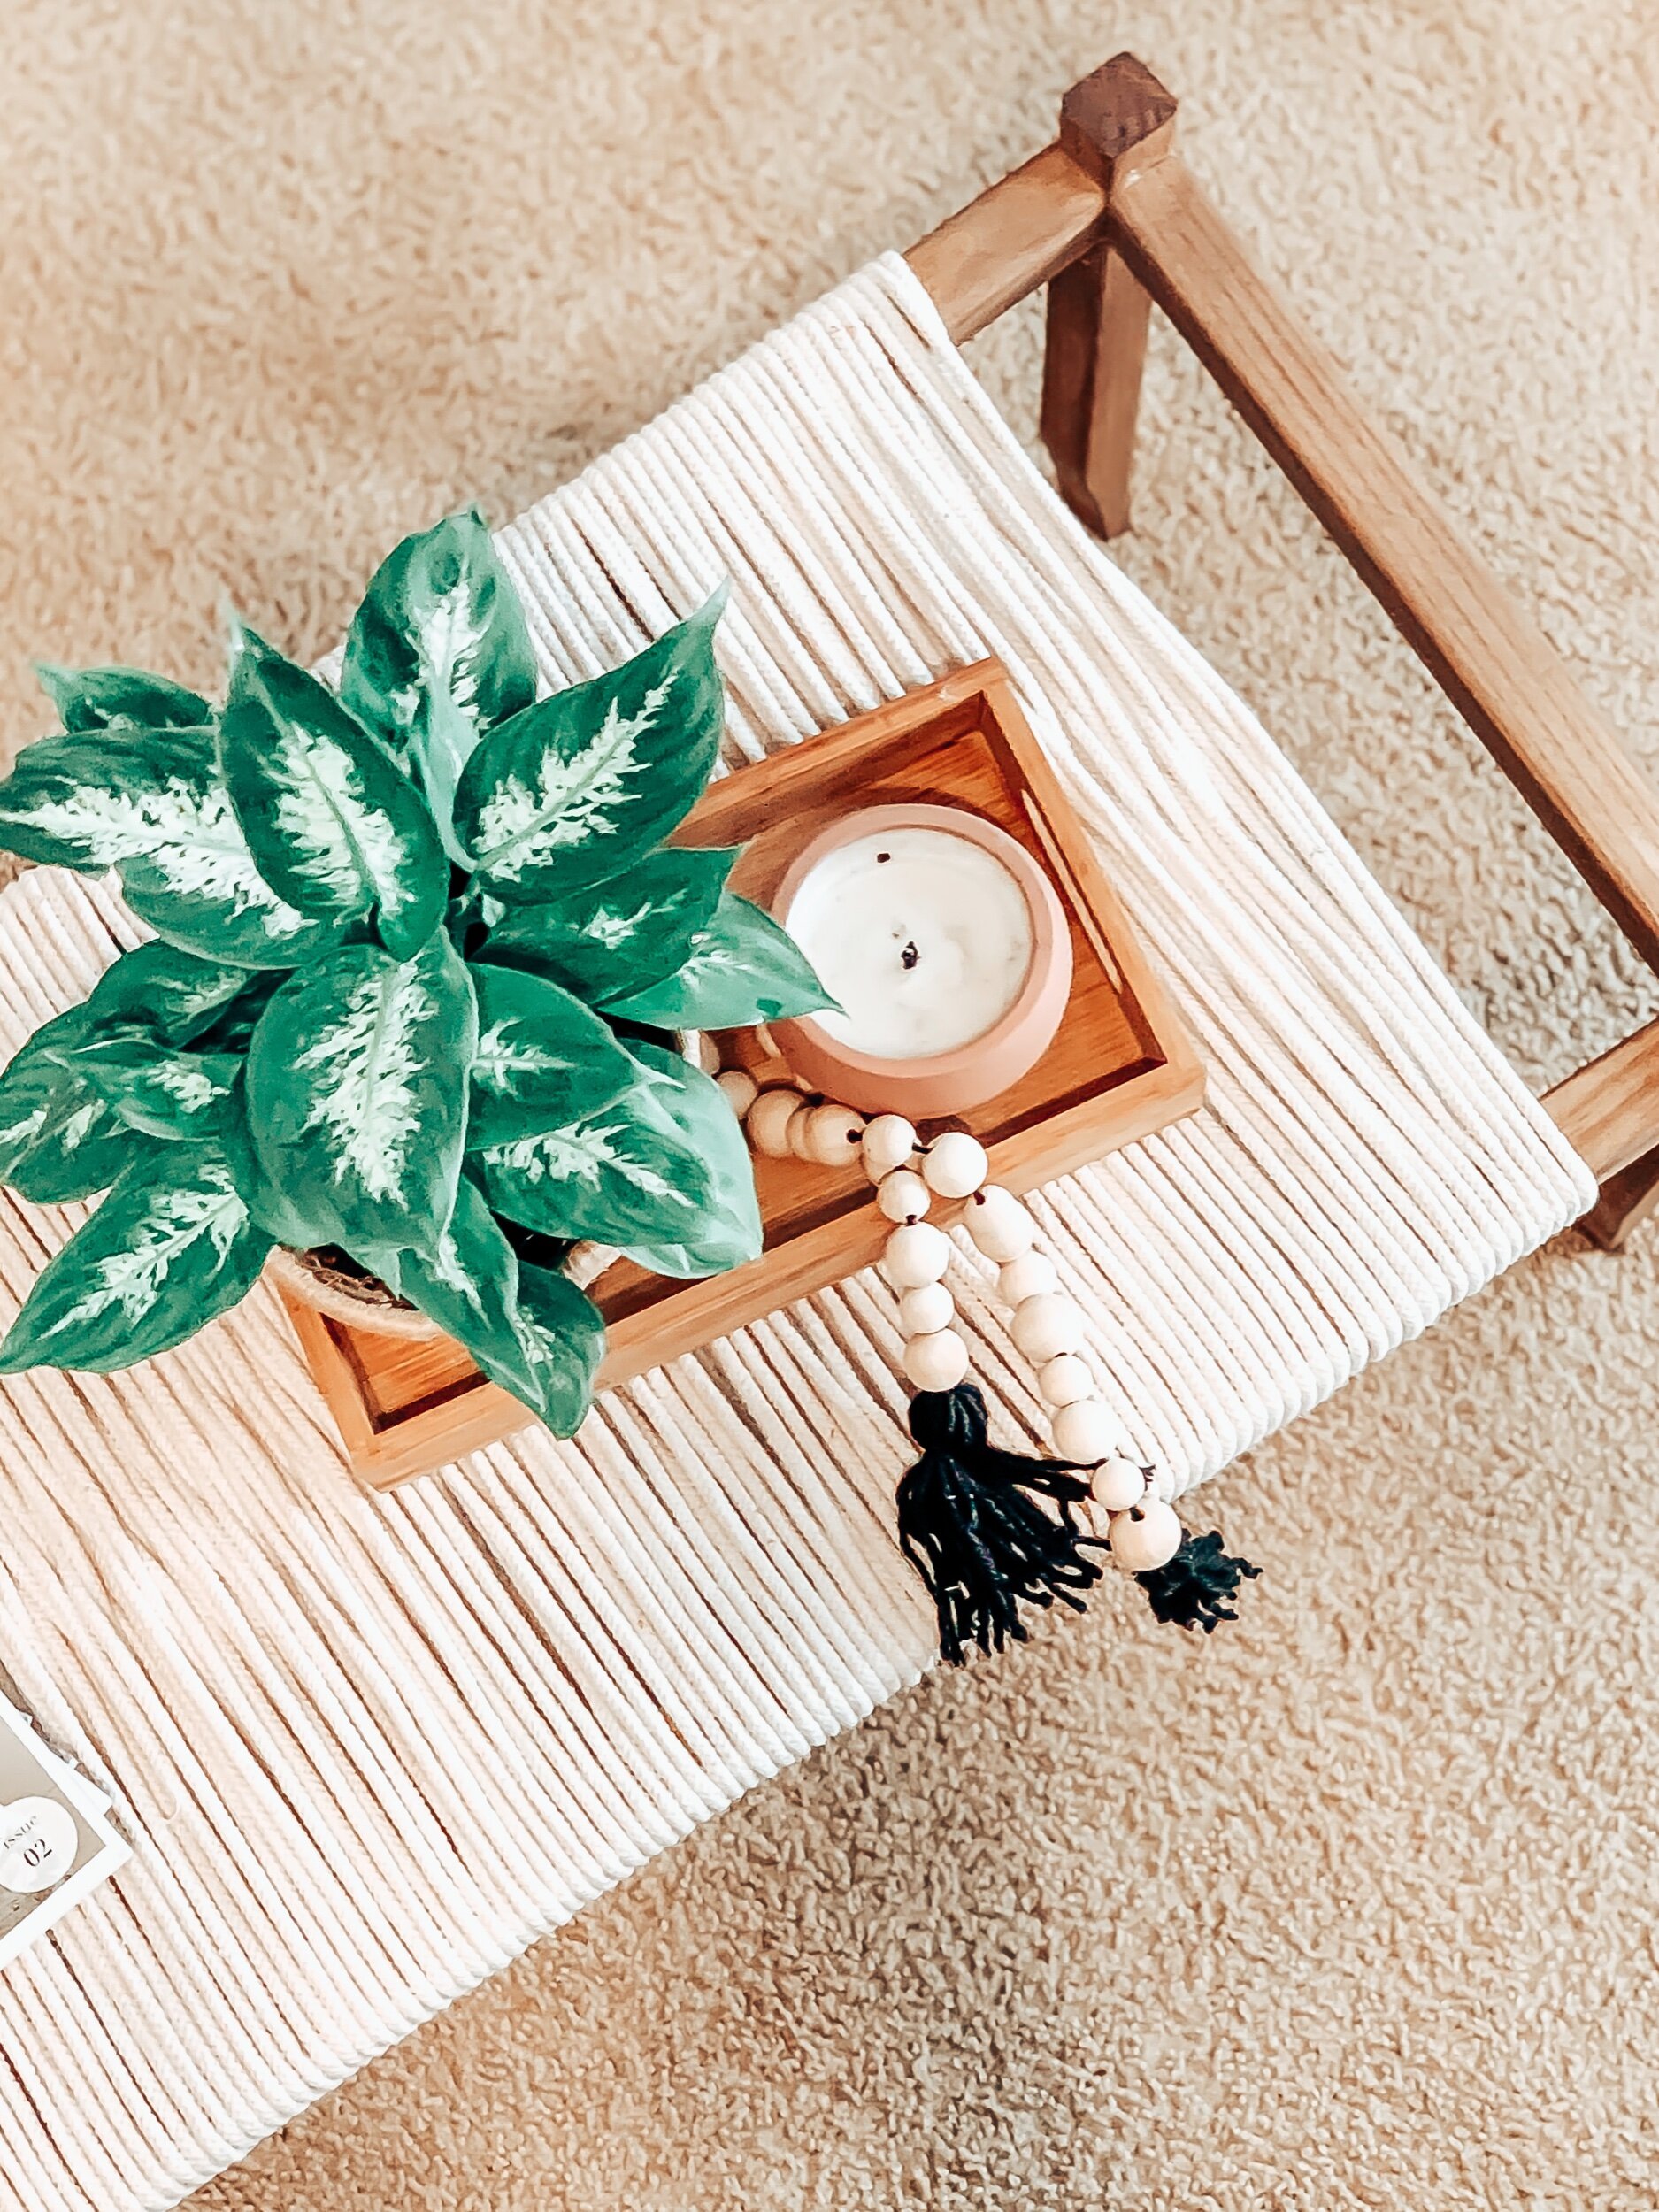
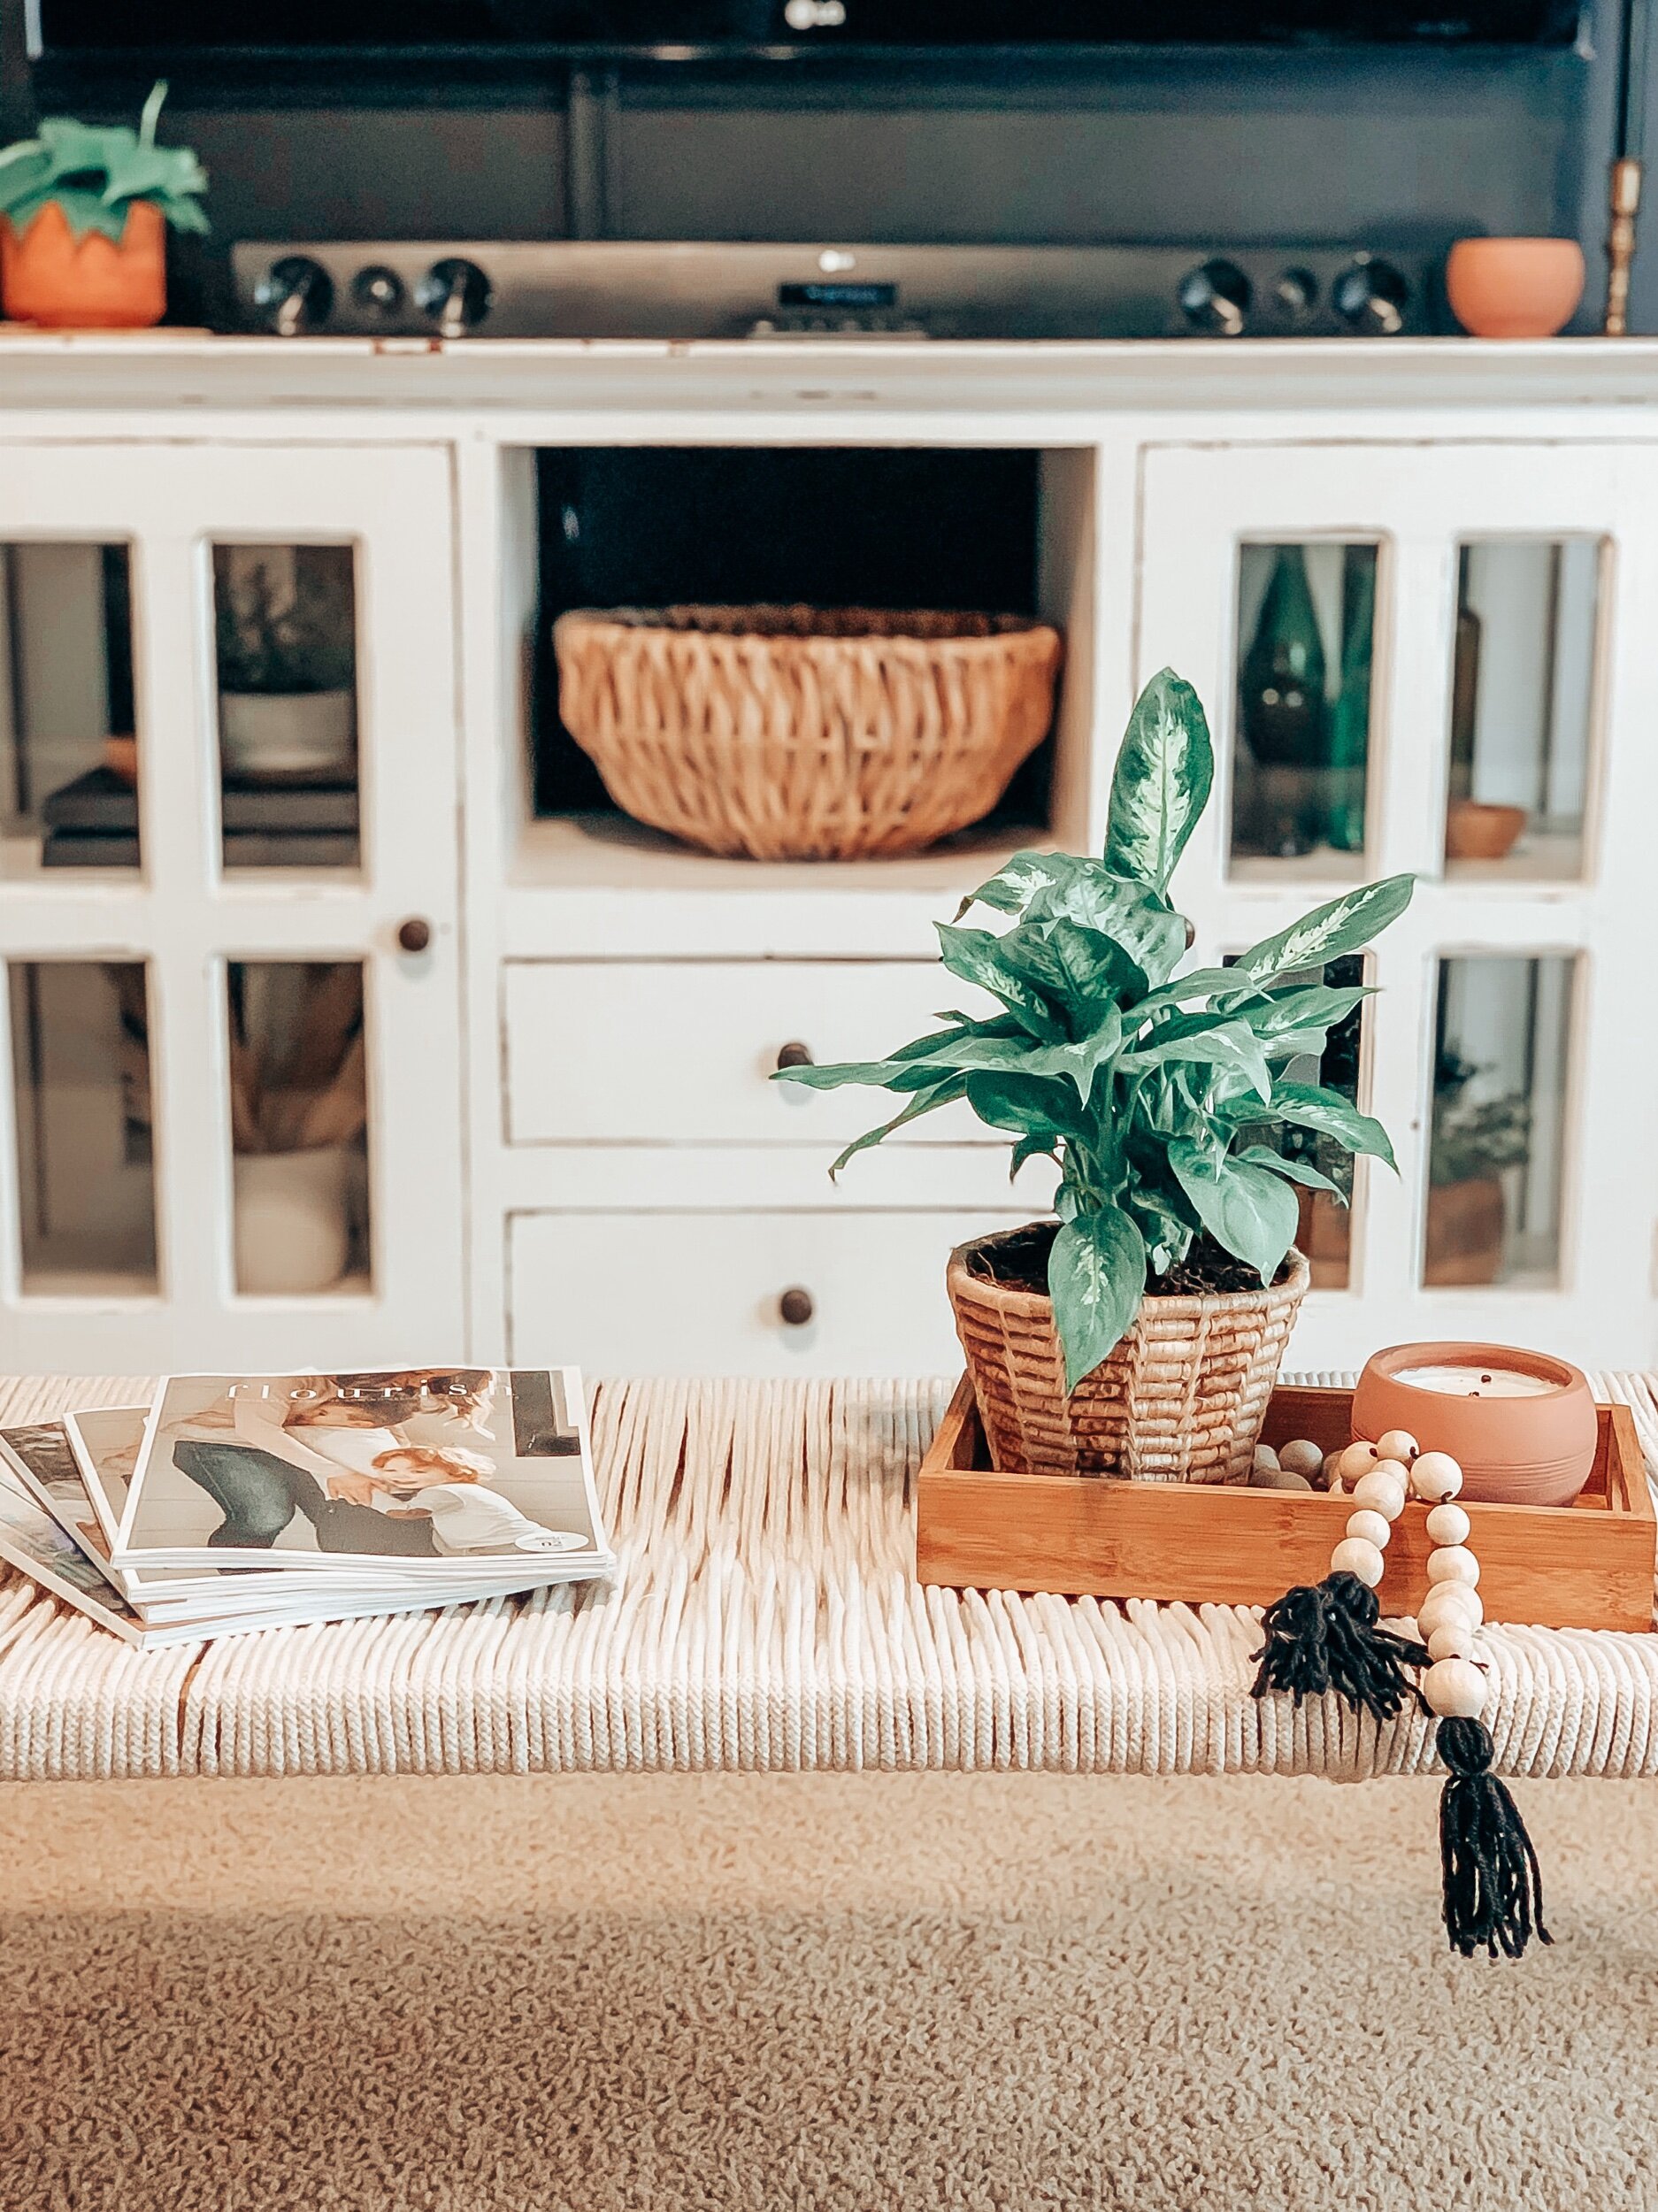
Here is the end result!
I am using mine as a coffee table since we didn’t have one but it can definitely be used as a bench for decoration or at the end of your bed. It can hold your weight for sitting but if it is going to be used for everyday sitting then you may want to go a little thicker on the wood.
Here is the end result.
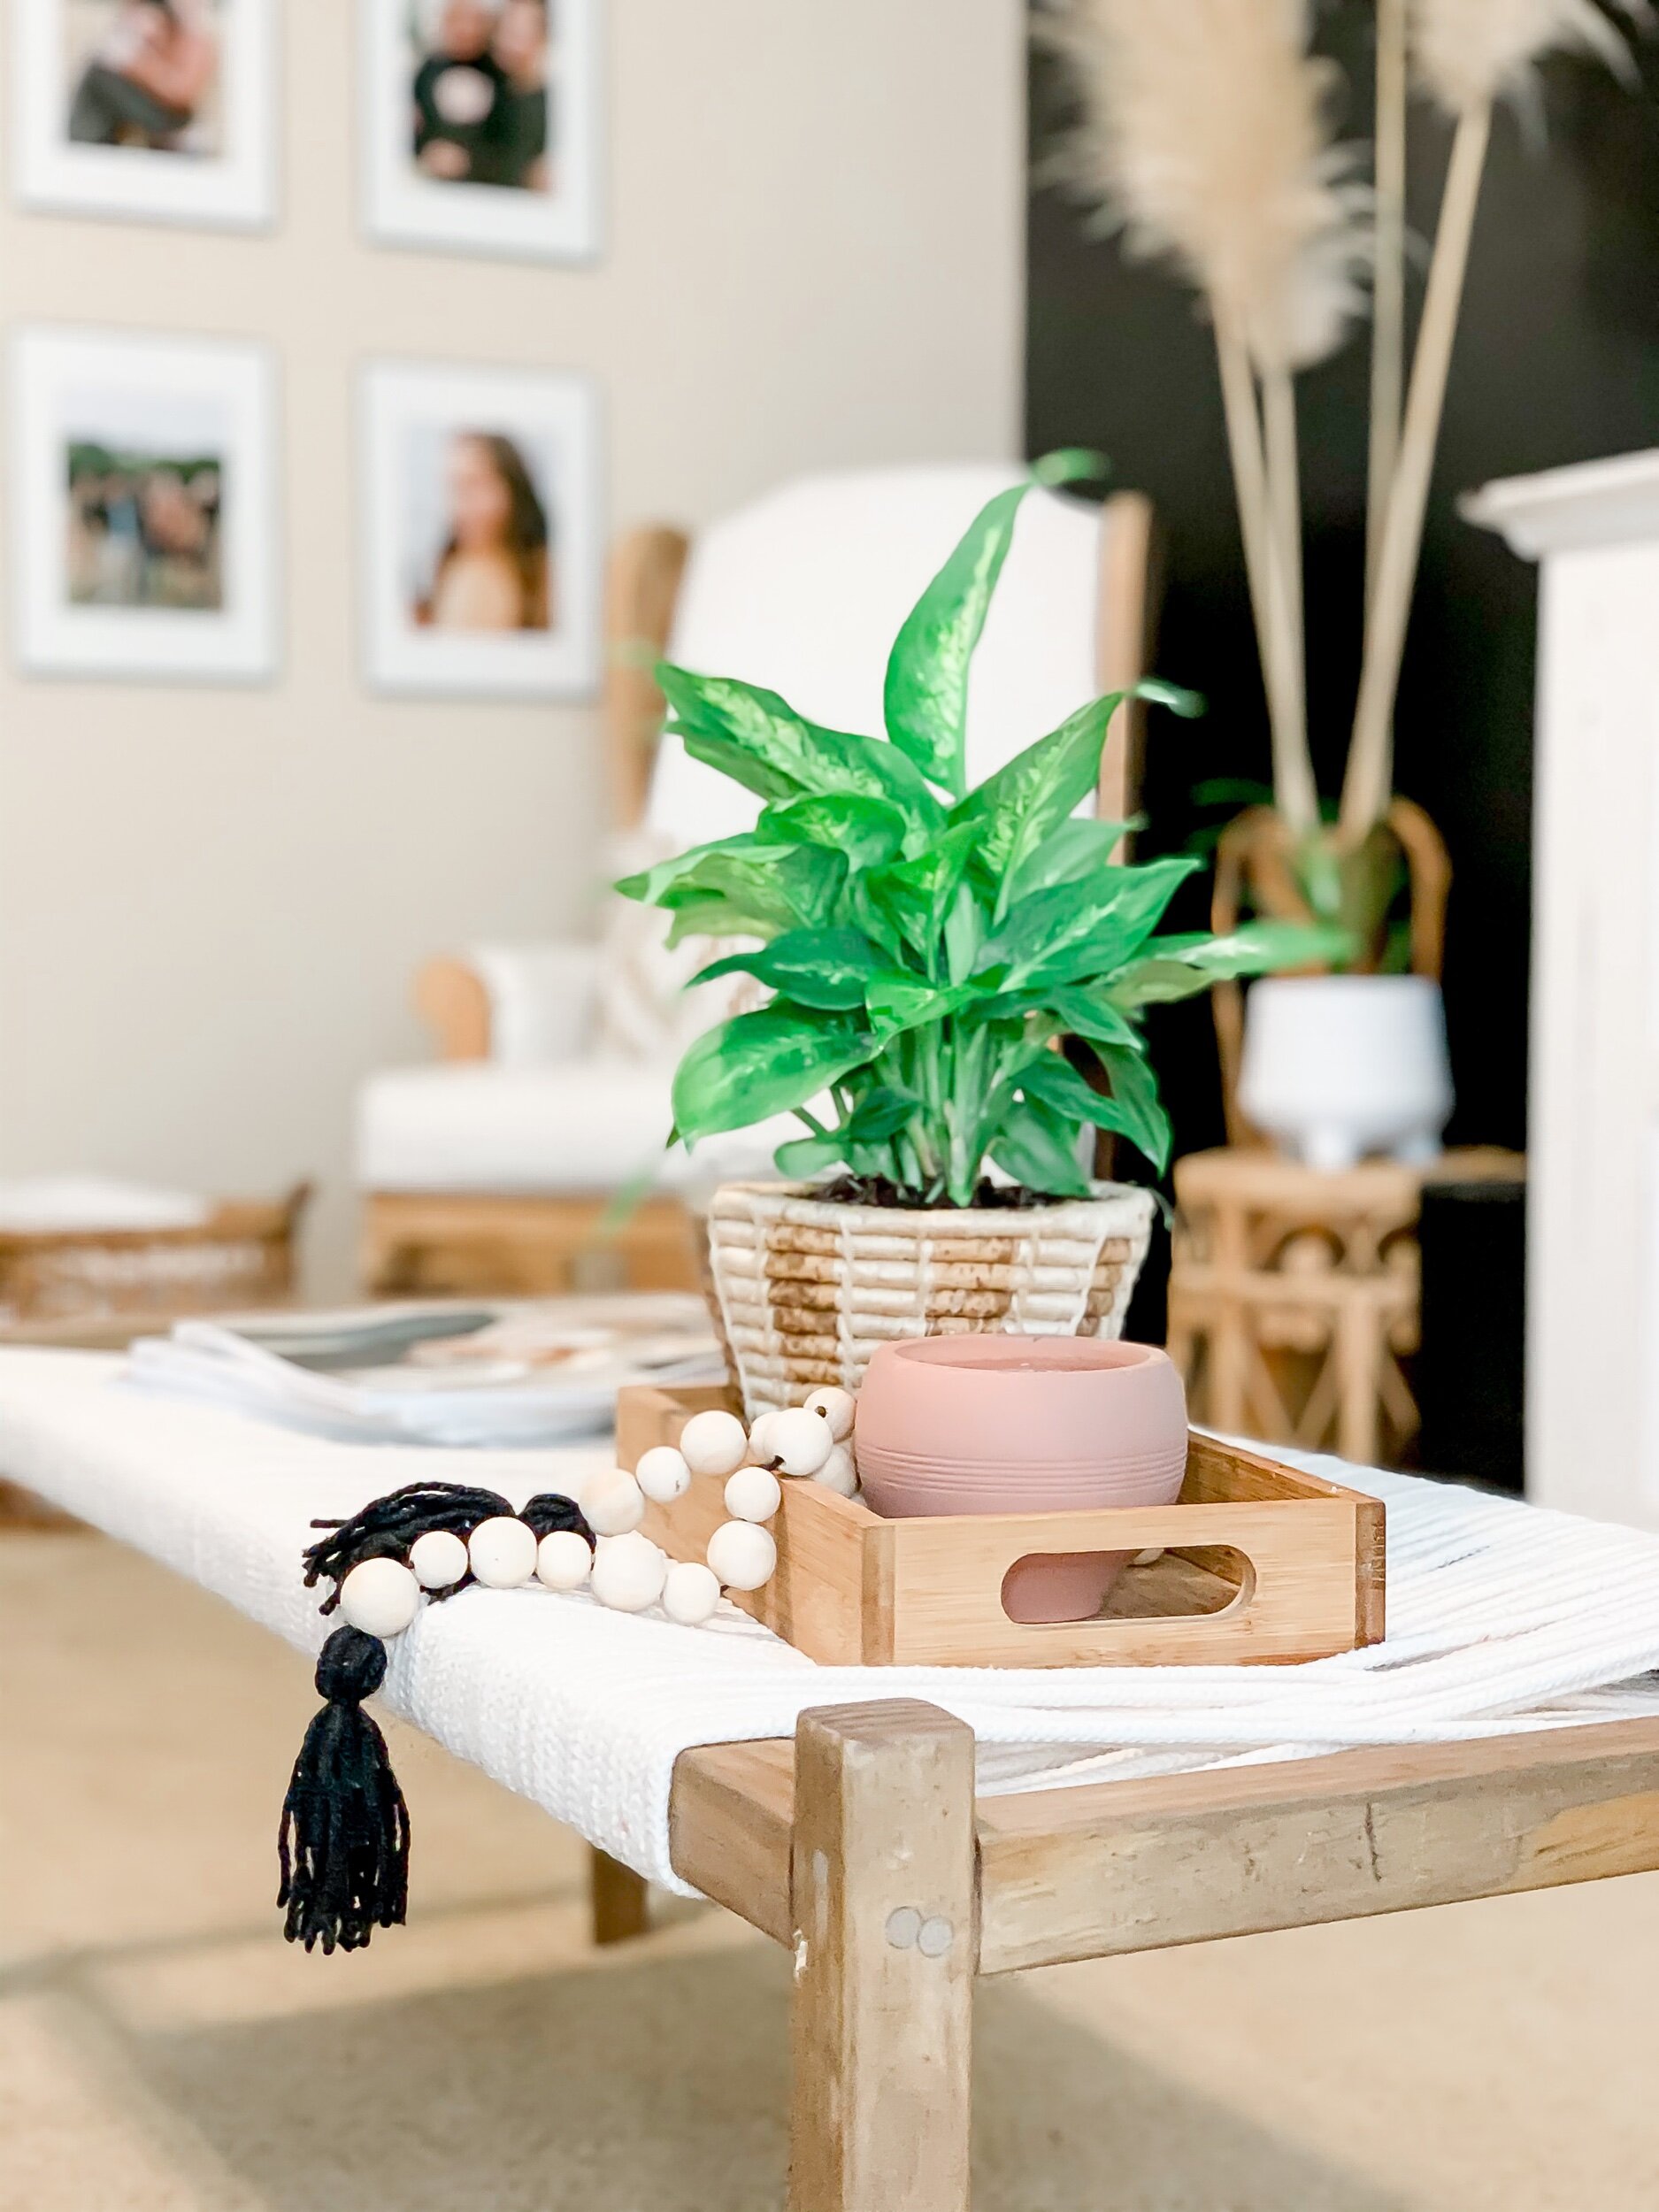
I am very in love with this look but since I did make the mistake above, I may be making a new one soon so my sides are nice and straight again.
I hope this step by step was helpful and inspires you to create beautiful spaces on a budget.
If you liked this post, be kind and share it and leave me a comment below to let me know you were here. I would love to hear your thoughts and if you make one of these babies, definitely let me know that as well.
With Love,
Lisa Faye


