
How to get that Light and Airy Look with Red Oak Floors
We recently purchased our first Fixer Upper! It’s a 1972 Southern Greek Revival with beautiful bones but in need of updating! If you’re into some wild before and after photos of homes, be sure to follow our journey!
The first job we decided to take on were the floors!
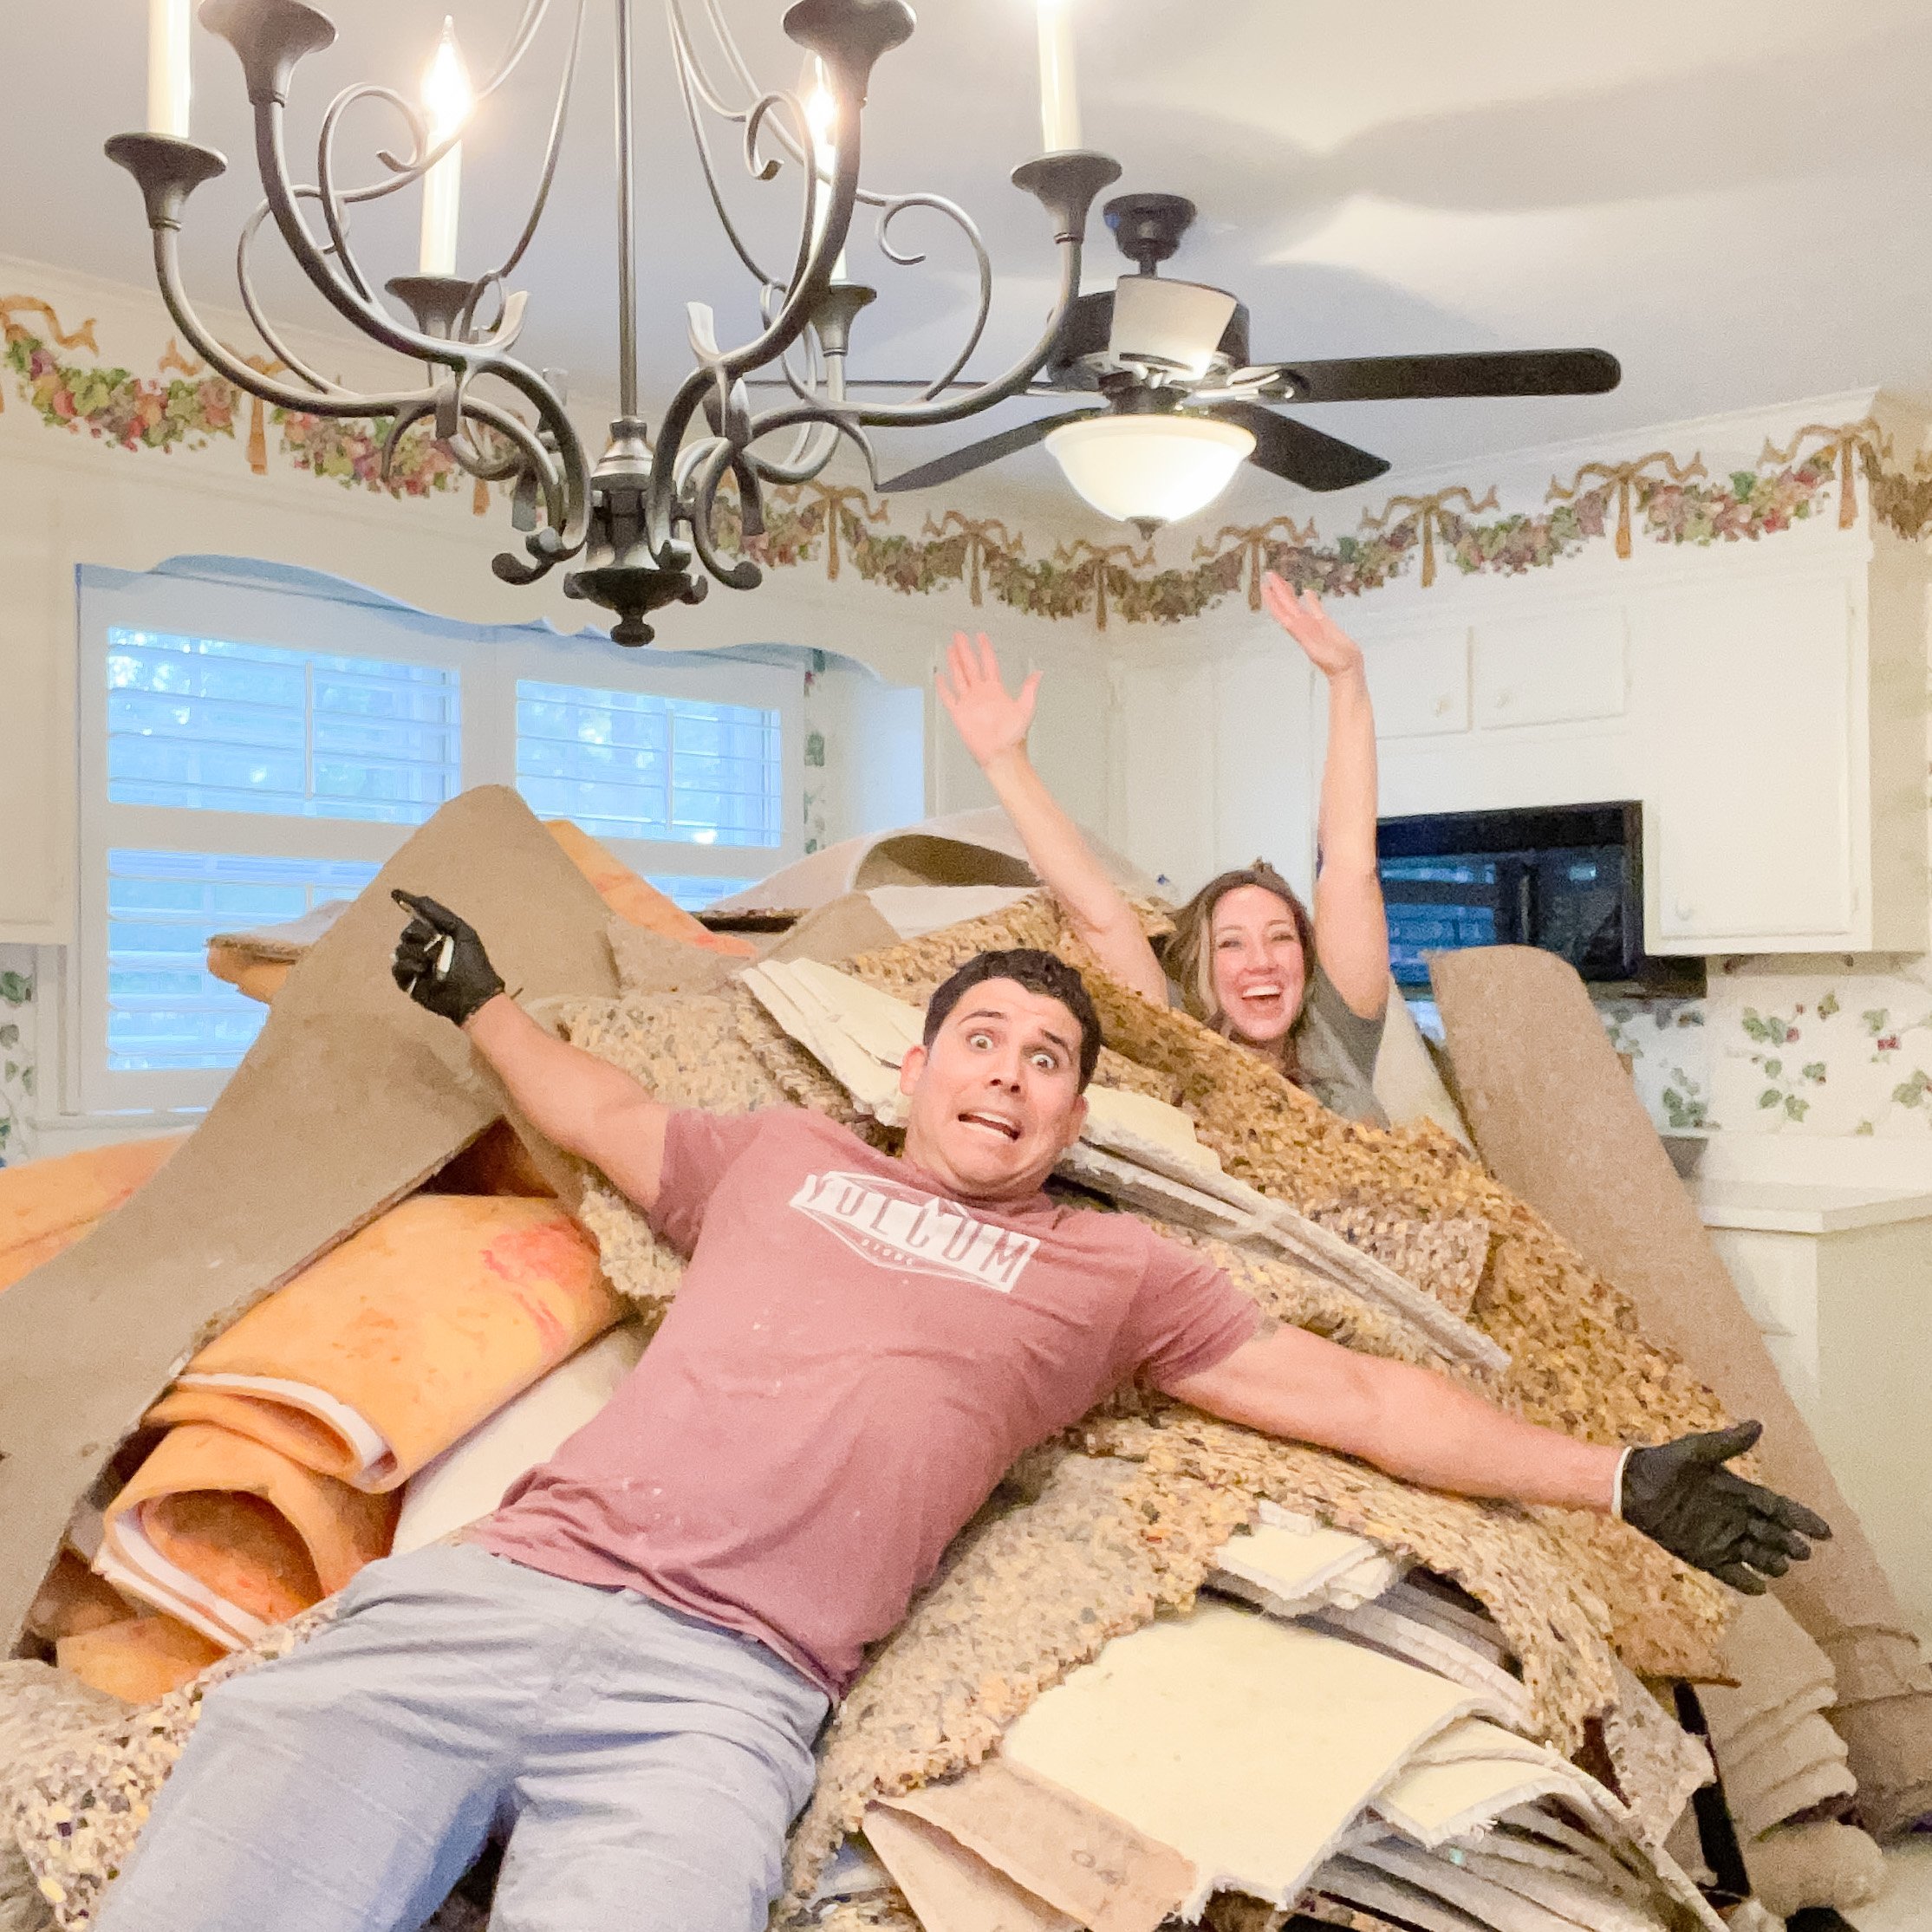
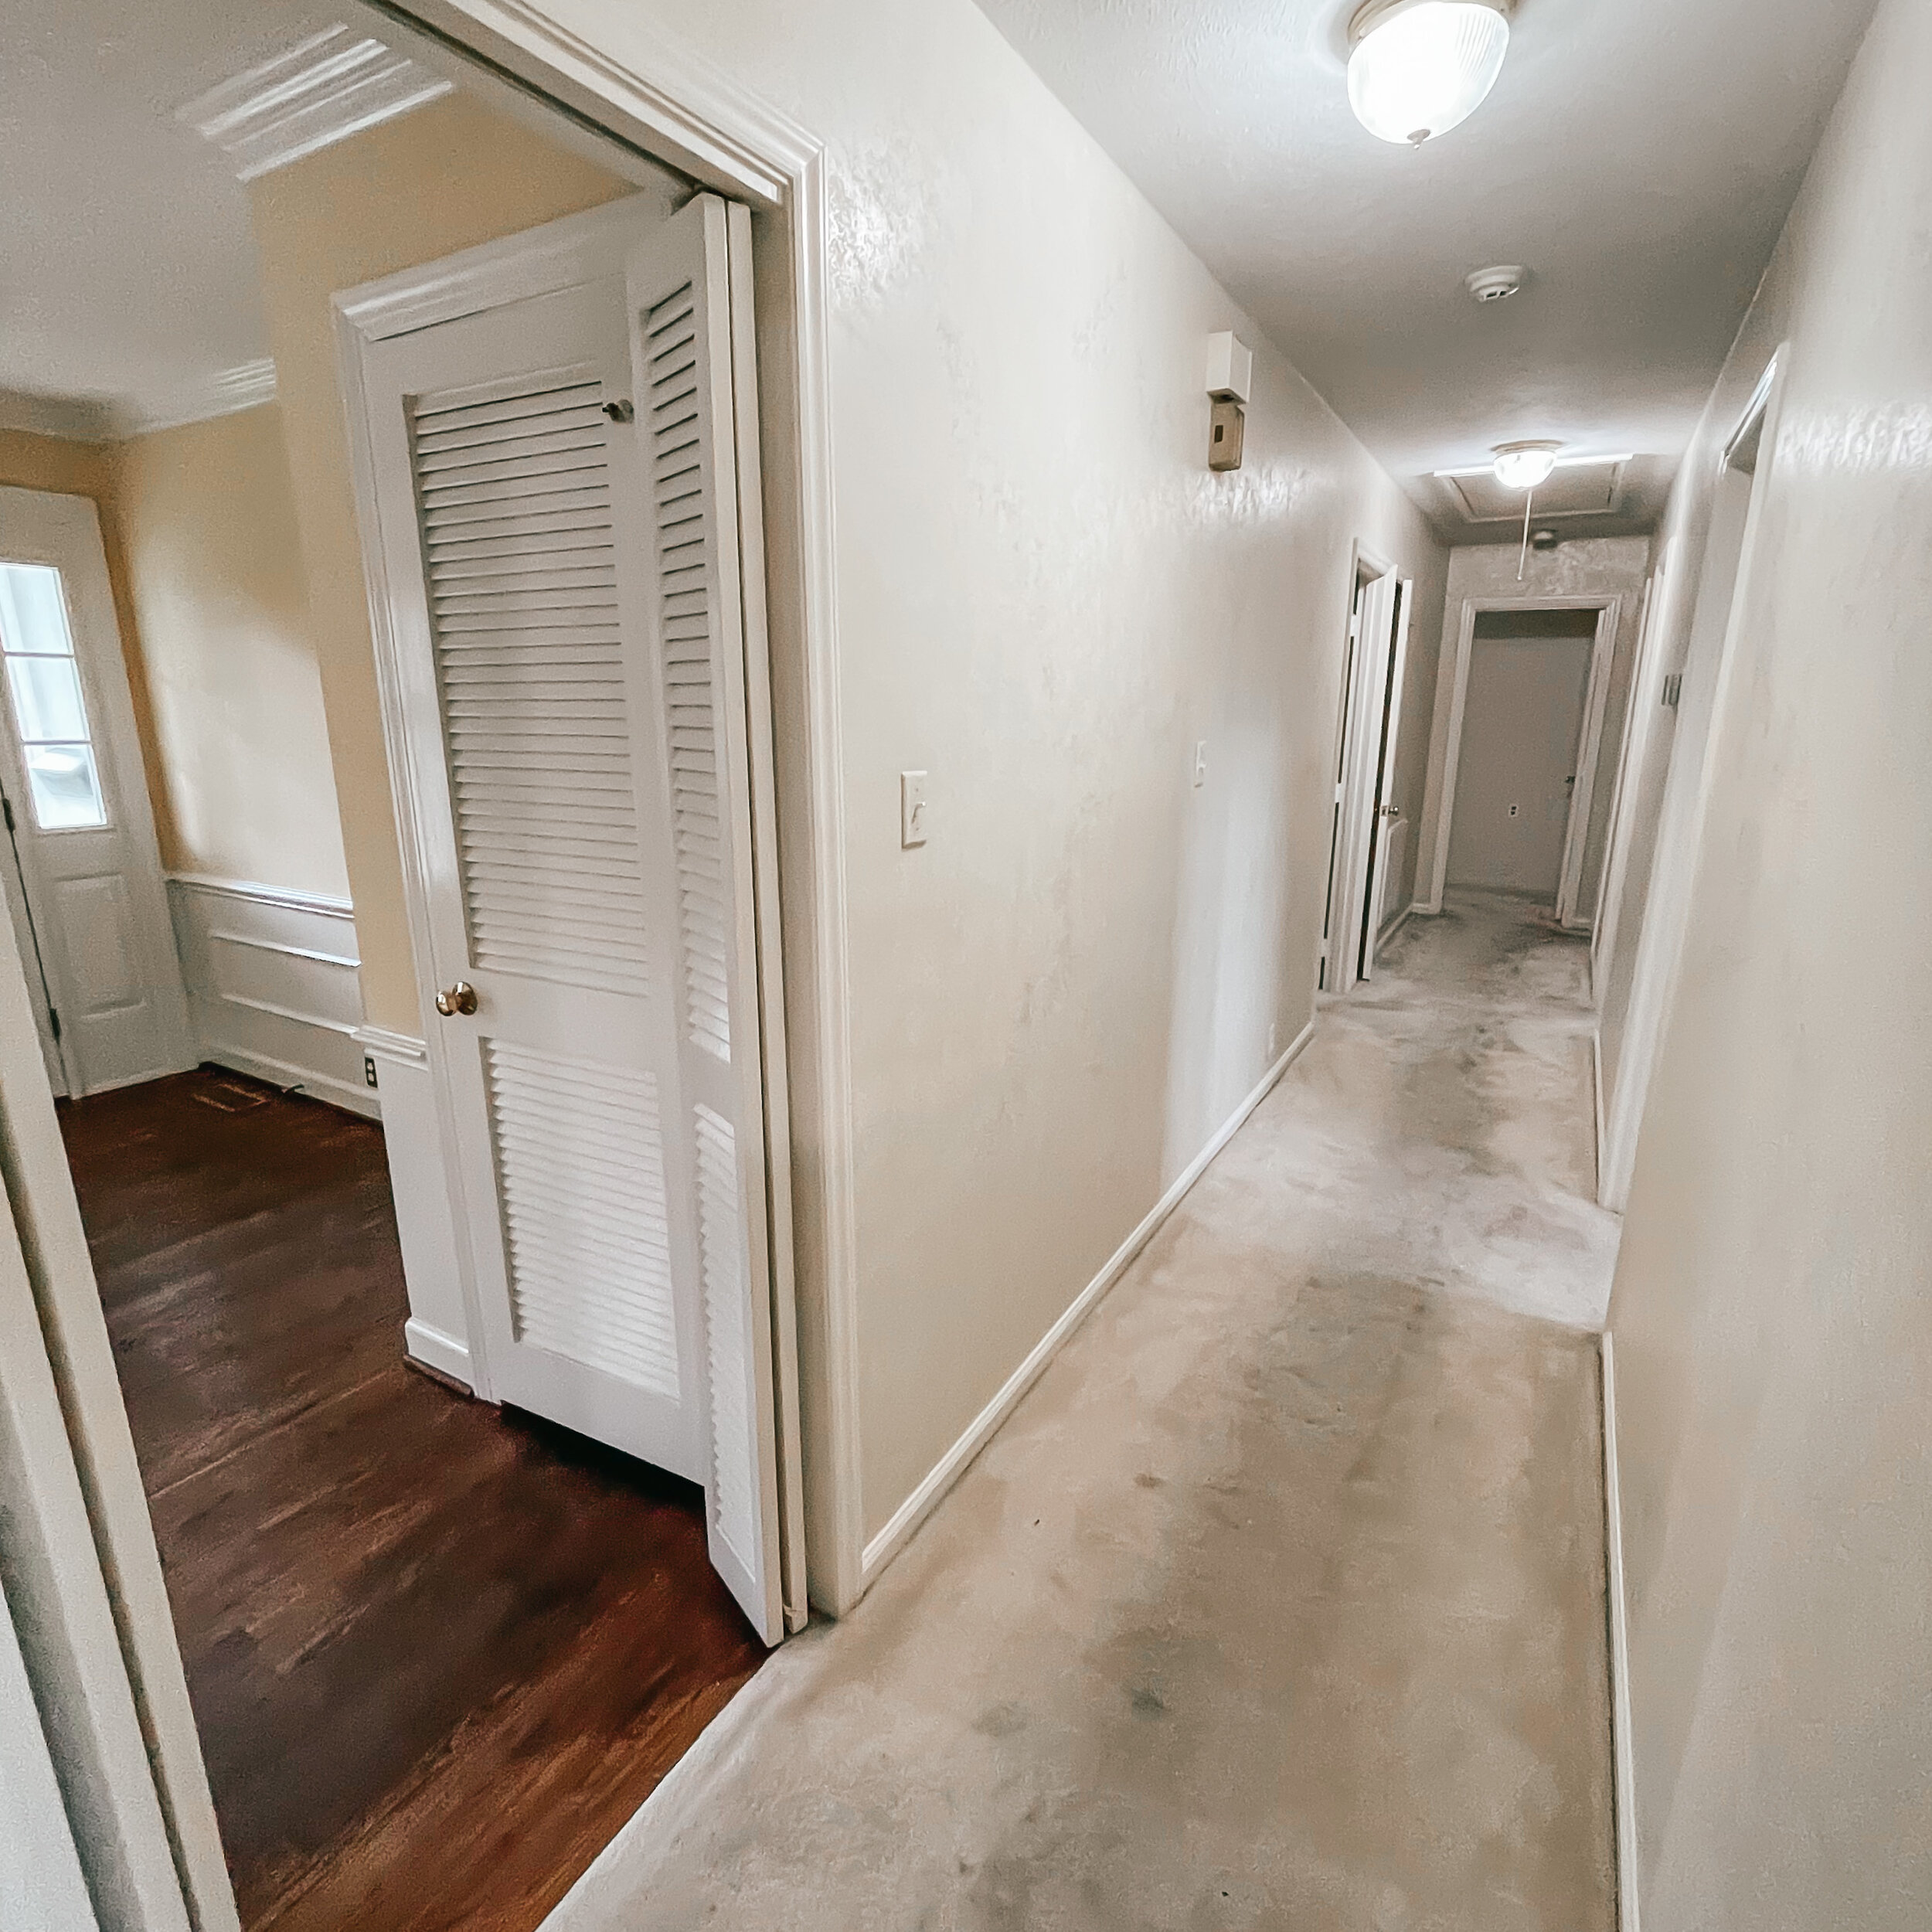
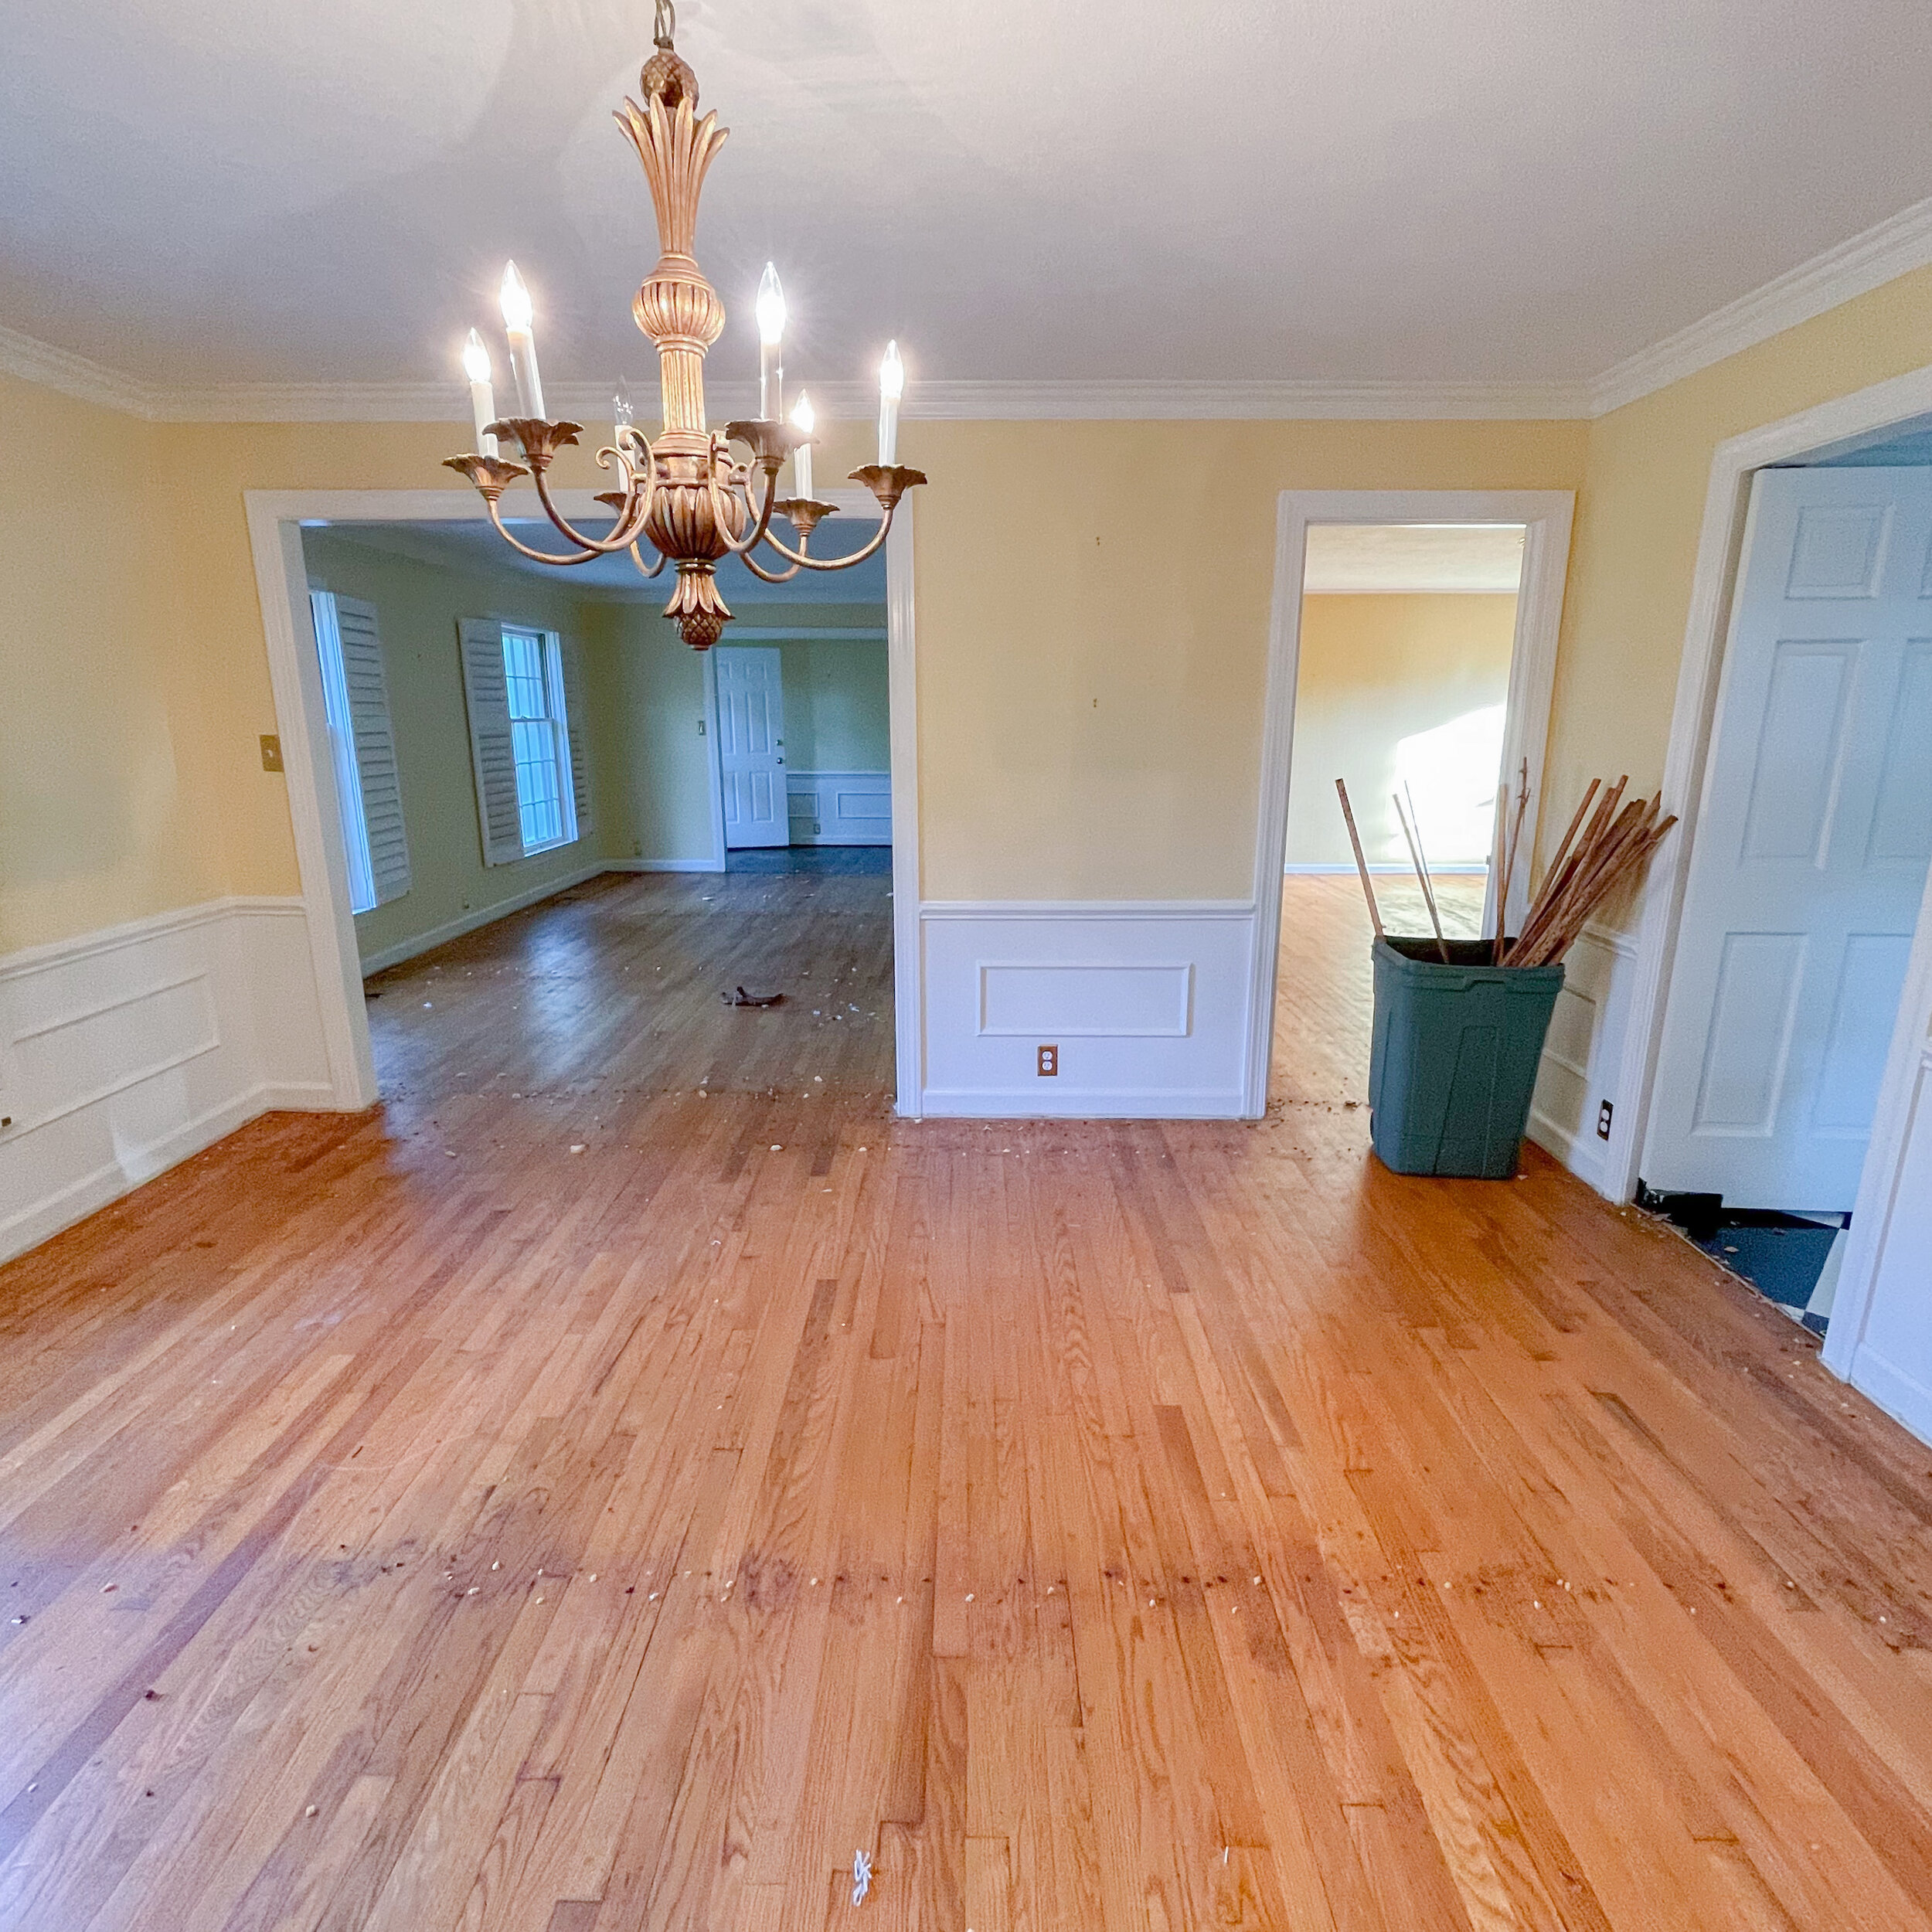
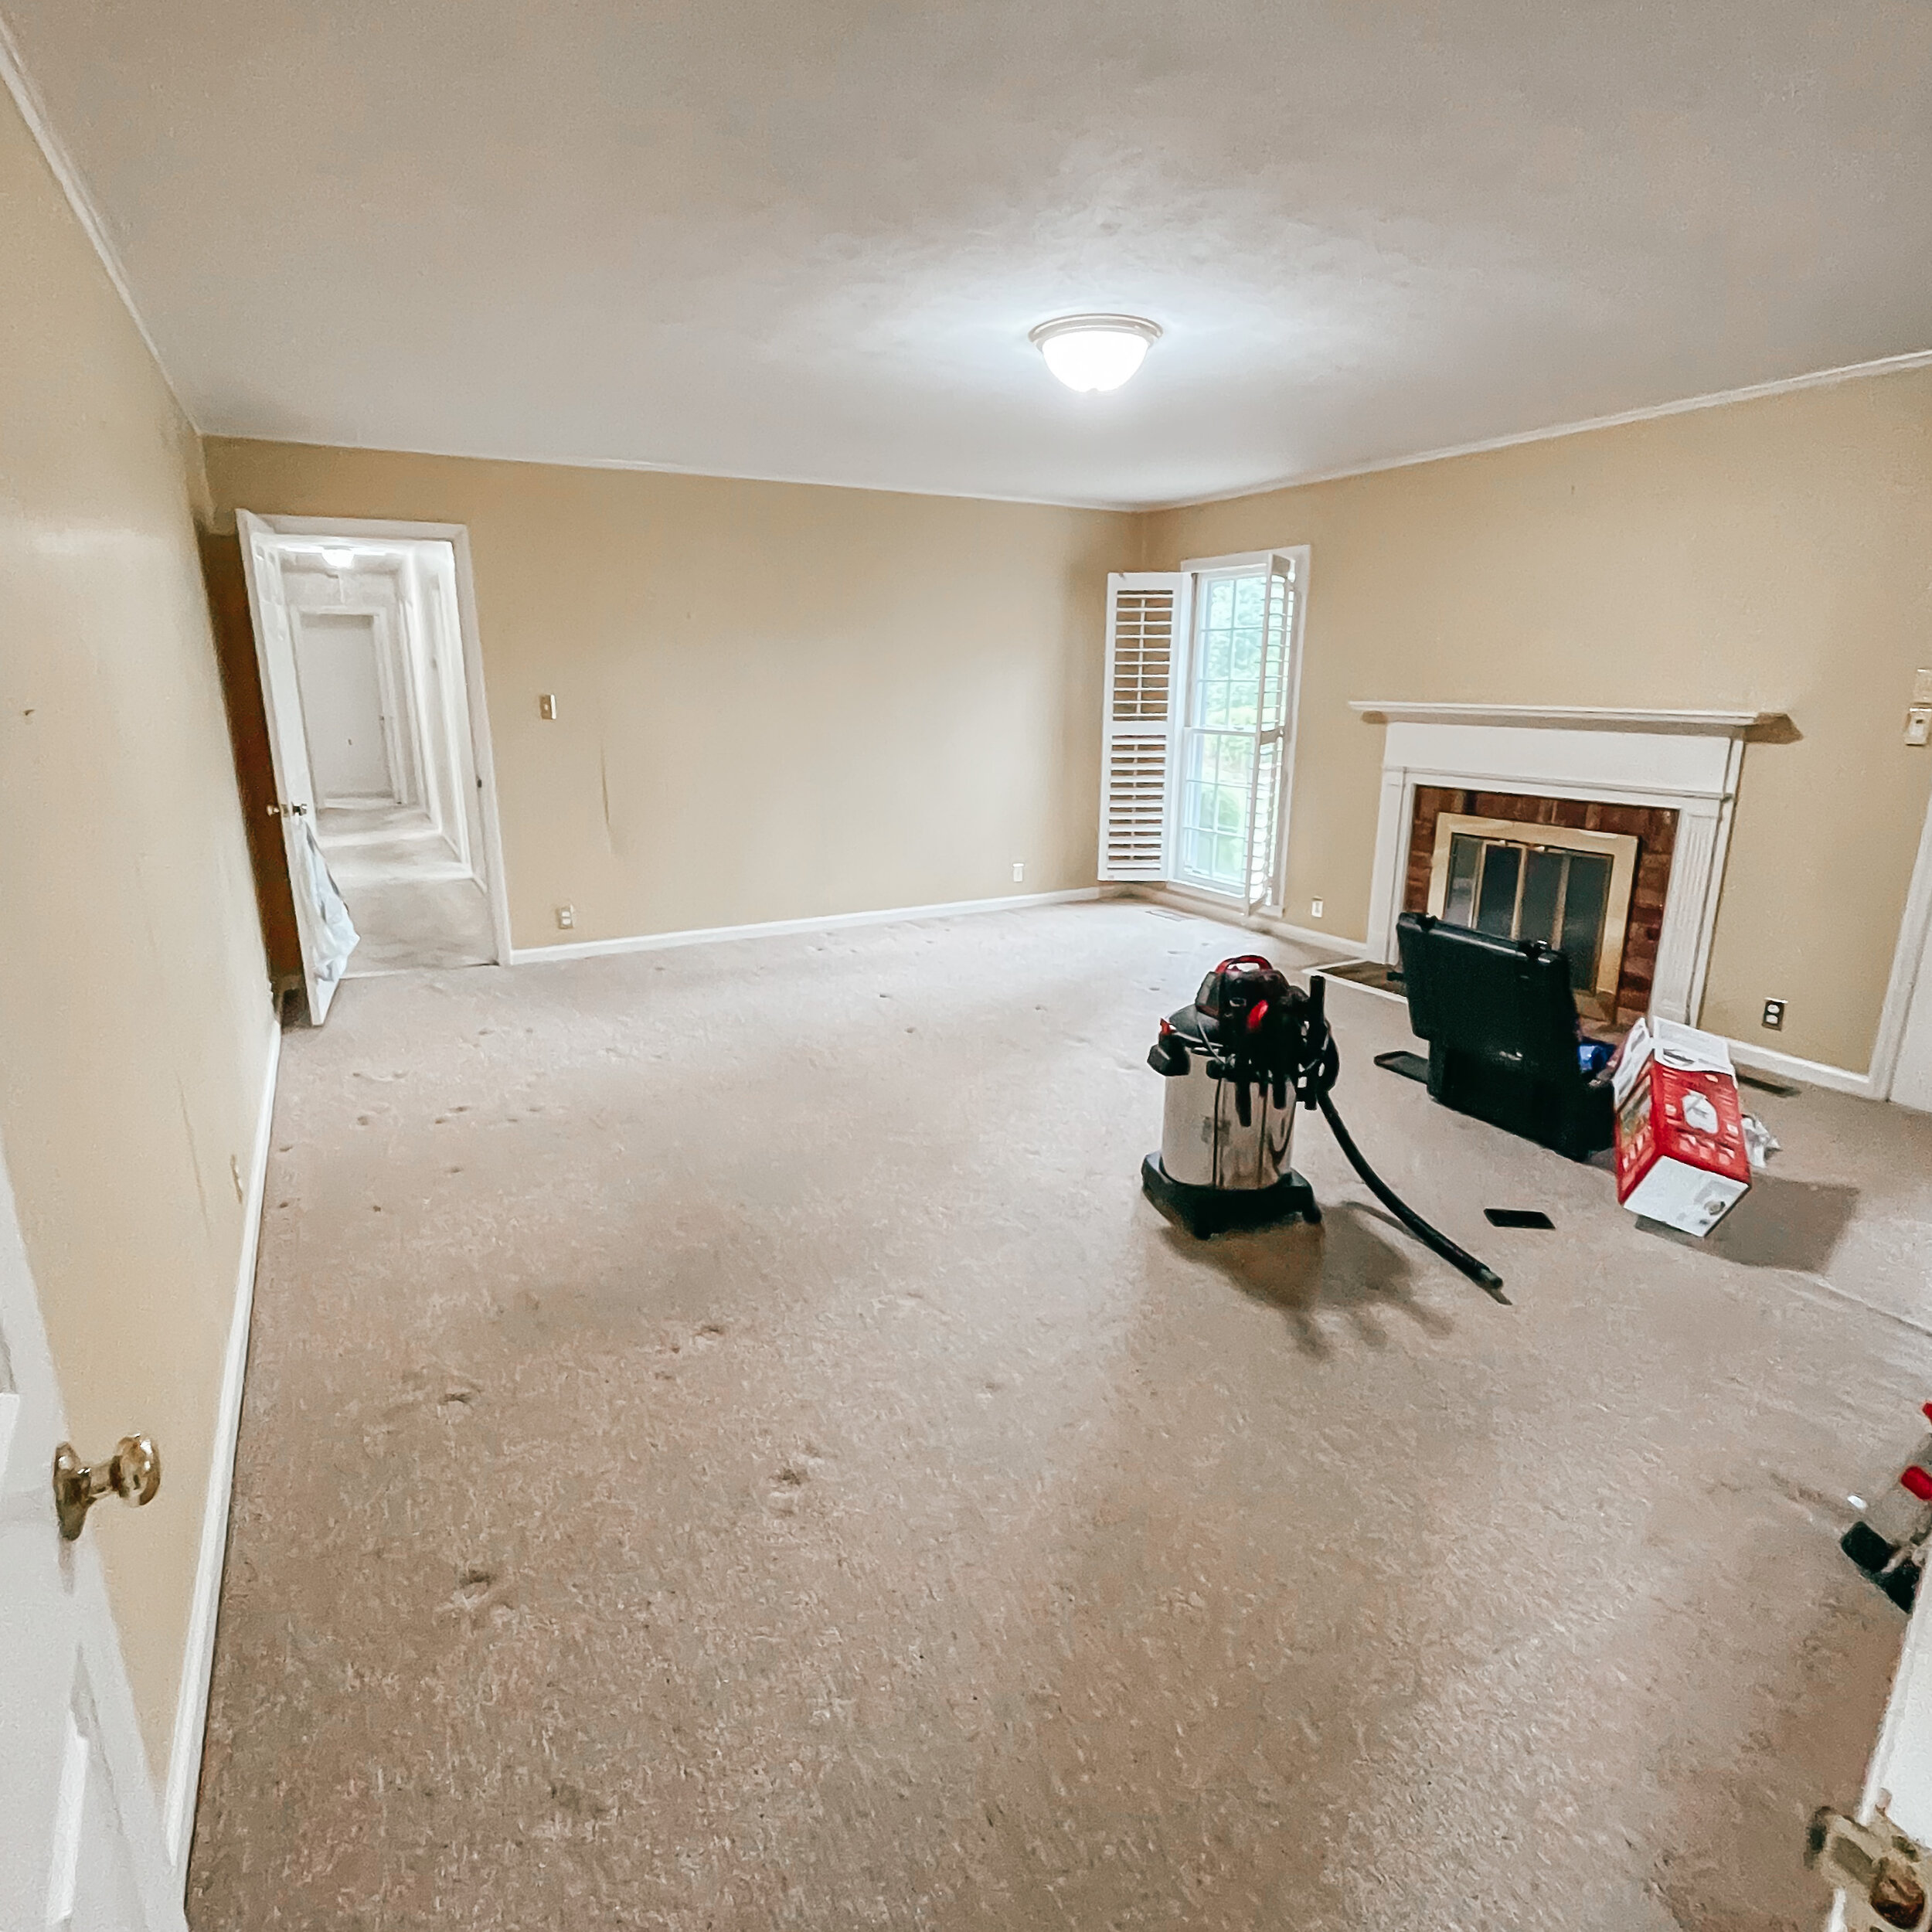
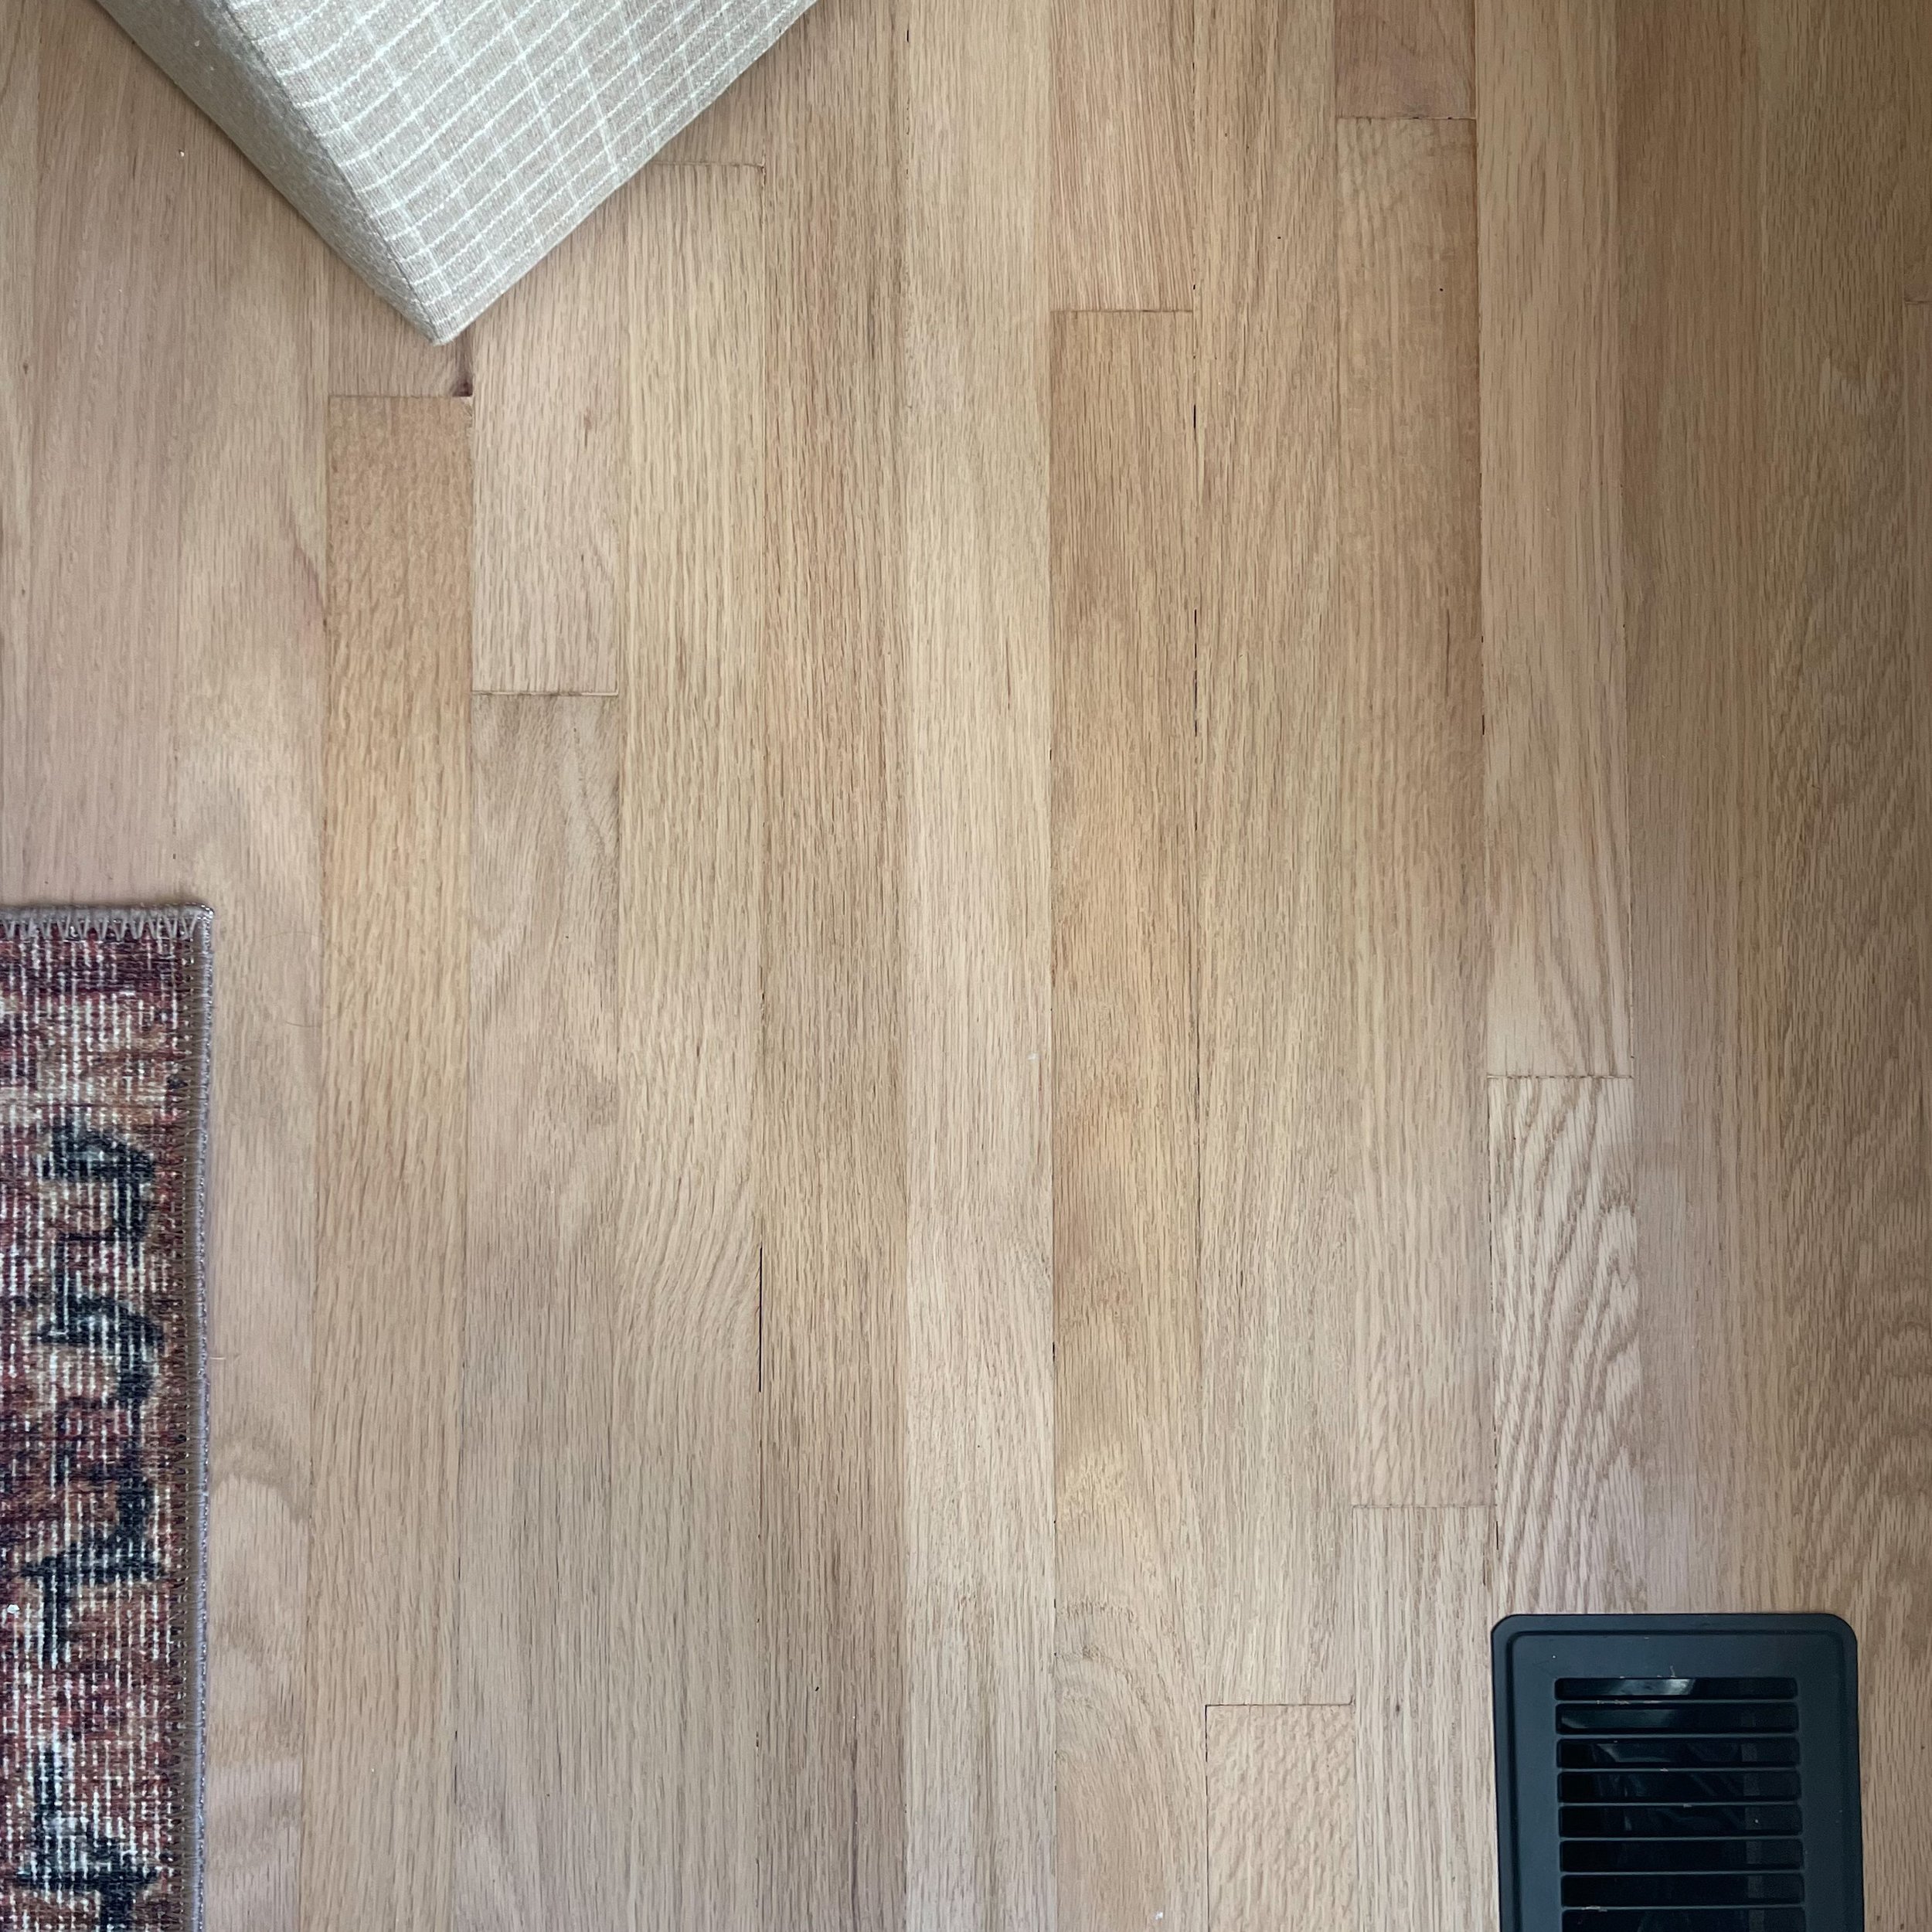
When we got the house, there were thick, outdated carpets throughout (minus kitchen and bathrooms) but thankfully, hiding beneath the layers, were beautifully preserved original red oak floors.
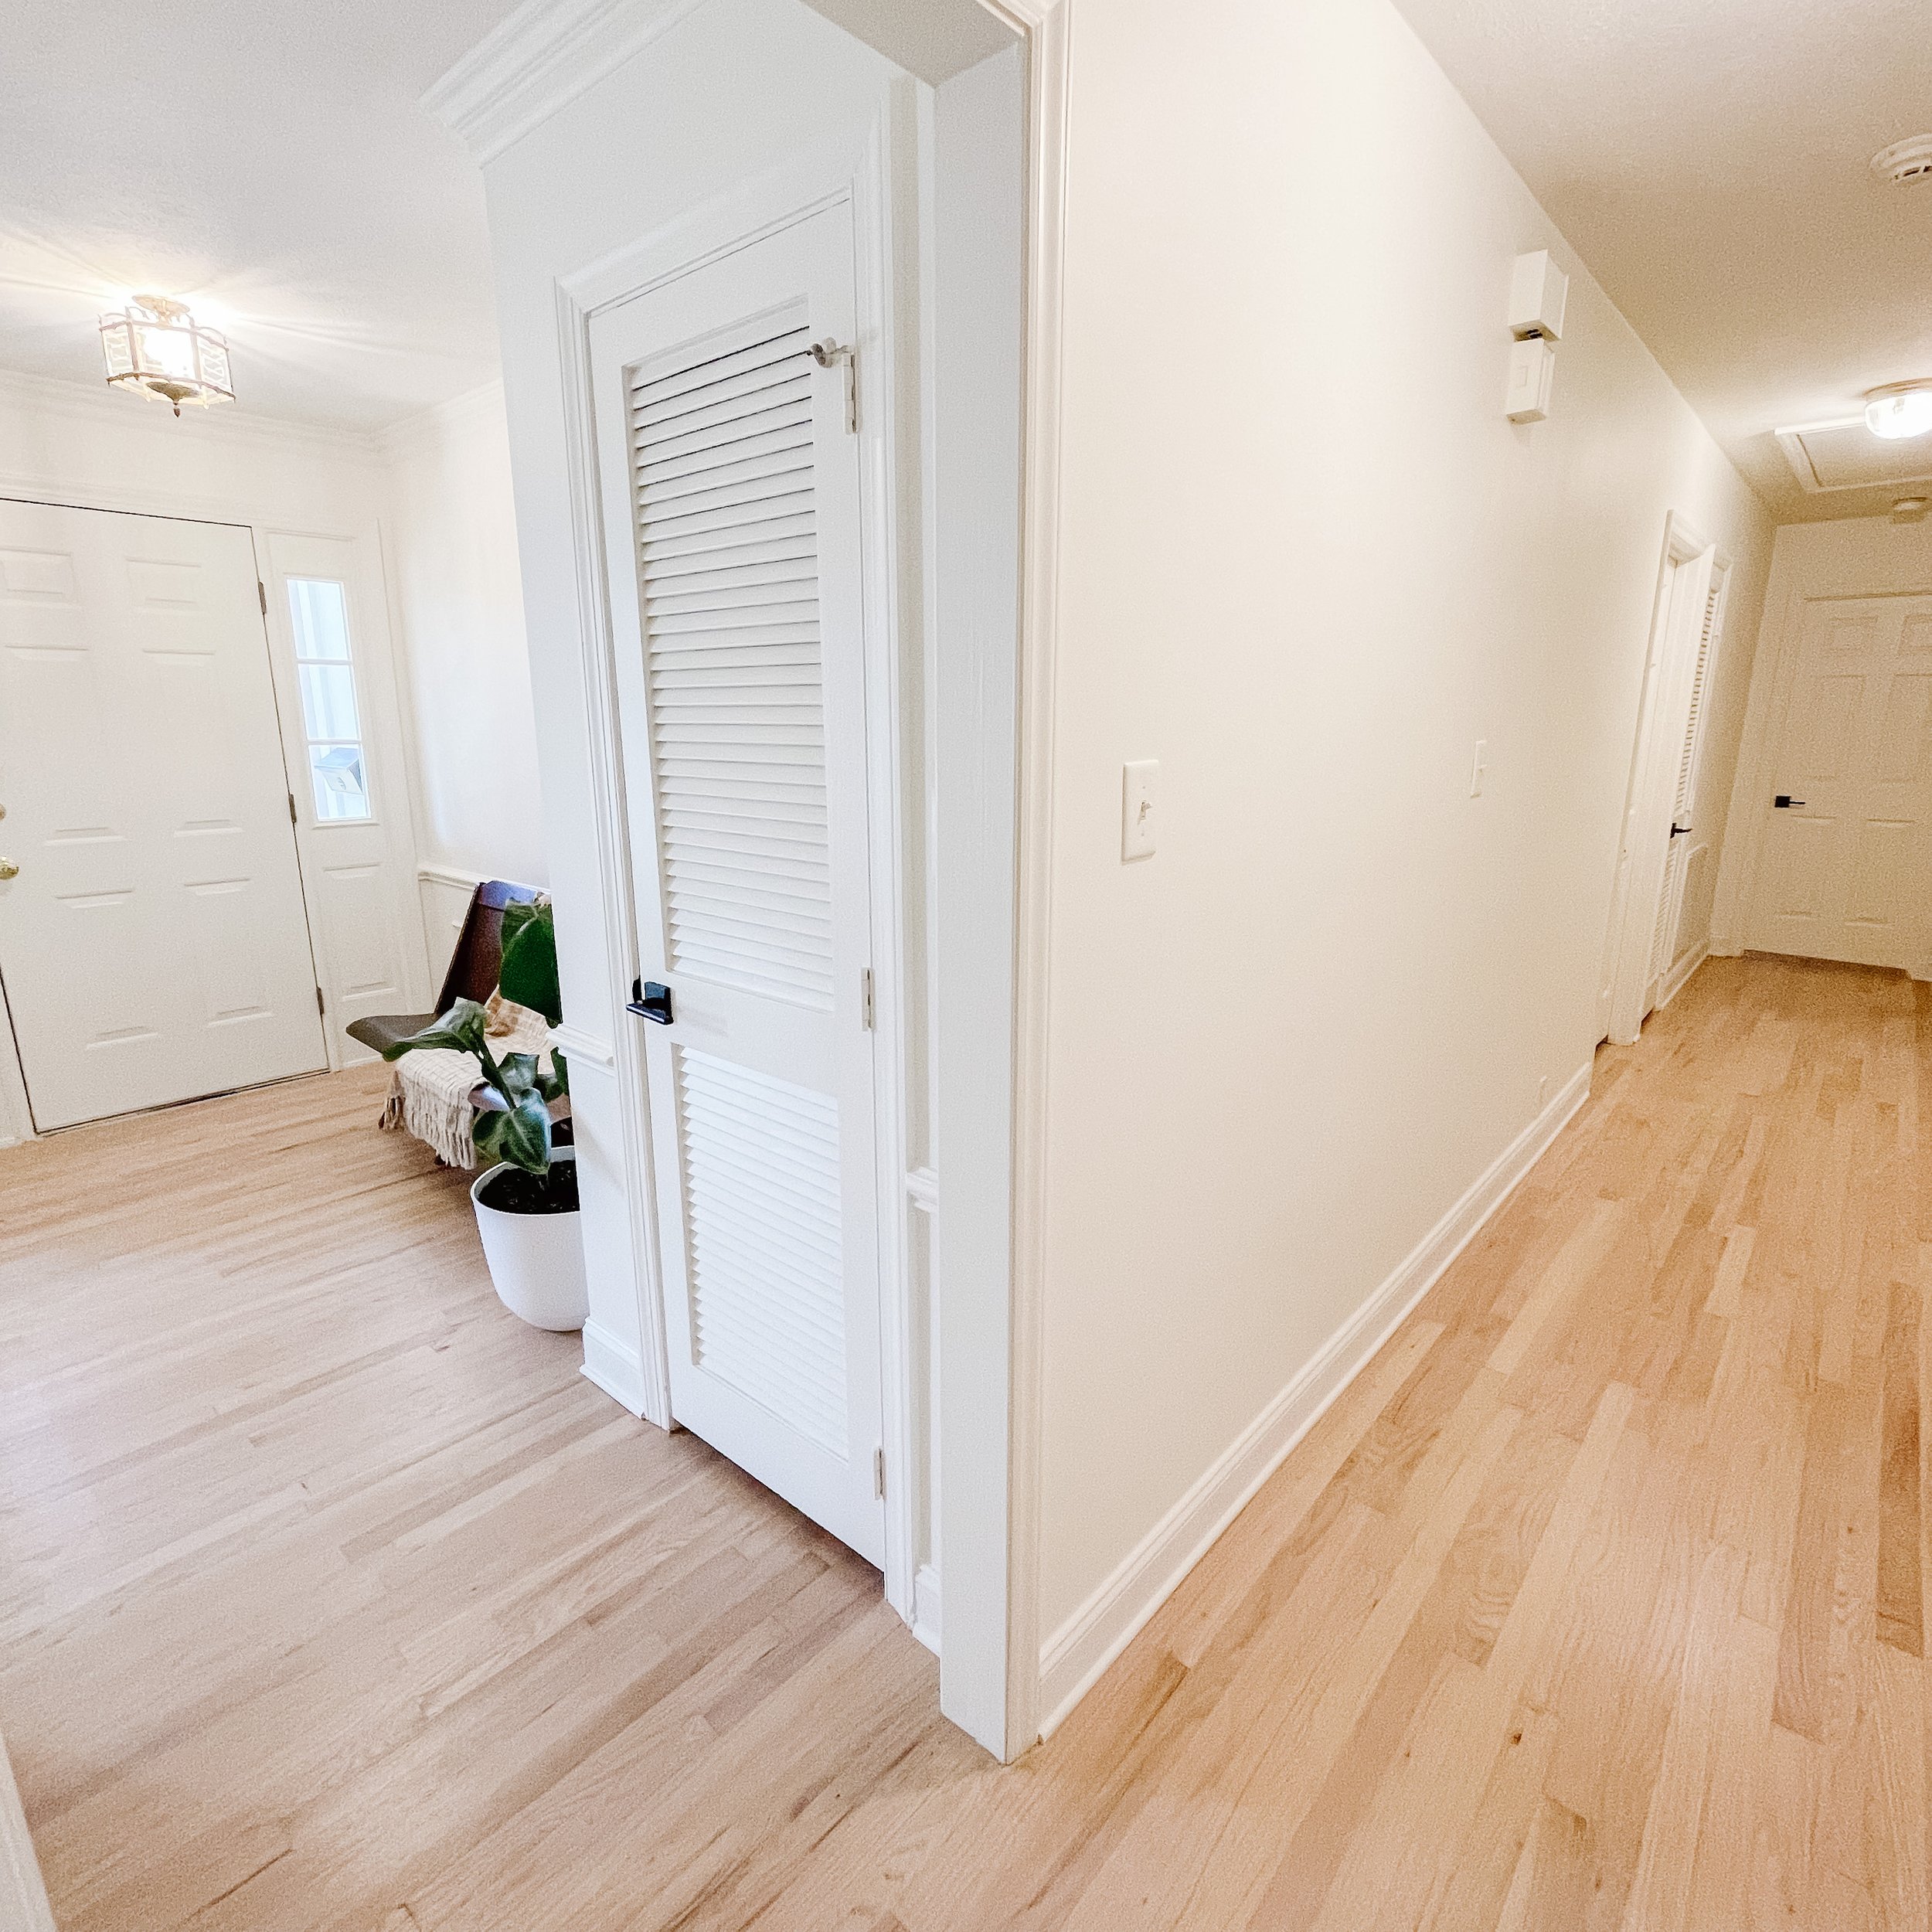
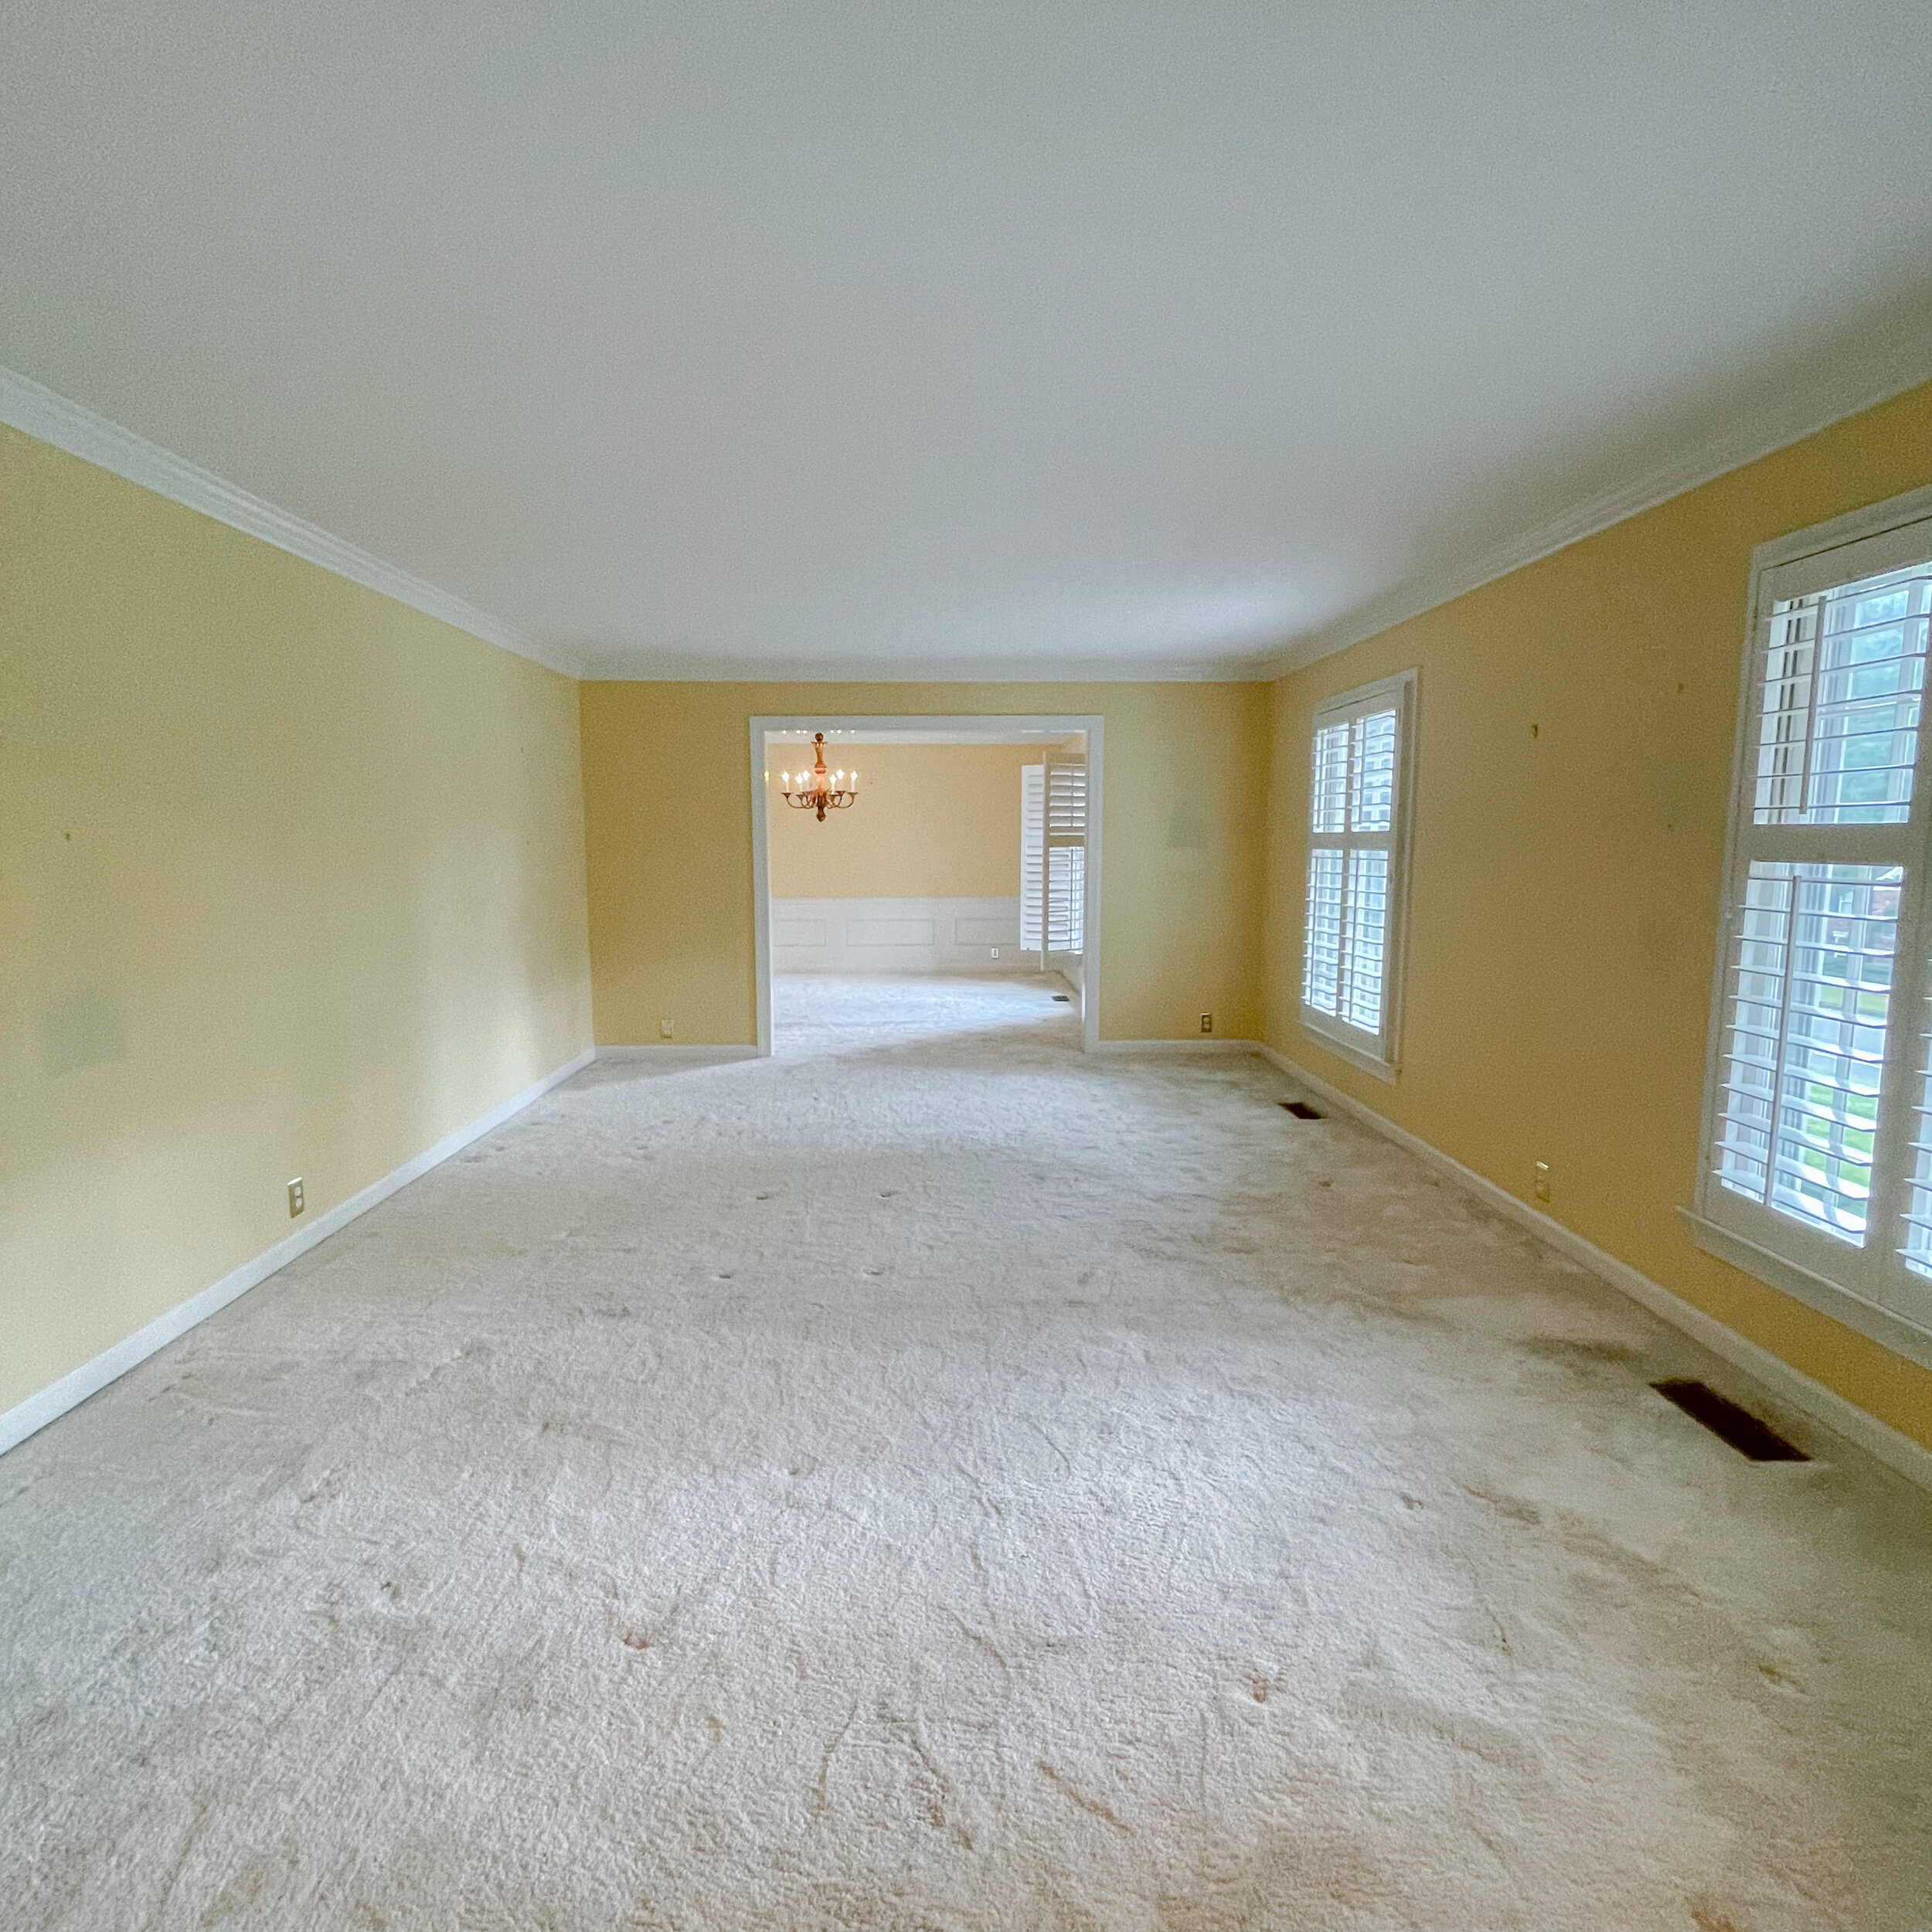
I immediately knew I wanted our house to feel bright and airy. Pretty much the opposite of the yellow walls and heavy carpets we had. I absolutely love the look of White Oak Floors but was not going to rip out perfectly good 50 year old hardwoods just to achieve that white oak look, so I started digging to find what you are looking for now. How to get that light and airy look with red oak floors?
In this post, I’ll share the products we used in order to get our floors the color that they currently are, as well as some of the things we unfortunately learned the hard way about during this process! My hope is that this post will help you make informed decisions, and have a smoother process in refinishing your red oak floors.
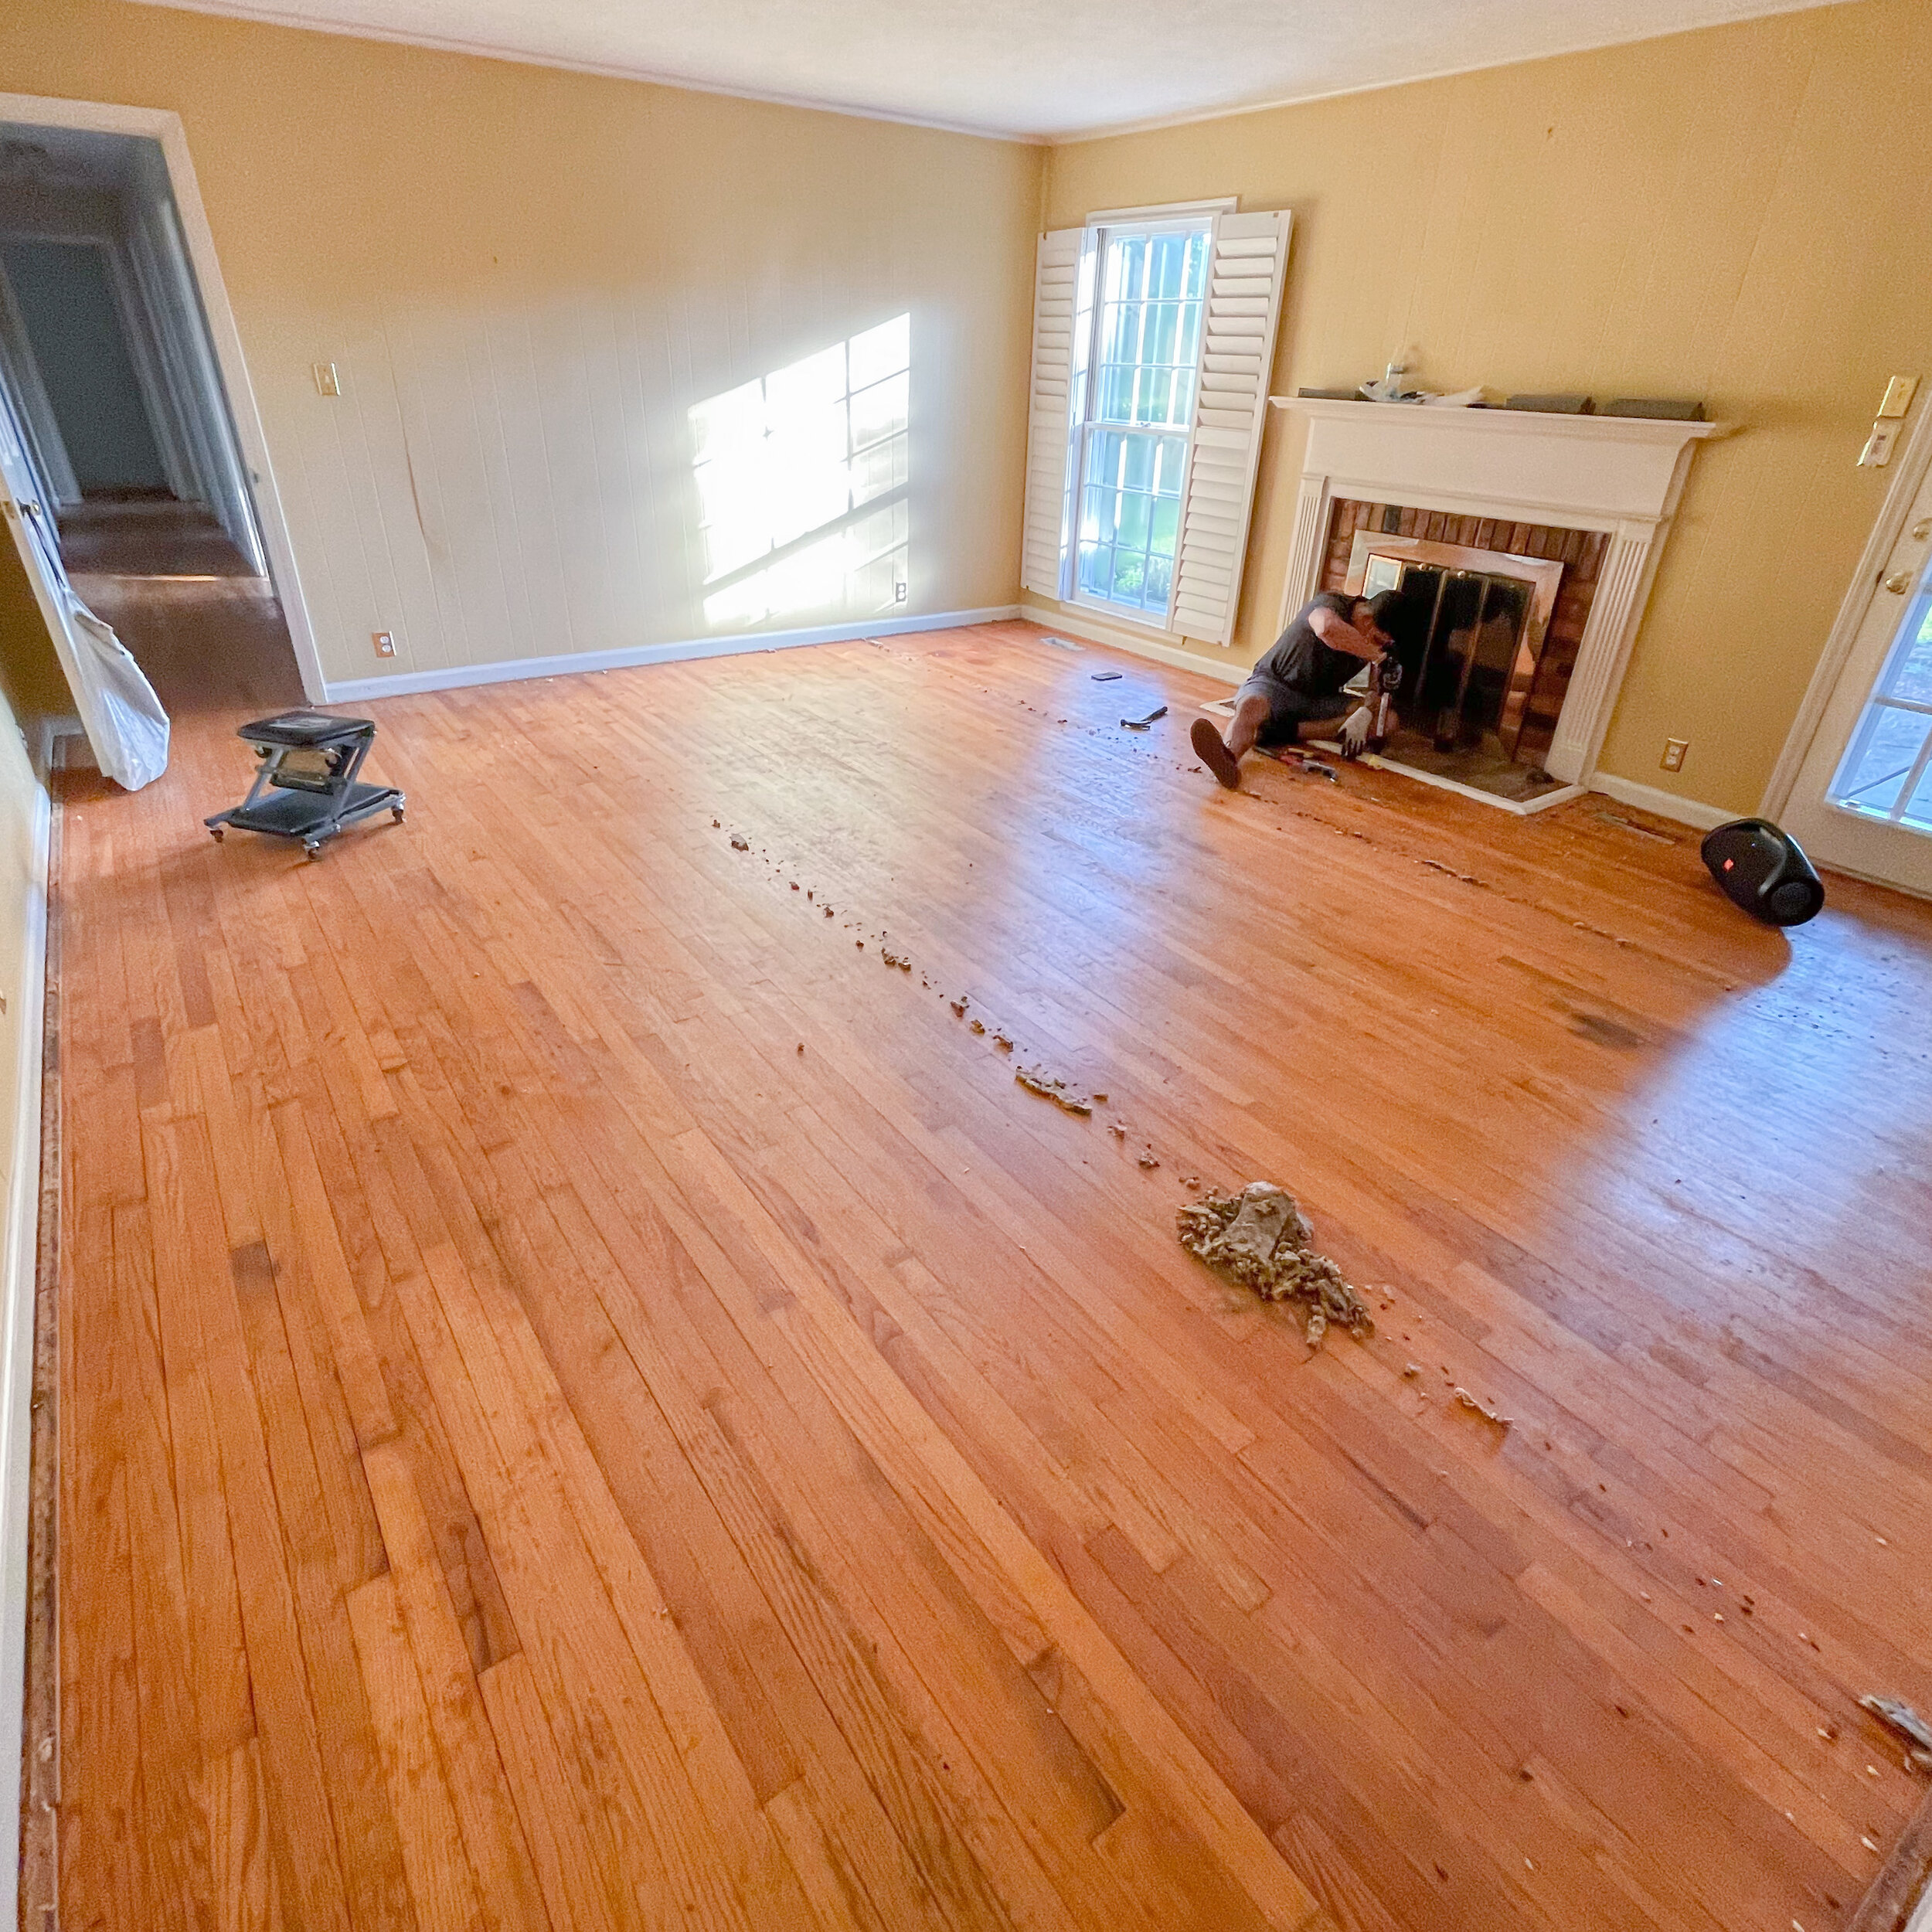
Since we knew the hardwoods were underneath, we had a flooring professional lined up. Sanding floors is a dusty job and nearly impossible when you have furniture in the house, so we wanted it done before we moved in.
TIP: Cover your air vents! I don’t care what the floor professional says, go the extra mile to cover your vent holes! The vents will have to be removed if they are on the floor, but fill those holes with towels or something! I applied special vent covers but since they removed the vents (while I was gone), dust inevitably got into our HVAC system. I’ve vacuumed them out multiple times but our house still gets dusty very quickly and I know that this is the reason why.
Here are some of the before photos! I absolutely love looking back on these to remember just how far we’ve already come in this old home and what a big difference wood floors can make in a house.
Now, the things we learned along the way:
I knew I wanted my floors to be light and airy. I also knew that I didn’t want to use polyurethane because that would cause yellowing and that orange look overtime.
After reading a lot of blogs and searching through products, we settled on Bona Nordic seal.
Before I share the frustrations we had with this product I will say we are happy with our floors but if we could go back, there are some things we would’ve done differently.

The first thing you should know is Bona products are not DIY friendly!
These are very expensive products and if you decide to use them, I highly recommend that you save the extra money and pay for a Bona professional to do your floors.
We had two, different flooring professionals, who each had years of experience, try to do these floors. Bona Nordic seal is very hard to blend so you will see streaks and build up in certain areas that definitely stand out. The Nordic seal is basically a white wash and we only ended up doing two coats. I didn’t want my floors to look completely white that’s why we chose to go with less coats.
Unfortunately our first floor guy was pretty much a nightmare and ended up leaving the job with partially sanded floors so we had to desperately search for someone else to come in and re-sand and go through the process all over again. Both flooring professionals came highly recommended with years of excellent work to prove that they knew what they were doing however they were not “Bona” certified and by the second person we had ran out of money to pay the higher price for a “Bona” certified person so of course the second guy had the same issues as the first!
In the end I ended up coming back through the house on my hands and knees with a sponge block and sanded the entire floor by hand and put on a second coat of Bona Nordic seal myself with a rag and lots of elbow grease!
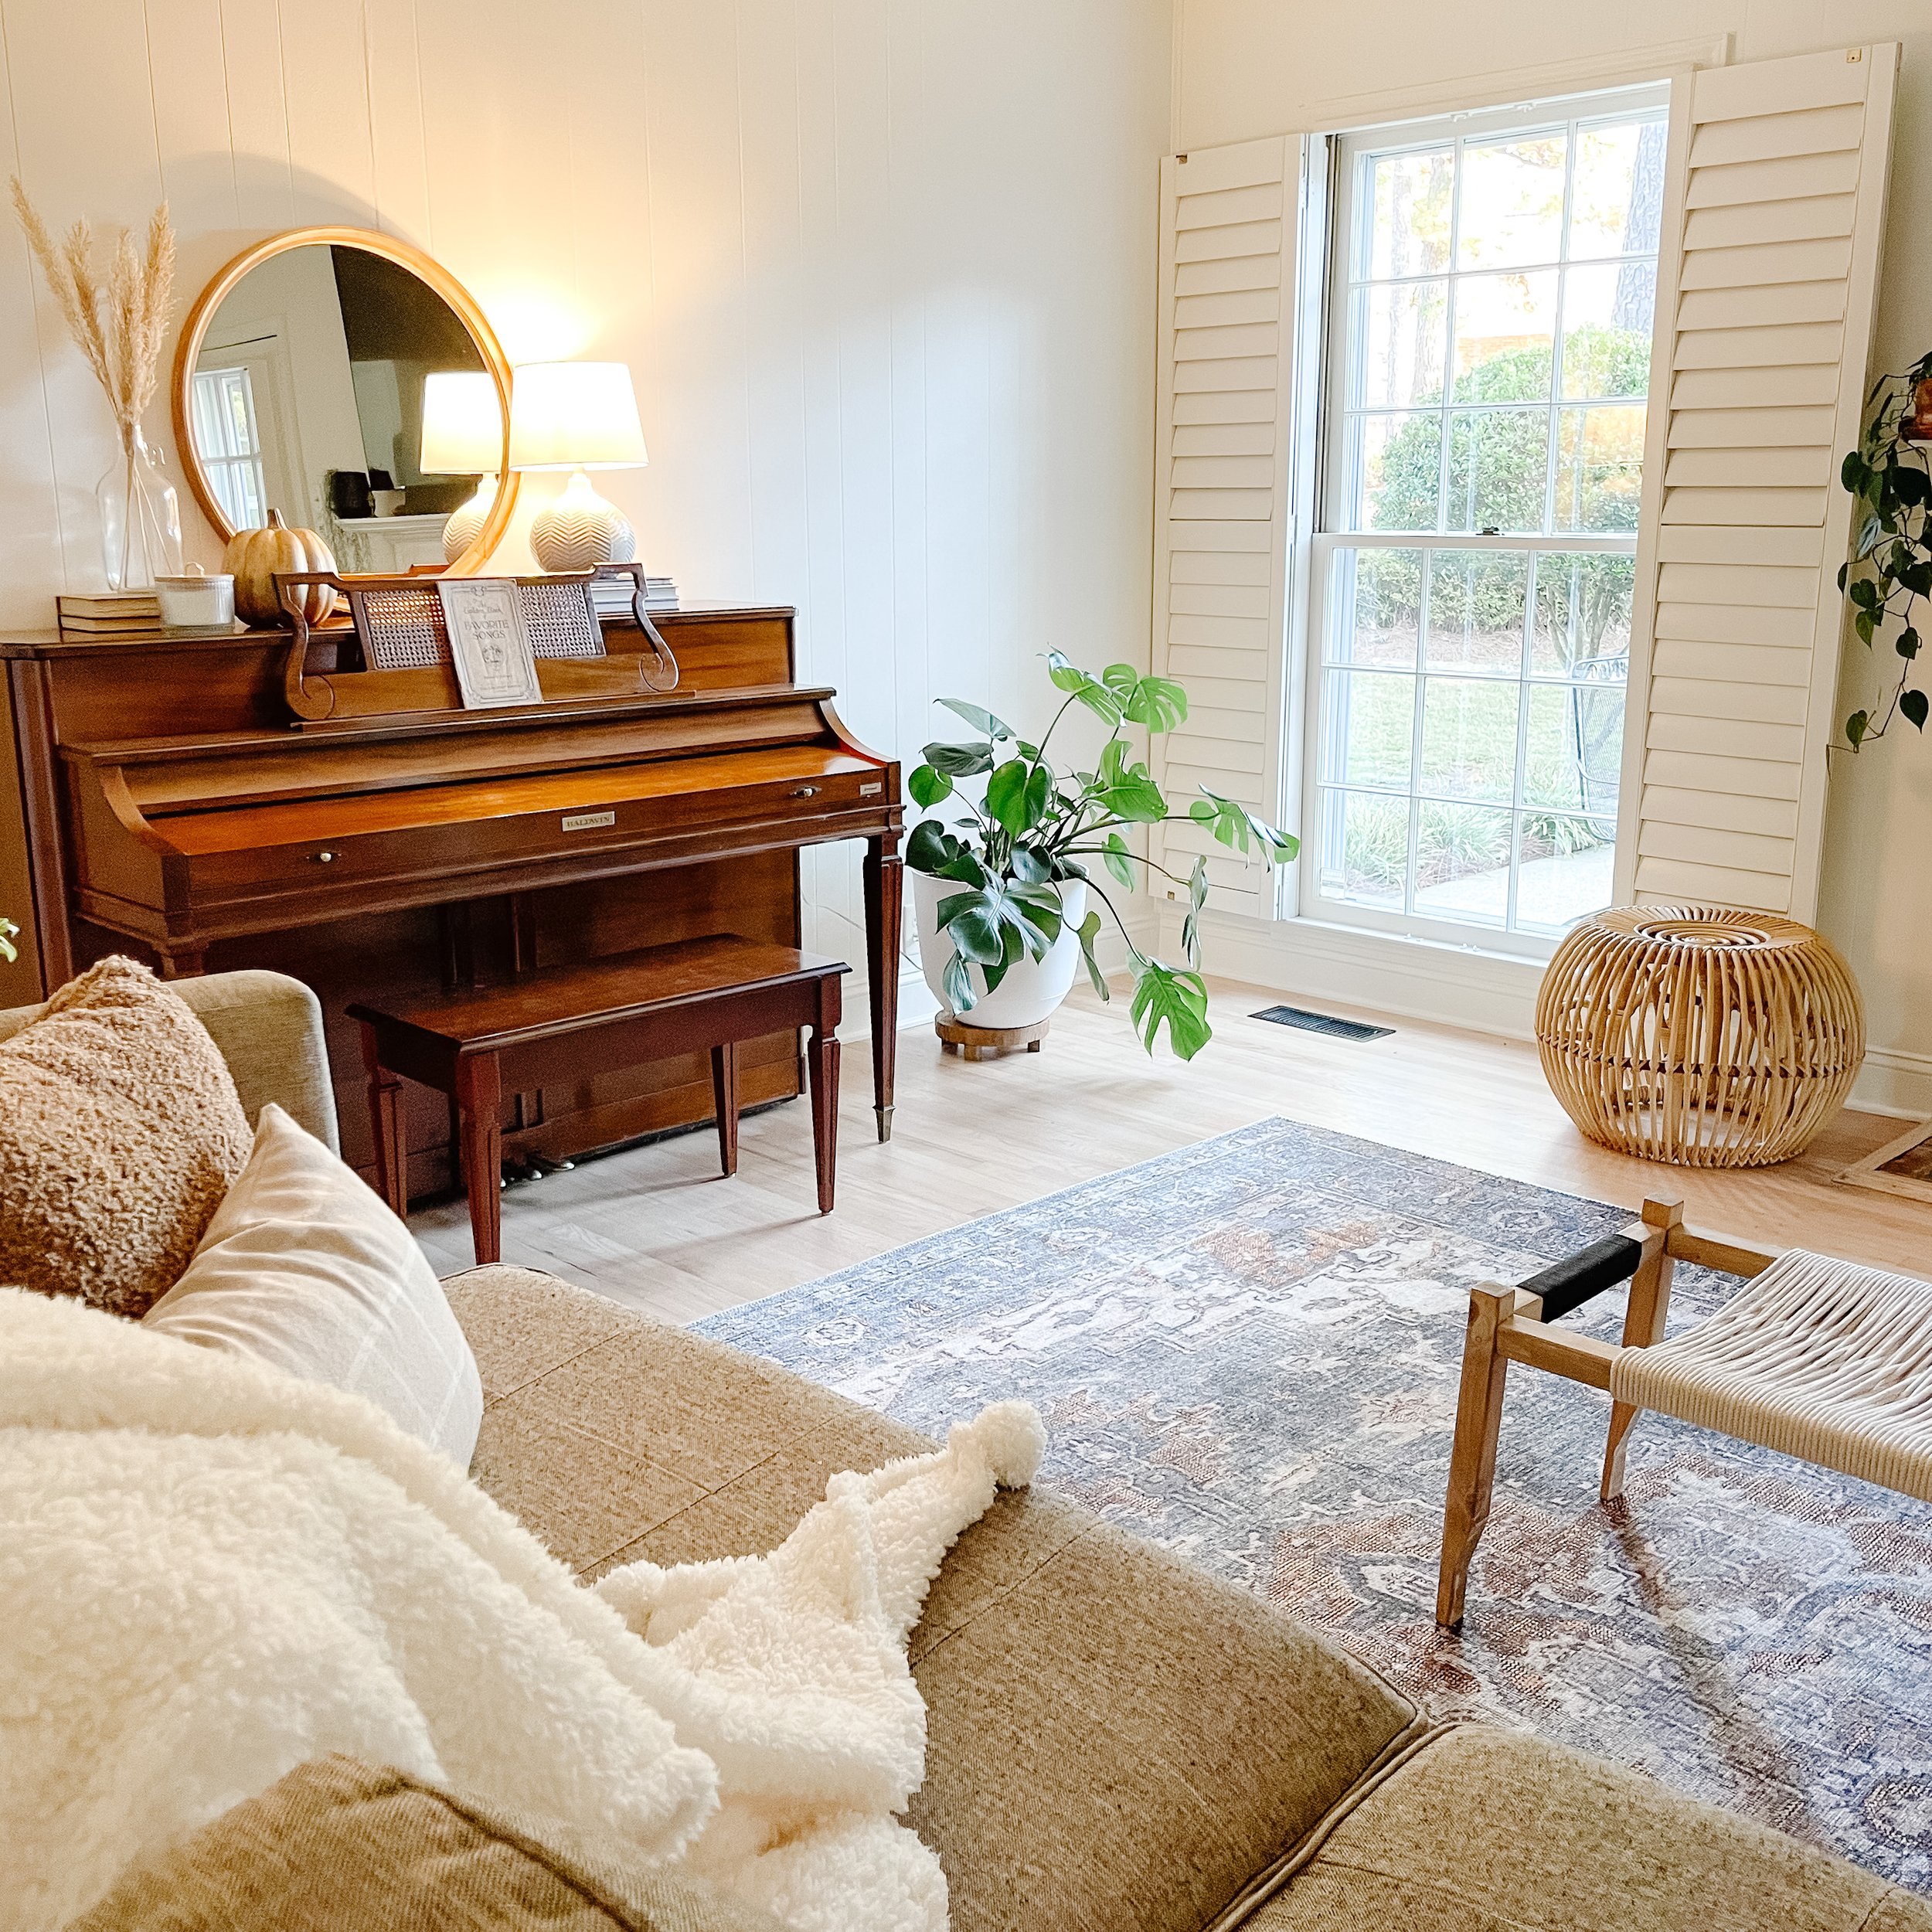
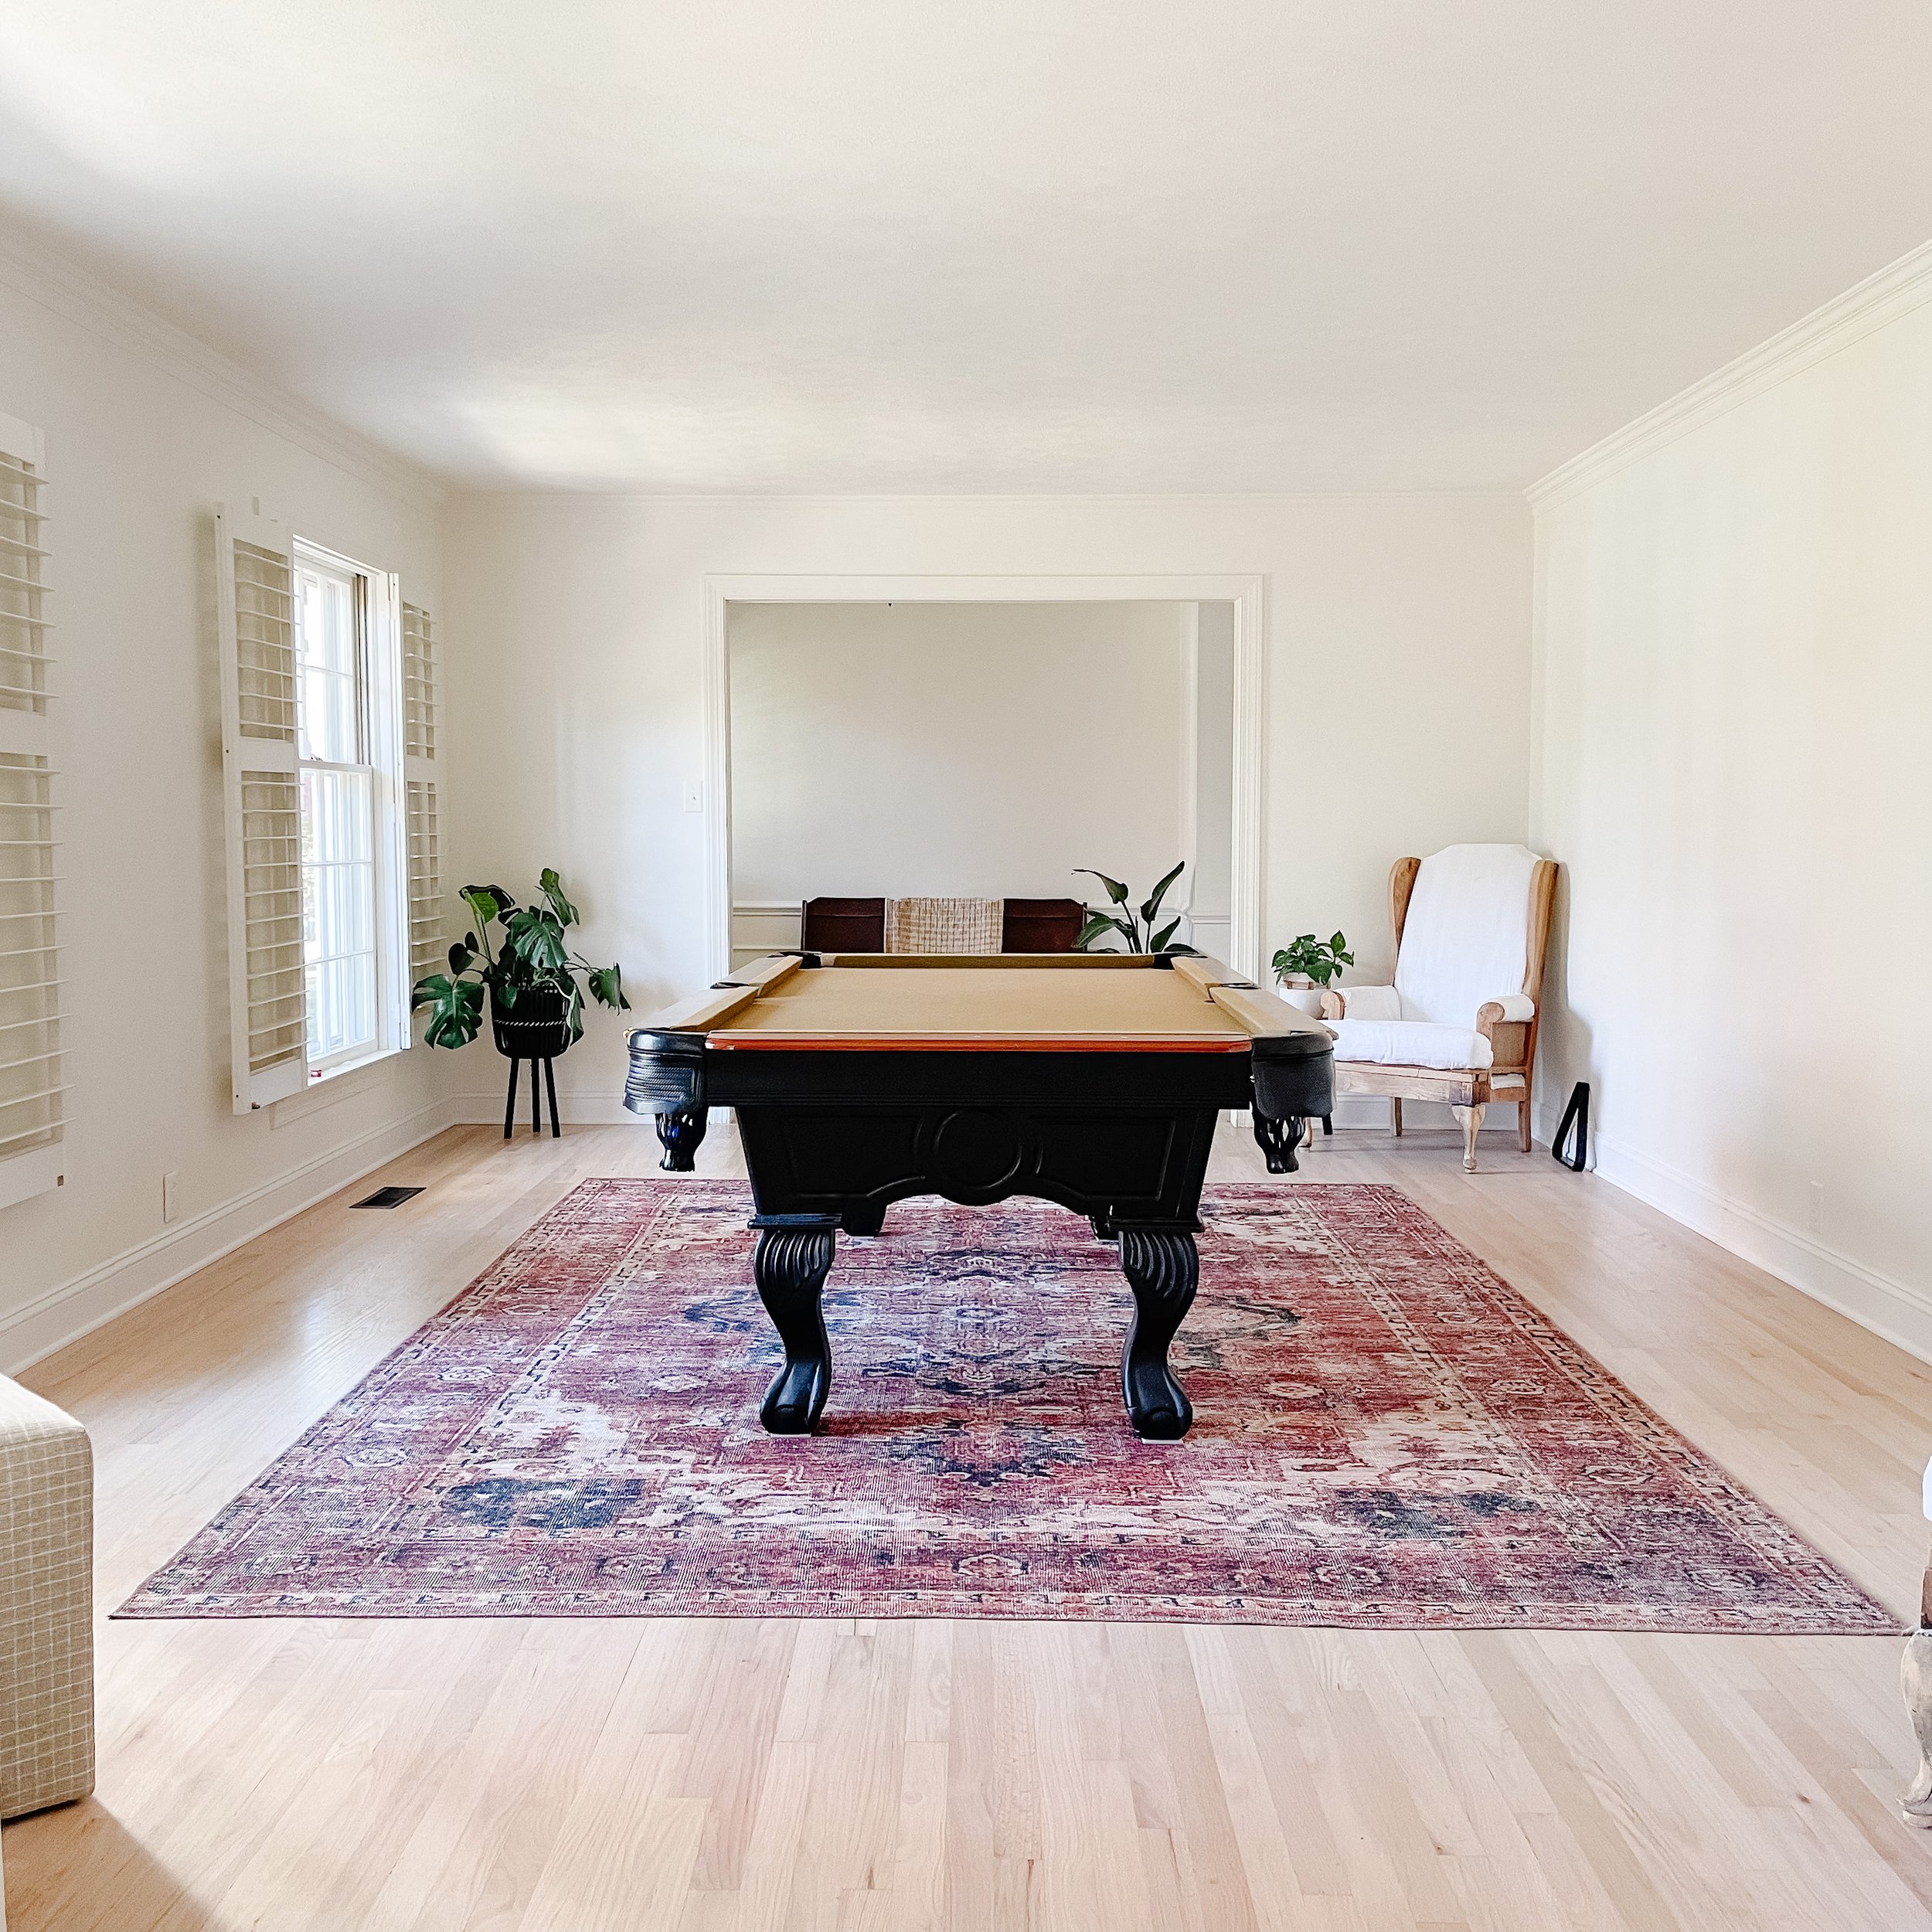
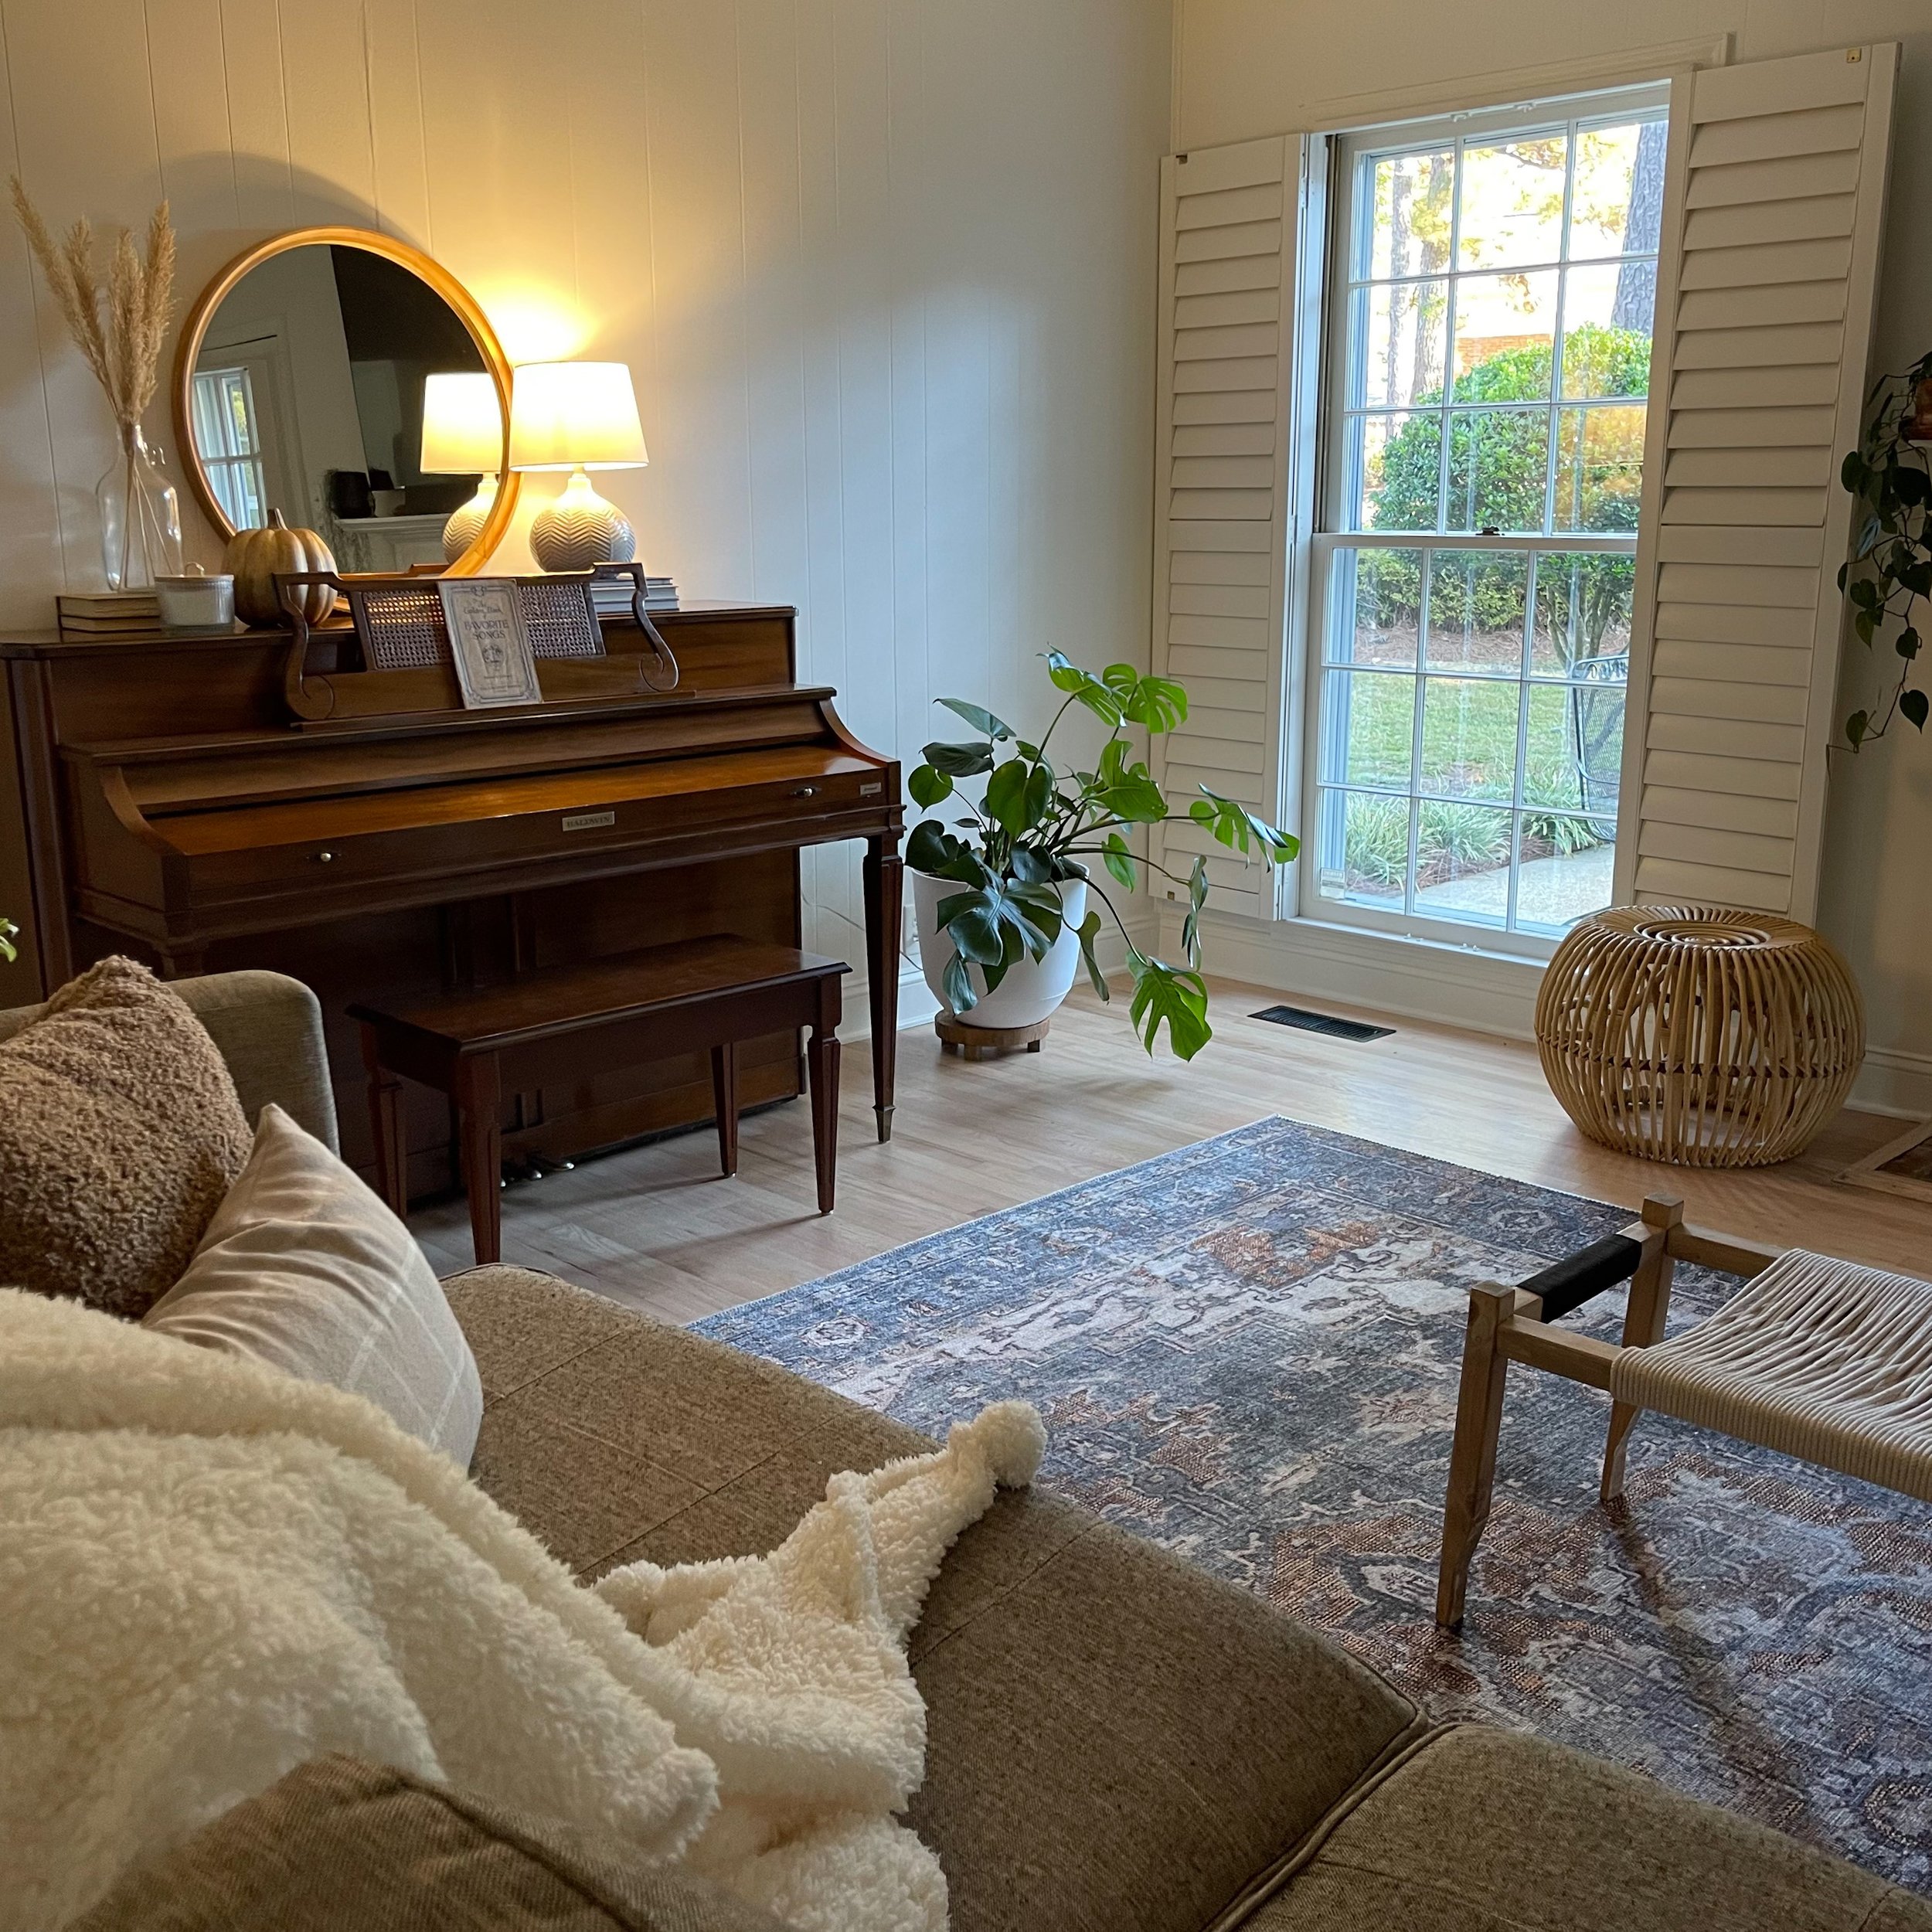
We sealed the floors with the Bona traffic HD and like I mentioned before we are happy with the way that they turned out. We liked the ways the floors looked when they were freshly sanded and that’s why we chose to go with two coats instead of a heavier white wash look so that we can keep some of the natural colors shining through. Of course I can still see some imperfections but with the furniture in place and the way that the light comes in at different times of day it really does blend together.
If you are a perfectionist or maybe even a tad OCD, the Bona Nordic seal may not be the product for you! It definitely seems a lot harder to apply and you will see imperfections along the way. However I’m sharing that honestly while also realizing that is the case when working with real wood so keep that in mind.
Applying it with a rag little by little seemed to be a better method than using a roller brush or t bar but is obviously time consuming. The key is to work this product in while its wet. Pay attention to any streaking or build up, wipe it in well and you should be fine.
Below I’ve added a few more photos to show how much cameras and edits can change the look of things! Even the unedited photos aren’t 100% true to what these floors look like in person because cameras auto correct colors. So keep that in mind and do samples on your own floors before choosing which products to choose and how many coats to add.
In the end, you are getting the opportunity to work with a Natural material full of beautiful imperfections! So have fun and embrace the differences.
Be sure to subscribe to the Blog if you haven’t already. We have a lot of home reno projects coming your way!
With Love,
Lisa Faye


thanks for the advice. I was going to go with the bona until I read your blog. We have The Identical Redwood floor. I want to also do the natural look too. 18 x11.4 living room just to small for that dark color. Your space looks beautiful. Do you have an up to date review now of your floors? Not sure when this blog was created.
Thanks,
NG