How To Make An Inexpensive Pampas Grass Wreath
I found a beautiful Pampas Grass Wreath on Etsy for $74 and fell in love!
Ok, that’s a bit dramatic but I do love me some Pampas!
Check out the blog I wrote on 7 Things you should know before decorating with Pampas Grass.
Fun Fact: a friend of mine told me that she found huge pampas grass bushes in an old Chinese Restaurant parking lot. We had it all planned out. We would go out to dinner and then go to the old “abandoned” parking lot to pick all the pampas our boho hearts desired.
We pulled up and in fact, the restaurant was NOT closed!
I was ready to chicken out for a second, but like all good friends, she talked me into going for it!
Imagine, two full grown mama’s, in the dark, beside a window at a very OPEN Chinese Restaurant, picking pampas grass!
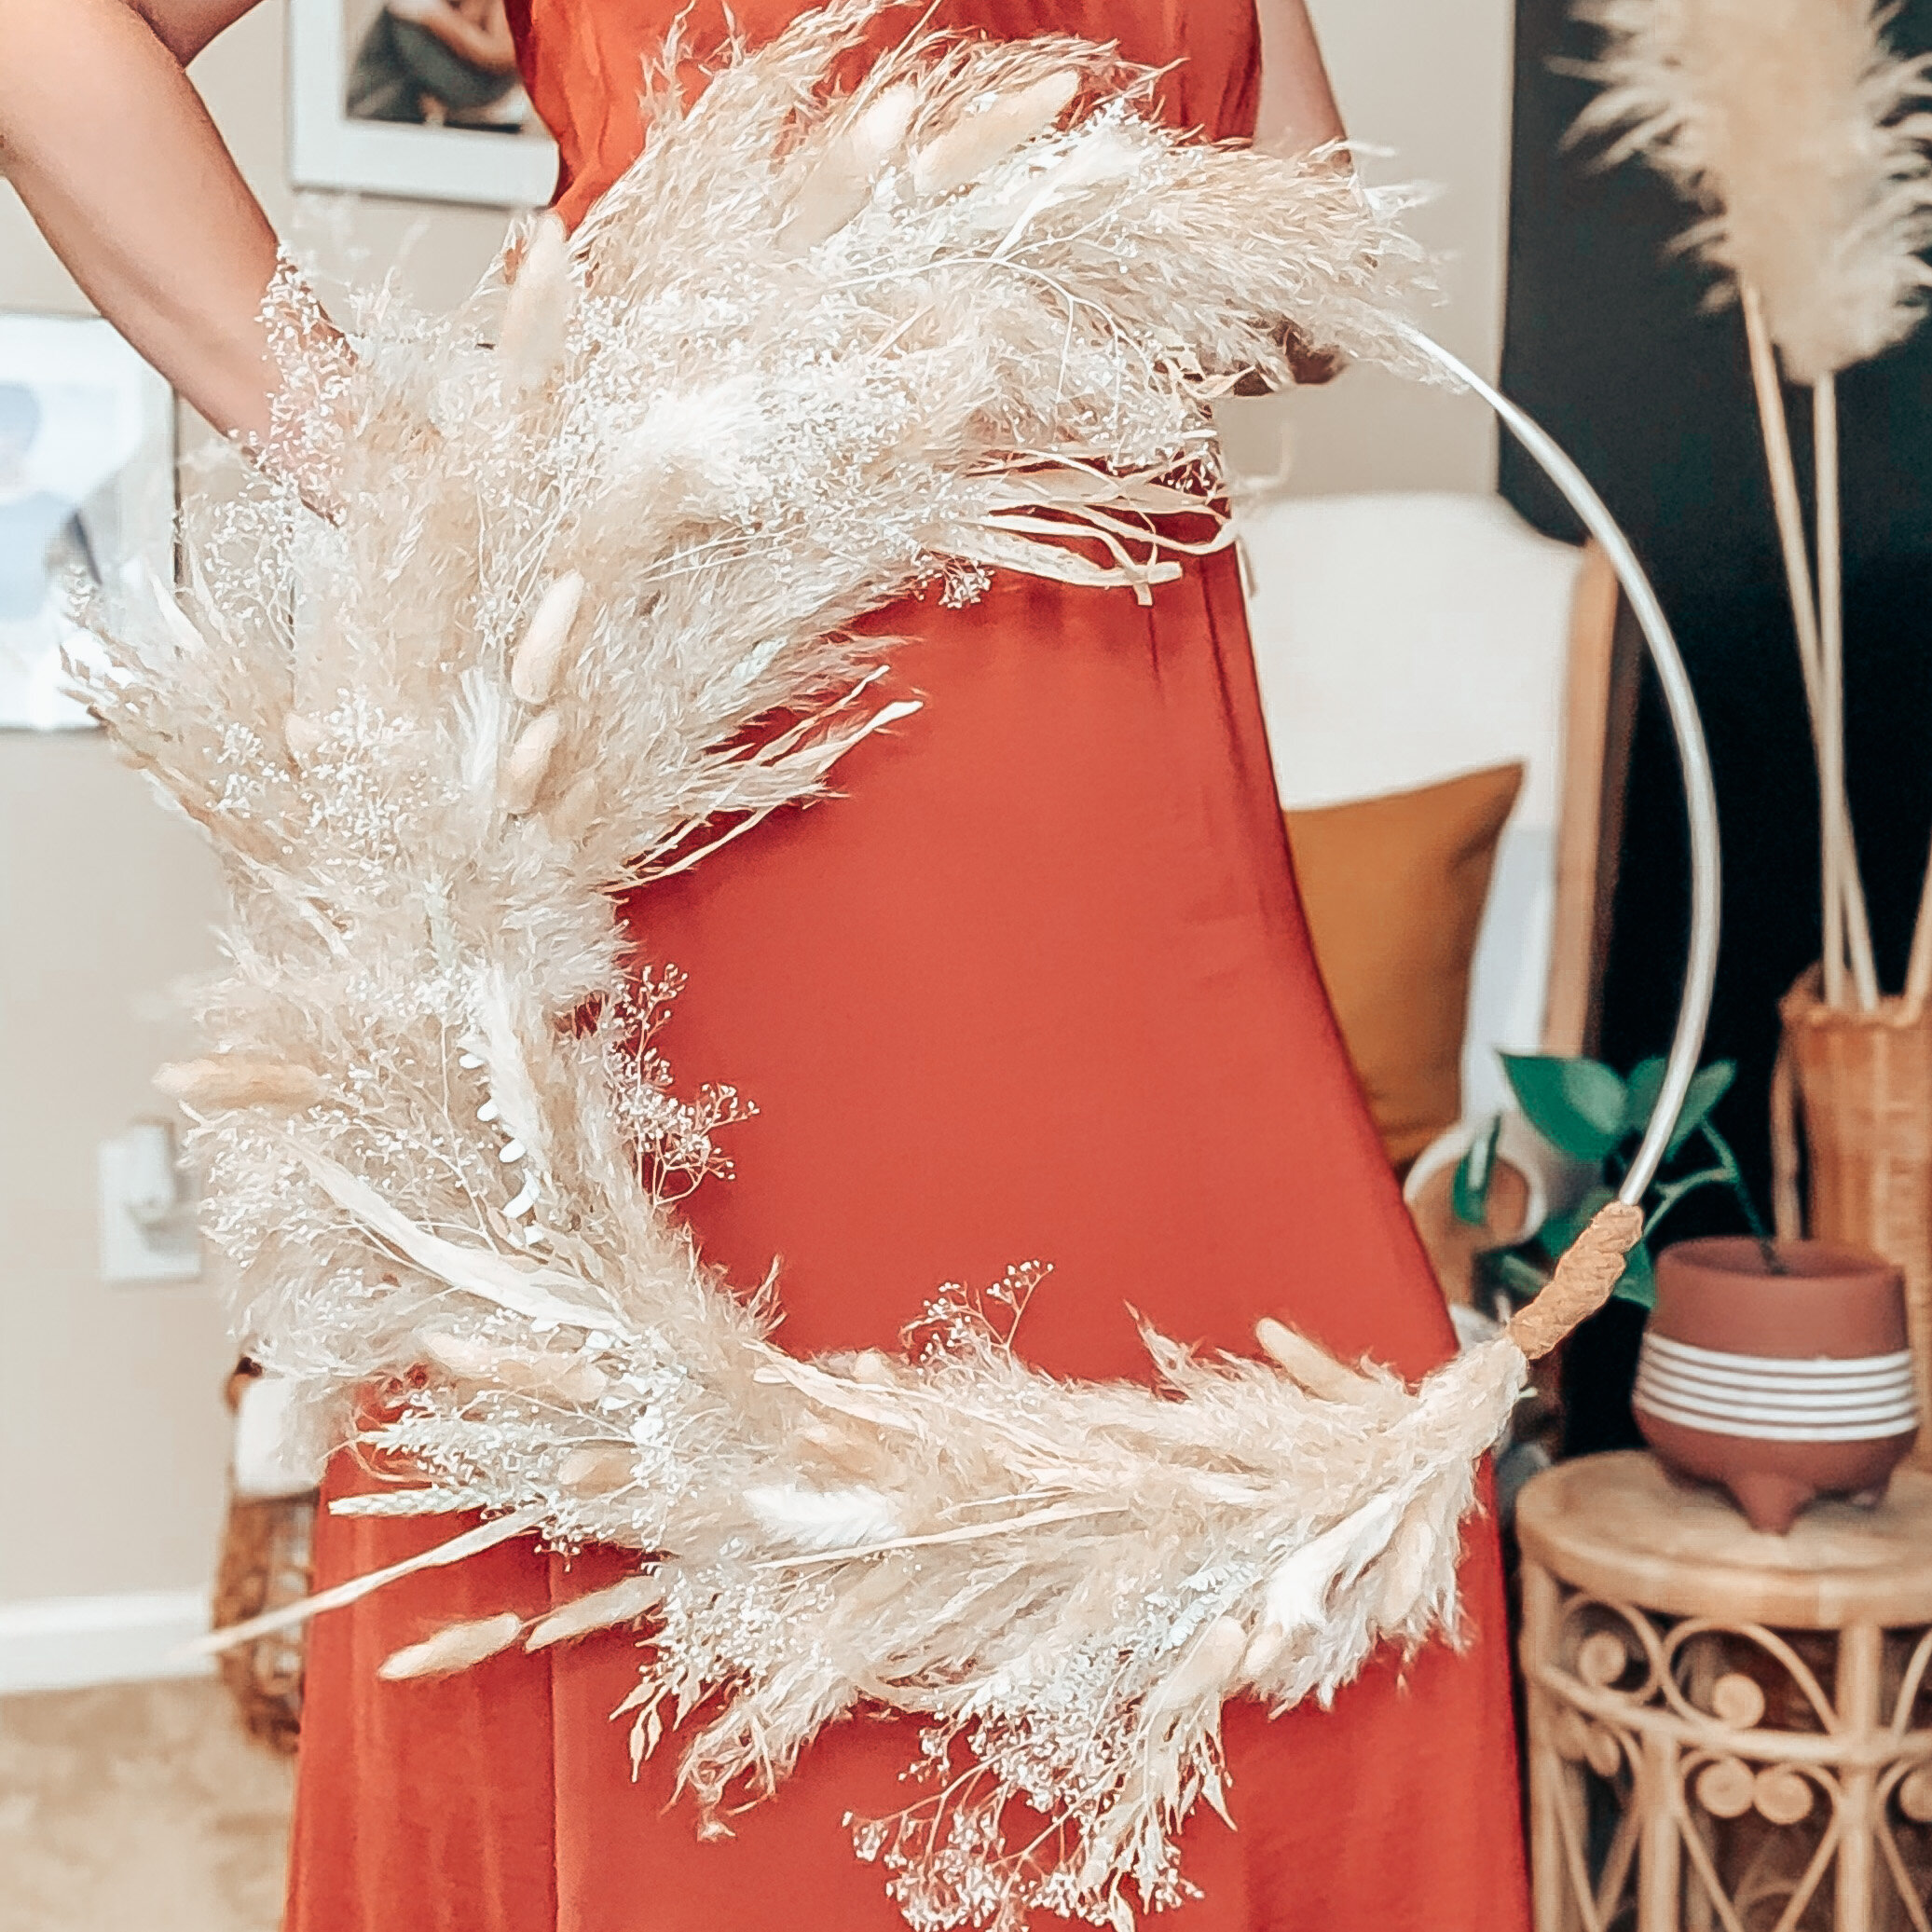
Inspiration Wreath
Back to the real reason you are here…lets talk about recreating this beautiful wreath above. I knew I wanted it but I also knew that I could recreate that look for less.
In this post, I am going to share how I created a dupe of this wreath. I am also spilling the beans on how you can create a wreath for less…or even for free!
I will do my best to link all of the products used and I also have a video tutorial for you to watch so you can see the action.

How to recreate the look for less
The first thing I do when I want to make anything, is to look at what I already have around the house. You’d be surprised at what you might forget you have stuffed in closets and drawers.
I already had a bunch of pampas grass. I am at that stage in life where I could care less about what anyone else thinks about me or what I am doing. As long as its not illegal, unethical or immoral, if I want to, I’ll do it! And your girl wanted some pampas grass, I found some huge pampas bushes and I went for it!
If you are a little intimidated to pick pampas from a public spot, go in and ask for permission. Every place I have been has told me to please pick it all!
The best way is to find a more private spot if you can but I am telling you from experience that most people do not mind.
Pampas grass can be the most expensive part of this project if you have to buy it but I linked the least expensive ones I could find in case you can’t find any on your own.
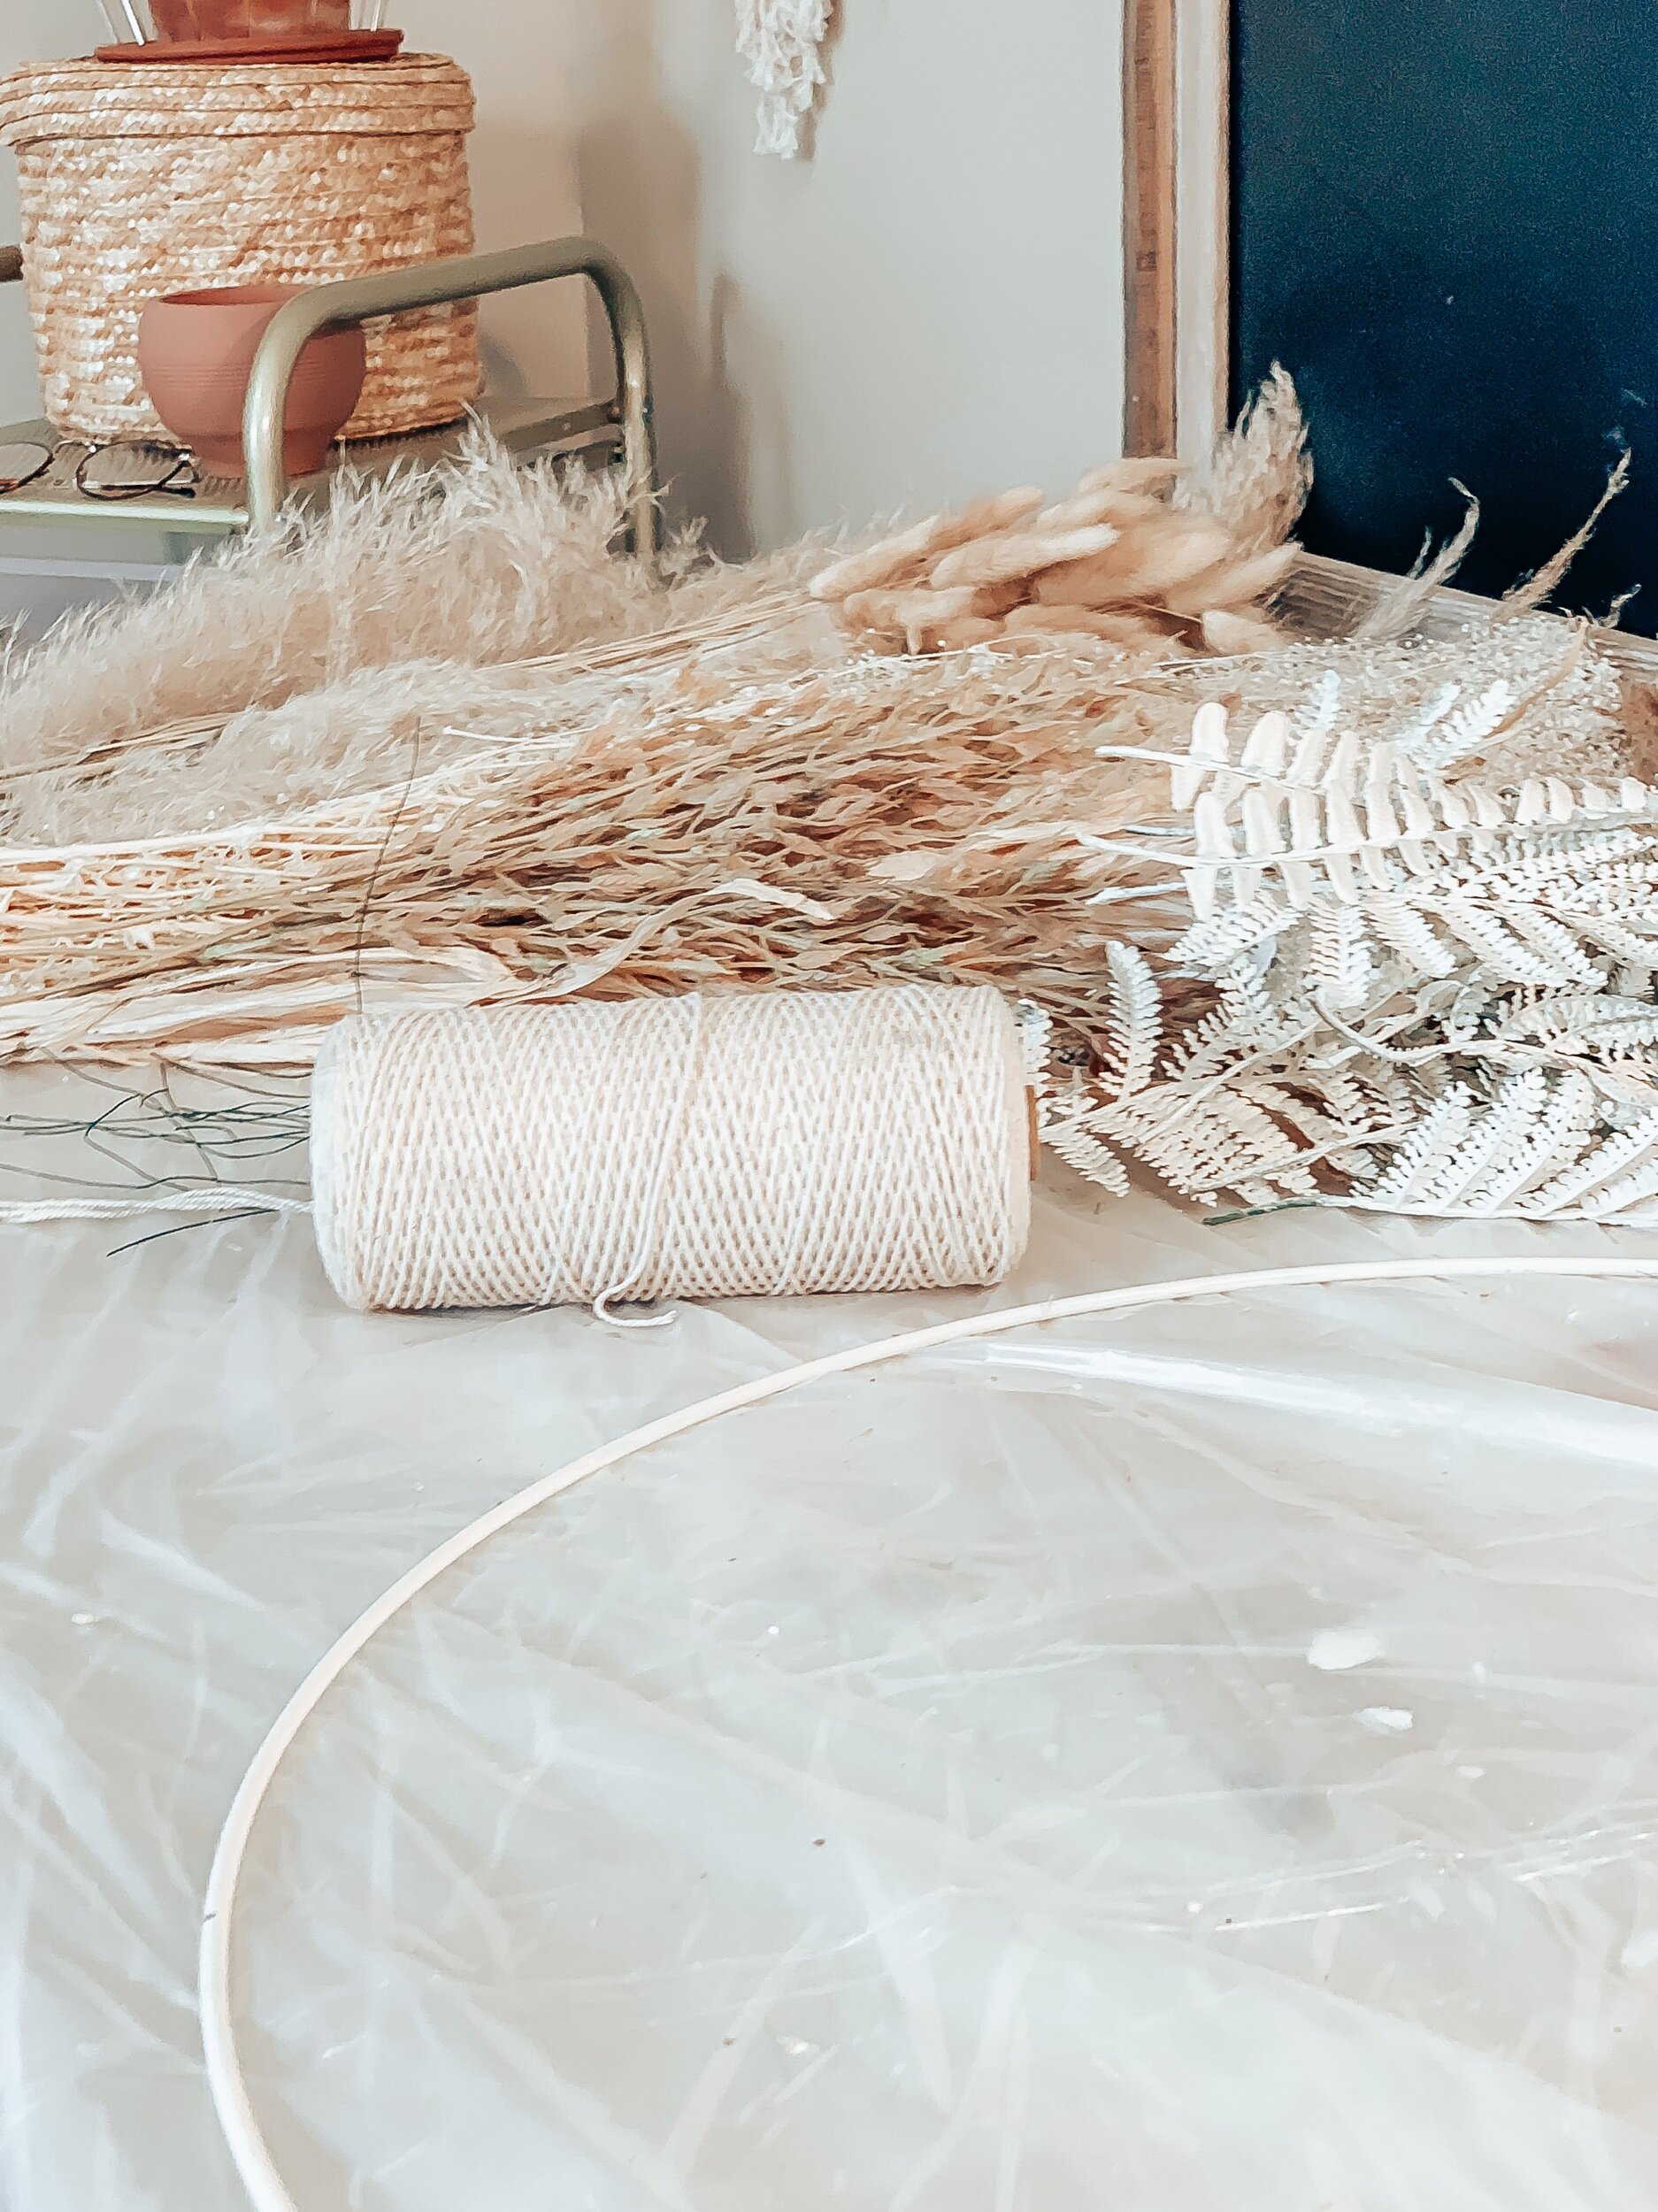
Materials
-
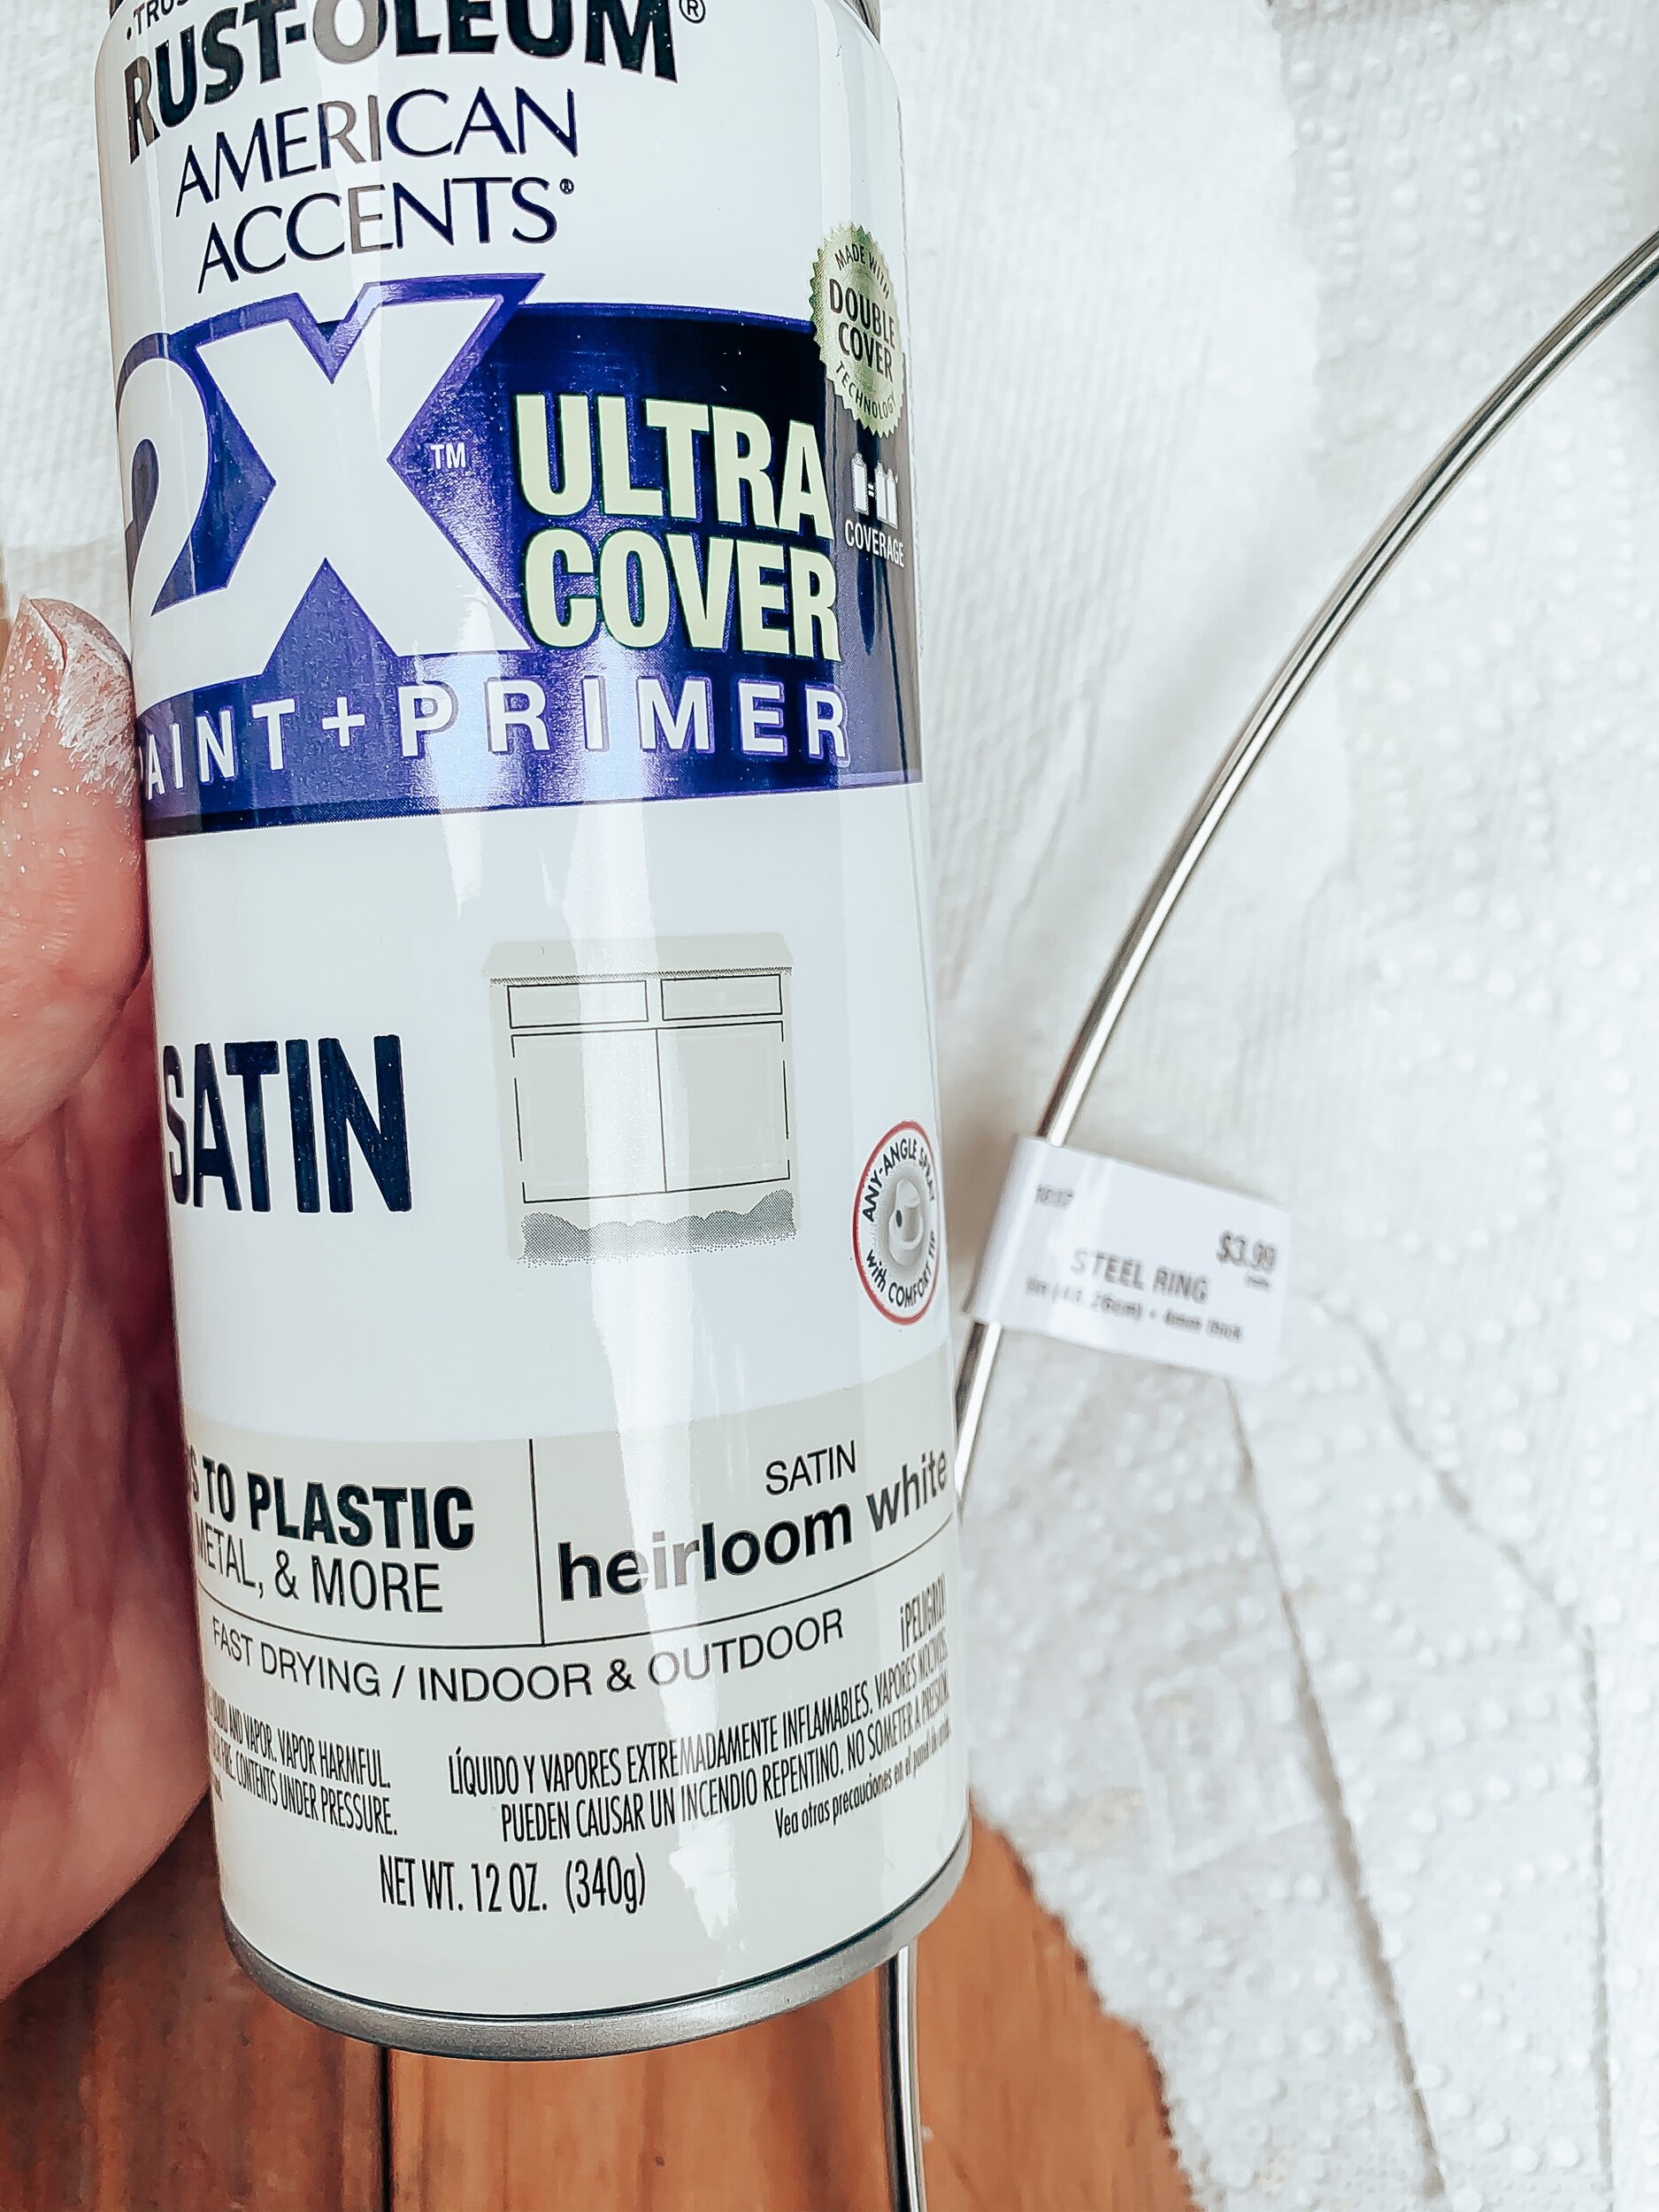
Rust-oleum satin heirloom white
Step one
Gather all of your materials.
If you are using a metal hoop (like I did) and you want to paint it, I would do this step first so it could dry thoroughly. I also spray painted my faux ferns at the same time. I used heirloom white as my paint color.
To make the process go smoother, go ahead and cut the artificial flowers to size and cut a few pieces of your floral wire as well. I cut mine about 5-6 inches long, which gave me plenty of room to play with!
Step two
Once the paint is dry and you have gathered all of your materials, it’s time to start assembling your wreath.
Your pampas grass goes on first, as a base for the wreath.
I like to place my pampas grass on top (before I attach it) to see where I like it. Once I get it where I want it, I flip it over, and start to attach the grass with the floral wire.
It is up to you how much floral wire you use. At the top of the pampas grass, where it’s much thinner, you will have to use less wire to keep it in place. As the stem gets thicker, you’ll need to add your floral wire in closer sections to create the circular shape of the hoop.
Once the pampas grass is attached, you can go ahead and cut off the excess floral wire. Just be sure that you have twisted it tightly in place.
Another good option, is to twist your floor wire tightly but leave the remaining wire so you can use it to attach the other florals.
Step three
Use your twine (leather or whatever material you decide) to wrap around the bottom part of your pampas grass stem.
Start by tying a knot (closest to the grass) and simply wrap the twine all the way down to the end of the stem. Tie a few knots at the end to secure it in place. Make sure they are facing towards the back of your wreath.
I had an old braided leather belt that I used to cover my string. I used the same process but added floral wire to keep mine in place. Check out the step by step video below to see what I mean.
Step four
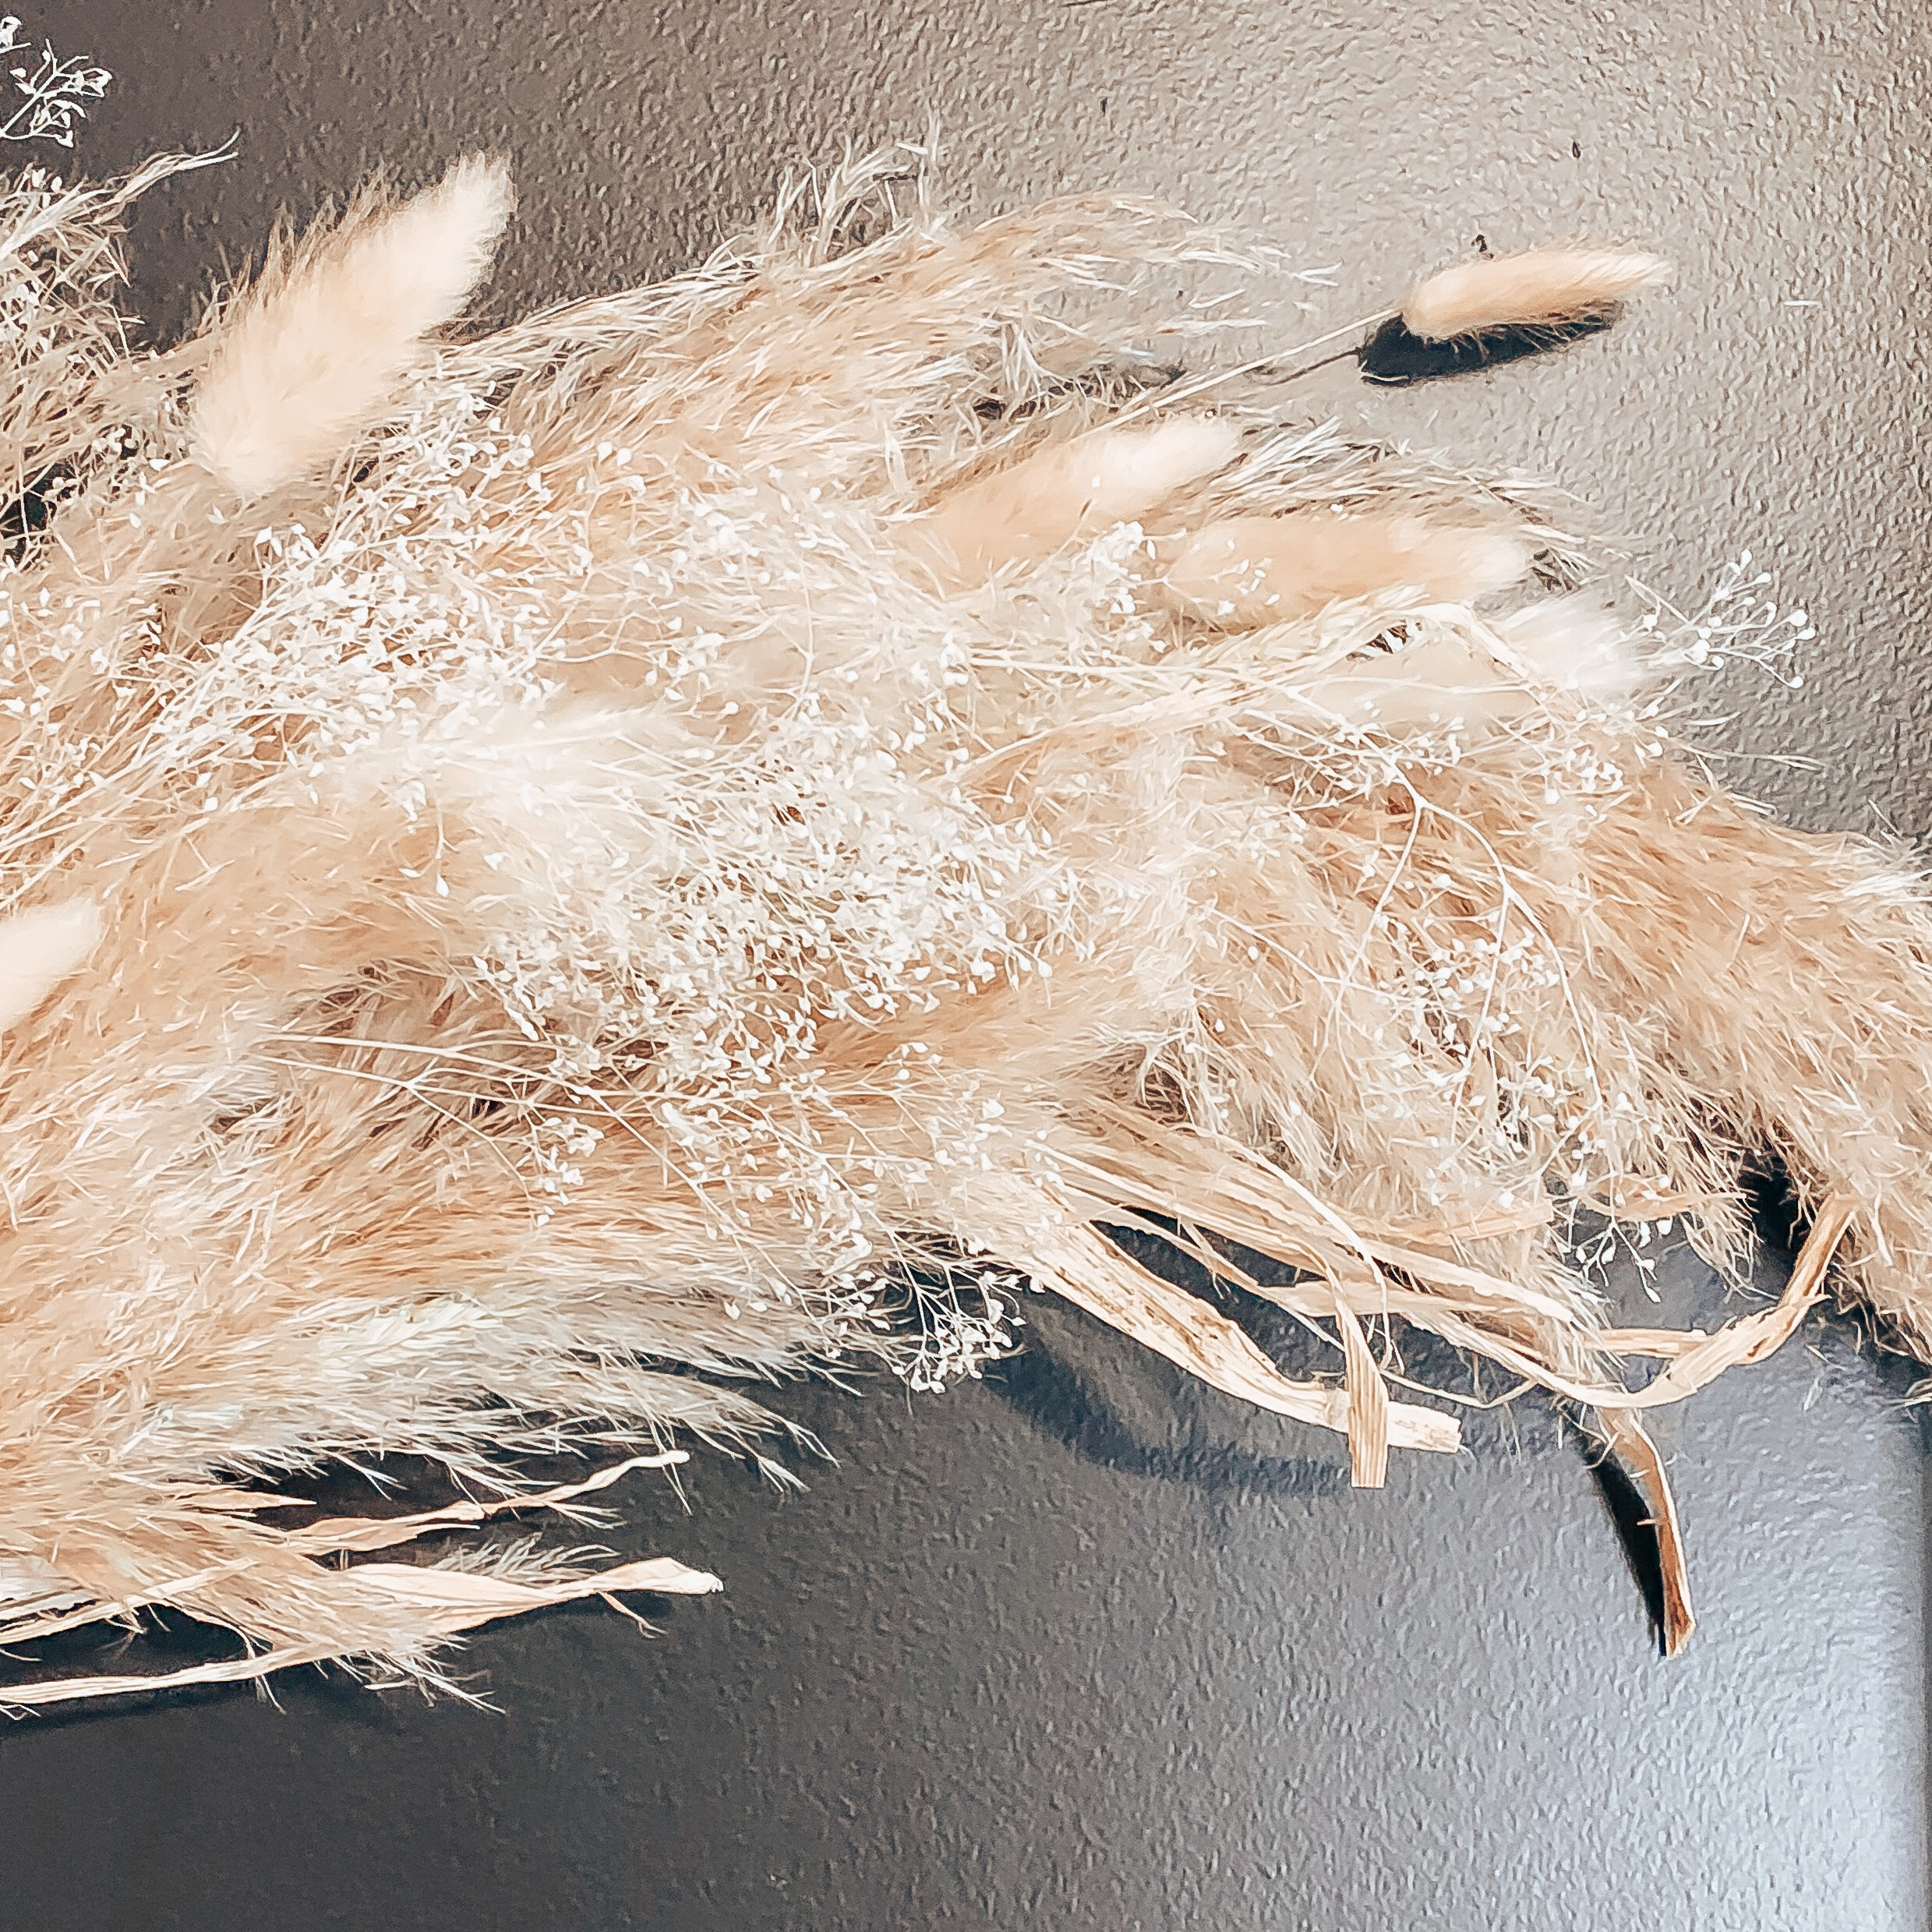
In the video above I show you how I completed this fourth step of adding the additional floral pieces to your wreath. You can add pieces through the front of your wreath sticking it through the pompous grass and attaching it at the back with more floral wire. You can also attach pieces from The back of your wreath to add a little more depth.
there really is no perfect way to do this. Start by adding one or two types of florals at a time. You can even start to create some sort of pattern if that looks best to you.
I started by adding my white fern and Stardust Mini Gypsophilia. Then I added in lagurus, wheat and feathers as I went.

That’s it! In four simple steps you’ve create a beautiful pampas grass wreath for a lot less than some of these boutique florist charge!
My best advice is to have fun with it! It doesn’t have to look like mine or anyone else’s, it just has to make you smile!
If you are inspired to create your own wreath after reading this post, please comment below and let me know!
I would be honored if you would send me a photo and even tag me on Instagram so I can see your beautiful creation and share your work!
As always, thank you so much for reading this post and doing life with me! I hope this inspires you and ask that you share it with others!


