How To Create Beautiful Concrete Pumpkins The Easy Way
I love fall most of all…no really…I do! In fact, I’m that girl scrolling around Marshall’s talking myself out of buying ALL the pumpkins each year!
You too?
If you love pumpkins and decorating for fall but you don’t want to spend a ton of money this year, then this ones for you my kindred spirit!
Pumpkin Er-thang!
Just a heads up. This post is all about how to make cement pumpkins but I’ve also been working with some Dollar Tree and other craft pumpkins as well! My goal is to help you create the look you want for less! Look out for those post soon!
Why cement?
Why not? One bag of cement is less than one store bought pumpkin but gives you the ability to create as many sturdy pumpkins as your little heart desires! Big ones, small ones, some as big as your head…you get the point!
I wanted to find different ways to create these pumpkins for less so I tried plastic shower caps, a satin dollar tree pillow case, socks and pantyhose!
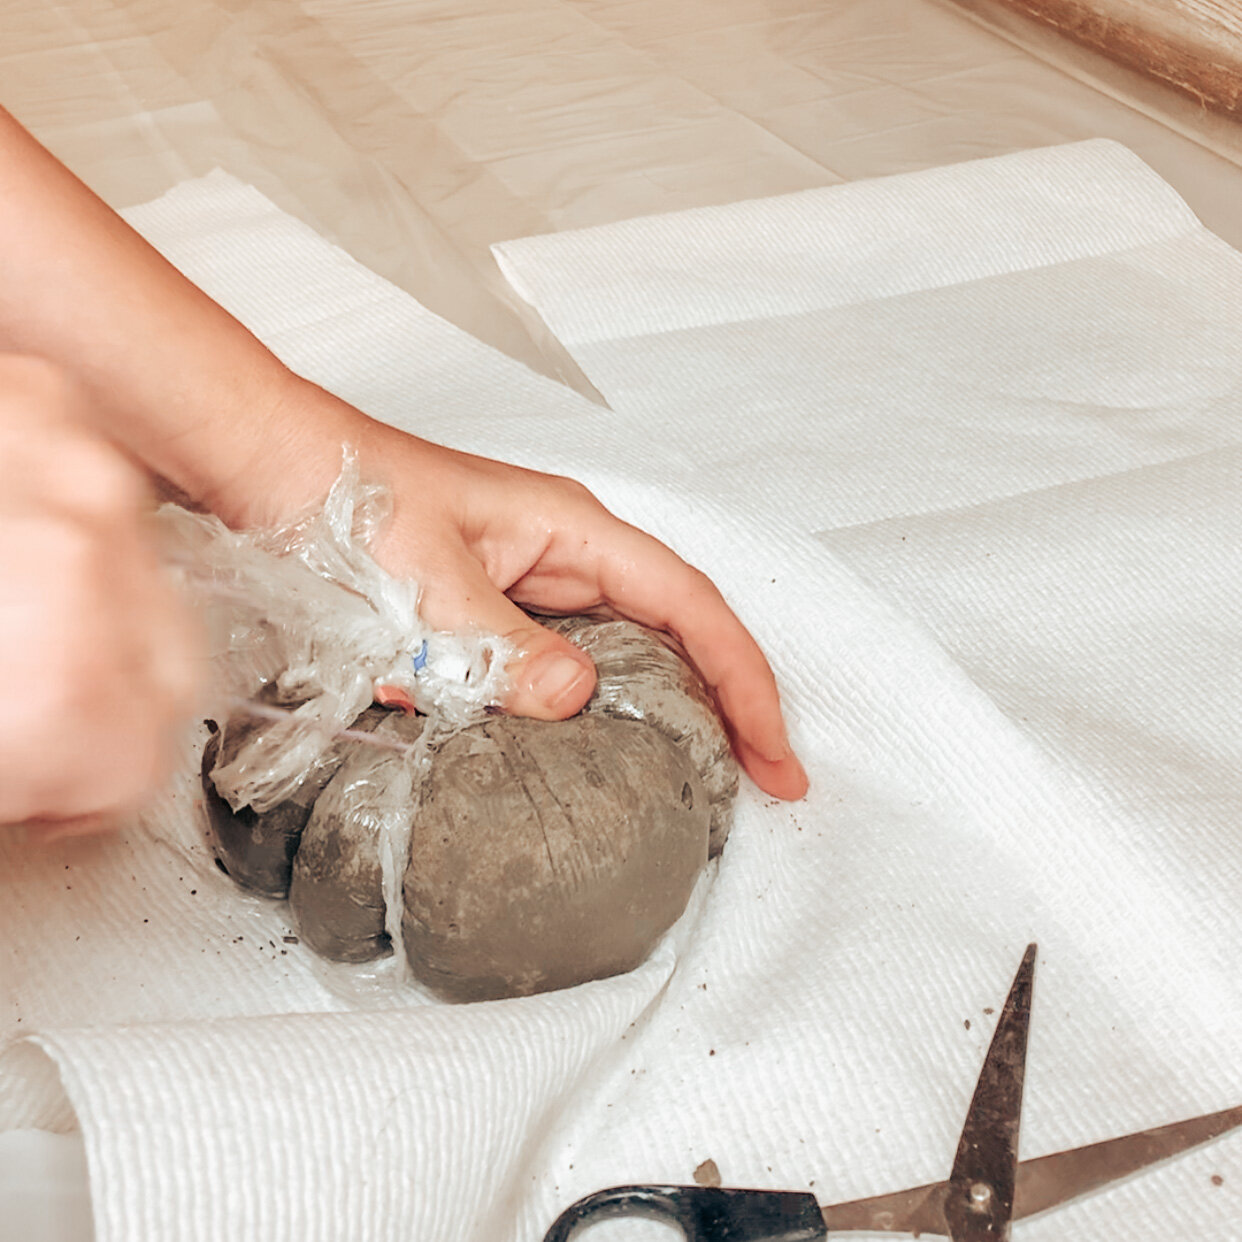
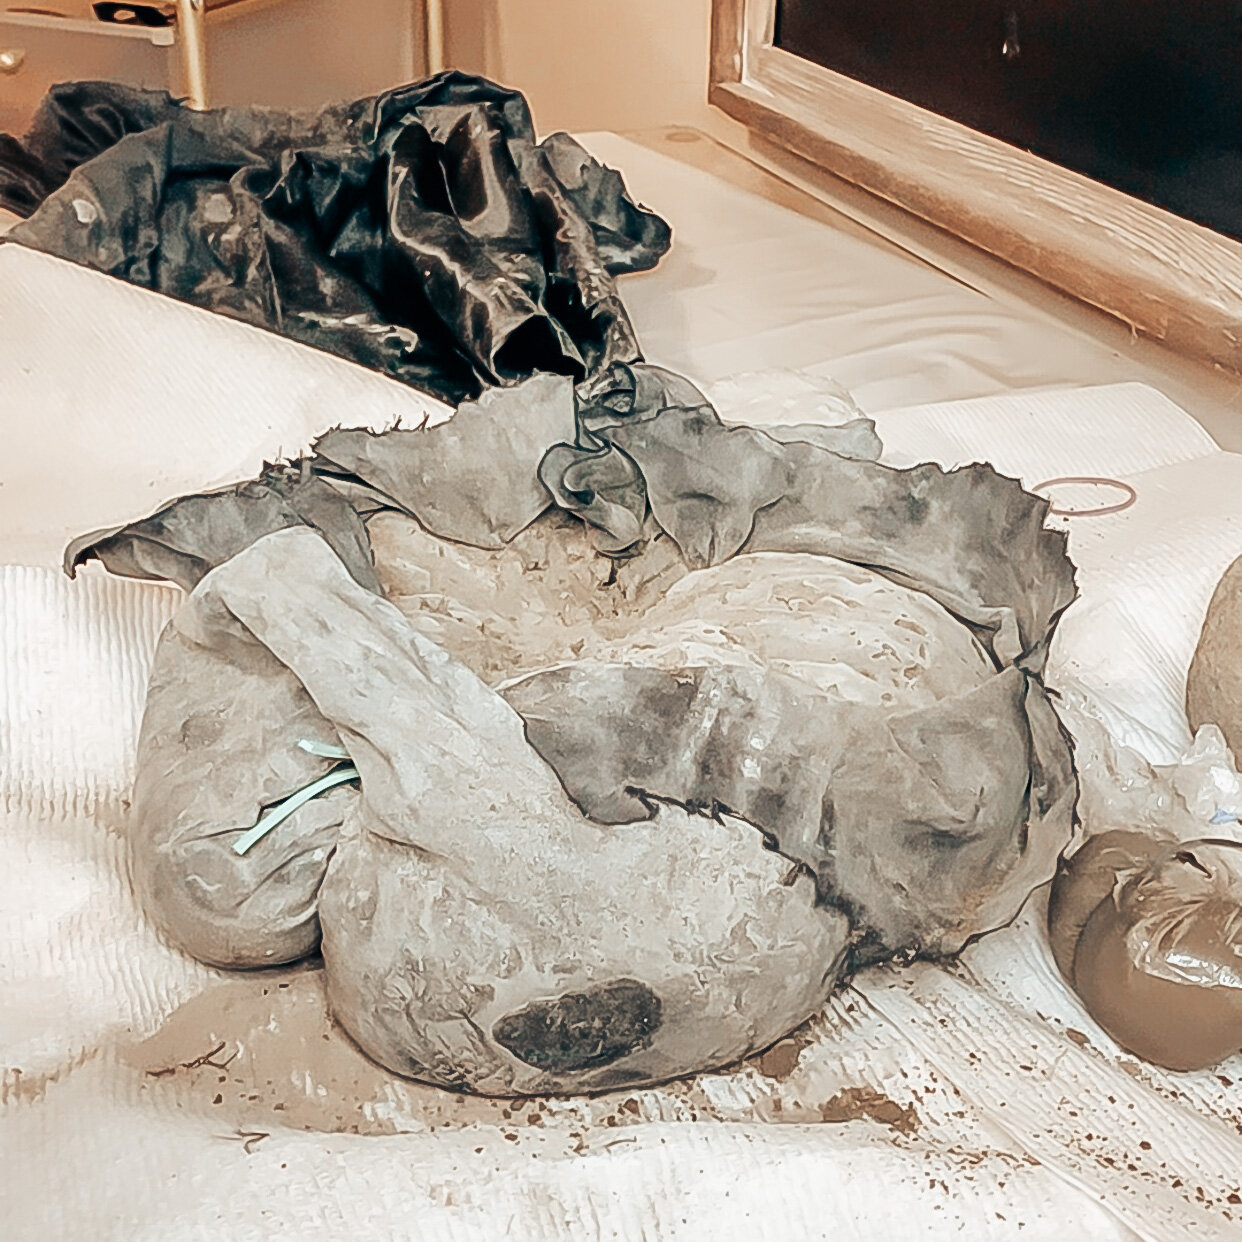
The pillow case and shower caps were a bust!
However, I think if I would have used the string (like you will see in another photo) instead of rubber bands, they would have worked a little better.
Because the rubber bands were very tights, it was too hard to get the materials out of the creases of the pumpkins so I threw those out.
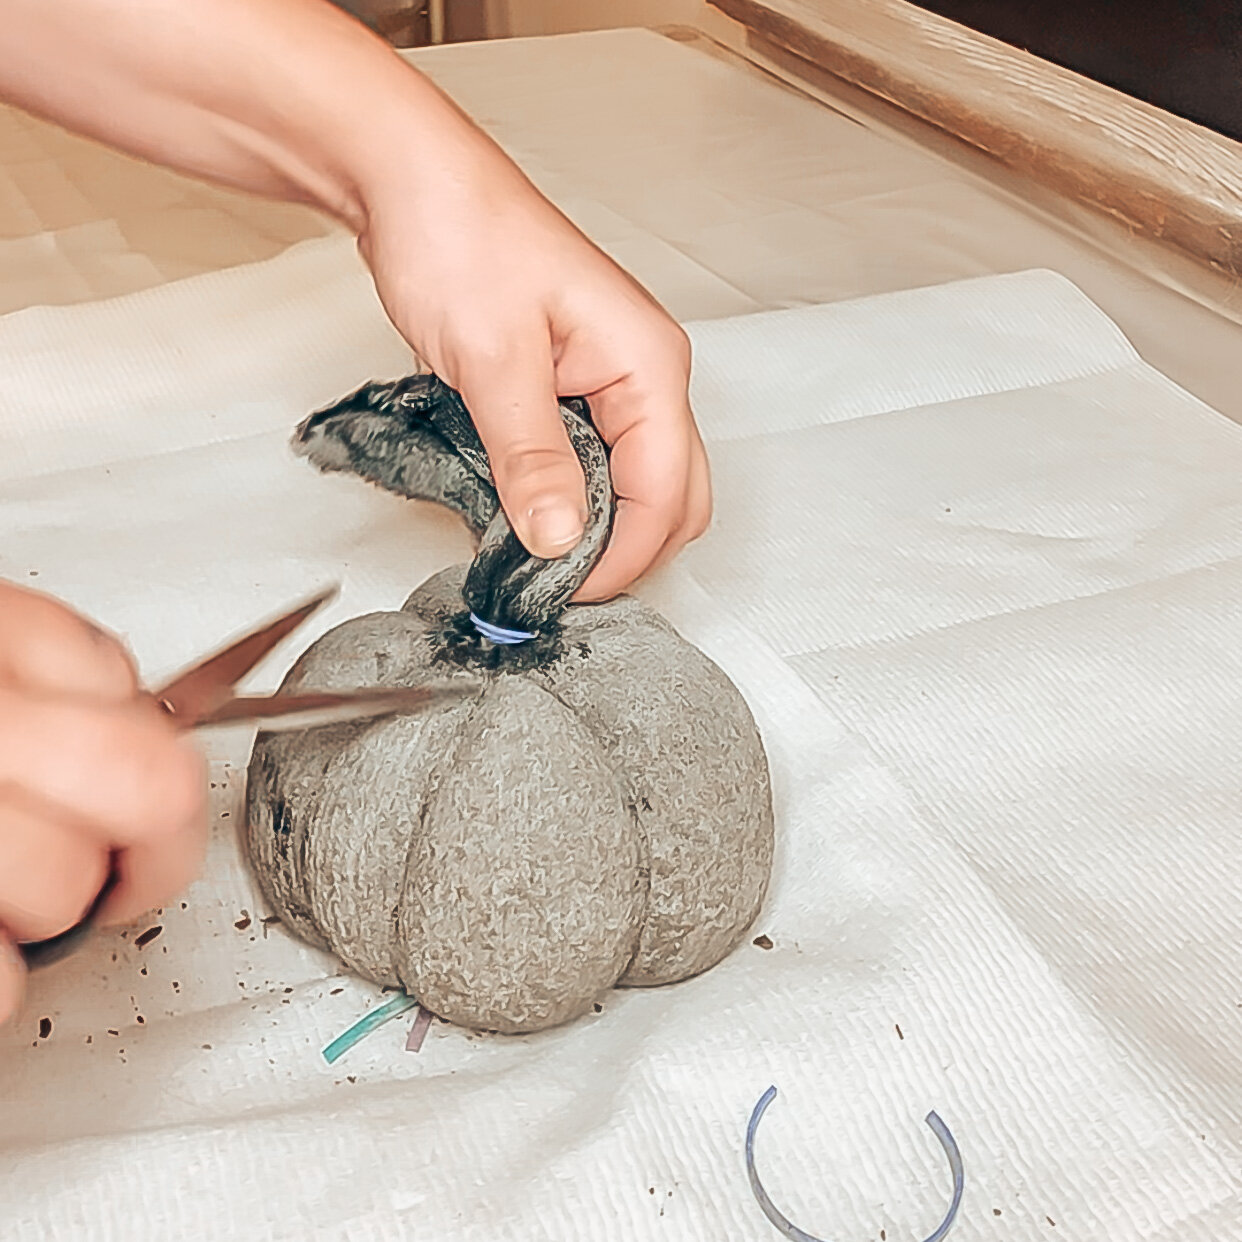
The pack of Dollar Tree socks (or you could use the ones missing their match at your house) did the trick! The sock pumpkins do have a lot more texture but you can choose to sand them down or leave them as is! I actually enjoyed the look.
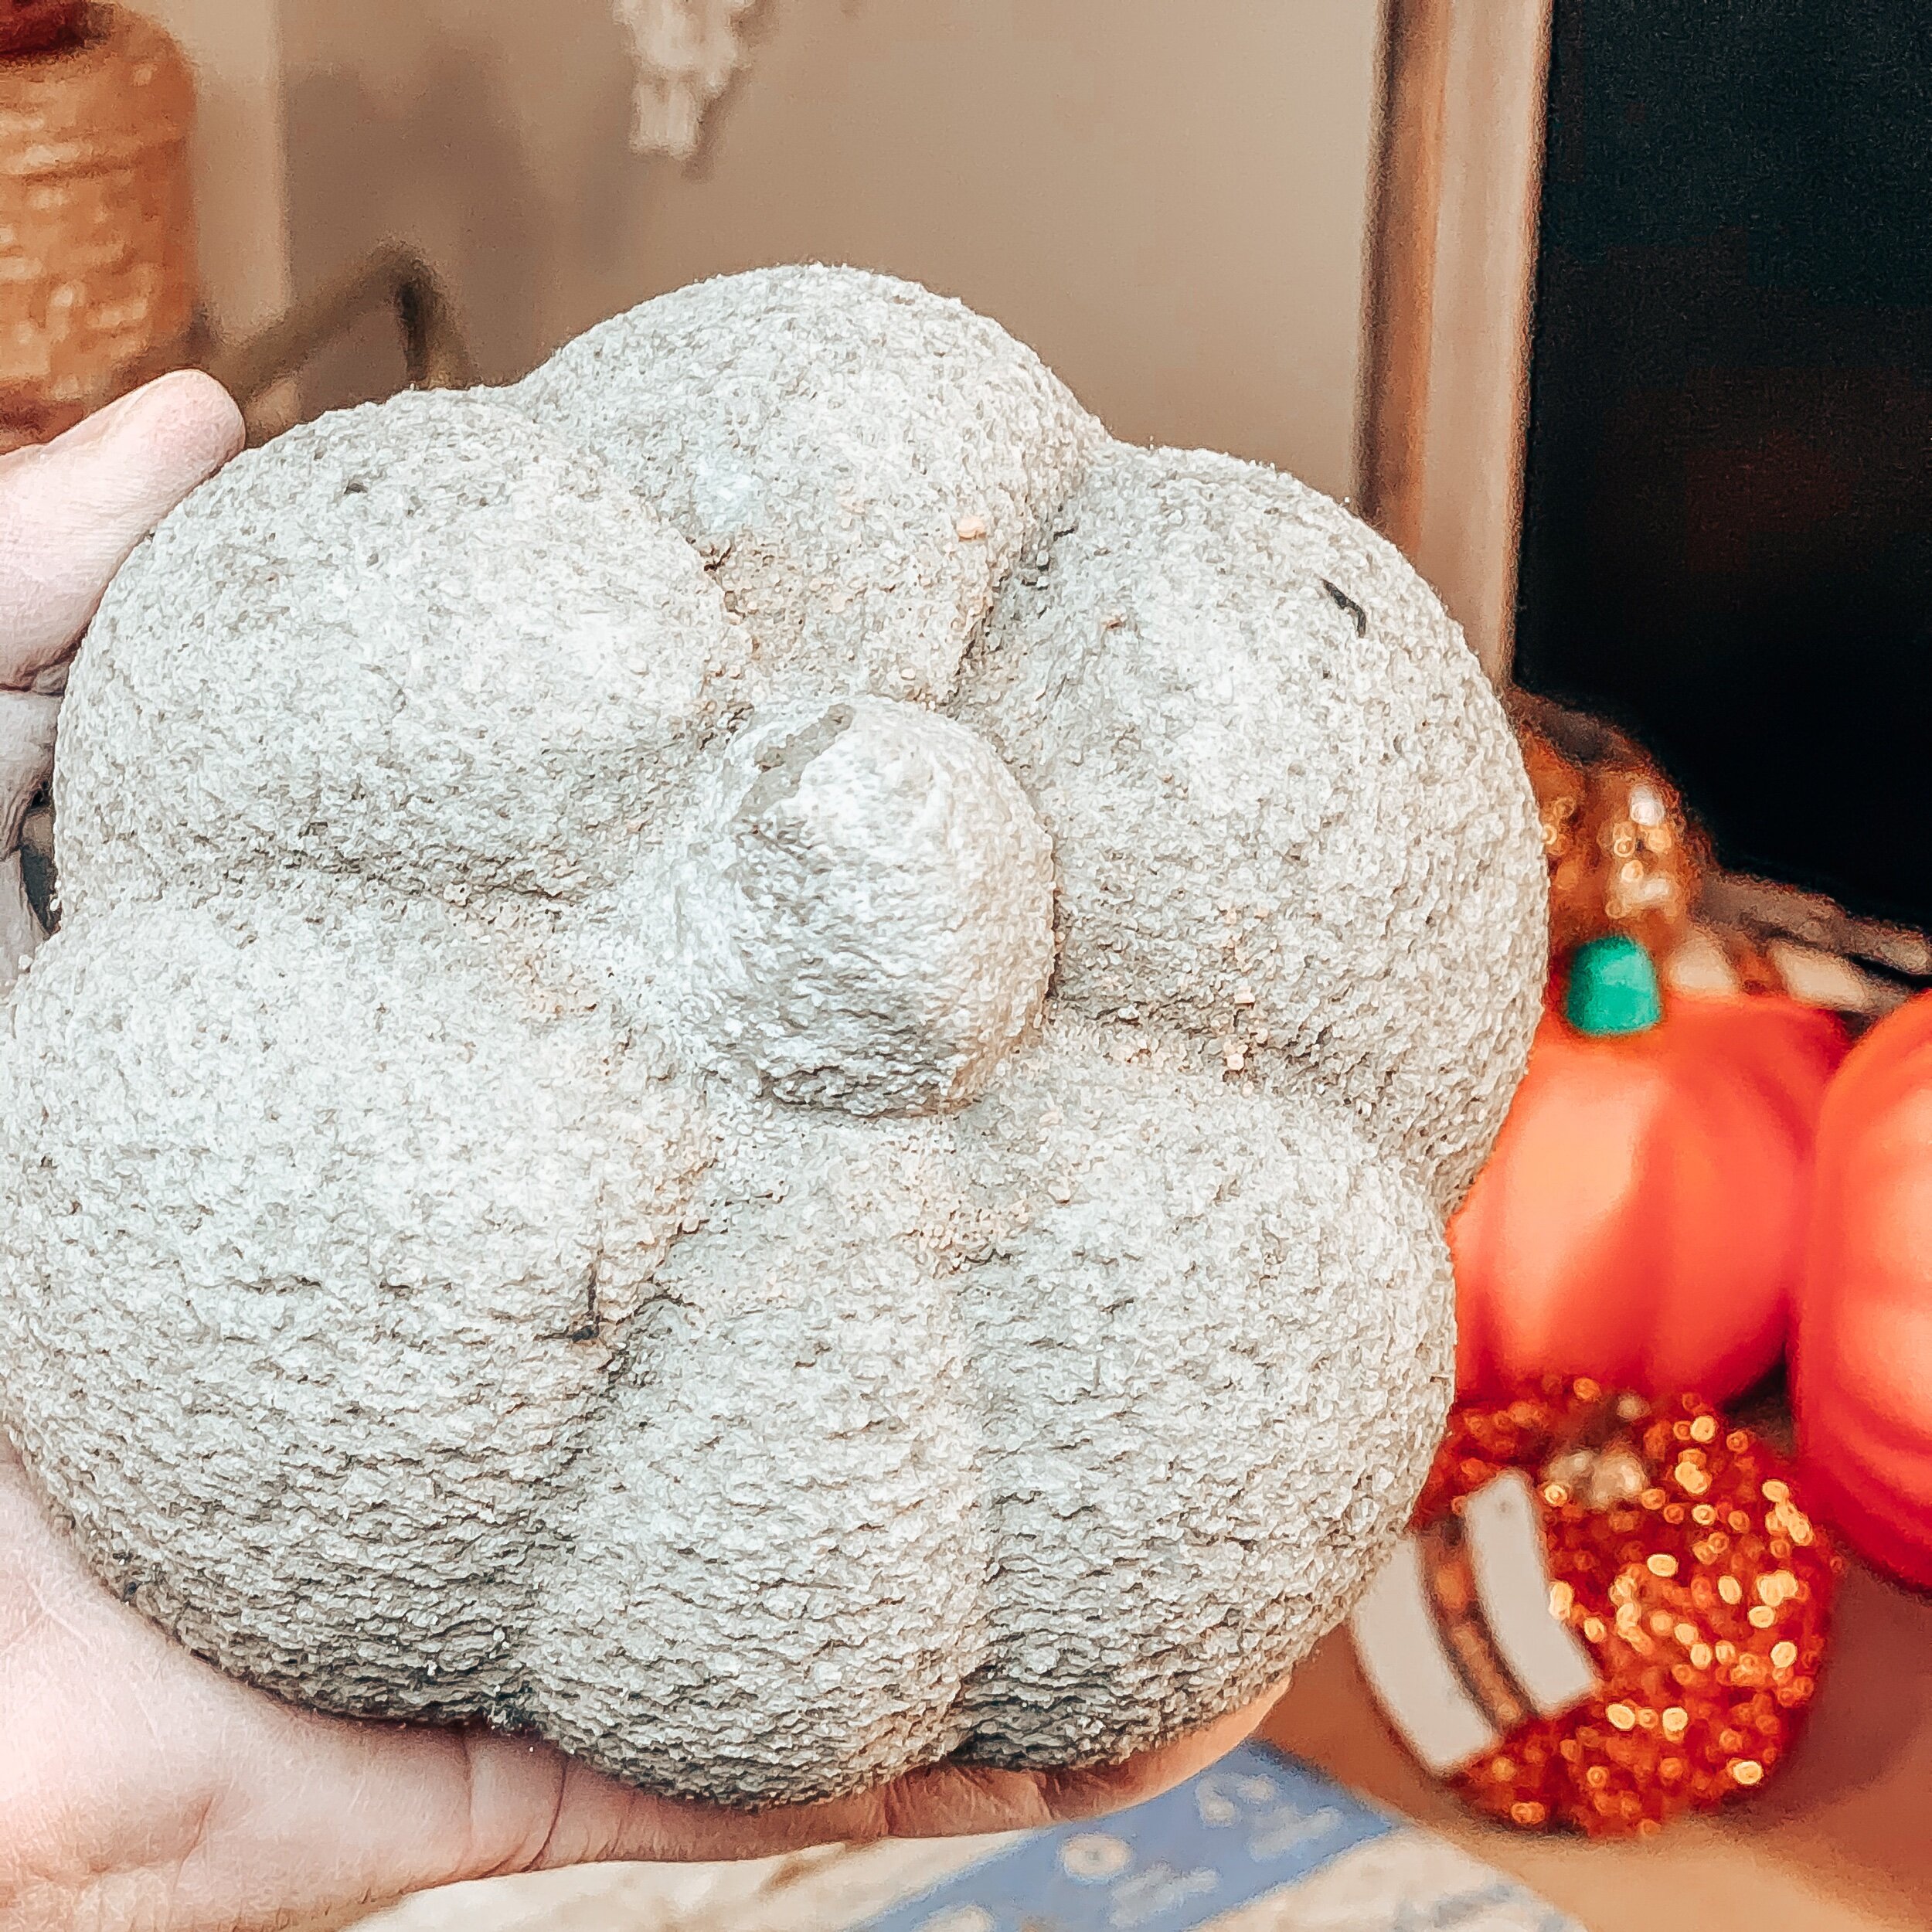
Pantyhose Pumpkins
The key to pantyhose pumpkins, is to choose a thicker material, not the super sheer.

I choose these and they ended up working beautifully!
To create your cement pumpkins…
-
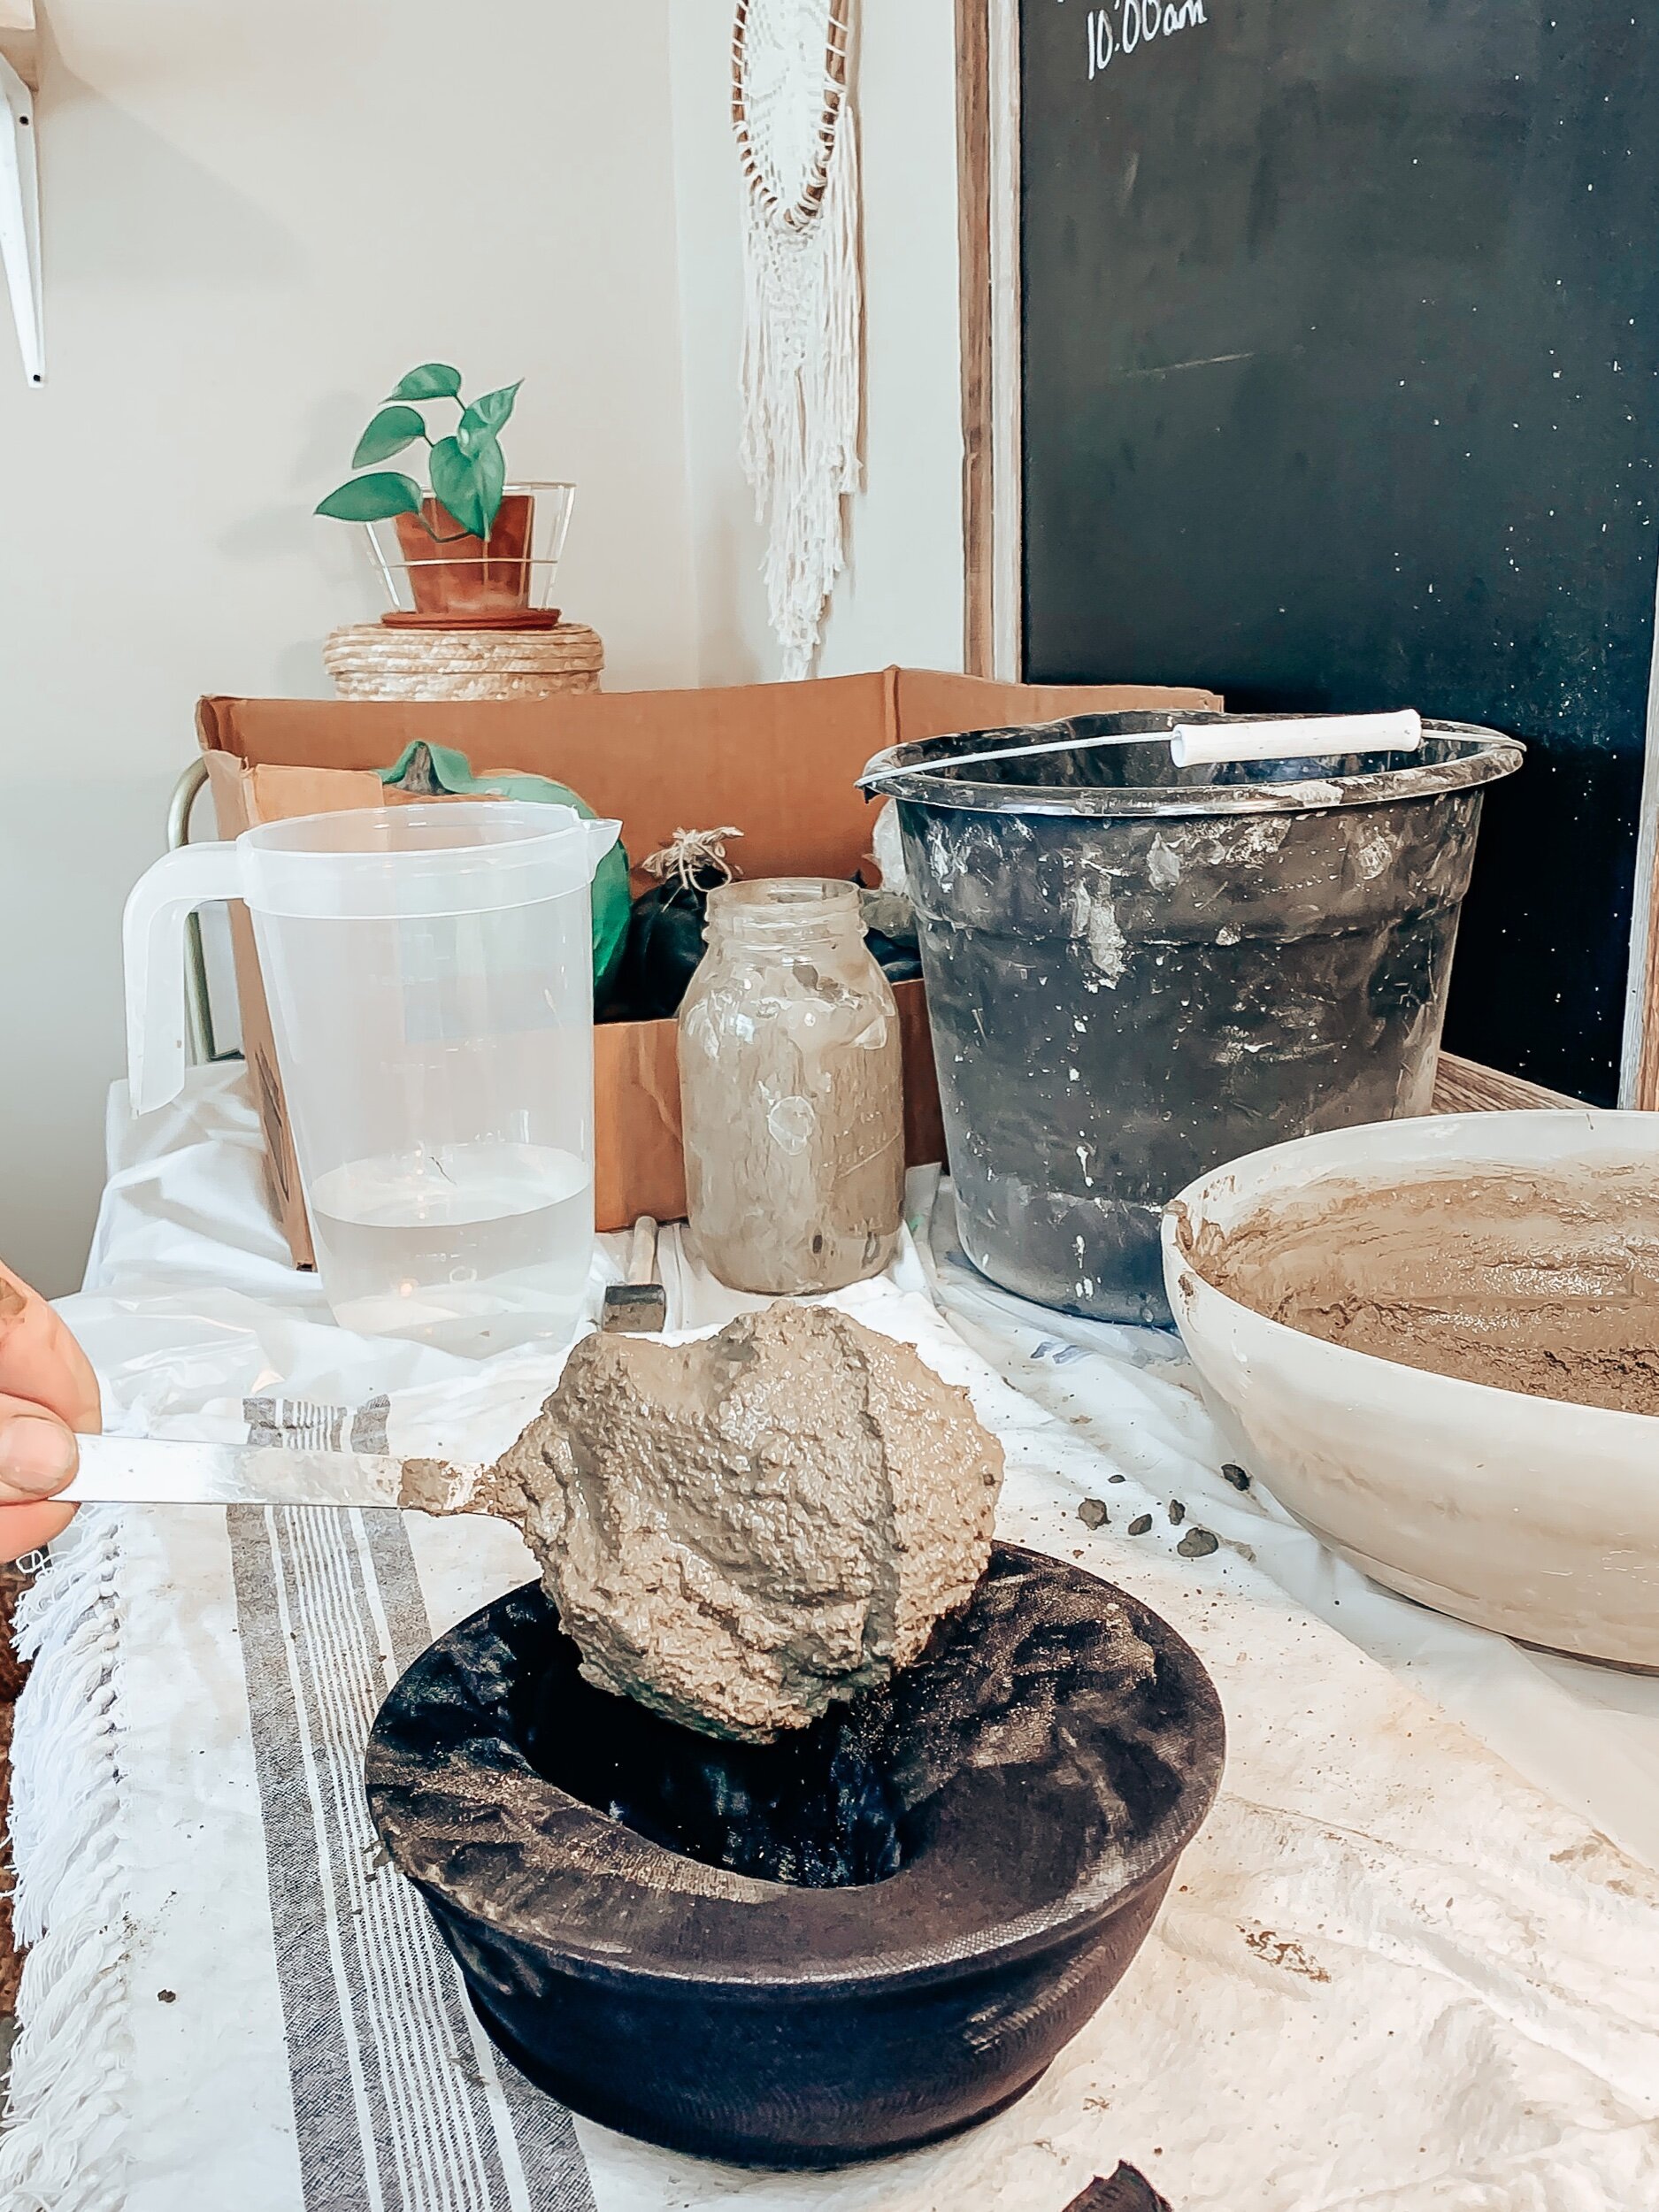
Mix your cement with water. I suggest choosing a cement without rocks.
-
Cut the desired size of pantyhose. Start with the foot so one side is already closed.
-
Layout your string. See the pattern below.
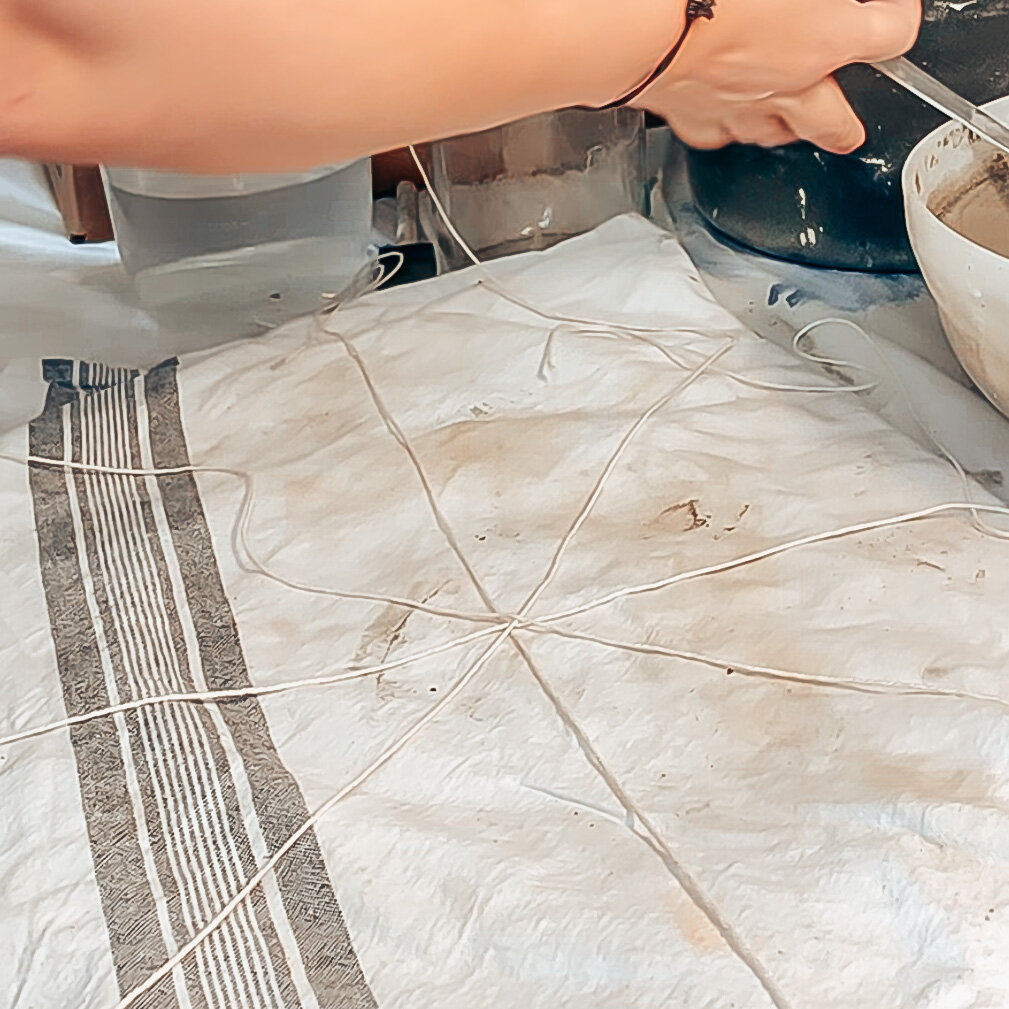
4. Fill. To keep the top open, you can wrap it around a bowl as seen below.
5. Tie a knot in the top of the pantyhose and sit it down in the center of your string and tie one string at a time. Remember, don’t pull to tightly or you will have string and material stuck between each crack. If you do that’s ok, you’ll just have to dig it out.
6. Once all strings are tied, set your pumpkin aside to dry overnight.
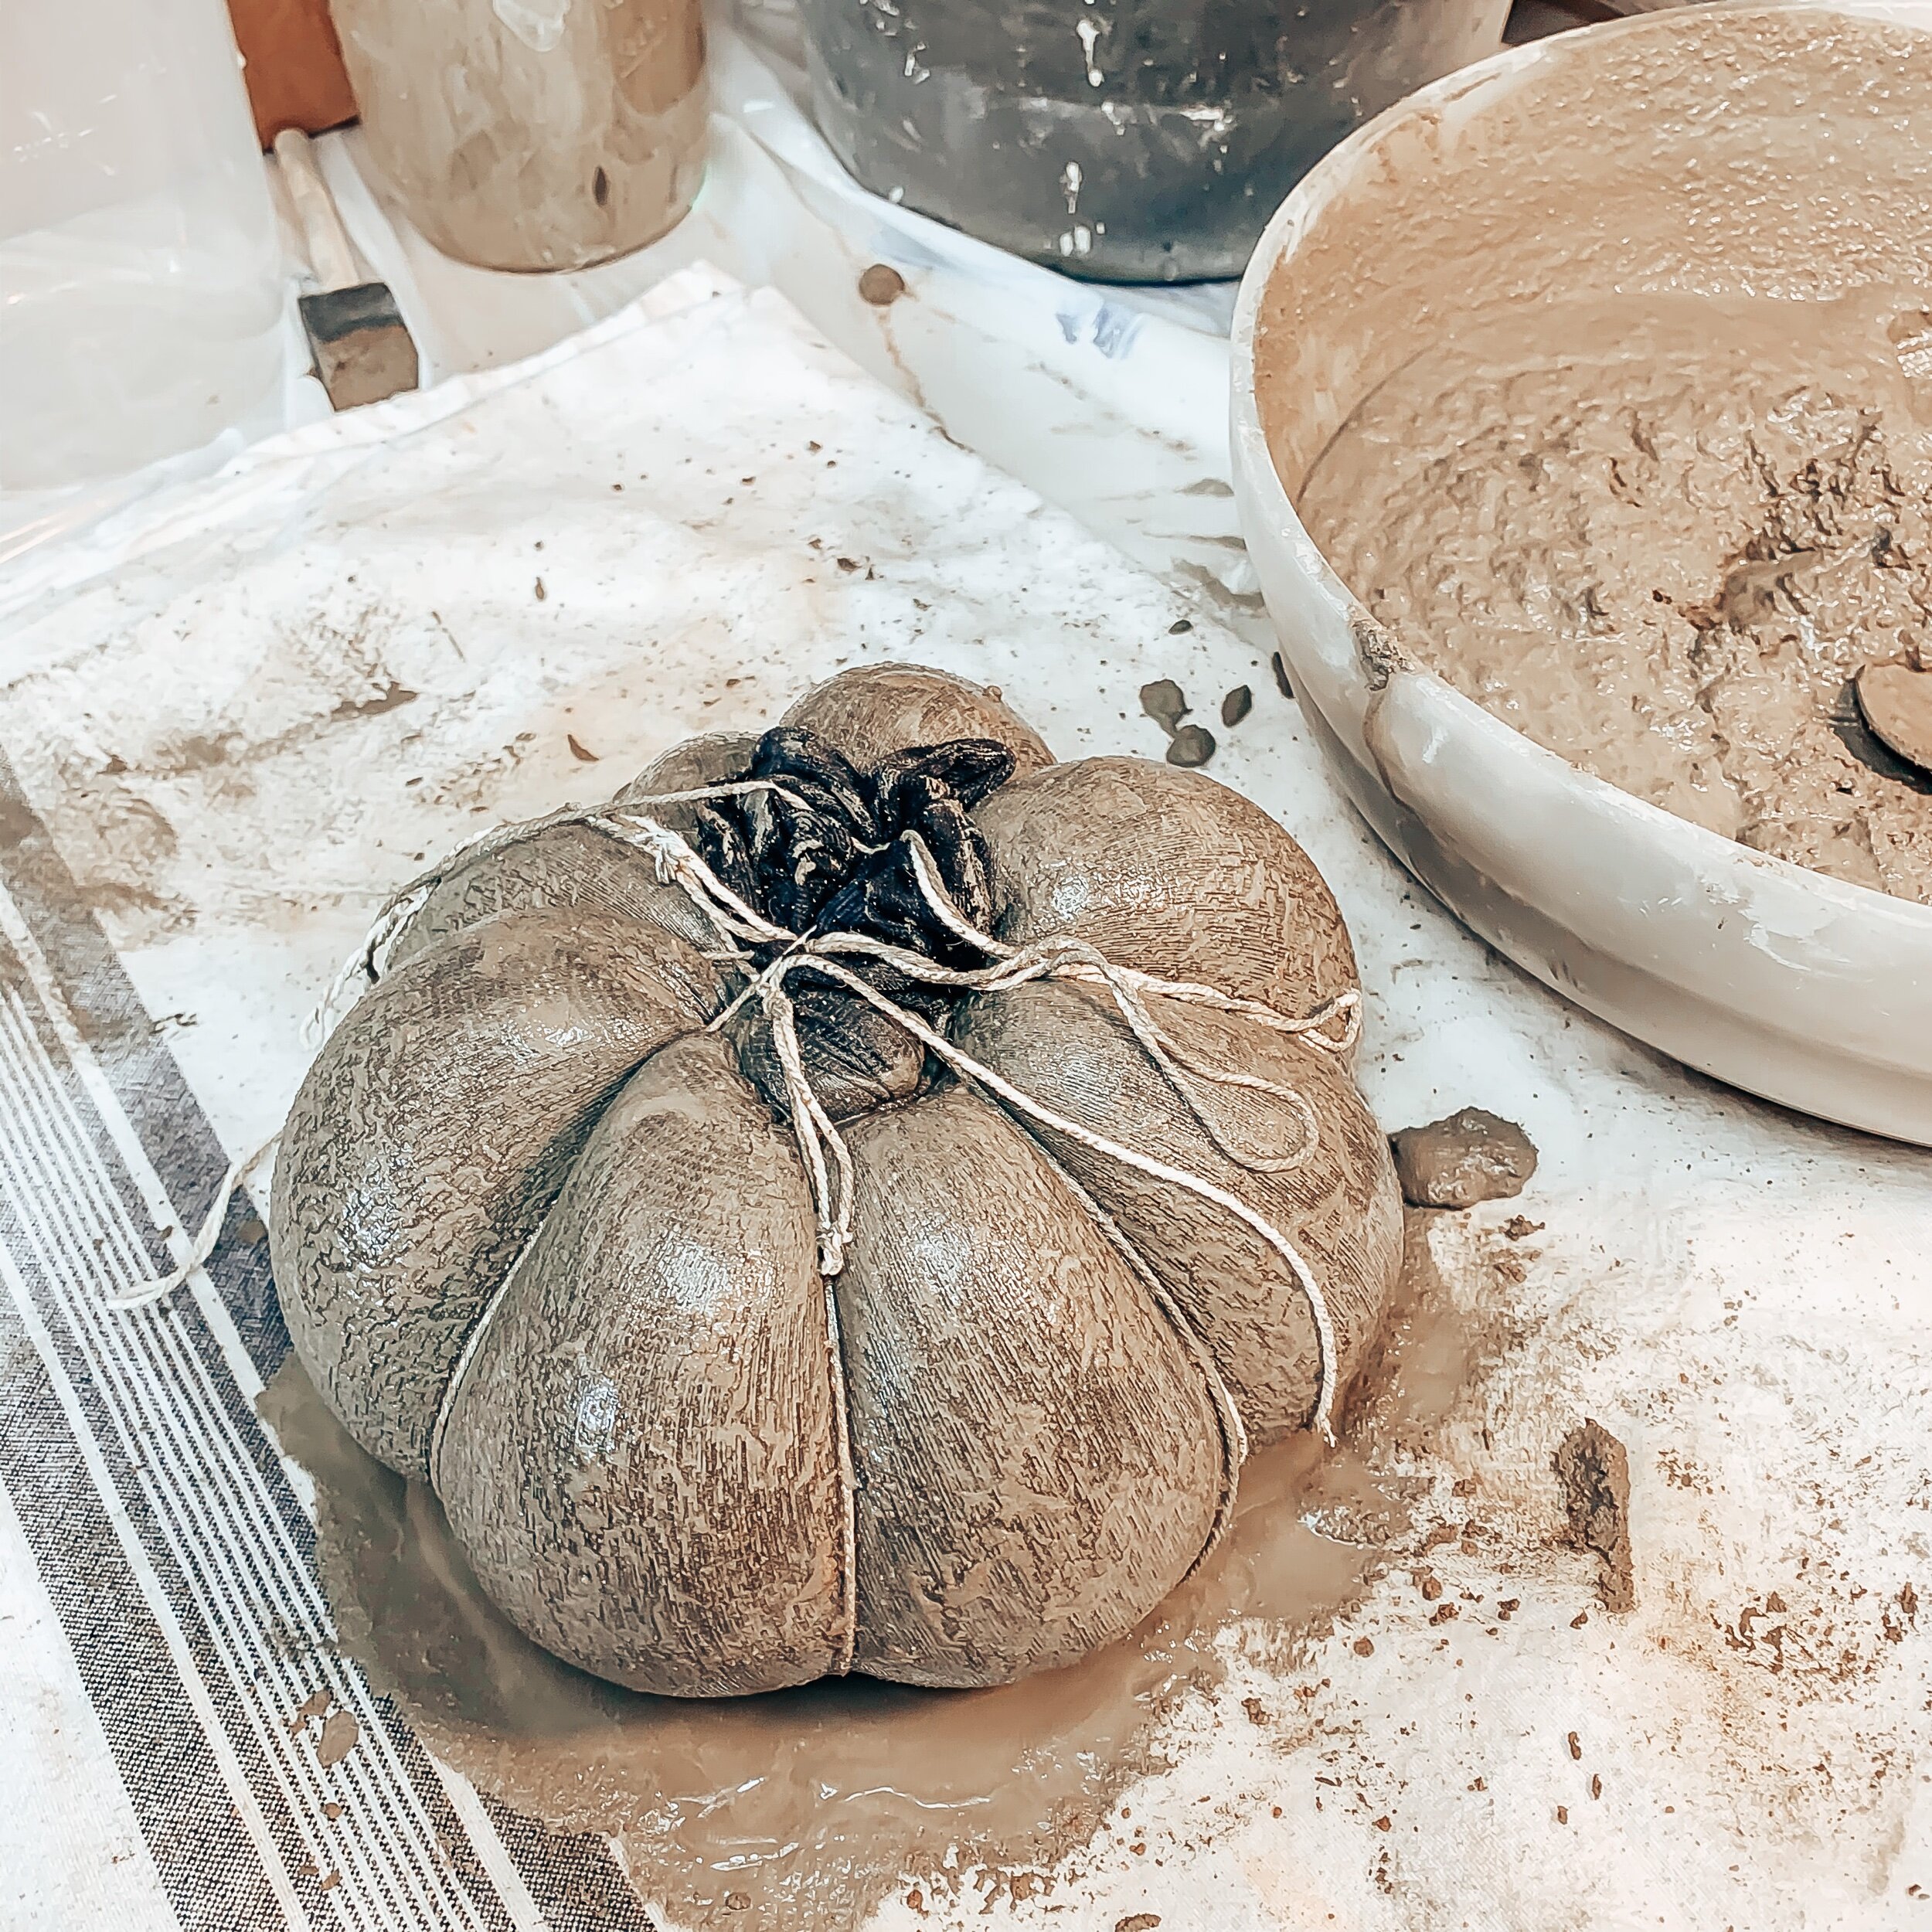
The next day, you can cut and remove the string and tights to reveal your beautiful cement pumpkins!
Options
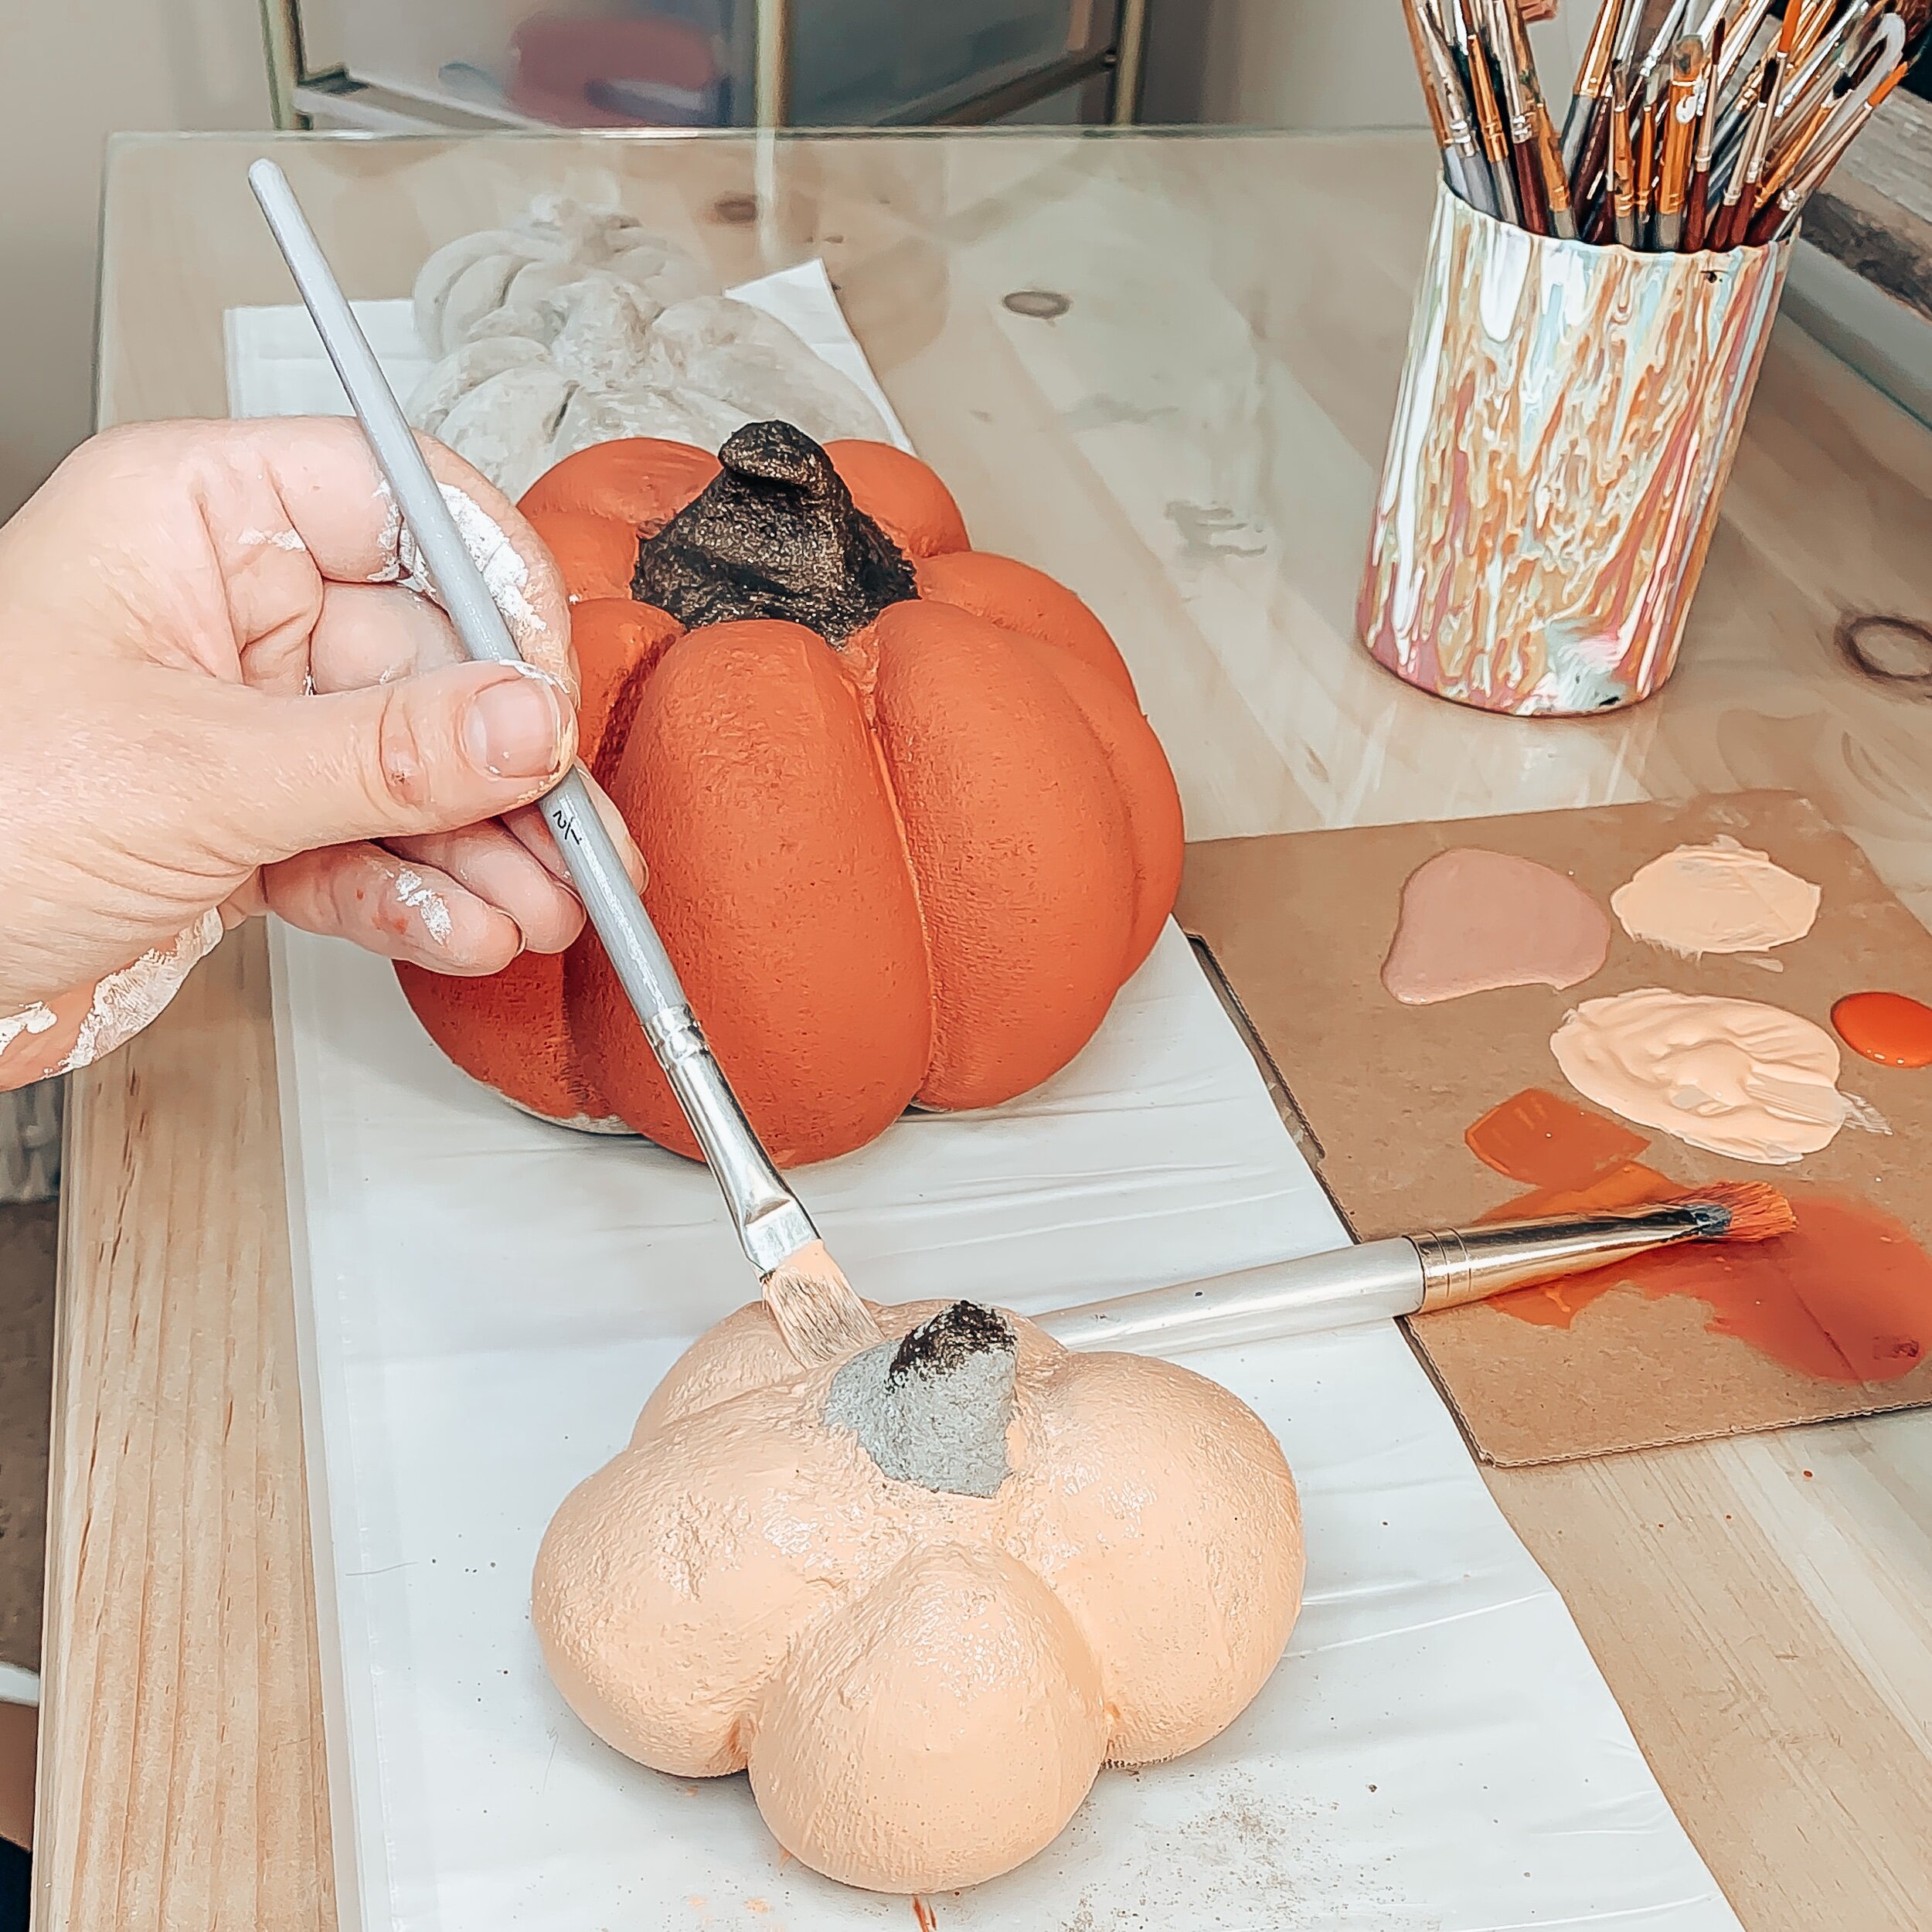
You can leave your pumpkins alone and enjoy them as is or you can paint them.
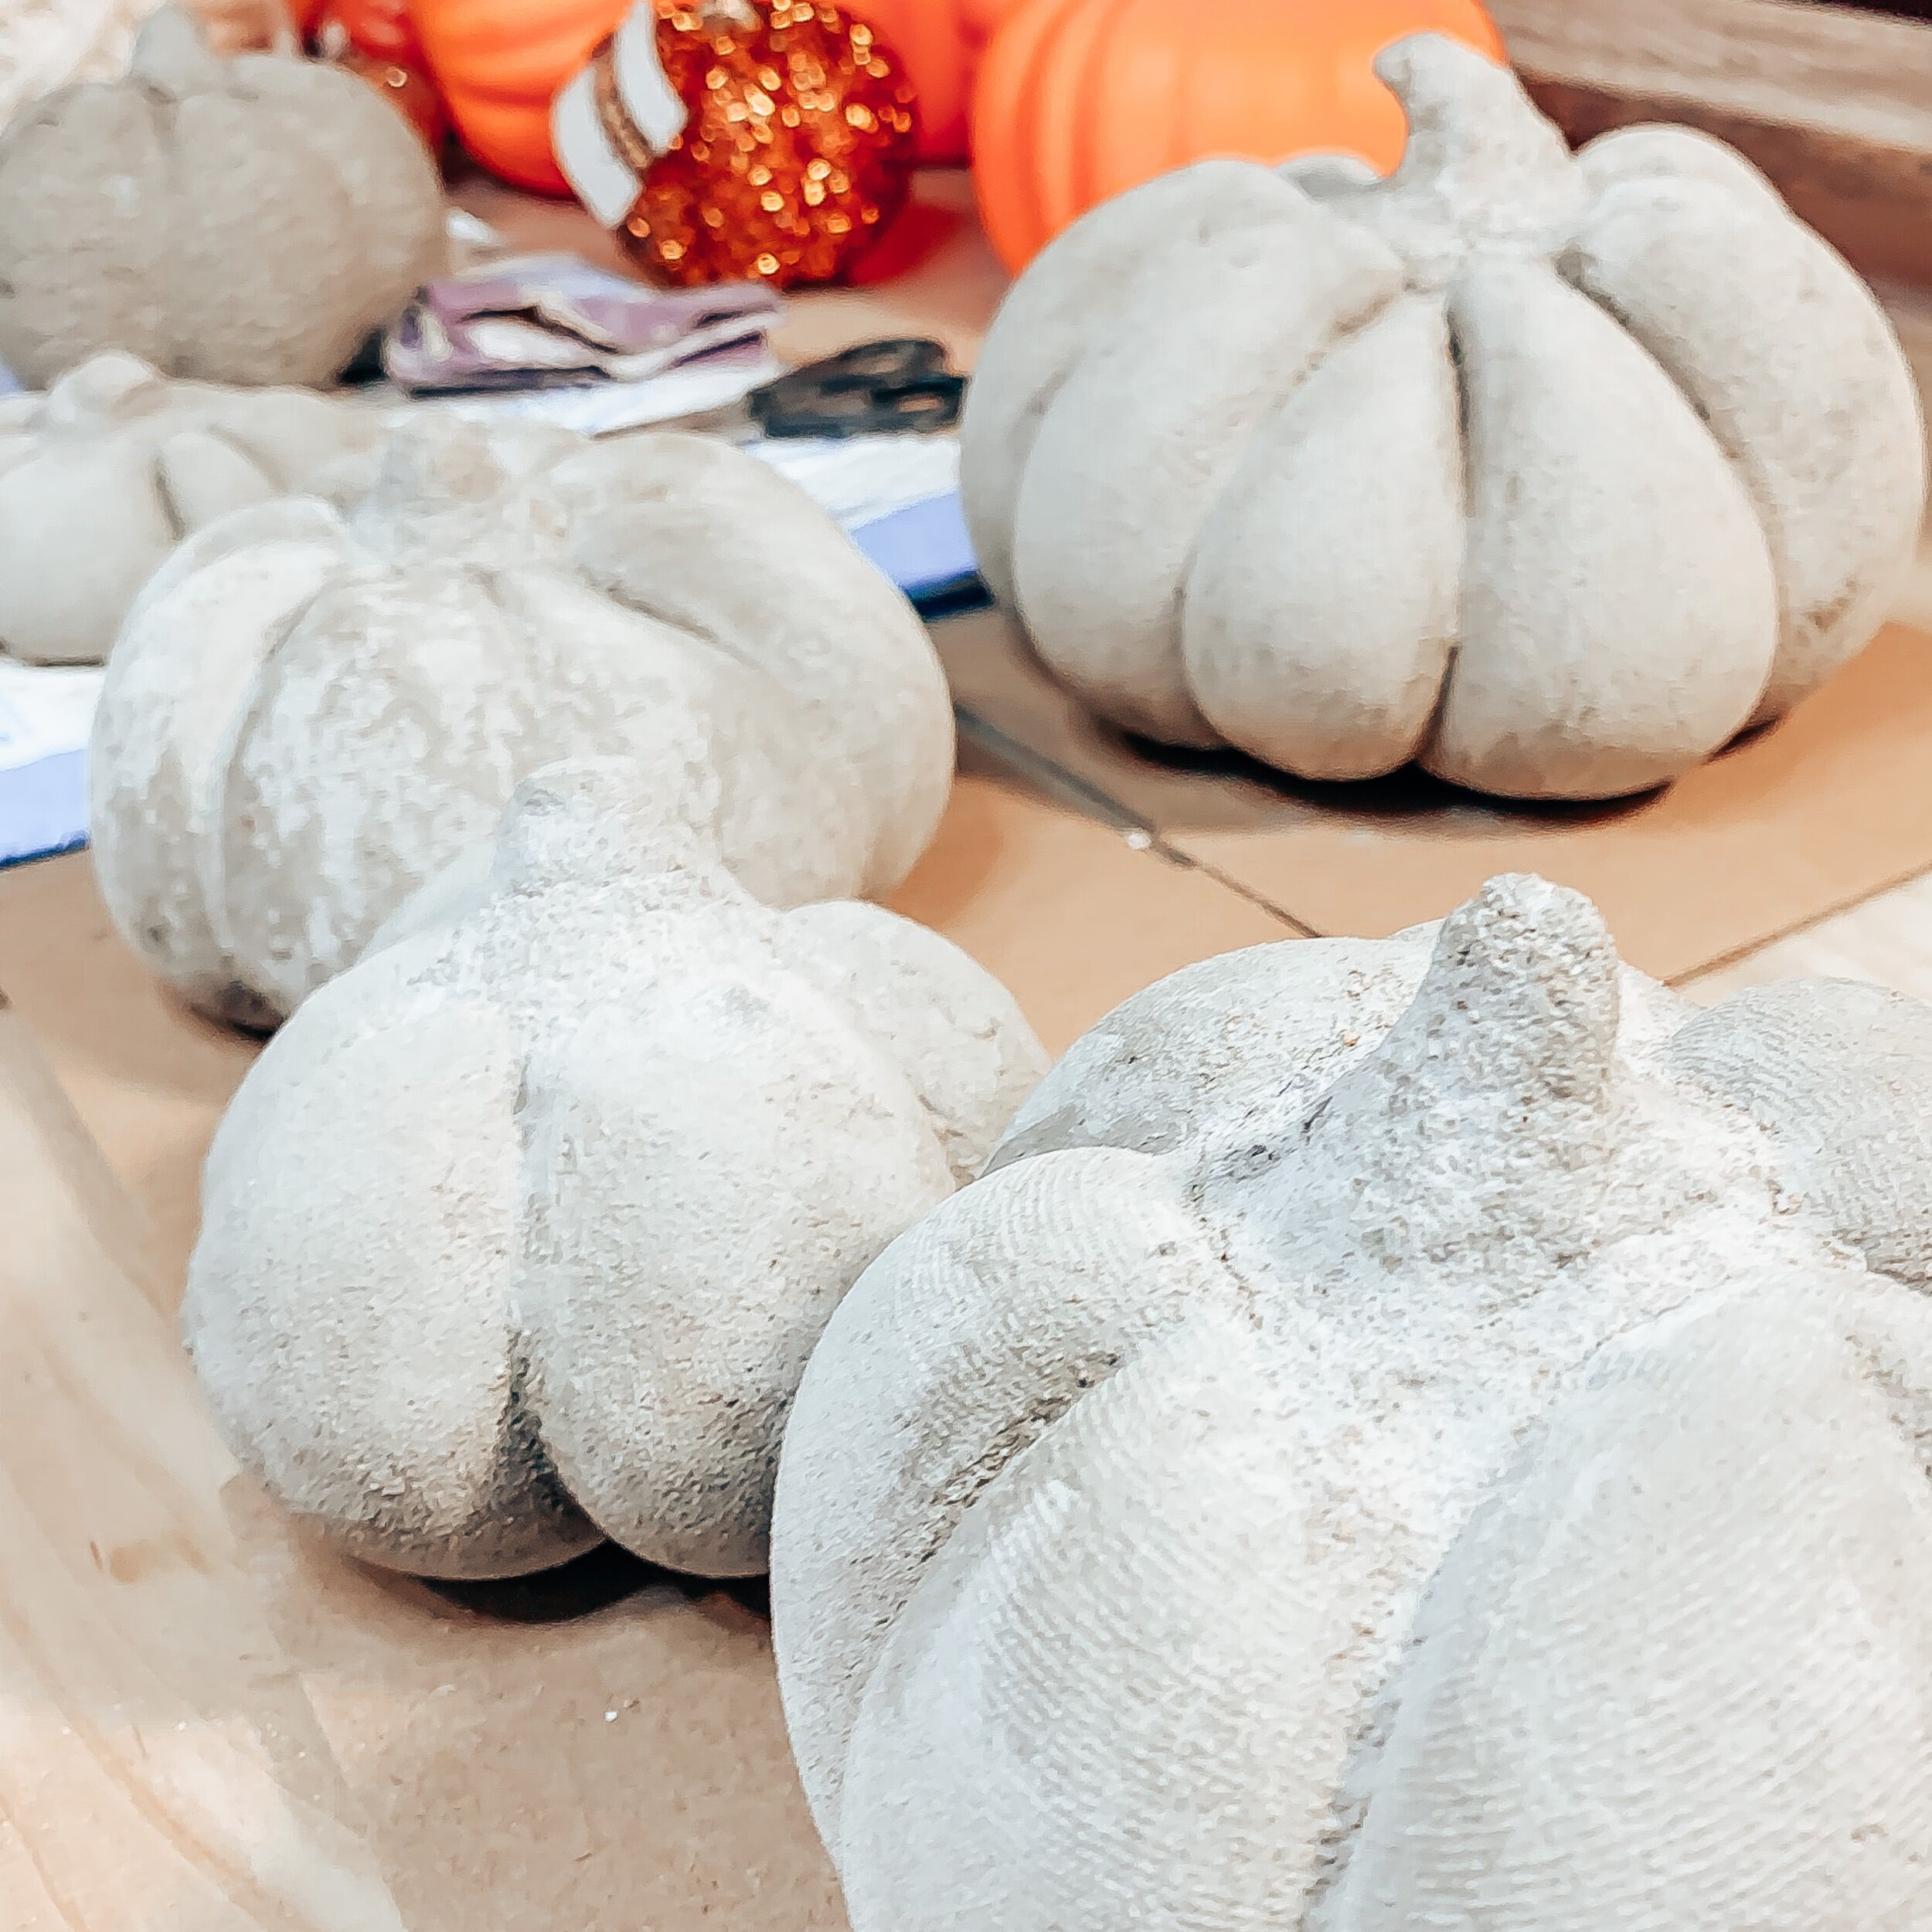
With either option, you can also sand them lightly to smooth them out. I didn’t do much sanding except for around the stem. Next time I may sand the entire pumpkin so I can get a smoother look.
I also ended up painting all of my pumpkins this round but I’m already planning to make some more, sand them and leave them alone.
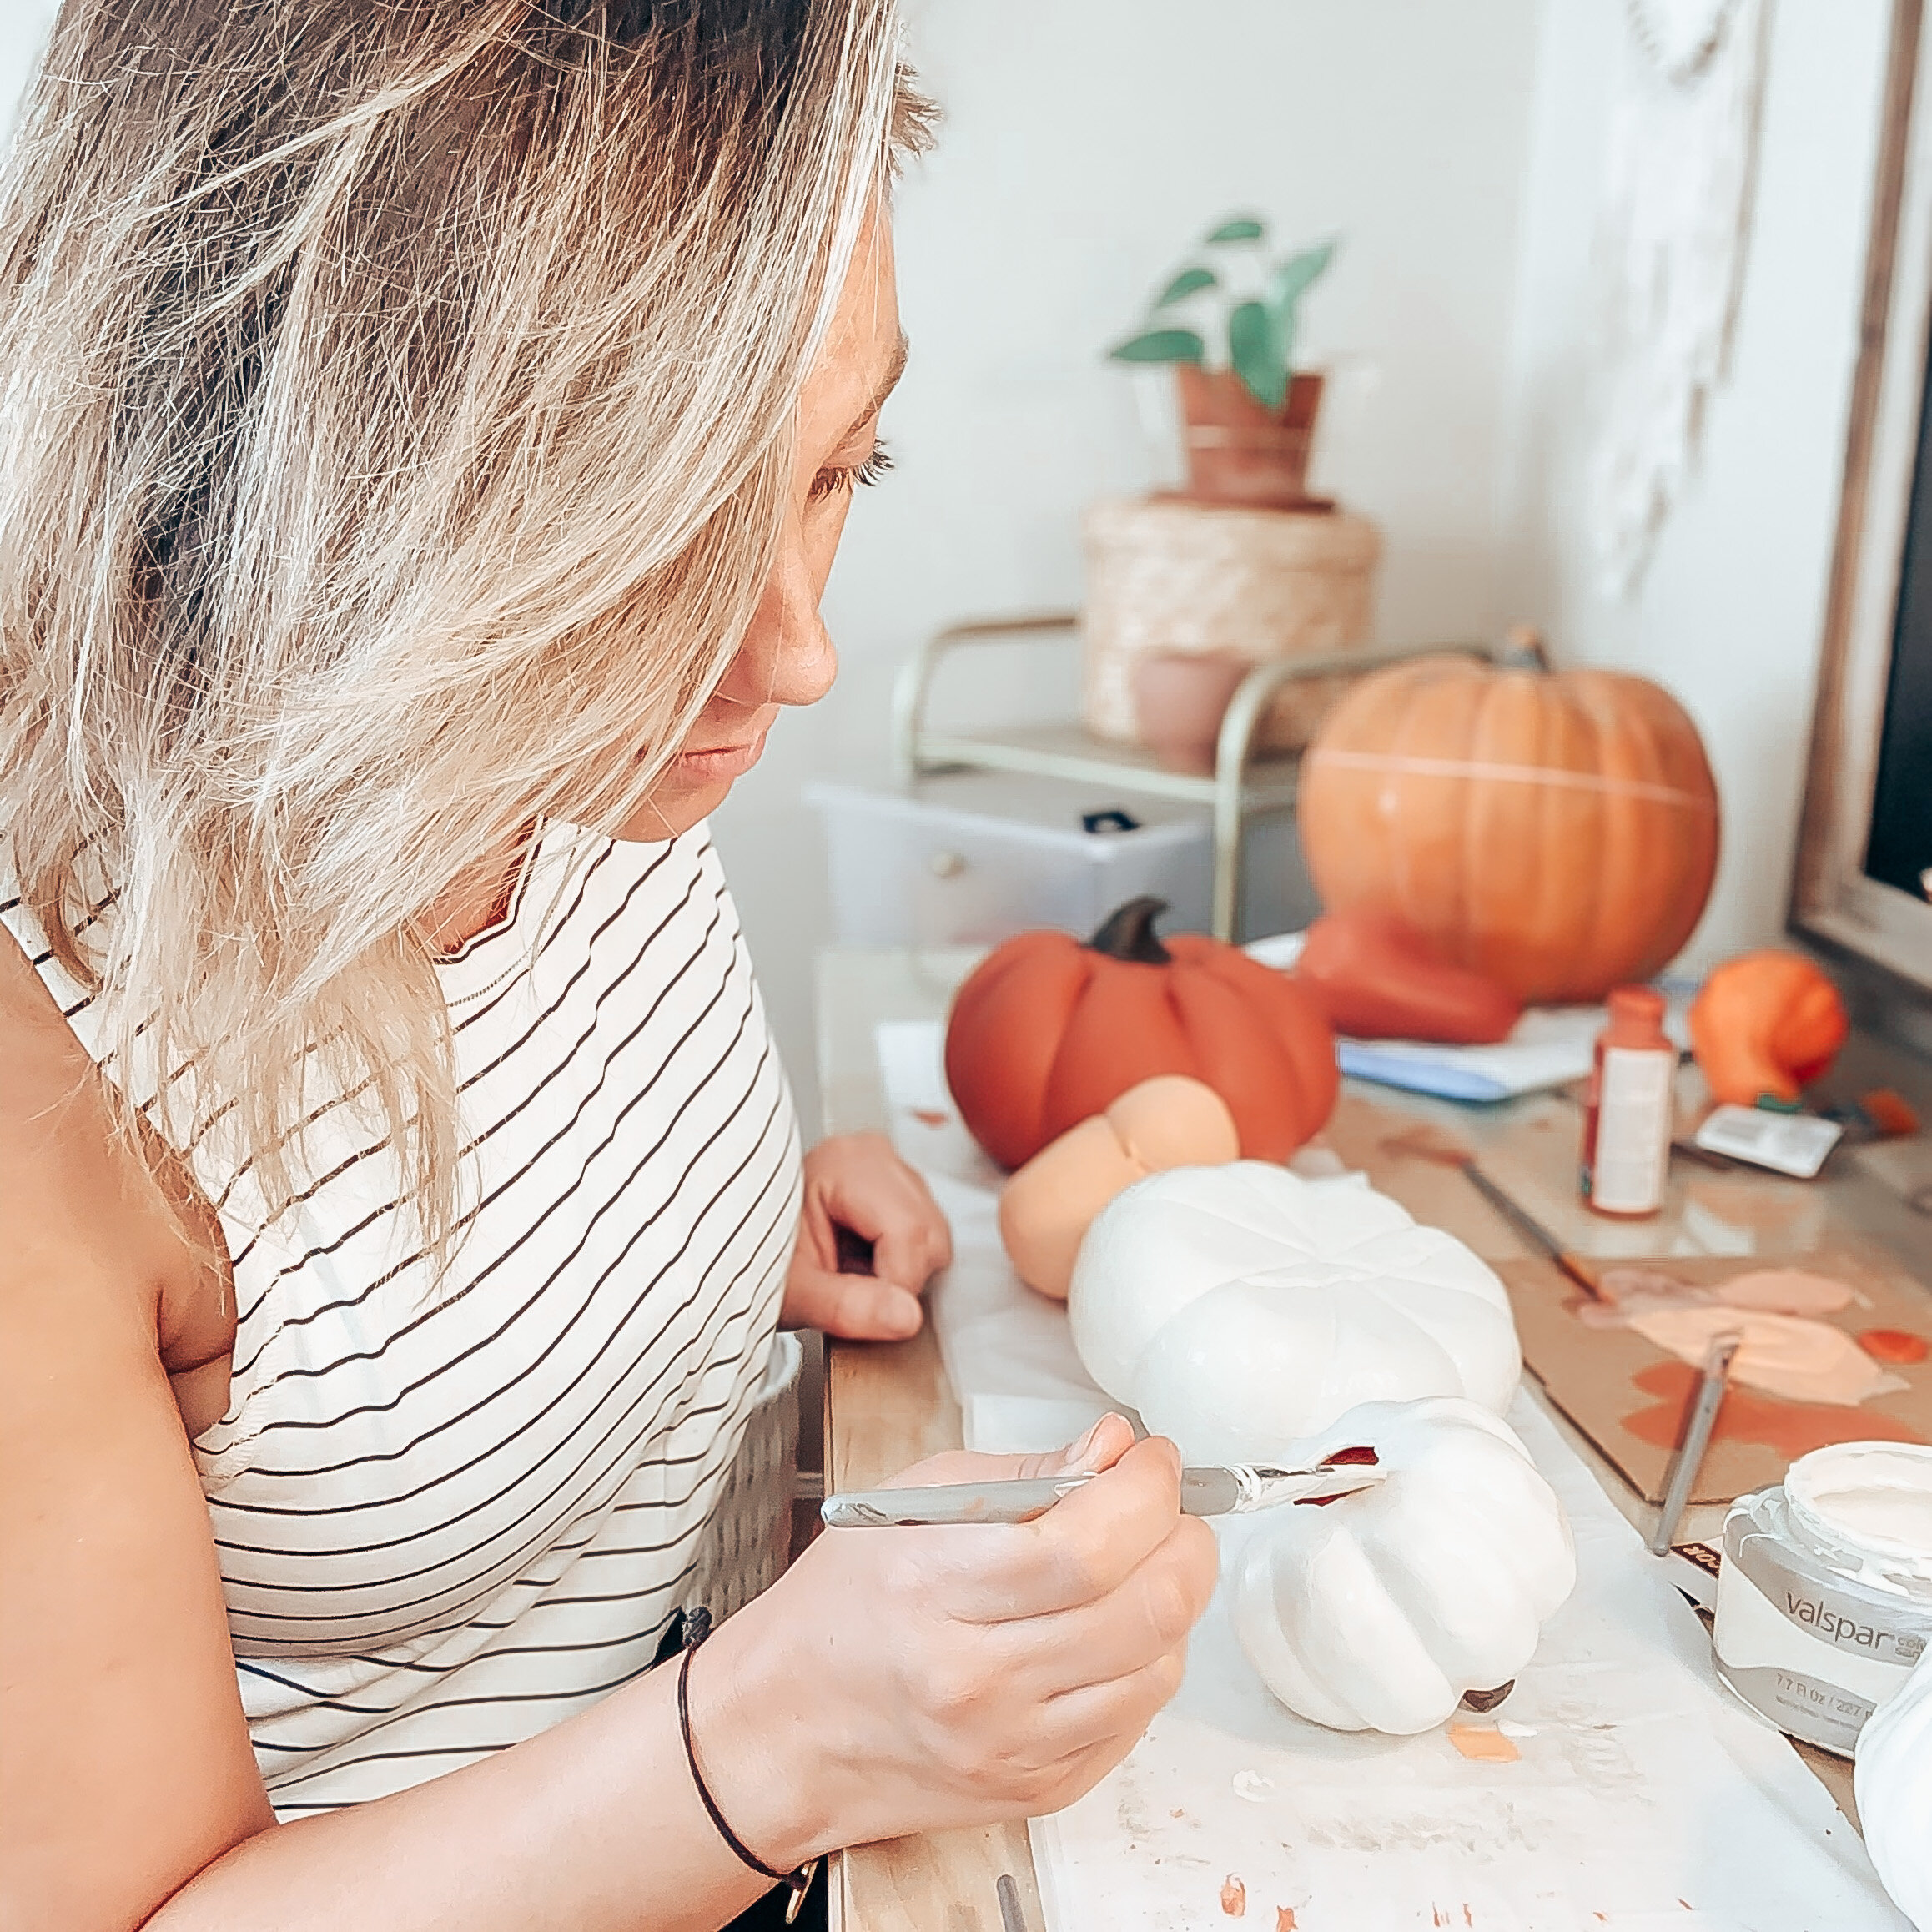
Here are my pumpkins!
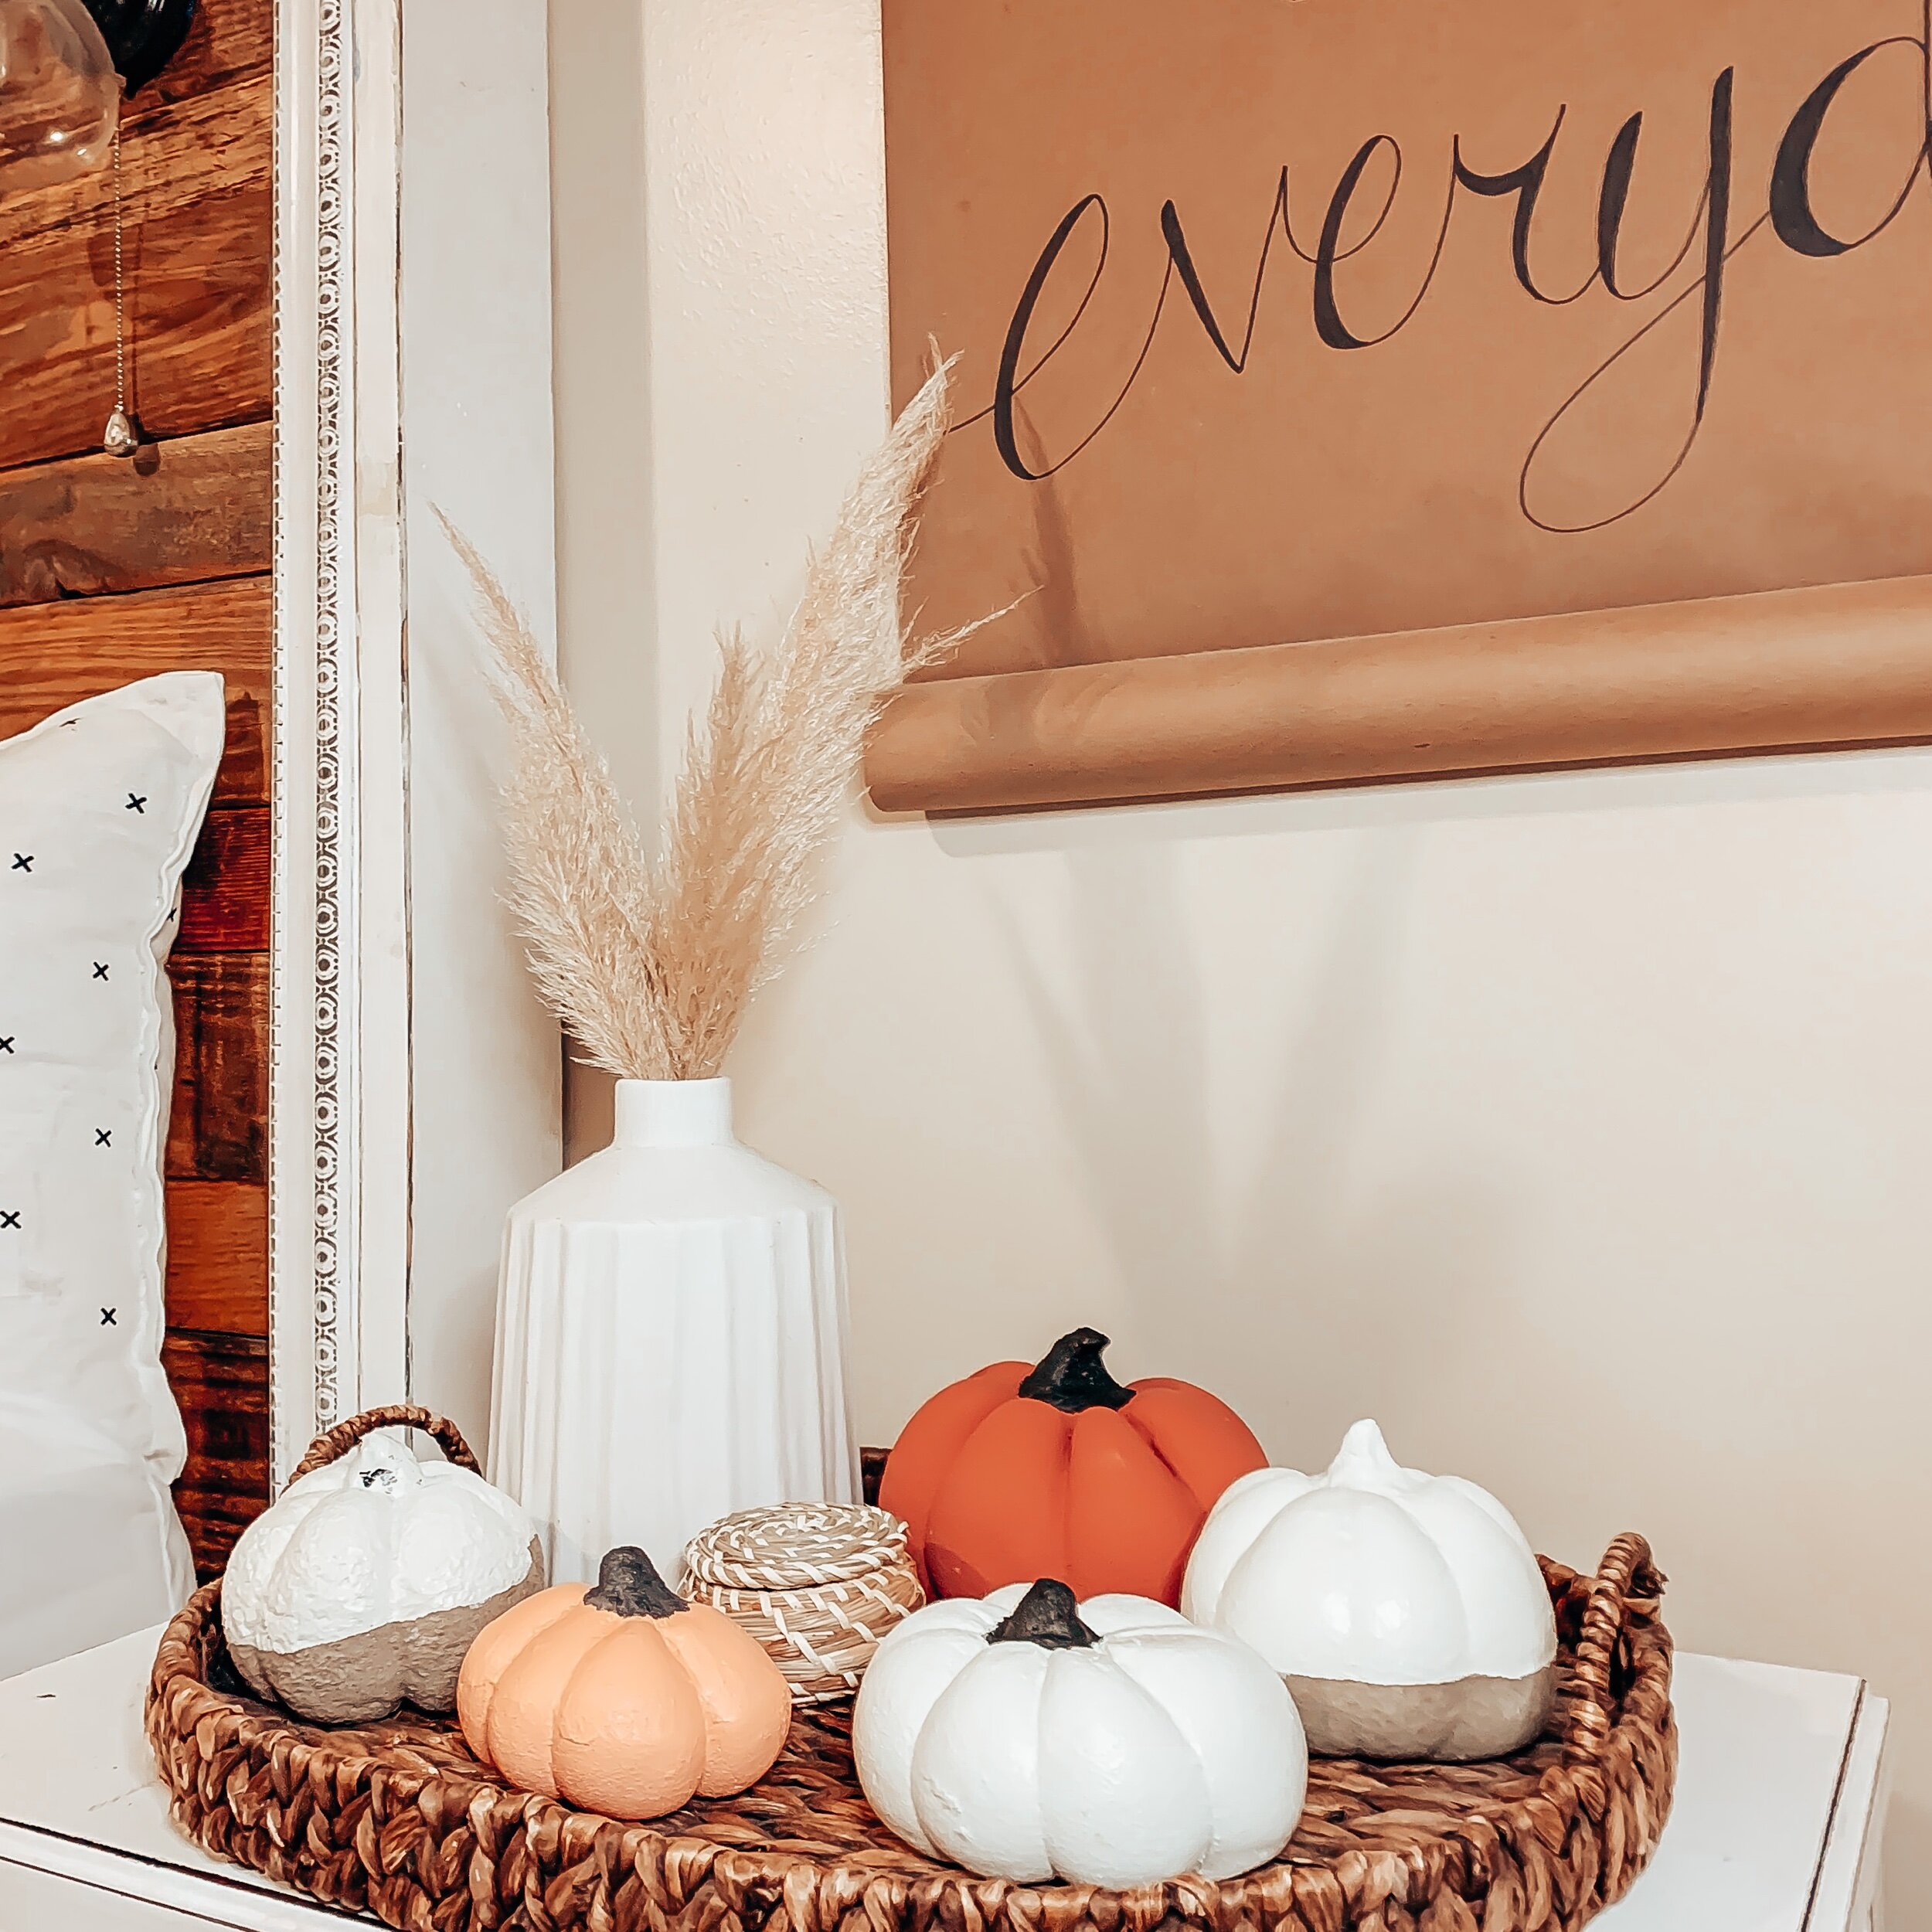

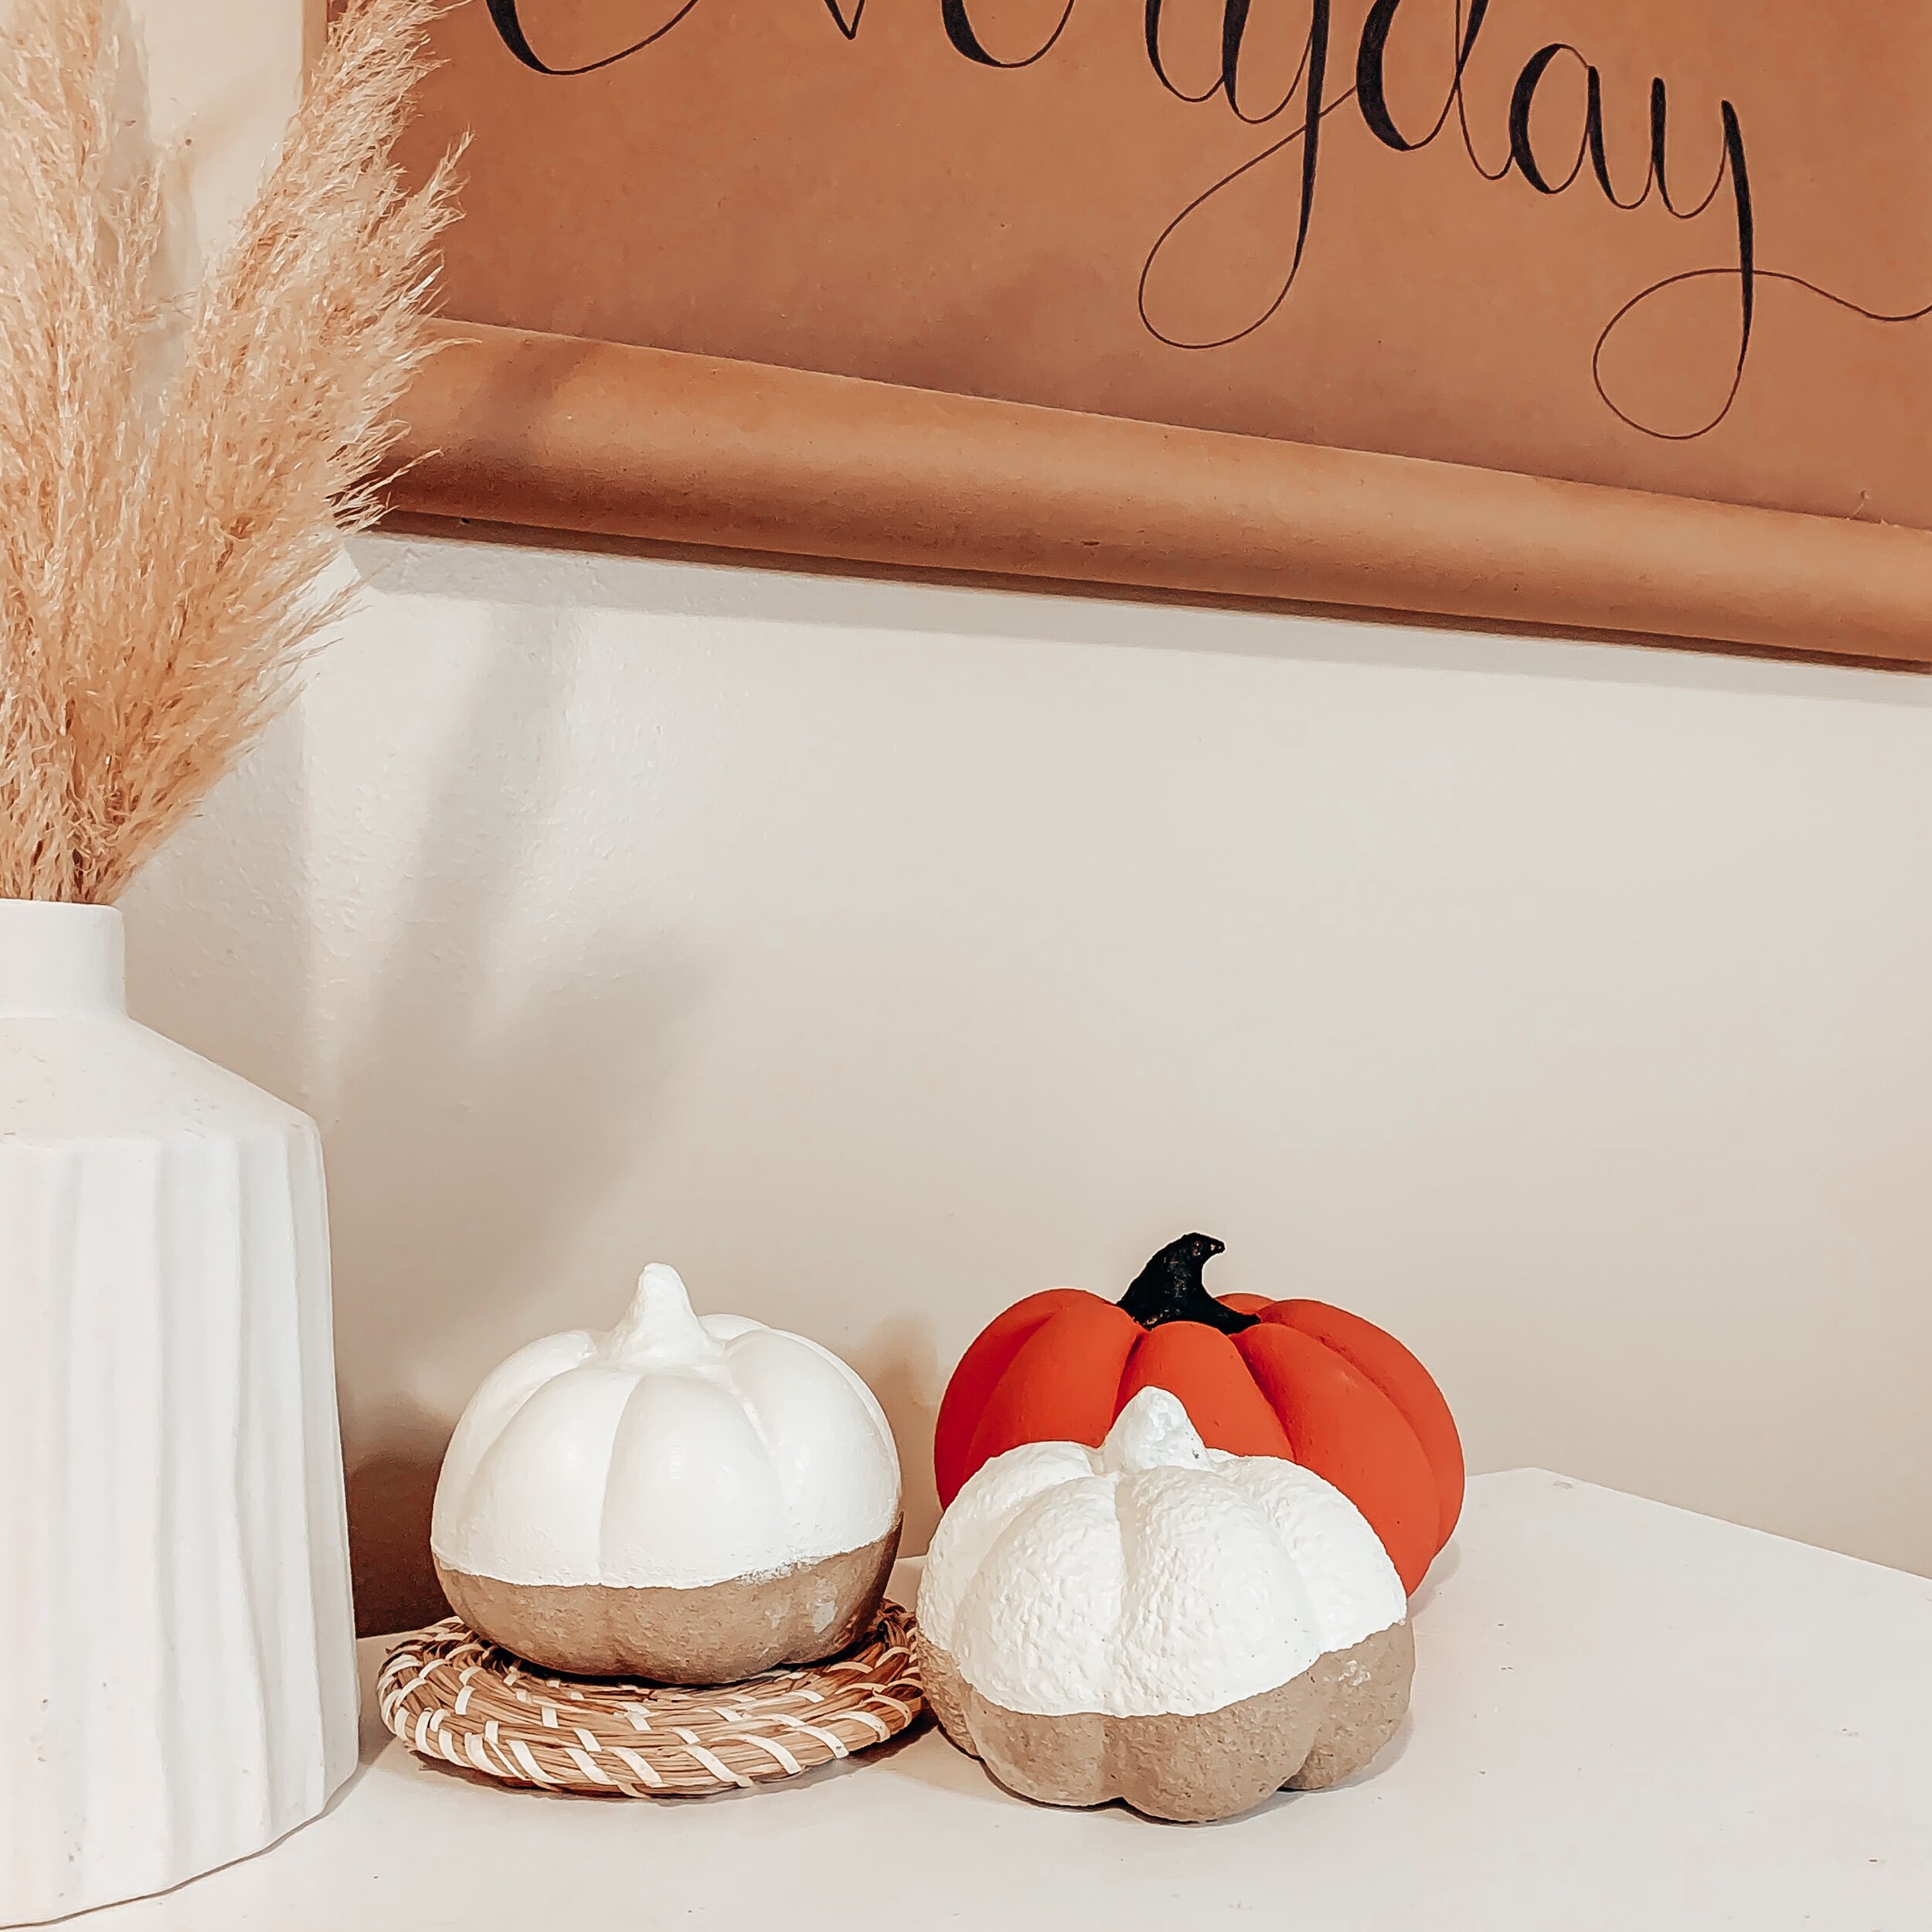
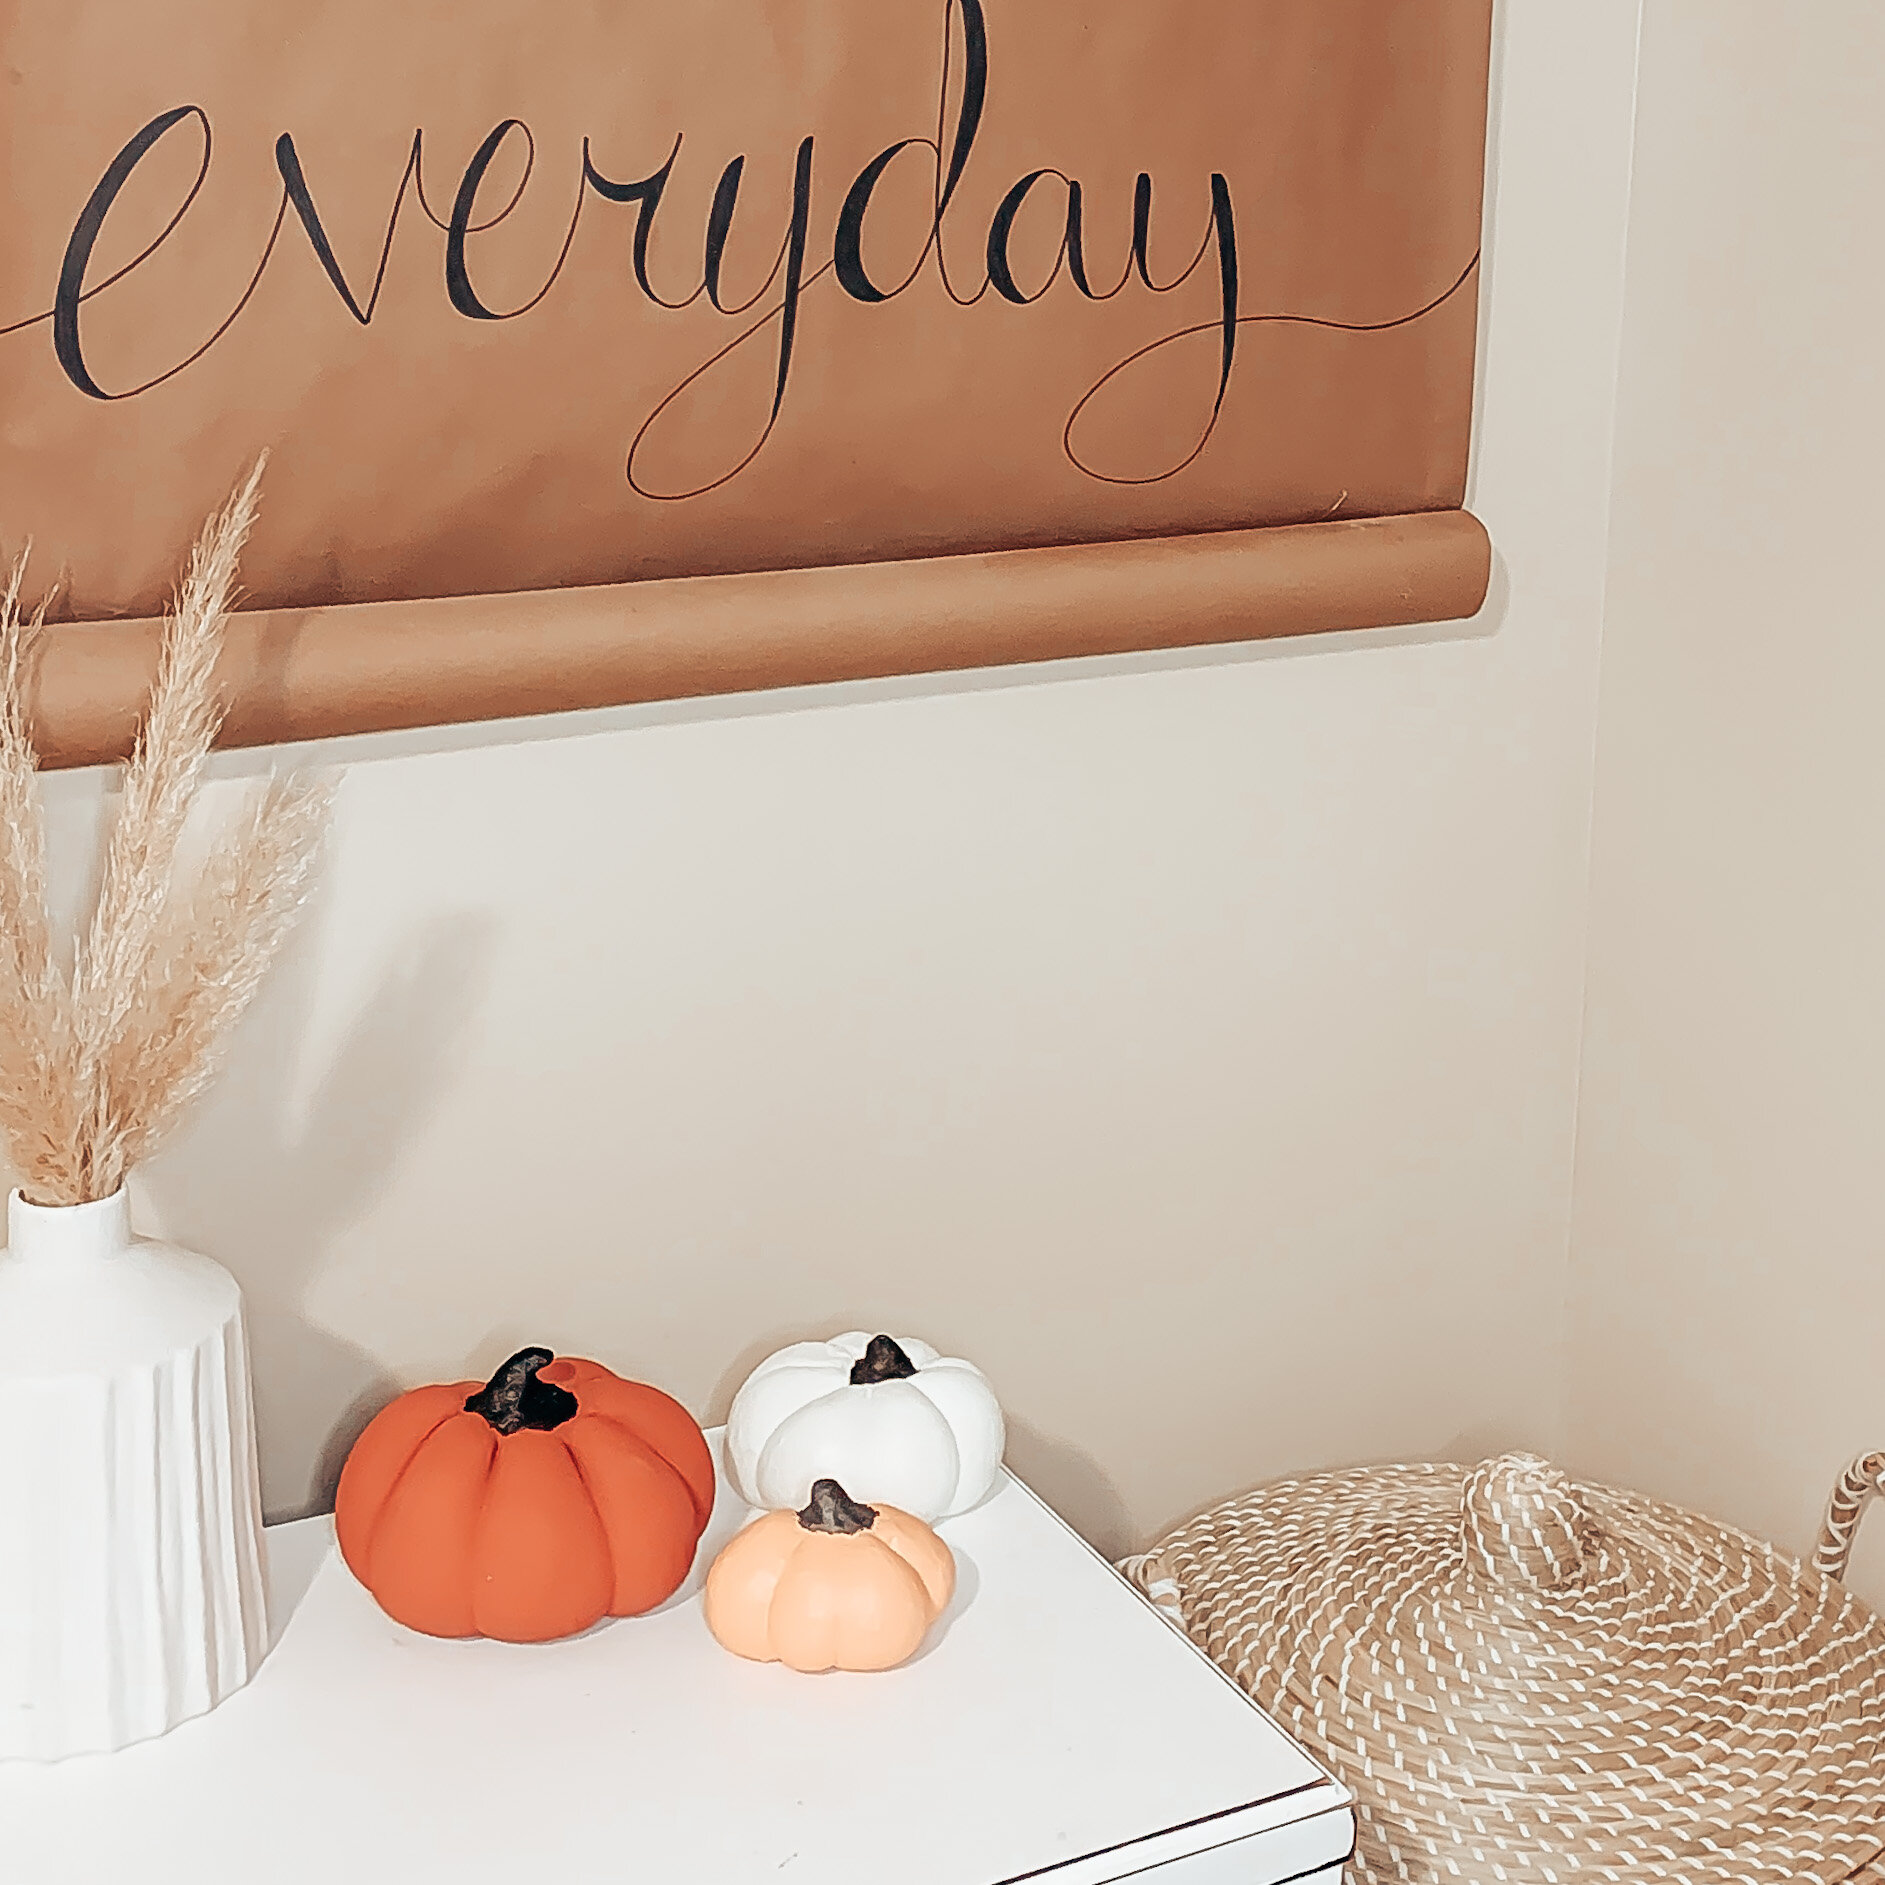

I staged them for some quick photos but I am excited to start decorating for Fall using these new little additions.
The two below, however, were made specifically for my daughters school space. Another little pop of pink and copper to bring that little touch of Fall.
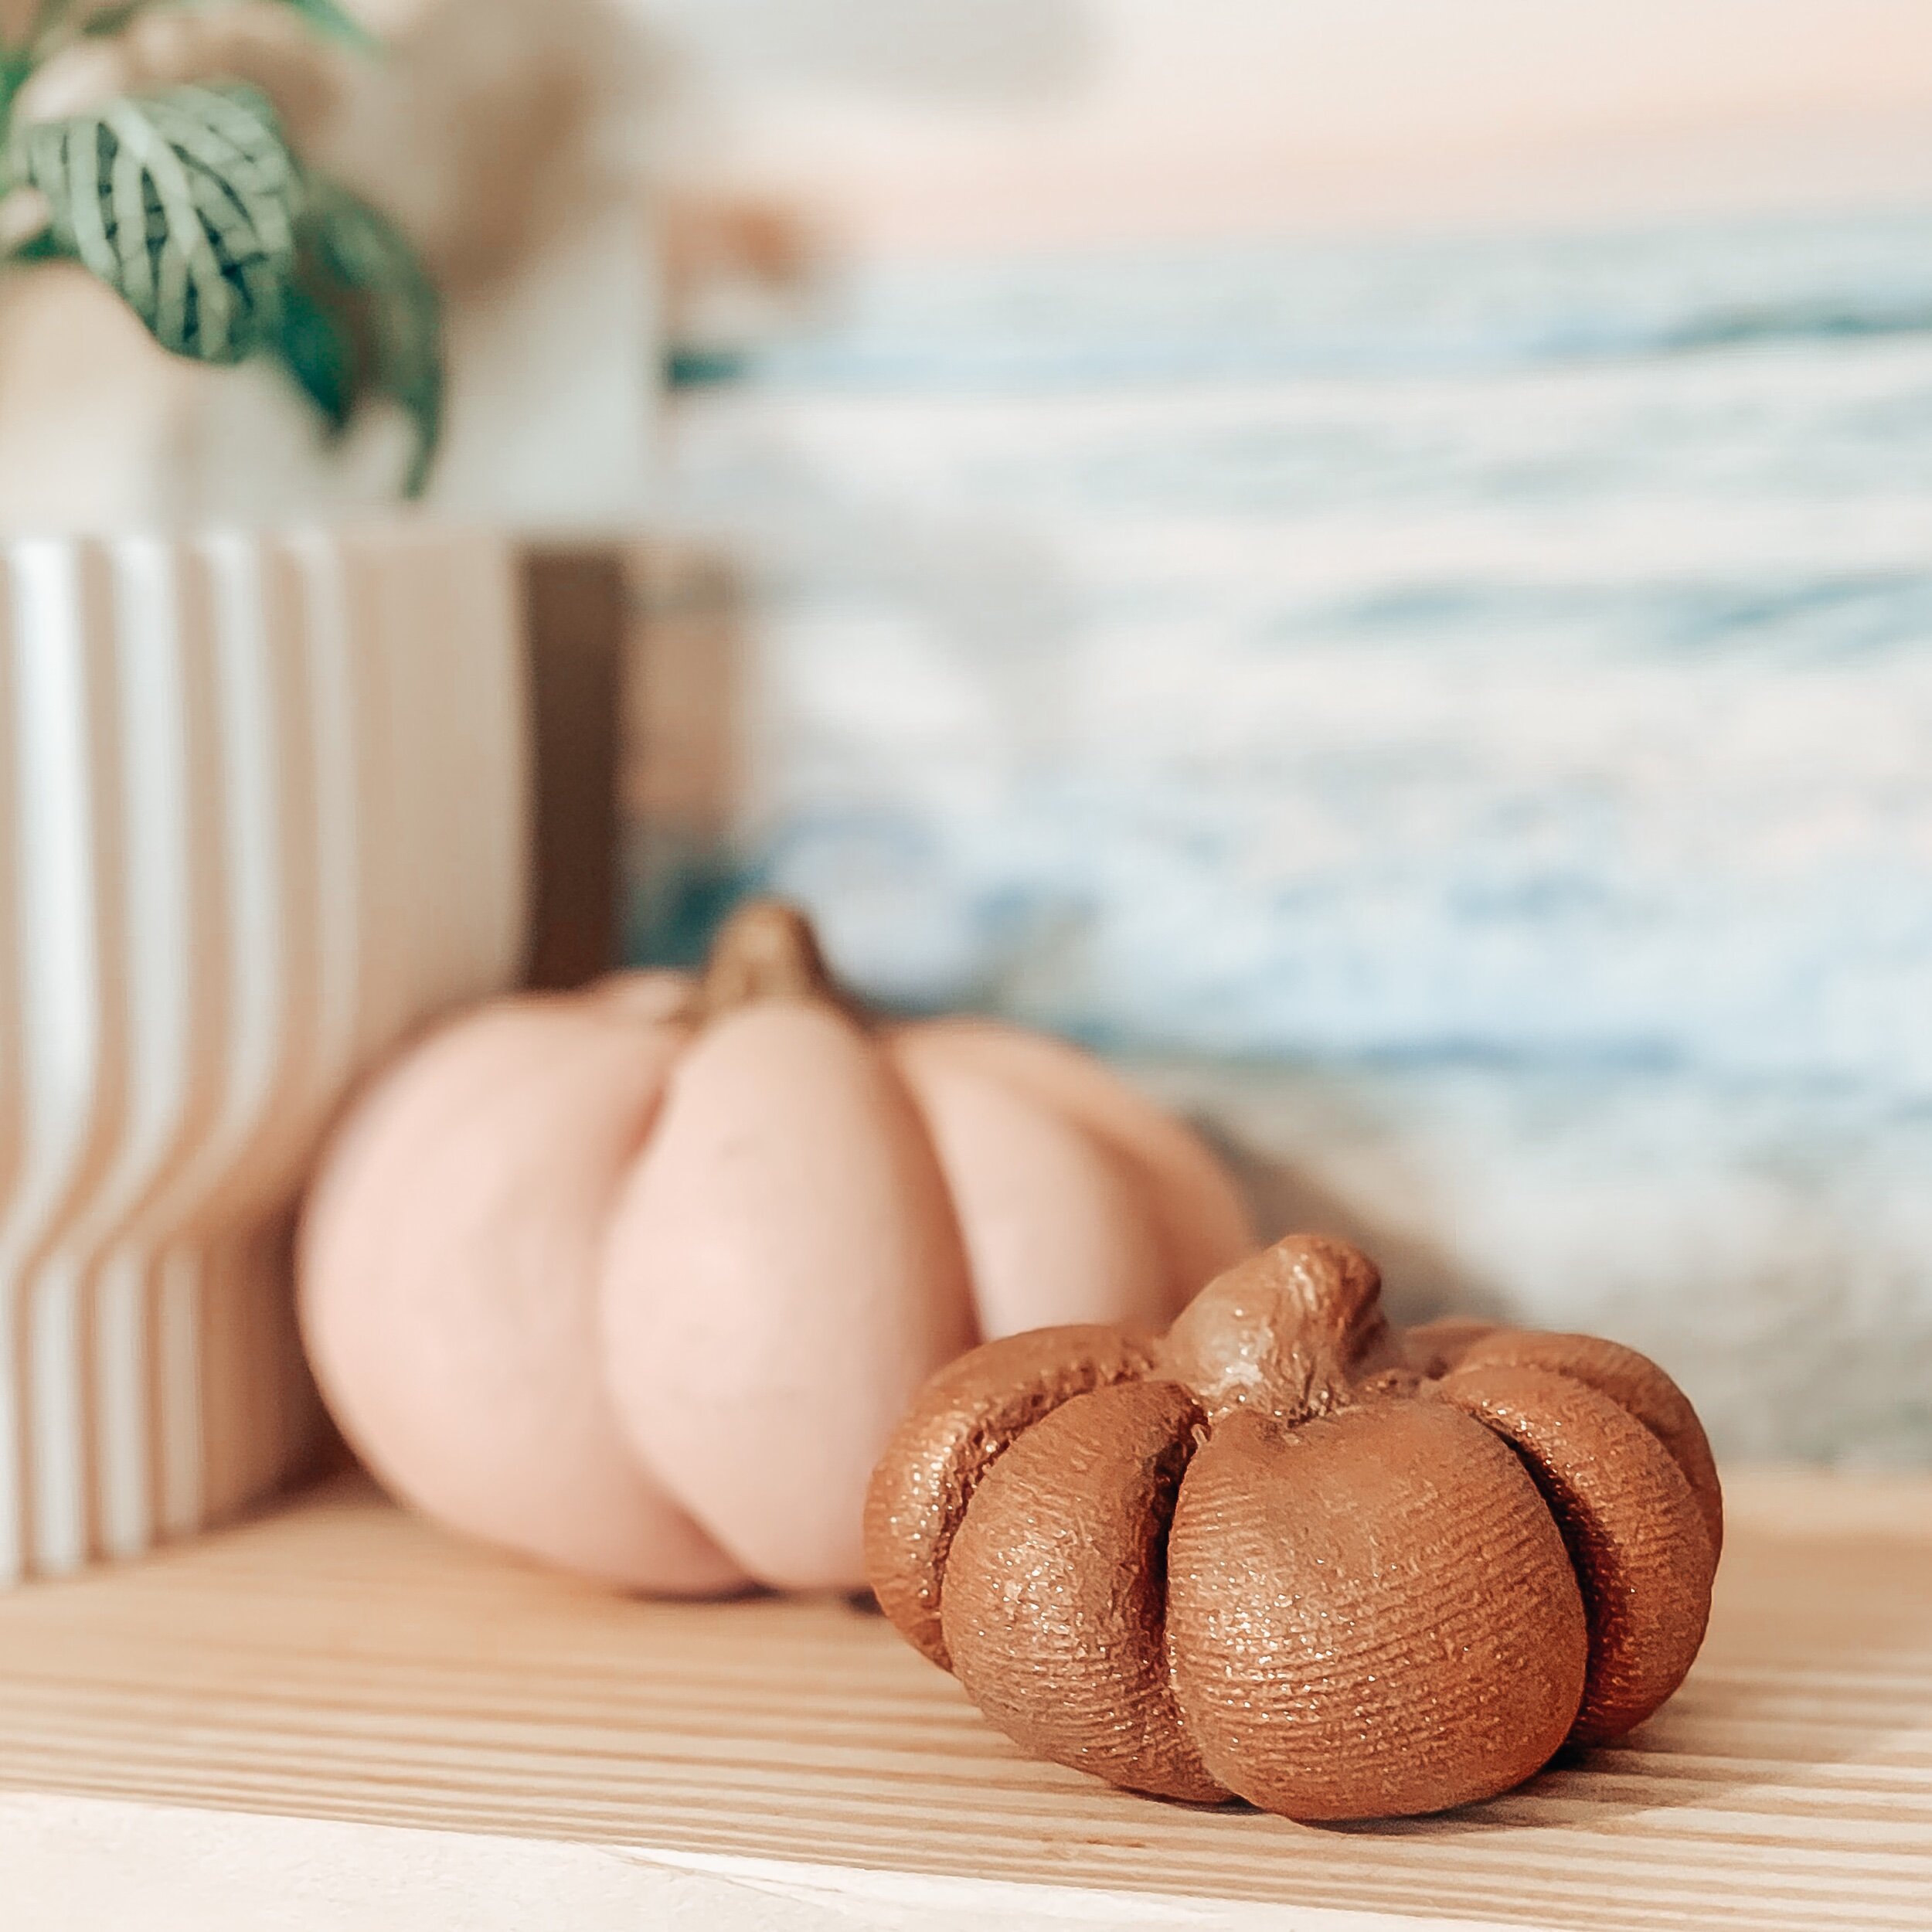
I hope you enjoyed this little #diy and that it inspires you to get creative and have a little fun this fall.
This would even be a fun project to do with your older kids and it gives you the freedom to create the look and color scheme of your choosing without breaking the bank!
Do you think this is a project you might try in your home? If so, tag me and let me shout you out!
As always, remember, sharing is caring so please take a moment to share this blog post!
Thanks for being a part of this Wildfire Community and for helping it grow!

I did this with Quik-crete and my pumpkins got so sandy, and I’m not sure why. I tried making them with more water, and the result was the same. Is this just an inevitable side effect of the concrete, in your experience?