
How to transform your Laundry room In a rental
What’s one of the most used, yet unloved spaces in your home?
For me, it was the laundry room!

If you’ve ever rented a home, you can probably relate to the struggle of having grand ideas, (I have Pinterest boards full of those) without the freedom to do exactly what you’d like.
Since we are military, and have already moved 11 times, I have learned to get creative in rentals and I hope to inspire you to do the same.
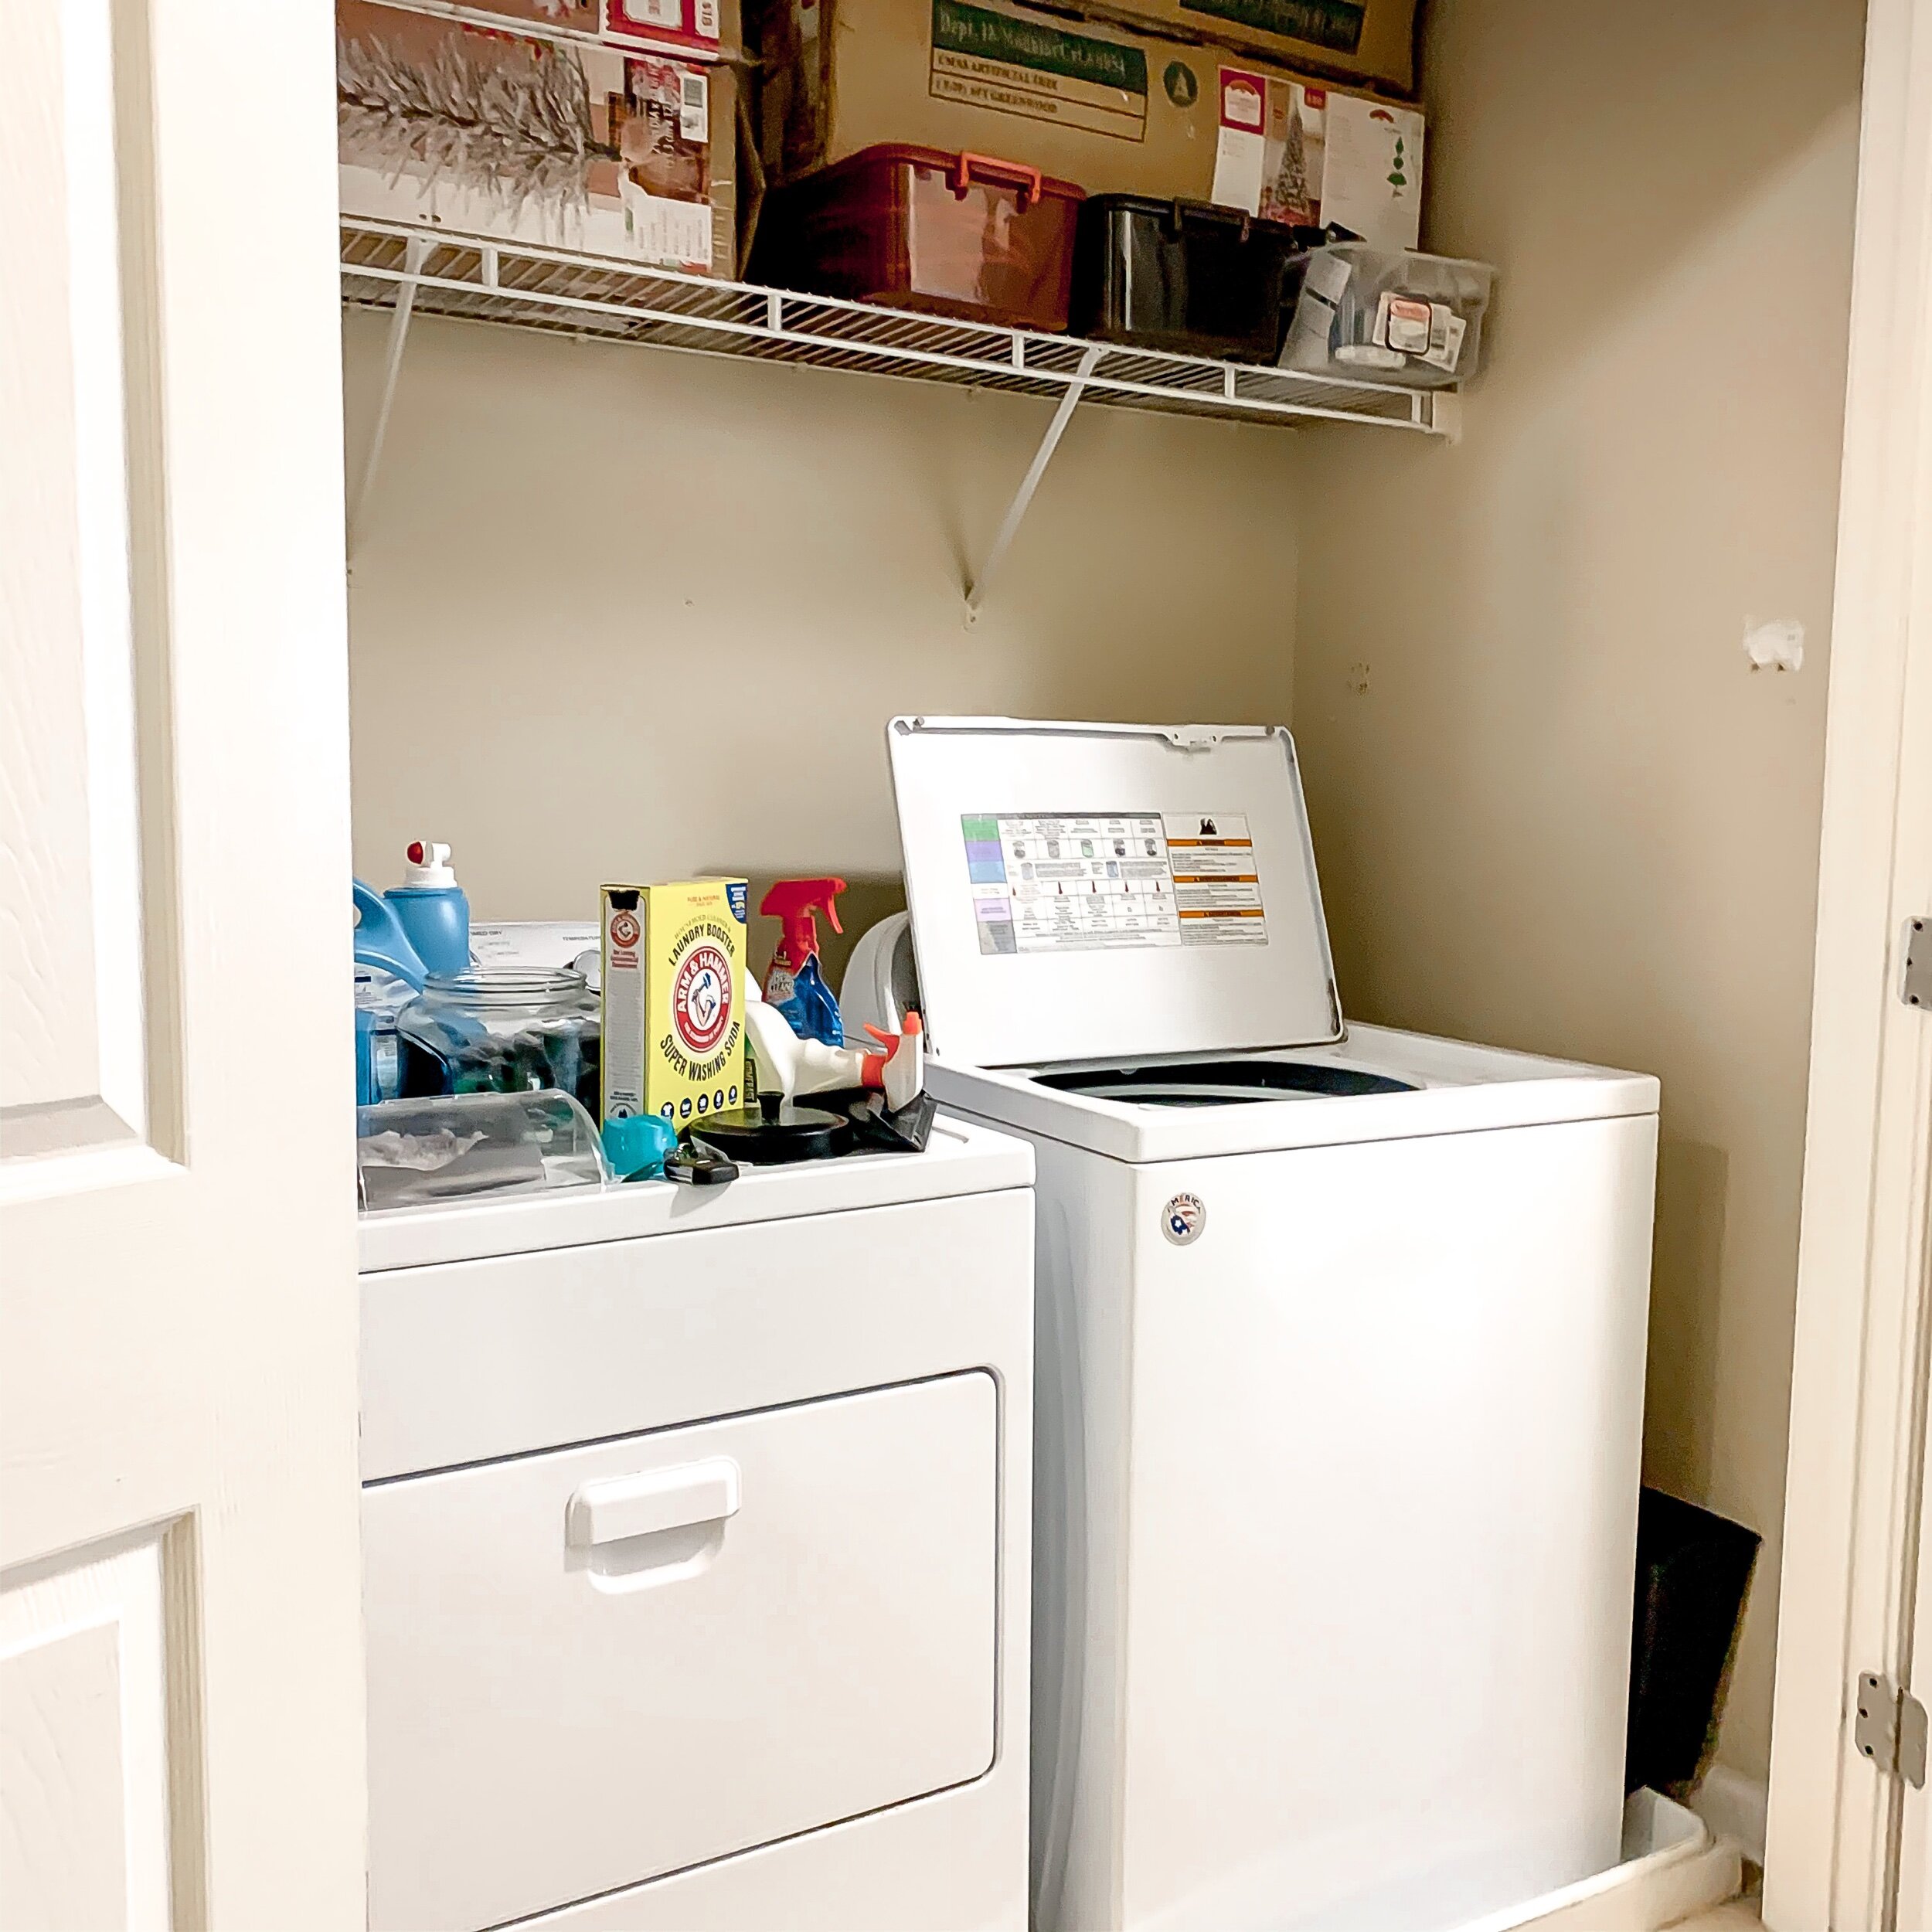
Laundry Room Before
This was our laundry room before I finally decided I’d had enough!
Not much to look at and definitely not a space that made me smile or want to do laundry!
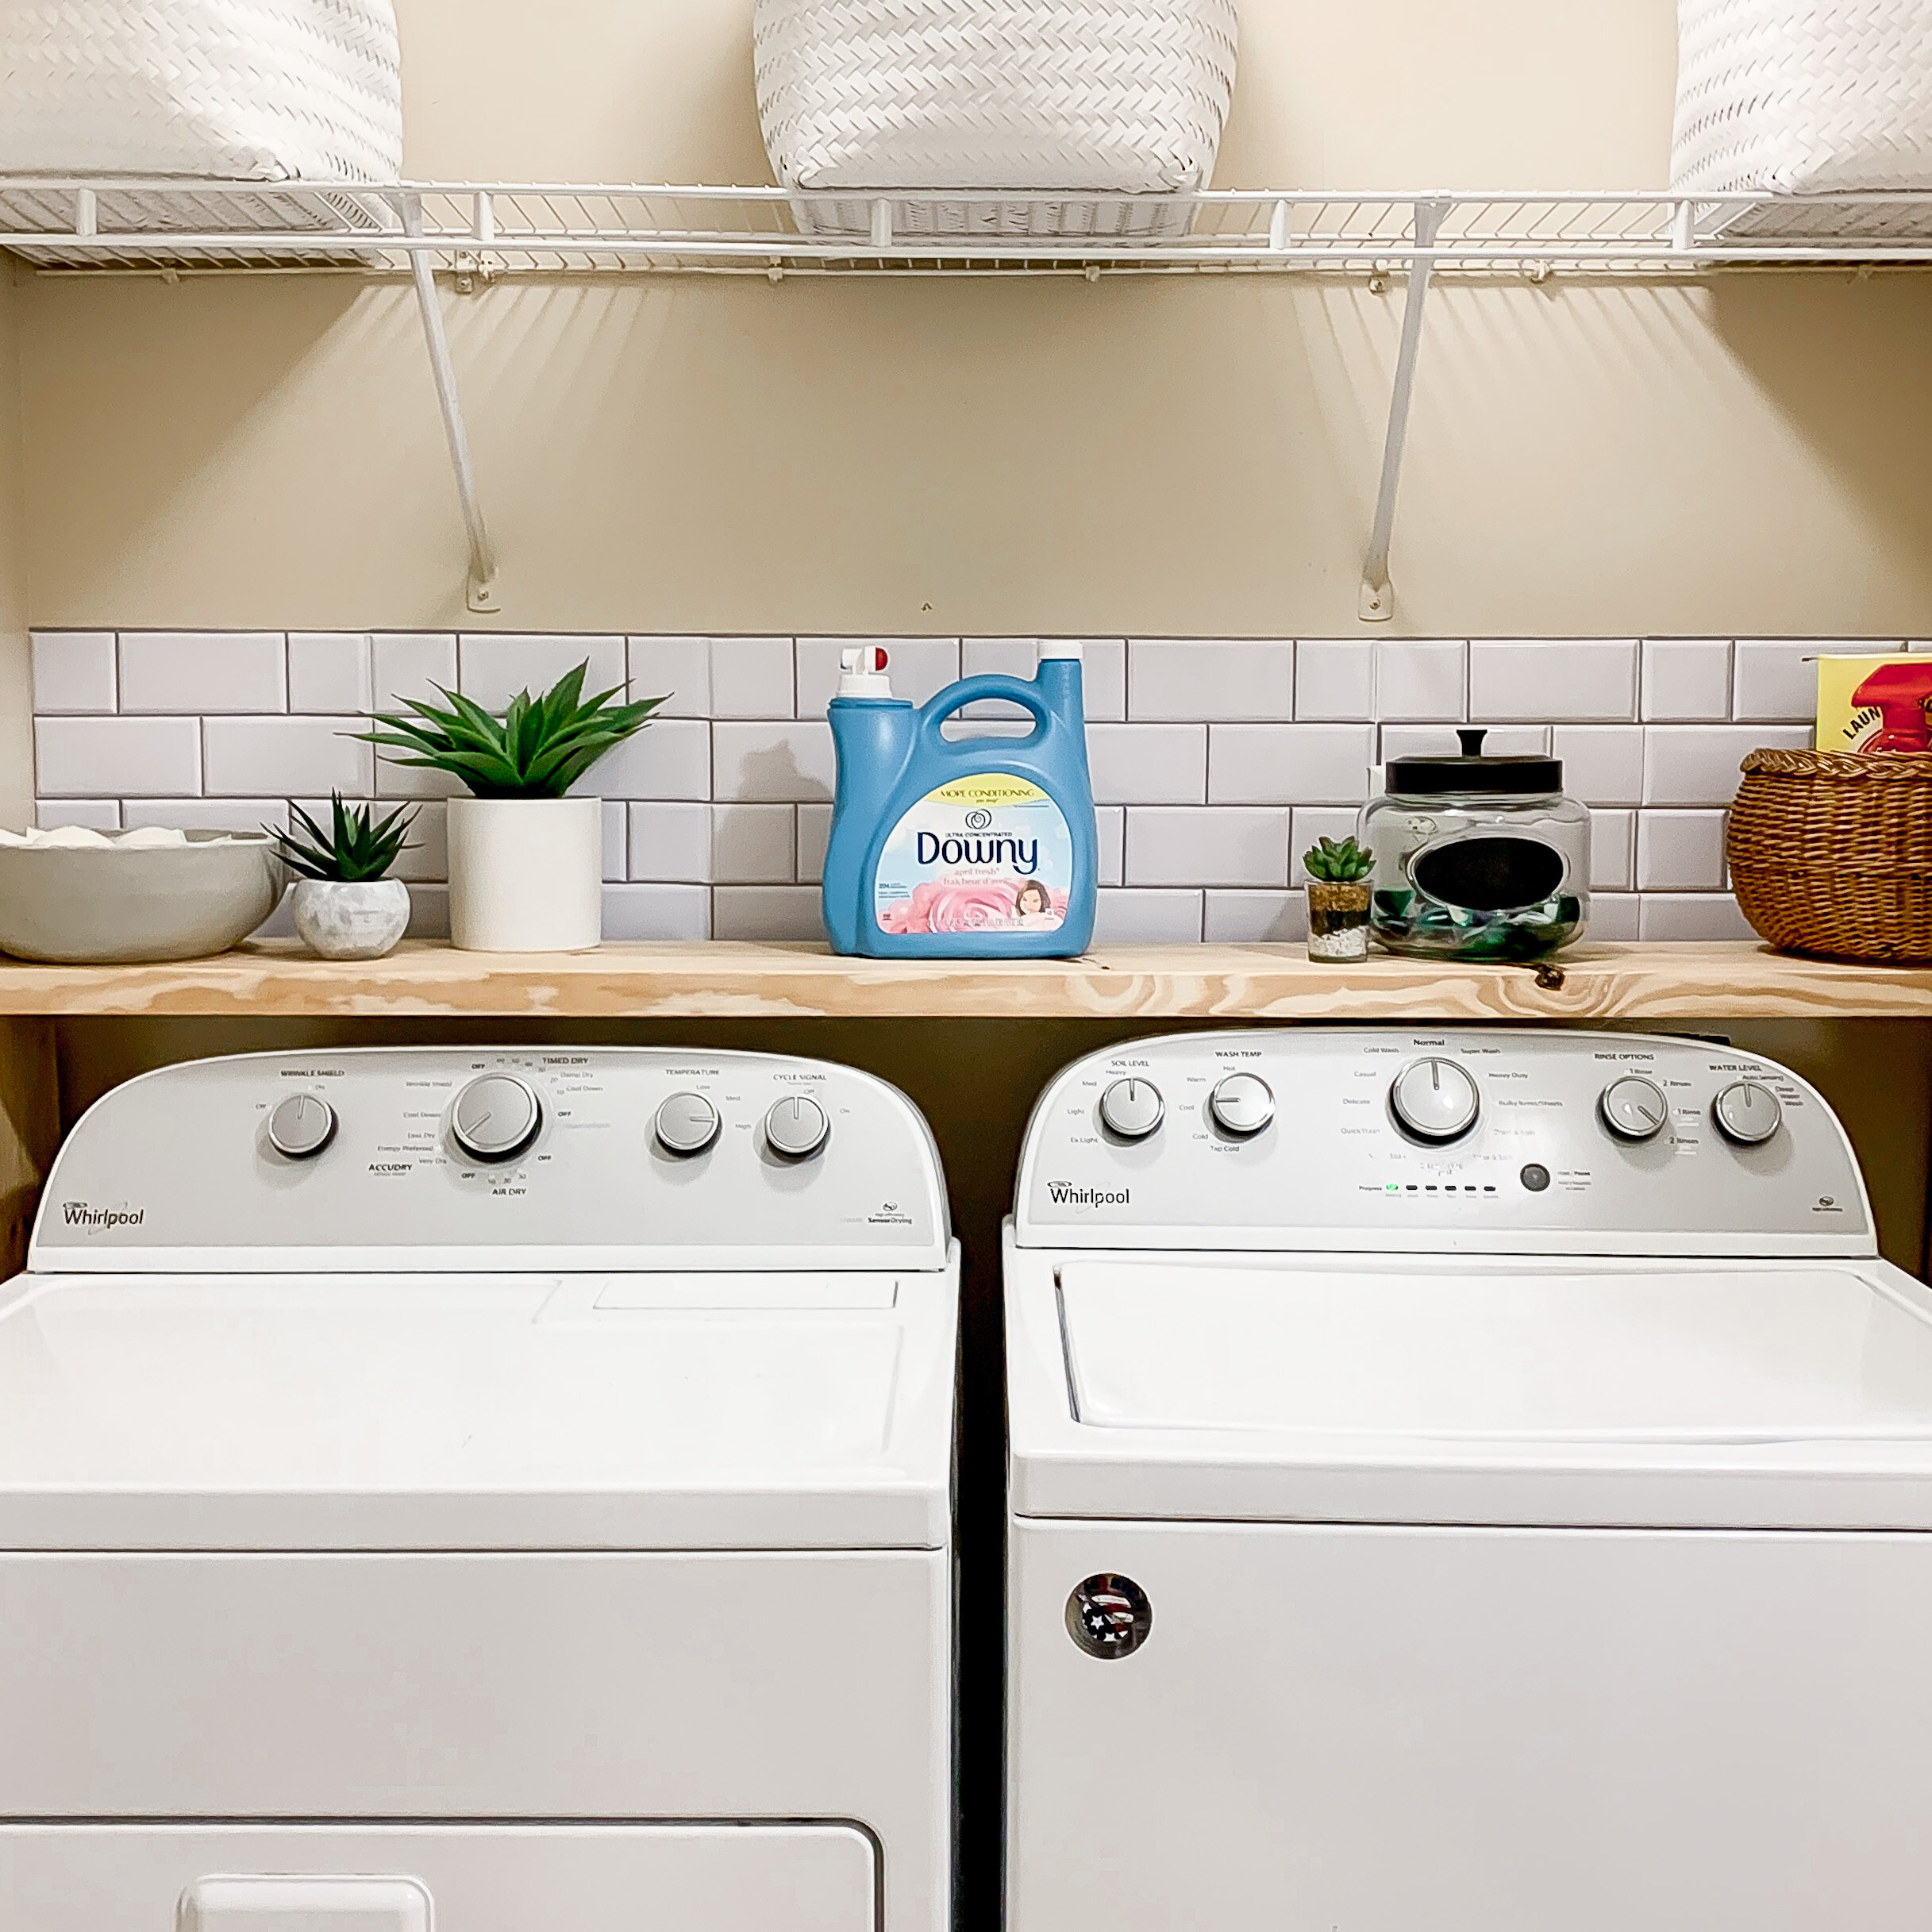
Laundry Room After
This space…does make me smile and has even helped me enjoy the chore of doing a bazillion loads of laundry a week!
The first thing I did was switch up what I stored on the top shelf!
Since the shelf is pretty high, it ended up being a space to store extra Christmas Trees and containers.
Since we rent on post and can’t move the shelf height, I took everything down and used these white baskets as storage instead.
These baskets were already in my linen closet and hold our blow up mattresses and sleeping bags. I’m sharing that because it’s simple changes like this that can make a big difference in your home. So get creative. I’m still using the space to store something but it’s something that is more appealing to the eye because it’s in a place I use all the time.
Back Splash
I’m a sucker for white subway tile! You too?
If you want the look but can’t install tile where you live, or you simply don’t want to, try the Dollar Tree! They have peel and stick tiles that come off easily with little to NO damage to your walls! If you can’t find them at your store, you can order a case online!
Tip: The front part of these peel and sticks are not attached to the back. If you have to make any cuts, you will have to use glue to connect the two pieces together, so the tile will lay flat to the wall.
To avoid that step (in this small space) I only made a small cut for the outlet plug and screwed the plate on tightly to hold it in place so there were no gaps showing.
Then, instead of making a cut to fit the last sheet of tile in place, I overlapped the last two tiles to fit the space. They are still holding beautifully so it’s another good option for making as little cuts as possible!
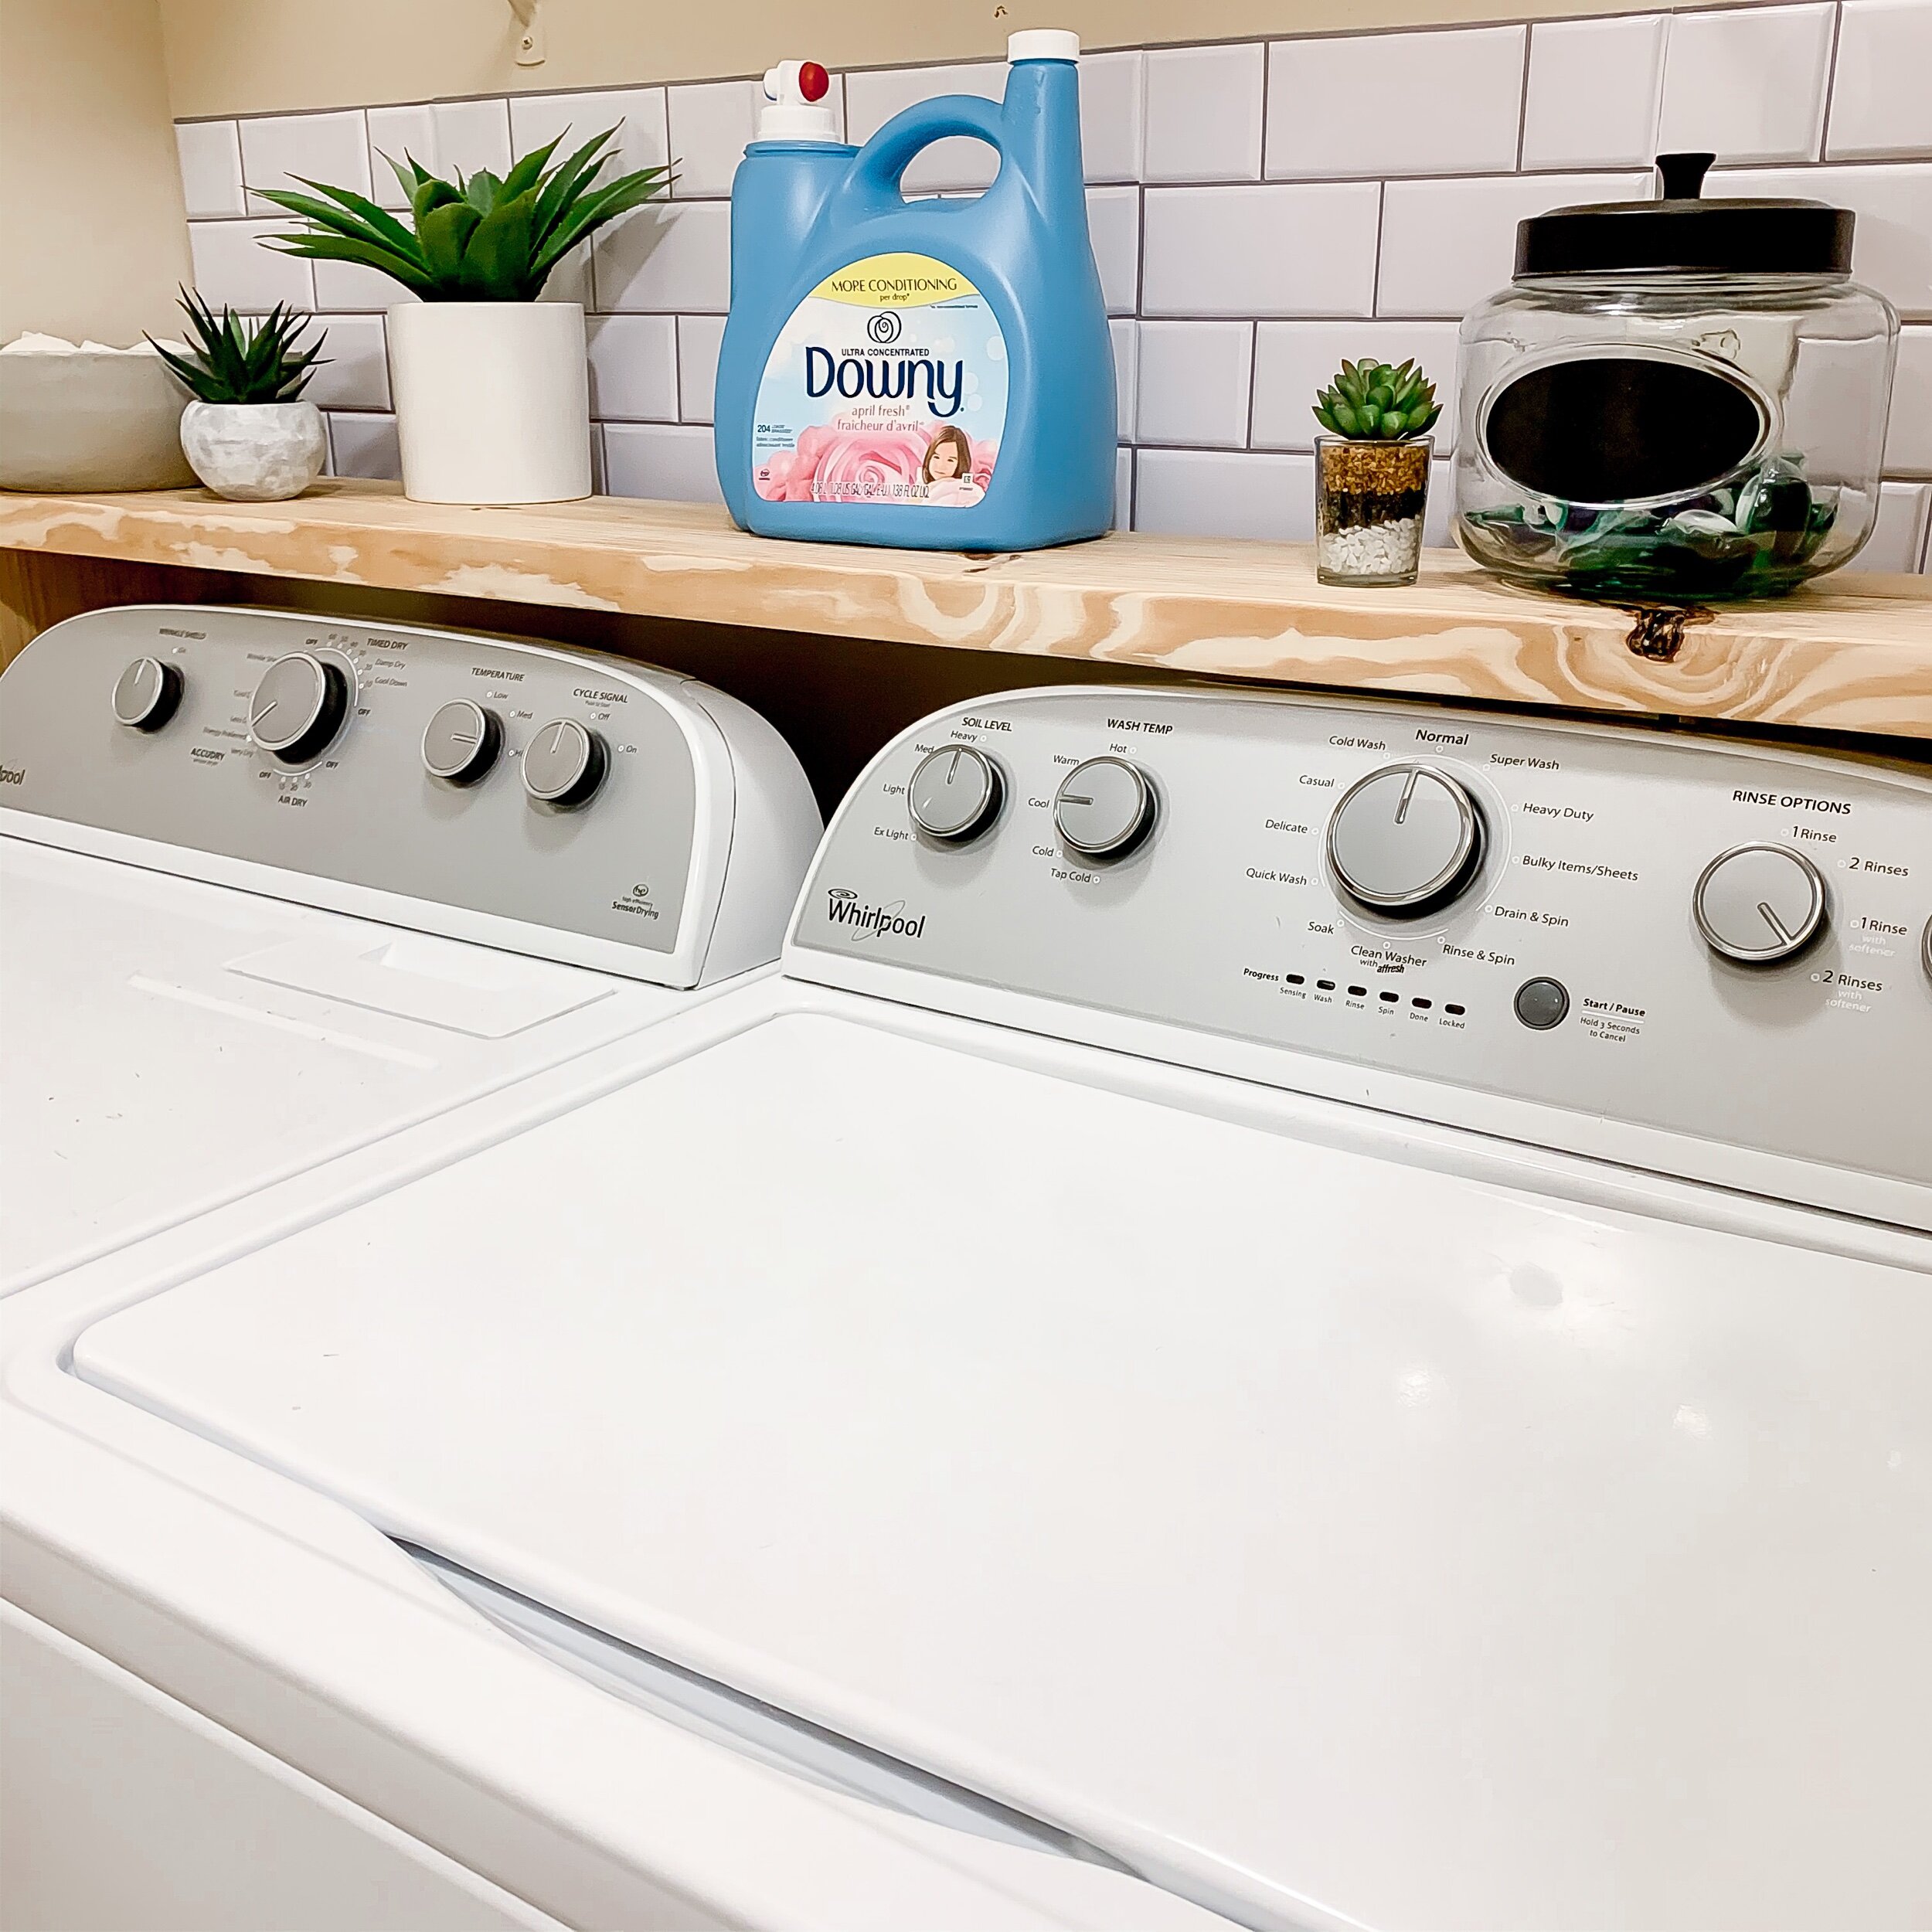
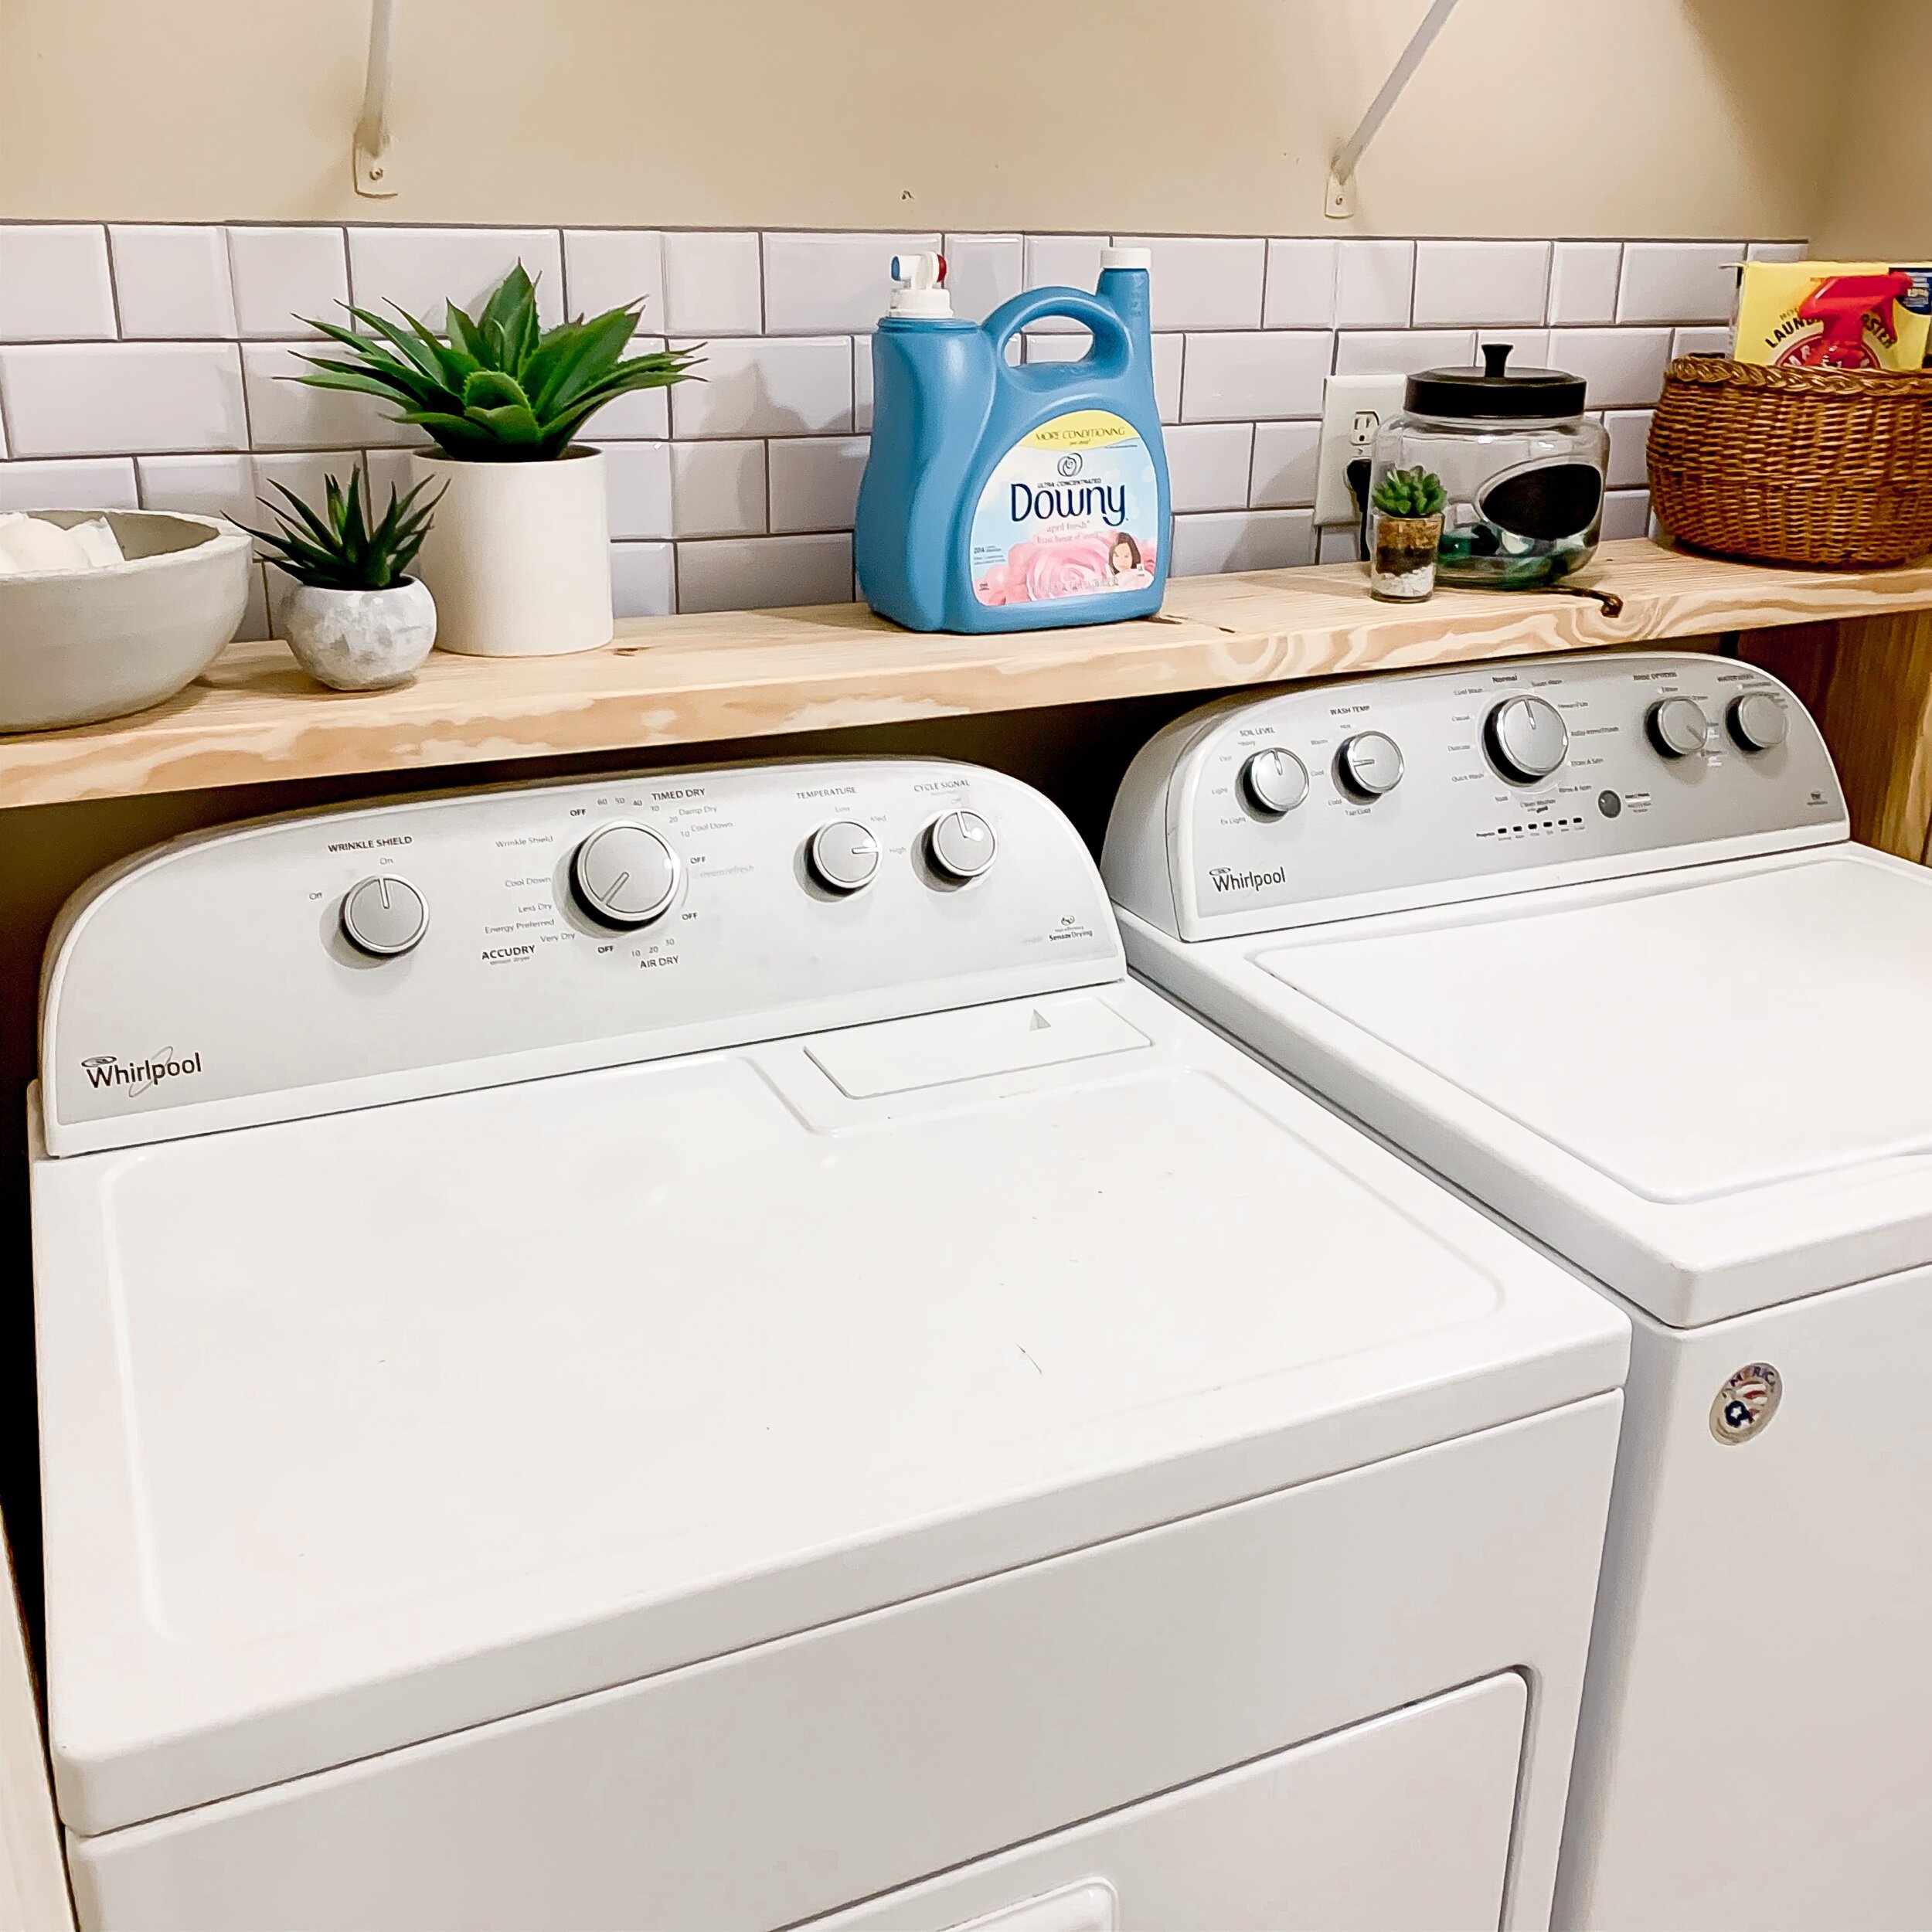
To create a place to store all of my laundry essentials, I decided to build a shelf that could be easily unessembled and taken with us when we moved.
I purchased two long boards and made three cuts! One for the length of the top part of the shelf and the other two for the legs. The size boards you’ll need depends on your machines. Since my washer opens from the top, I opened the lid and measured the space from the wall to the open lid.
Before I made the cuts, I measured the length between the walls, minus 1 inch and that gave me the measurement for the top board.
Next, I measured the height of the washer and driver and added an extra inch or for a little added wiggle room above. That gave me the measurements for the side of the shelf’s.
Once I made the cuts, I sanded and sealed the wood.
After it was dry, I brought the boards upstairs.
To assemble, place the side boards beside your washer and dryer first. Then, place the top board and screw the pieces together.
I used two screws on each side. This way, it’s simple to unscrew when it’s time move.
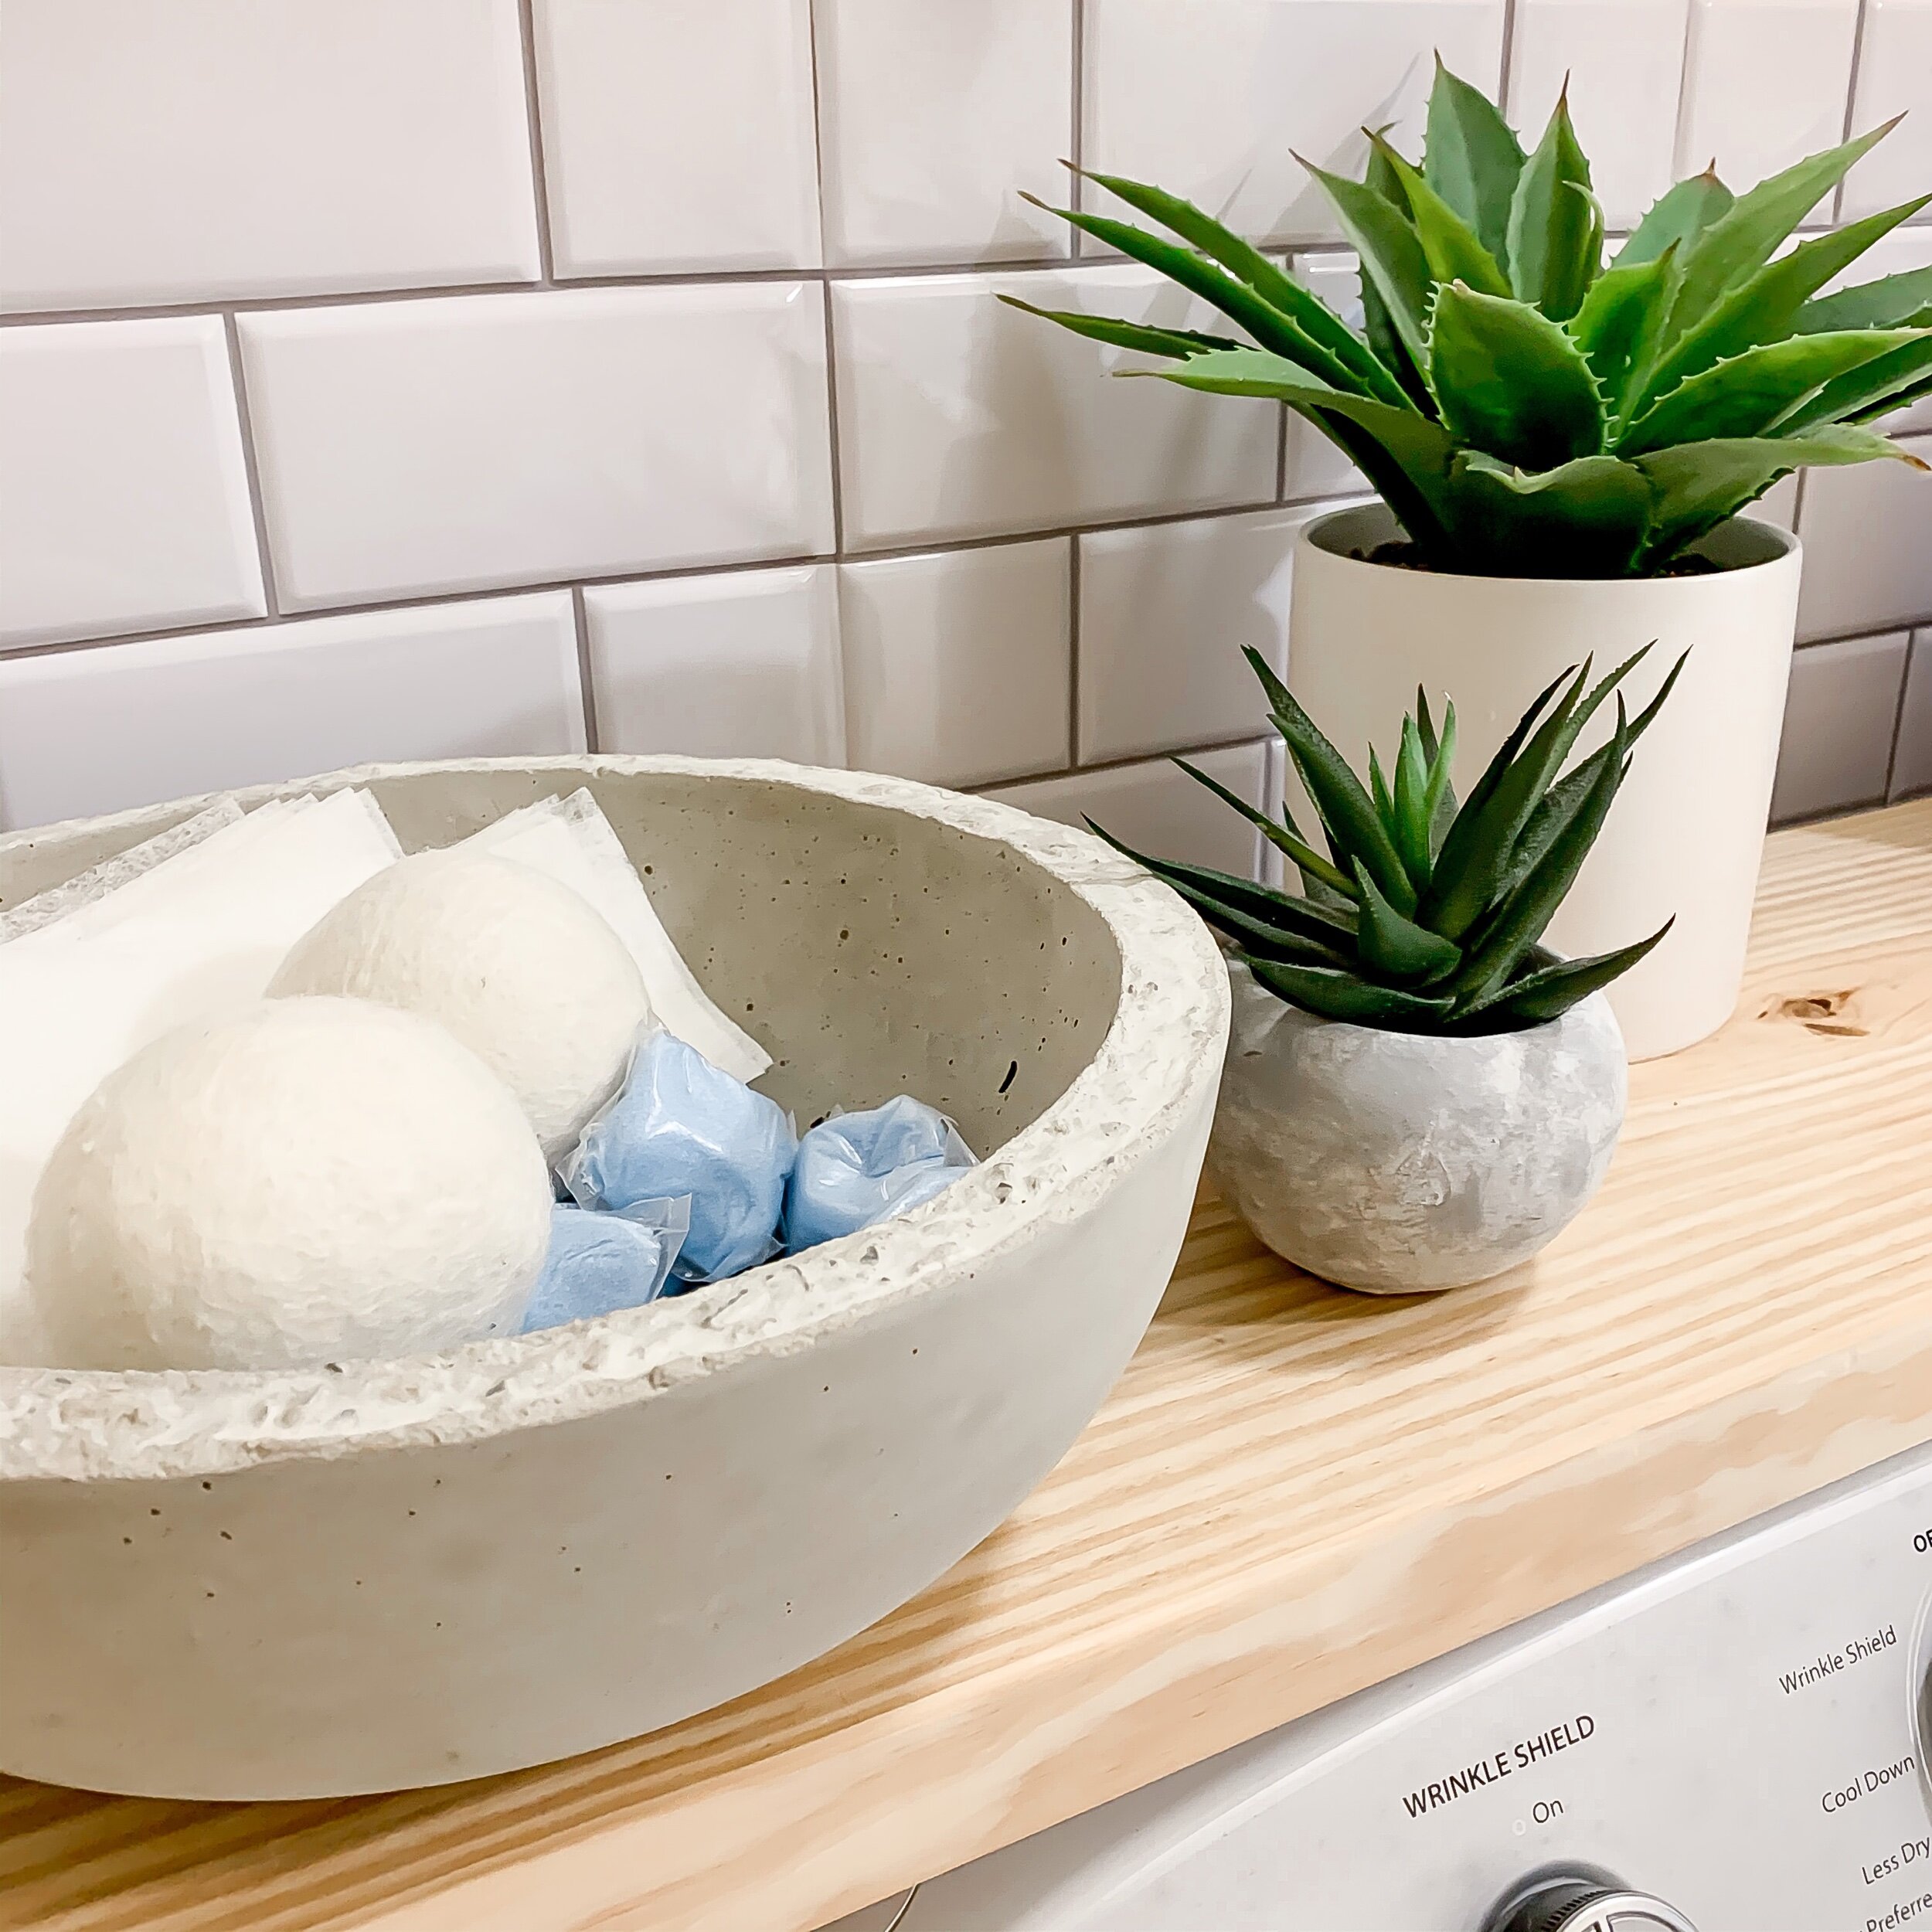
Finishing Touches
To pull it all together…I used a cement bowl to hold our dryer sheets and softer. A glass jar for laundry pods and a basket for starch, extra washing powders and stain removers. Some faux greenery and I was done!
Wrap up!
This little laundry room makeover was a beautiful reminder…Don’t wait until you have the space of your dreams to create beautiful spaces in your home.
These small and inexpensive changes have made such a huge difference, not only in this space but in how I FEEL in this space of my home. That my friend is what it’s all about.
Don’t worry about keeping up with The Joneses, focus on creating spaces that make your soul happy!
I hope these little projects inspire you to create spaces you will love!
If you have a space you would love to redo or any comments on this space above, please let me know in the comment section below!
If you haven’t signed up for my email yet, please do that now before you log off the blog! That way, you won’t miss any of the post I make here!
And of course, sharing is caring so share this post on your favorite social media sites!
With Love,
Lisa Faye


