How To Clean and Preserve Pumpkins To Make Them Last Longer
If you want to learn how to clean and preserve your pumpkins so they last longer, you’ve come to the right place! It doesn’t matter how big or small your pumpkins are, these tips work so let’s get started.
First, let me share a tip I recently learned. If you pass a store with a large amount of pumpkins on display, check the prices! I just scored these pumpkins for $2.99 EACH at my local Sprouts Farmers Market. The manager said their CEO had recently made a visit to their store so they went overboard with their display. That means, they had more inventory to move and the price had to be dropped considerably. Of course this was a lucky find but definitely one to keep your eye out for.
Now for the good stuff.
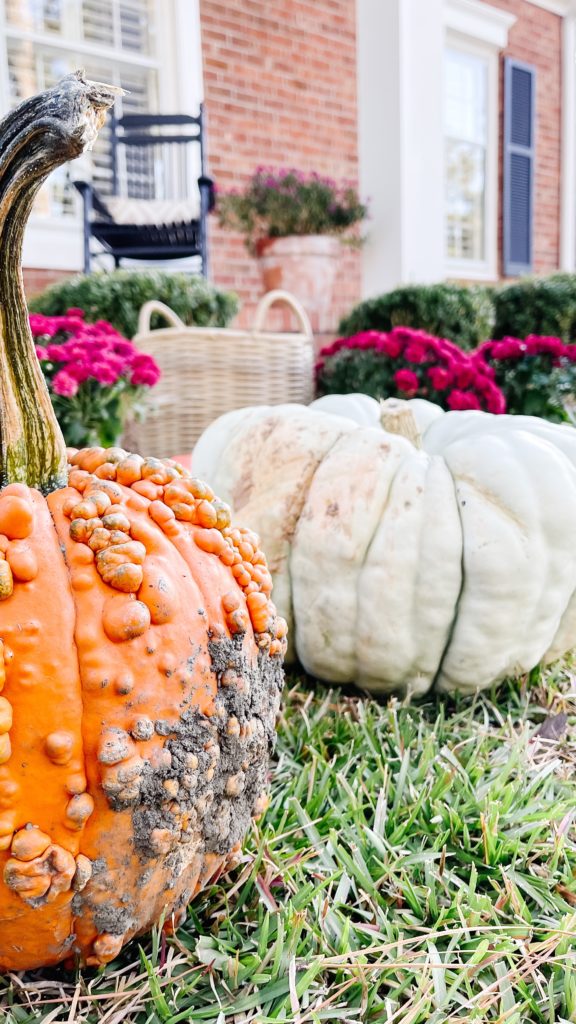
How To Preserve Your Pumpkins and Make Them Last Longer
When you bring your pumpkins home they will more than likely be pretty dirty, like mine were. Of course you could hose them down and call it a day but to truly make them last longer, there are a few more steps you can take.
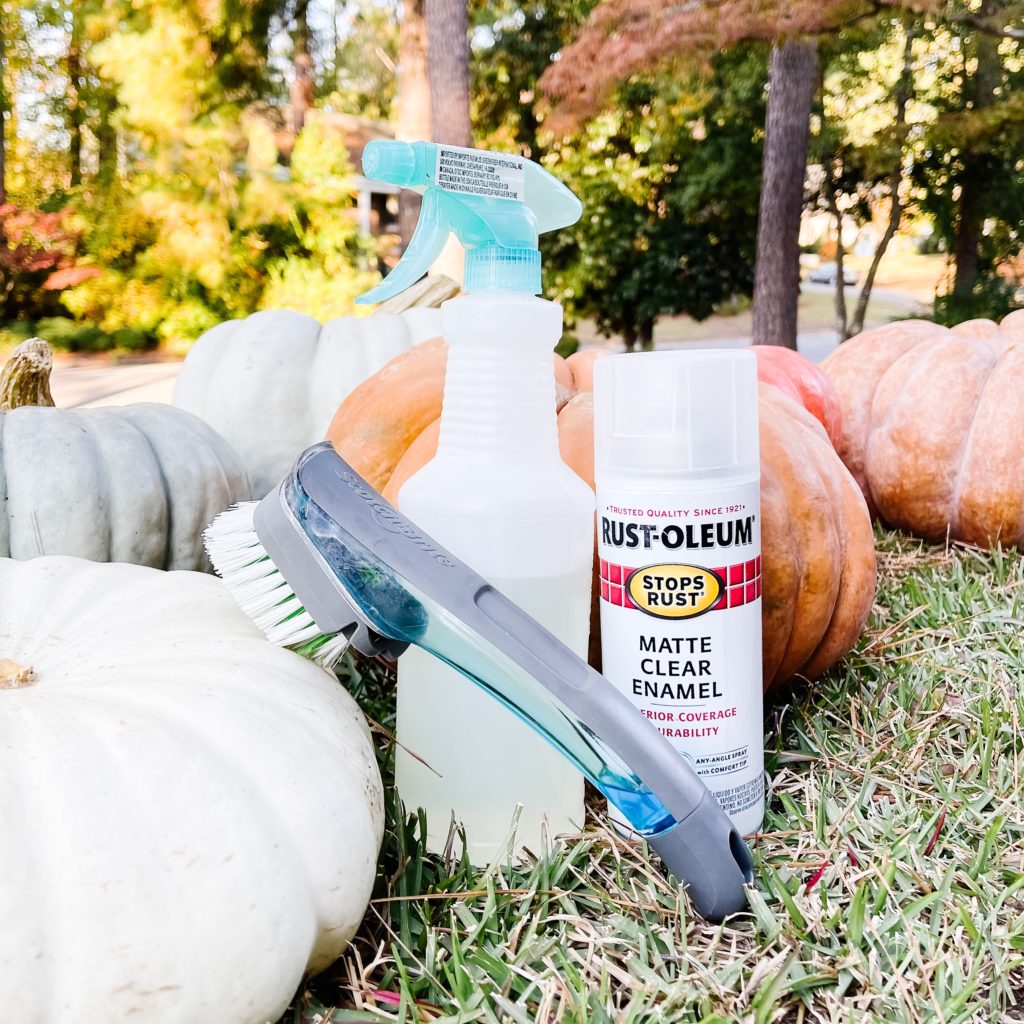
Here’s what you’ll need:
– Bleach (or vinegar for a non toxic option. You can use vinegar straight without mixing it with water)
– Water (I used a water hose)
– Scrub Brush with dawn dish soap (you can use any dish soap and a sponge or rag, I just happened to have the brush you see in the picture)
– Spray Bottle or bucket
– Old rag and towel that you are ok getting bleach on
– Clear Rust-oleum Spray
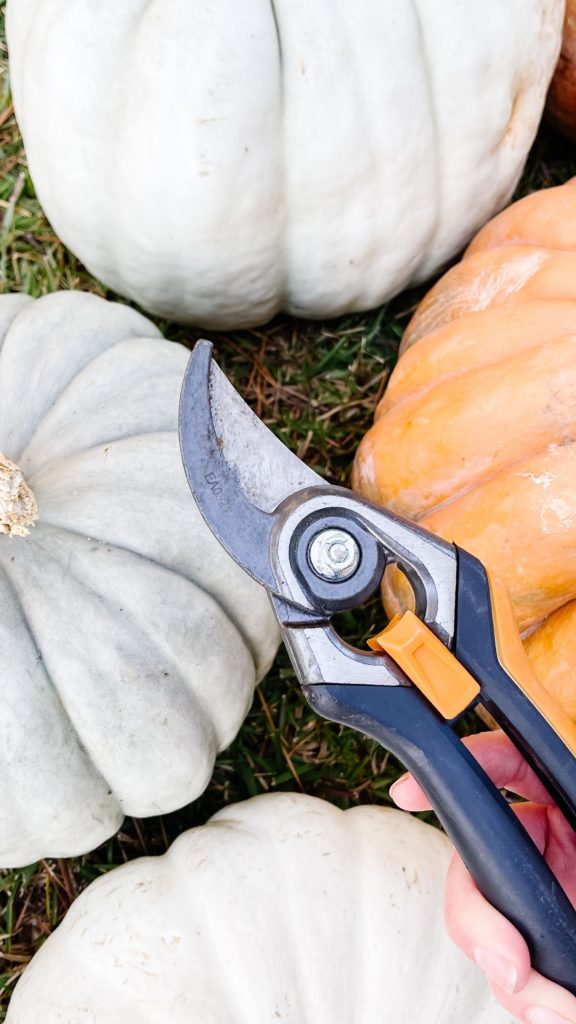
– Garden Shears
Five Steps To Make Your Pumpkins Last Longer
Step 1: Trim the stem of your pumpkin.
This is two fold, if your stem is too long you’ll want to cut them to the desired length but that’s not all. Most of my stems were short but the ones that were a bit longer had a few rotten or moldy spots. You don’t want that to spread and cause your pumpkin to decay, so go ahead and cut it off before you continue to the next step. I used my garden shears and they worked like a charm.
Step 2: Wash the dirt off of your pumpkins.
I used the hose in my front yard to help remove most of the dirt. Once most of the dirt had been sprayed off, I scrubbed each pumpkin with a scrubber and dawn dish soap and sprayed them again until all of the soap and dirt was removed.
Step 3: Mix 1 parts bleach to three parts water in a spray bottle. Spray your pumpkins with the mixture, paying close attention to the stems.
You could also use a bucket, either way, be sure to wipe your pumpkins down using an old rag. This step kills any bacteria or fungal spores on the pumpkins rind and stem, preventing premature rotting.
Step 4: Allow the pumpkins to dry completely.
Step 5: Spray your dry pumpkins with a clear rust-oleum spray paint.
This is one I had on hand but you could use a satin finish if you’d like your pumpkins to have more of a shine. The goal is to completely coat your pumpkin! This helps to create a seal and prevent any moisture or bacteria from entering and beginning the rotting process.
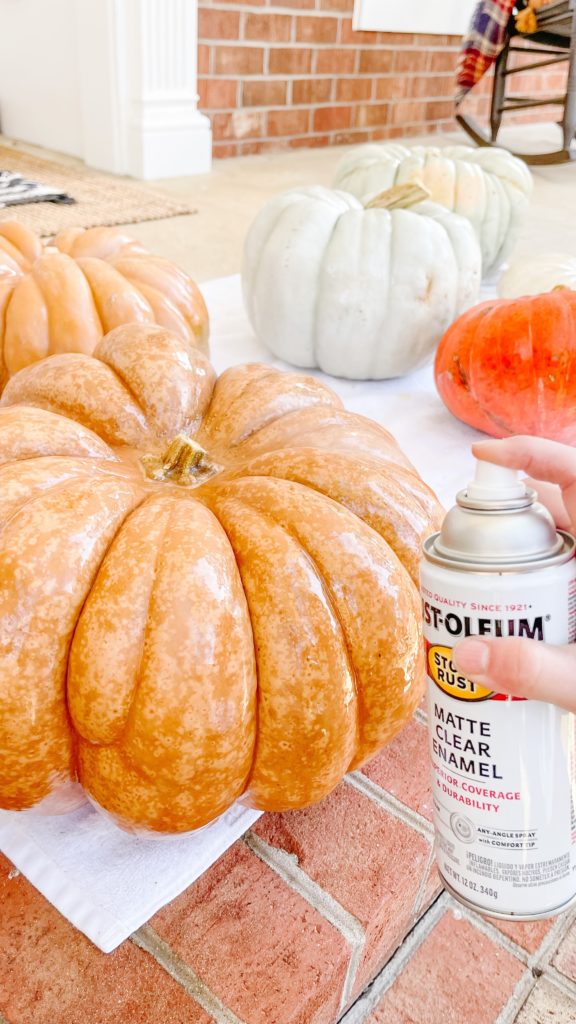
A good rule of thumb is to spray the tops of your pumpkins, allow them to dry for at least 15-30 minutes, then flip them over and spray the bottom.
Make sure you spray the rind, stem and any holes or weak spots your pumpkins may have. These areas will be the first to rot so you’ll want to seal them as good as possible.
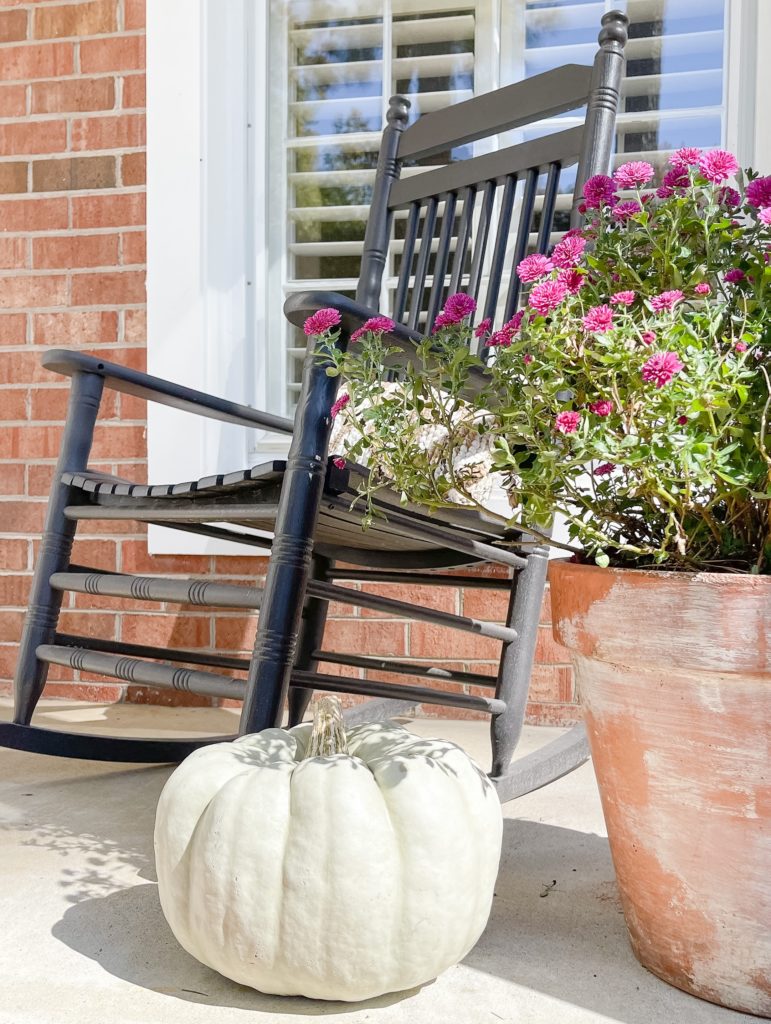
Completing the process above can help extend the life of your pumpkins for at least a few more weeks but here’s a bonus tip!
Be mindful of the weather.
We live in the South and our Fall days can look like 30’s in the morning and 80’s or 90’s by mid day! If you really want them to last as long as possible, consider taking them indoors if the temps will be below freezing or warmer than normal.
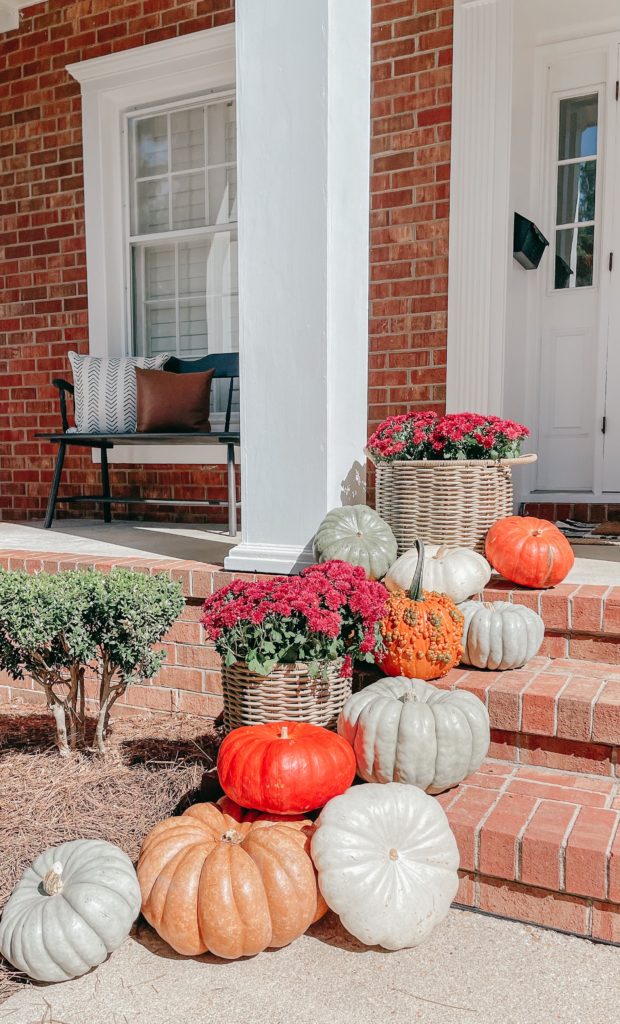
I hope you found these tips helpful and that your pumpkins last longer than expected!
Pin this post for easy access and share it on your favorite social media channel. If you aren’t following us there, be sure to follow along for more Tips, DIYs and Interior Design.
With Love,
Lisa Faye
Great advice! I would have never thought about spraying rust-oleum onto my pumpkins – will definitely give this a try next Halloween